
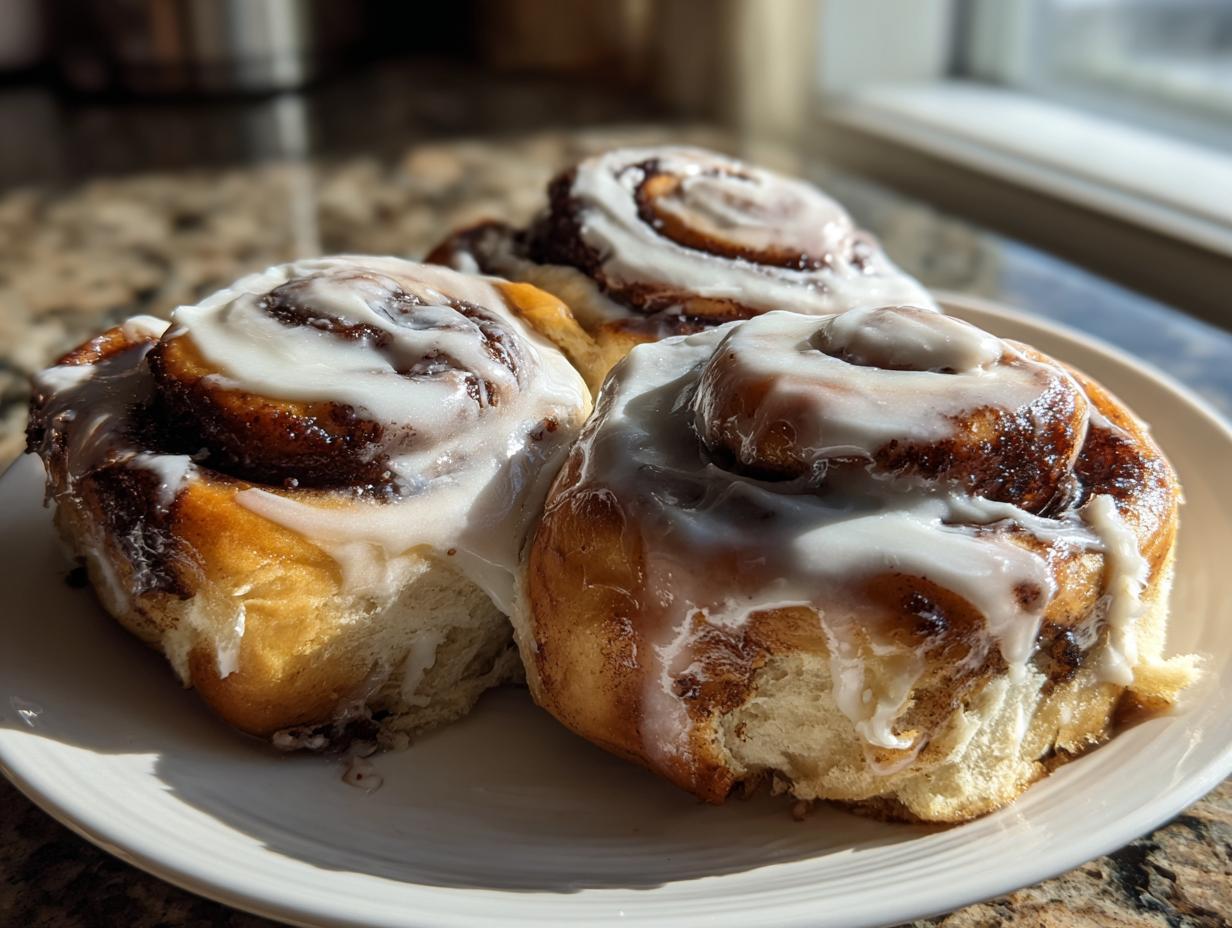
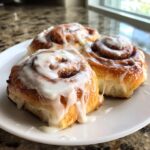
Forget those sad, dry rolls you get at the grocery store. I’m Avery, and I promise you that making bakery-quality, spectacularly soft and gooey homemade cinnamon buns is absolutely within your reach! This recipe—The Ultimate Soft & Gooey Homemade Cinnamon Buns—isn’t just another list of ingredients; it’s the result of rigorous testing to ensure every single roll has that perfect, cloud-like texture we all crave. If you love comfort food that tastes like it came straight from a professional bakery, you need this recipe. If you want to see another one of my tried-and-true bakes, check out my recipe for moist banana bread! Trust me when I say, this cinnamon bun recipe is pure, unadulterated baking joy, and it will become your new weekend tradition.
- Why You Will Love These Homemade Cinnamon Buns Recipe
- Essential Ingredients for Perfect Cinnamon Buns
- How to Make Cinnamon Buns From Scratch: Step-by-Step
- Expert Tips for Achieving Soft and Gooey Cinnamon Buns
- Serving Suggestions for Your Warm Breakfast Pastries
- Storage and Reheating Instructions for Leftover Cinnamon Buns
- Frequently Asked Questions About Making Cinnamon Buns
- Nutritional Estimate for These Cinnamon Buns
- Share Your Cinnamon Buns Creations!
Why You Will Love These Homemade Cinnamon Buns Recipe
I want you to stop settling for average sweet rolls! These cinnamon buns checks every single box. Seriously, they are the real deal, and once you try them, you’ll understand why I’m so passionate about this dough. They’re perfect for any holiday morning!
- Unbeatable Softness: We use a specific dough technique that locks in moisture, making them fluffy right out of the oven and the next day.
- That Gooey Factor: The filling melts beautifully, turning into pools of caramelized heaven while baking.
- Decadent Finish: You can’t skip the homemade cream cheese frosting recipe for rolls—it brings the perfect tangy balance to the rich spice.
Essential Ingredients for Perfect Cinnamon Buns
You know I’m all about making things easy, but with yeast dough, you can’t cheat the ingredients! If you want those incredibly soft cinnamon buns that taste like they took three days to make, you need to follow these measurements exactly. Getting the temperature right on your milk is key; too hot, and you kill the yeast—too cold, and it won’t wake up! We’re making luscious rolls, not doorstops, so pay attention to those specifics, especially the state of your butter and eggs.
For the Soft Dough
The dough is the foundation for all that fluffiness. Make sure your eggs are at room temperature; it really helps the dough come together smoothly and keeps that structure light.
- 1 cup warm milk (about 110°F—use a thermometer!)
- 2 1/4 teaspoons active dry yeast
- 1/2 cup granulated sugar, plus 1 teaspoon for yeast
- 1/2 cup unsalted butter, softened
- 2 large eggs, room temperature
- 4 cups all-purpose flour, plus more for dusting
- 1 teaspoon salt
For the Gooey Cinnamon Filling
This is where the magic happens! I really stress using packed light brown sugar here; it has more molasses, which keeps the filling moist and never grainy. That melted butter just coats everything beautifully.
- 1/2 cup (1 stick) unsalted butter, melted
- 1 cup packed light brown sugar
- 2 tablespoons ground cinnamon
For the Cream Cheese Frosting Recipe for Rolls
You simply can’t skip this frosting! It needs to be luxurious, so please make sure both your butter and cream cheese are fully softened. If they’re too cold, you’ll end up with small lumps, and we want pure silk on top of these rolls. If you need help perfecting your buttercream basics, I have a great guide for vanilla buttercream!
- 1/2 cup (1 stick) unsalted butter, softened
- 4 ounces cream cheese, softened
- 2 cups powdered sugar
- 1 teaspoon vanilla extract
- 1-2 tablespoons milk
How to Make Cinnamon Buns From Scratch: Step-by-Step
Okay, deep breath! Working with yeast dough can feel a little intimidating, but I promise this process for our Homemade Cinnamon Buns Recipe is totally straightforward. We are marching right through this together until you have those perfect, fluffy sweet rolls baking away. Don’t feel rushed; the rising time is when the real flavor develops, so let the dough do the hard work! If you are curious about other dough recipes, check out my guide for easy no-knead artisan bread, but for now, focus on these rolls!
Activating Yeast and Mixing the Dough
First things first: we need to wake up that yeast! In a big bowl, stir together your warm milk and just a tiny teaspoon of sugar with the active dry yeast. You have to let this rest for about 5 to 10 minutes. If it gets nice and foamy on top—like the head on a good root beer—you’re good to go! That foam is proof that your yeast is alive and ready to go. Once it’s foamy, dump in the rest of your sugar, the softened butter, your room-temperature eggs, the flour, and the salt. I start mine on a low setting in the stand mixer.
Kneading and First Rise for Fluffy Sweet Rolls Baking
You need to knead this dough for about 5 to 7 minutes. If you’re doing it by hand, it takes a little elbow grease! What you’re looking for after kneading is dough that’s smooth and soft, maybe just a touch sticky—we don’t want it stiff! After kneading, pop it into an oiled bowl, cover it with a clean cloth, and put it somewhere warm. Seriously, find the warmest, draft-free spot in your kitchen. It needs 1 to 1.5 hours to double in size. Patience is key here for that eventual airy interior! If you love spiced recipes, you should check out my moist spice cake recipe!
Assembling the Cinnamon Swirl Rolls
Once it’s doubled, give that beautiful dough a good punch to release the air! Now, turn it out onto a lightly floured counter. Roll it out into a large rectangle, aiming for about 12×18 inches. While that’s happening, mix up your filling—melted butter, brown sugar, and that sweet cinnamon—until it forms a thick paste. Spread that gooey mixture all over the dough, but stop about an inch short on one of the long sides so you have a clean edge to seal. Starting on the opposite long side, roll this up tightly, just like a jelly roll. Pinch that bare edge closed really well! This pinching is vital! Then, slice it into 12 even pieces.
Second Rise and Baking Your Bakery Style Cinnamon Buns
Grease up your 9×13 dish real good. Lay your cinnamon swirl rolls cut-side up inside the pan, making sure they are slightly touching. Cover them again and let them enjoy their second rise for about 30 to 45 minutes until they look puffy and happy. While they are getting cozy, preheat your oven to 375°F (190°C). Bake these beauties for 20 to 25 minutes. You’ll know they’re done when they’re golden brown and smell absolutely heavenly!
Creating the Luscious Cream Cheese Frosting
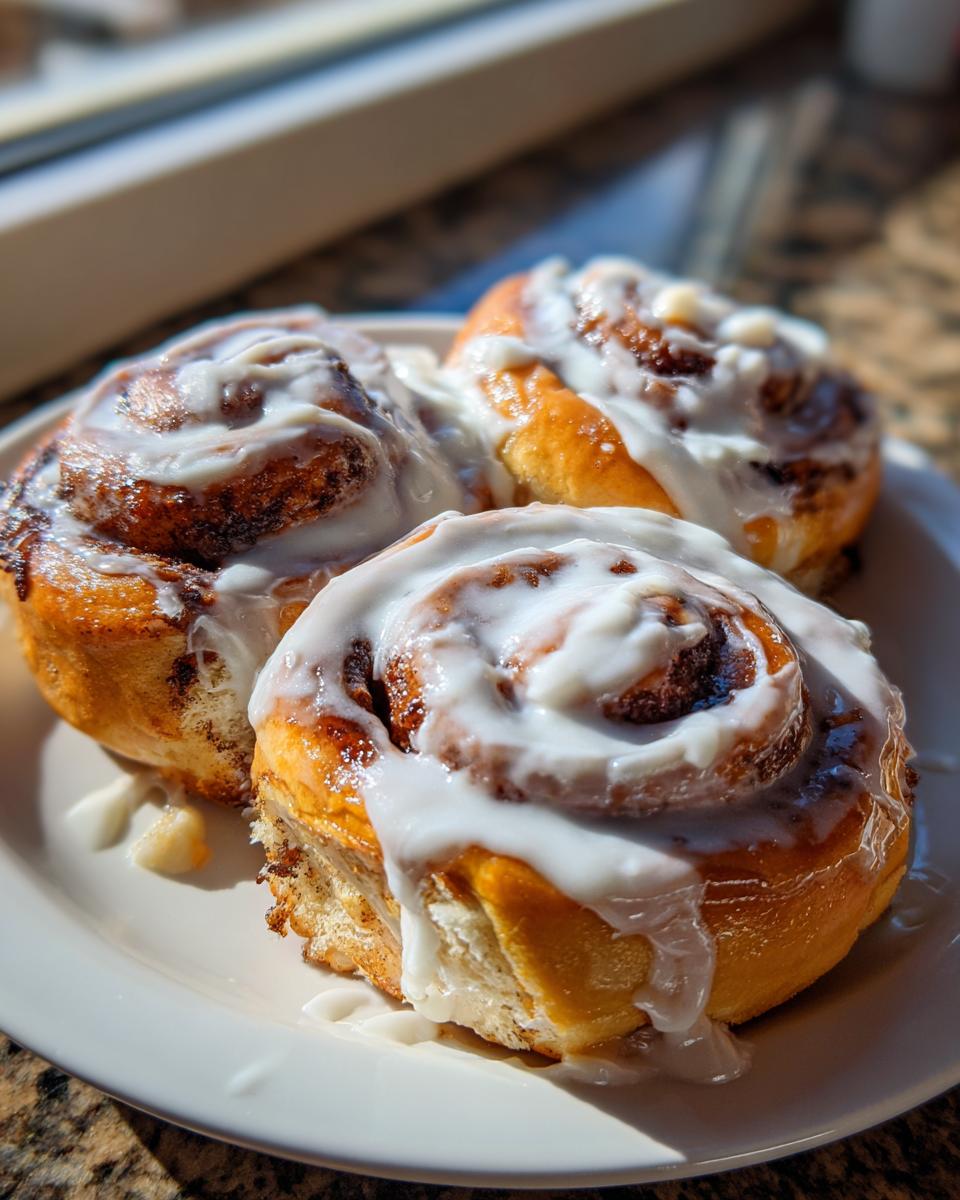
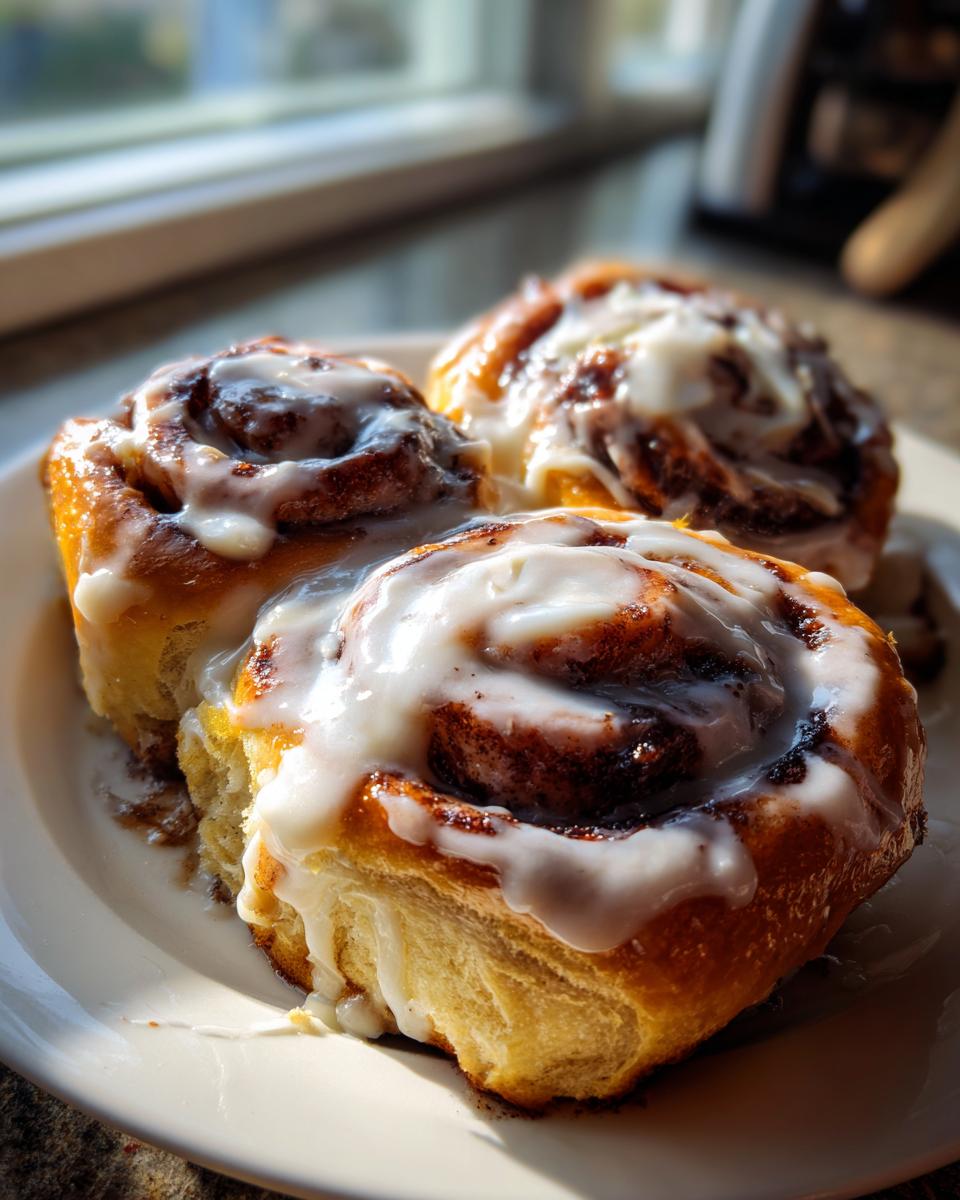
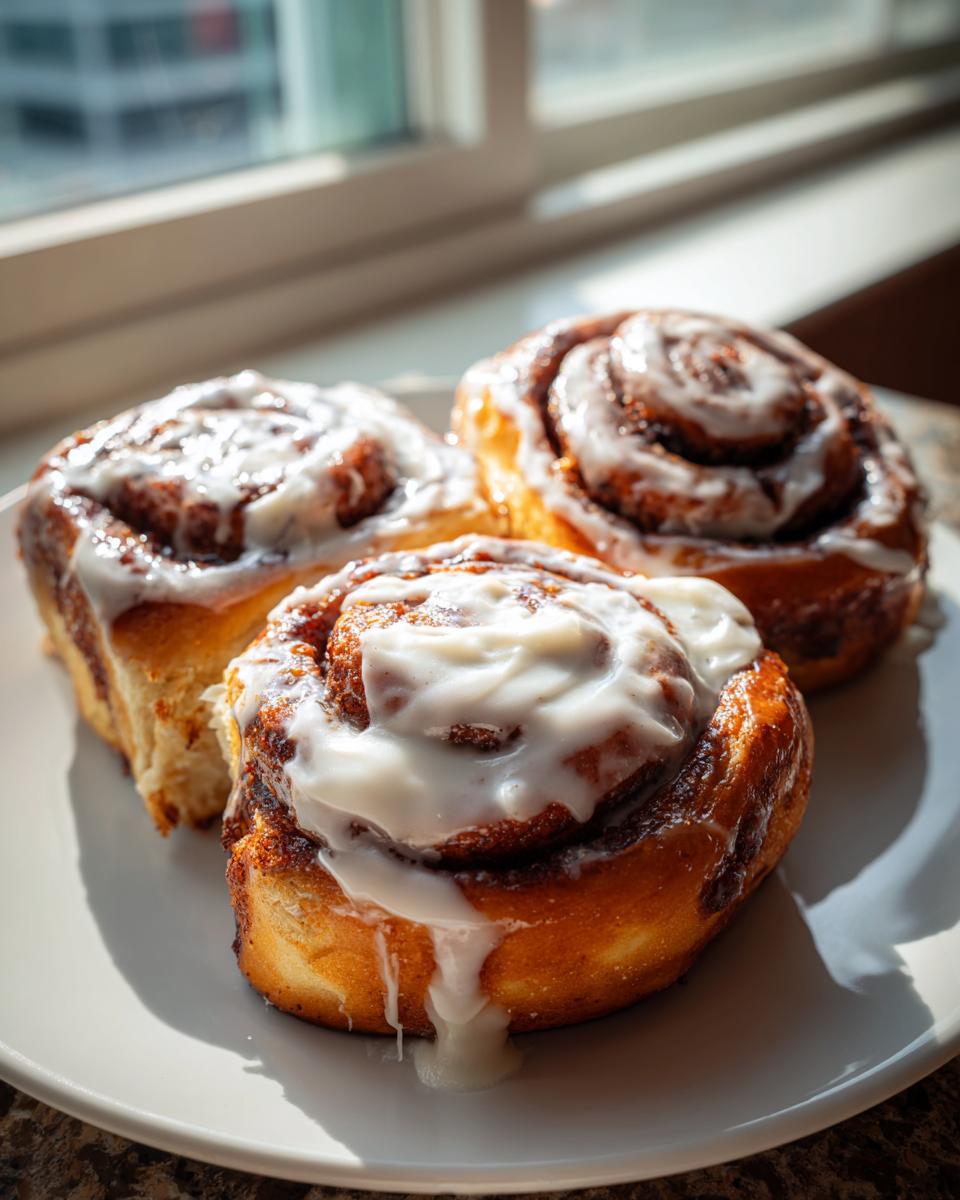
As soon as those rolls are out of the oven, get started on the best part! Beat that softened butter and cream cheese first until there are zero lumps. Then, introduce the powdered sugar slowly, followed by your vanilla. You might need to add just a tablespoon or two of milk until it’s perfectly creamy and easily spreadable. You want it thick enough to sit on the bun but thin enough to ooze down the sides when you slather it on warm rolls. You must glaze them while they are still warm!
Expert Tips for Achieving Soft and Gooey Cinnamon Buns
We worked hard to get that perfect dough, so let’s finish these cinnamon buns off right! The secret to that ridiculously soft and gooey texture that makes people line up at bakeries? It’s all in the final few steps. Follow these tips, and you won’t believe you made these from scratch!
Ingredient Secrets for Gooey Cinnamon Filling Secrets
If you want rolls that are practically dripping with irresistible cinnamon goodness after baking, you have to try one of my favorite tricks from the recipe notes. Right before you put the pan in the oven, drizzle about 1/4 cup of heavy whipping cream right over the rolls. Sounds crazy, I know! But that rich cream mixes with the melting brown sugar filling as it bakes, creating this incredible, flavorful steam that keeps the tops moist and makes the filling extra gooey. It really elevates the experience!
Make-Ahead and Overnight Cinnamon Buns
Weekends are for sleeping in, not for waking up at 5 AM to make dough! That’s why this recipe is fantastic for planning ahead. Once you’ve cut your rolls (Step 7) and set them in the greased 9×13 dish, cover the entire thing tightly with plastic wrap—make sure it’s sealed! Pop it into the refrigerator for up to 12 hours. When you wake up, they’ll have done their second rise in the cold, then just put them straight in the oven. You need to add about 10 extra minutes to the bake time if baking straight from the fridge, but wow, the reward is worth the wait. If you love making desserts ahead of time, you should look at my cinnamon roll cheesecake recipe, too!
For the absolute best result mimicking what you see online, like these gorgeous homemade cinnamon buns, make sure your oven hasn’t been cheating you on temperature. If you suspect your oven runs hot, pull them out about two minutes early—that residual heat will finish the baking process perfectly while keeping them soft!
Serving Suggestions for Your Warm Breakfast Pastries
Honestly, these cinnamon buns don’t need much help, but since we often make them for a big brunch or holiday morning, having a few backup ideas is smart. When they come out piping hot, slathered with that gorgeous cream cheese frosting, they beg for something simple on the side. I always pair them with something savory to cut the sweetness, like my baked French toast casserole or maybe some quick cinnamon sugar French toast muffins if we want to stick to the sweet theme.
For drinks? You absolutely need strong, hot coffee nearby. The boldness of the coffee is the perfect foil for the rich brown sugar and cinnamon. A big glass of cold milk works wonders, too, especially for the kids!
Storage and Reheating Instructions for Leftover Cinnamon Buns
Don’t expect many leftovers, because these cinnamon buns disappear fast! But if you are lucky enough to have any hiding the next day, keeping them soft is my top priority. Store any unfrosted rolls tightly covered at room temperature for up to two days. If you frosted them already, they are fine covered on the counter for a day, but they keep longer in the fridge, though they might stiffen up a bit.
To bring back that fresh-baked, gooey texture (which is essential!), you have two fantastic reheating options. For a single serving, microwave it for about 15 to 20 seconds—watch it closely so it doesn’t get chewy! If you are warming up the whole pan, pop the covered dish into a 350°F oven for about 10 minutes. Honestly, reheating them restores all that gooey goodness. If you want to try another comfort food recipe, this easy apple crisp stores similarly well!
If you need to save them longer than a couple of days, they freeze beautifully! Wrap them individually in plastic wrap, then foil, and they will be perfect for up to two months. You can find more fantastic tips for using up leftovers, like those from Ooey-Gooey Cinnamon Buns, when you look at how others store their sweets!
Frequently Asked Questions About Making Cinnamon Buns
I know you might have a few questions floating around before you dive into your dough—that’s totally normal, especially if you are new to making sweet rolls! I want to make sure this is a welcoming experience, even for someone just learning yeast dough baking for beginners. Here are the answers to the things I get asked most often about this Homemade Cinnamon Buns Recipe!
Can I use instant yeast instead of active dry yeast in this Homemade Cinnamon Buns Recipe?
You absolutely can! Instant yeast is super forgiving, which is great for beginners. If you use instant yeast, you can skip Step 1 completely—no need to let it foam. Just whisk your instant yeast right into your dry ingredients (the flour and salt) and then mix everything together with the wet ingredients. It’s one less waiting step, which is perfect for busy mornings when you need those best brunch recipes sweets fast!
What is the secret to getting Bakery Style Cinnamon Buns at home?
It really comes down to two things, in my opinion: dough hydration and that necessary second rise. Don’t be tempted to add too much extra flour while kneading! The dough needs to stay soft and slightly sticky; that’s what melts into the delicious syrup when baked. Secondly, don’t rush the second rise! Those puffy rolls you see in pictures come from letting the cut logs relax and get nice and airy before they ever see the oven. That second nap ensures maximum fluffiness!

Can I freeze baked cinnamon buns?
Yes, you can! If you have rolls left over after enjoying them warm (which is rare, by the way!), you can definitely freeze them. Here is what I do: Make sure they are completely cooled down before frosting them. If you want to freeze them frosted, that’s fine, just make sure they are sealed tight! Wrap the finished rolls individually in plastic wrap, then wrap that bundle tightly in aluminum foil to prevent freezer burn. They stay good for about two months, and to reheat, just unwrap them and microwave for about 30 seconds!
Nutritional Estimate for These Cinnamon Buns
Okay, let’s talk about the numbers, just so you know what you are getting into with these absolutely irresistible sweet breakfast pastries! Look, these are a splurge, right? No one is making homemade cinnamon buns for a diet snack, and that’s totally fine! We bake because we love comfort, and these deliver that ten times over. Remember, this is based on the ingredient list, so your actual analysis might look a little different depending on exactly how much frosting you pile on (and I encourage you to pile it on!).
- Serving Size: 1 roll
- Calories: 450
- Fat: 24g
- Carbohydrates: 55g
- Sugar: 35g
- Protein: 7g
Keep in mind that because we use real butter and cream cheese, those fats are going to be higher than a store-bought version that might use oil substitutes. But trust me, that richness is what makes the dough so amazing. Enjoy every single bite guilt-free—you deserve these cinnamon buns!
Share Your Cinnamon Buns Creations!
That’s it—you’ve done the work, you’ve resisted stealing one before they cooled, and now you have a pan full of the most glorious, gooey cinnamon buns on the block! Before you devour the entire batch, I really, truly want to see what you made! Seriously, seeing your success is what makes all the early mornings and tests worth it.
If you loved how soft these came out, please take a moment to leave a quick rating—five stars if you think they deserve it! A rating helps other bakers who are nervous about trying yeast dough feel confident jumping in. If you made any tweaks, used a different type of icing (maybe you tried out my cookie icing recipe instead of cream cheese?), or just want to rave about the smell, leave a comment below.
And please, please share photos! Tag me on social media! I love seeing these beautiful, swirled rolls on your kitchen counters or as the centerpiece of your weekend brunch spreads. Knowing that my recipe ended up making your morning a little sweeter? That’s the best feeling in the world. Happy baking, friends!
PrintThe Ultimate Soft & Gooey Homemade Cinnamon Buns with Cream Cheese Frosting
Welcome! You can make bakery-quality cinnamon buns right in your kitchen. This recipe delivers soft, fluffy rolls with a rich cinnamon-sugar filling and a luscious cream cheese glaze. It is perfect for weekend brunch or holiday mornings.
- Prep Time: 45 min
- Cook Time: 25 min
- Total Time: 145 min
- Yield: 12 servings 1x
- Category: Breakfast
- Method: Baking
- Cuisine: American
- Diet: Vegetarian
Ingredients
- 1 cup warm milk (about 110°F)
- 2 1/4 teaspoons active dry yeast
- 1/2 cup granulated sugar, plus 1 teaspoon for yeast
- 1/2 cup unsalted butter, softened
- 2 large eggs, room temperature
- 4 cups all-purpose flour, plus more for dusting
- 1 teaspoon salt
- 1/2 cup (1 stick) unsalted butter, melted, for filling
- 1 cup packed light brown sugar, for filling
- 2 tablespoons ground cinnamon, for filling
- 1/2 cup (1 stick) unsalted butter, softened, for frosting
- 4 ounces cream cheese, softened, for frosting
- 2 cups powdered sugar, for frosting
- 1 teaspoon vanilla extract, for frosting
- 1–2 tablespoons milk, for frosting
Instructions
- Activate the yeast: In a large bowl, combine the warm milk, yeast, and 1 teaspoon of sugar. Let it sit for 5 to 10 minutes until foamy.
- Make the dough: Add the remaining 1/2 cup sugar, softened butter, eggs, flour, and salt to the yeast mixture. Mix with a stand mixer or by hand until a soft, slightly sticky dough forms.
- Knead the dough: Knead for 5 to 7 minutes until the dough is smooth. Place the dough in a lightly oiled bowl, cover it, and let it rise in a warm place for 1 to 1.5 hours, or until doubled in size.
- Prepare the filling: While the dough rises, mix the 1/2 cup melted butter, brown sugar, and cinnamon together in a small bowl until combined.
- Roll out the dough: Punch down the risen dough. On a lightly floured surface, roll the dough into a large rectangle, about 12×18 inches.
- Spread the filling: Spread the cinnamon-sugar filling evenly over the dough, leaving a small border on one long edge.
- Roll and cut: Starting from the long edge opposite the border, tightly roll the dough into a log. Pinch the seam closed. Cut the log into 12 equal rolls.
- Second rise: Arrange the rolls cut-side up in a greased 9×13 inch baking dish. Cover the dish and let the rolls rise again for 30 to 45 minutes until puffy.
- Bake the rolls: Preheat your oven to 375°F (190°C). Bake for 20 to 25 minutes, or until golden brown.
- Make the frosting: While the rolls cool slightly, beat the softened butter and cream cheese until smooth. Gradually add the powdered sugar, vanilla extract, and milk until you reach a creamy, spreadable consistency.
- Frost and serve: Spread the cream cheese frosting generously over the warm cinnamon buns. Serve immediately for the best gooey texture.
Notes
- For overnight cinnamon buns, complete step 5, cover the pan tightly with plastic wrap, and refrigerate for up to 12 hours before baking. Add 10 minutes to the bake time if baking directly from the refrigerator.
- If you want extra gooey rolls, pour 1/4 cup of heavy whipping cream over the rolls just before baking.
- You can substitute maple syrup for some of the powdered sugar in the frosting for a different flavor profile.
Nutrition
- Serving Size: 1 roll
- Calories: 450
- Sugar: 35g
- Sodium: 350mg
- Fat: 24g
- Saturated Fat: 15g
- Unsaturated Fat: 9g
- Trans Fat: 0.5g
- Carbohydrates: 55g
- Fiber: 2g
- Protein: 7g
- Cholesterol: 75mg