
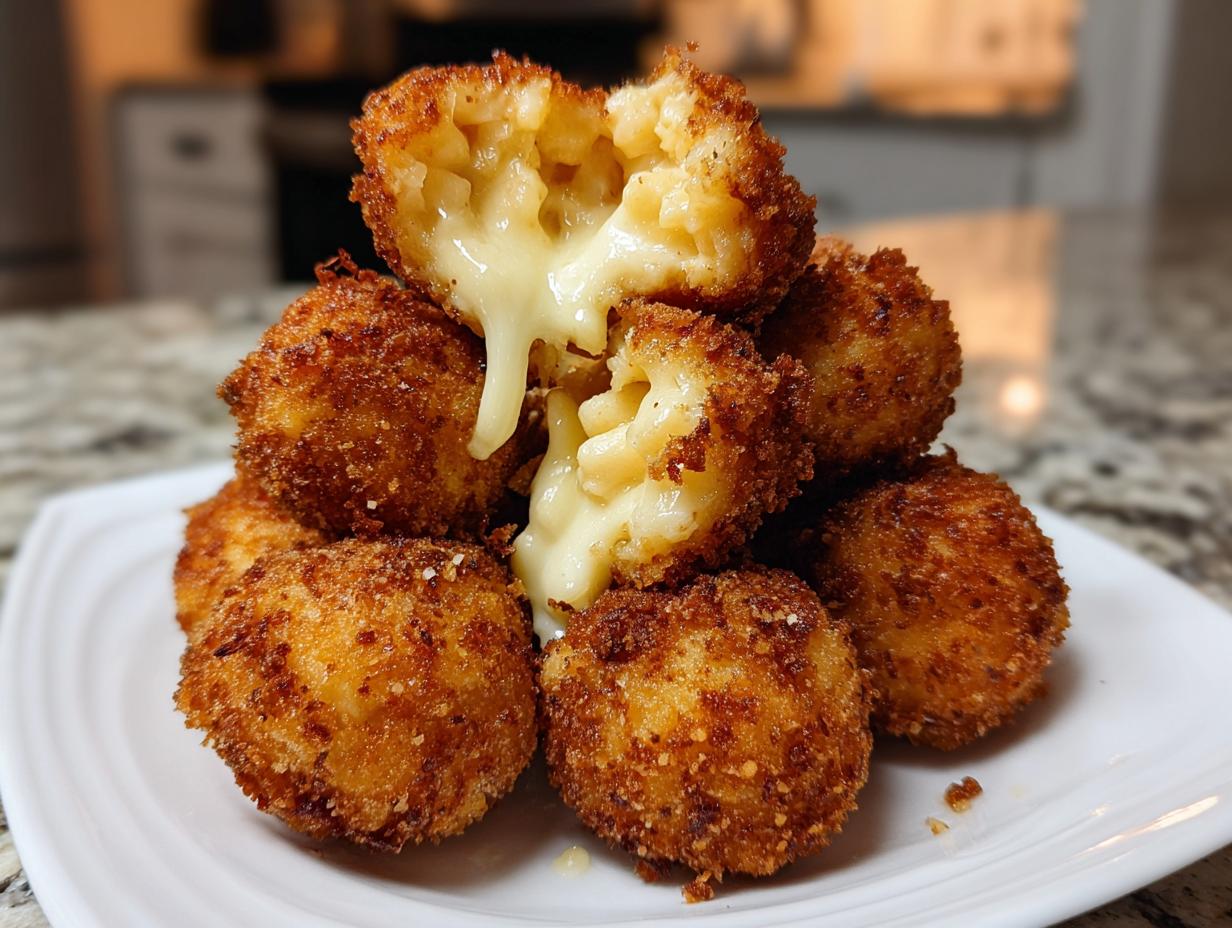
Oh my gosh, do you ever just get that massive, undeniable craving for something unbelievably comforting, cheesy, and just a bit naughty? Me too, always! That’s why I perfected this recipe because the best comfort food is the one you can make quickly, especially if you have some great leftovers hanging around. We’re talking about the ultimate crispy fried mac and cheese balls here. Seriously, forget fancy cooking; this homemade mac and cheese balls recipe is my secret weapon for game days and parties. I’m Avery Collins, and I promise these easy, delicious bites will steal the show!
- Why You Will Love These Ultimate Crispy Fried Mac and Cheese Balls
- Ingredients for Perfect Fried Mac and Cheese Balls
- How to Prepare Crispy Fried Mac and Cheese Balls: Step-by-Step
- Air Fryer Mac and Cheese Balls: A Lighter Alternative
- Tips for Achieving the Gooey Mac and Cheese Appetizer Center
- Serving Suggestions for Your Fried Mac and Cheese Balls
- Make Ahead Appetizers: Freezing Fried Mac and Cheese Balls
- Frequently Asked Questions About Homemade Mac and Cheese Balls
- Storage and Reheating Instructions for Fried Mac and Cheese Balls
- Share Your Ultimate Comfort Food Snack Experience
Why You Will Love These Ultimate Crispy Fried Mac and Cheese Balls
I developed this recipe because I needed maximum payoff for minimal effort, and these absolutely deliver. You are going to adore them because:
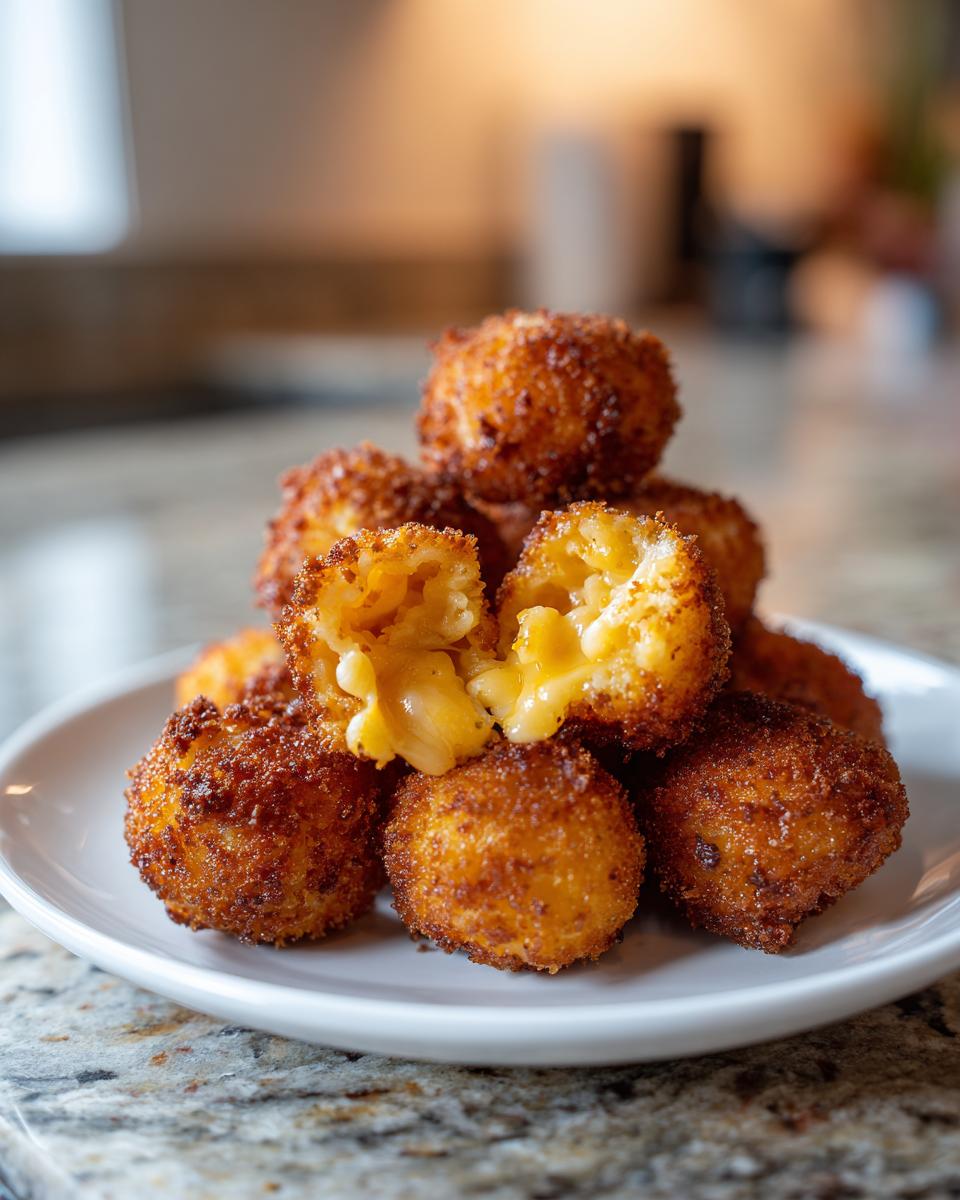
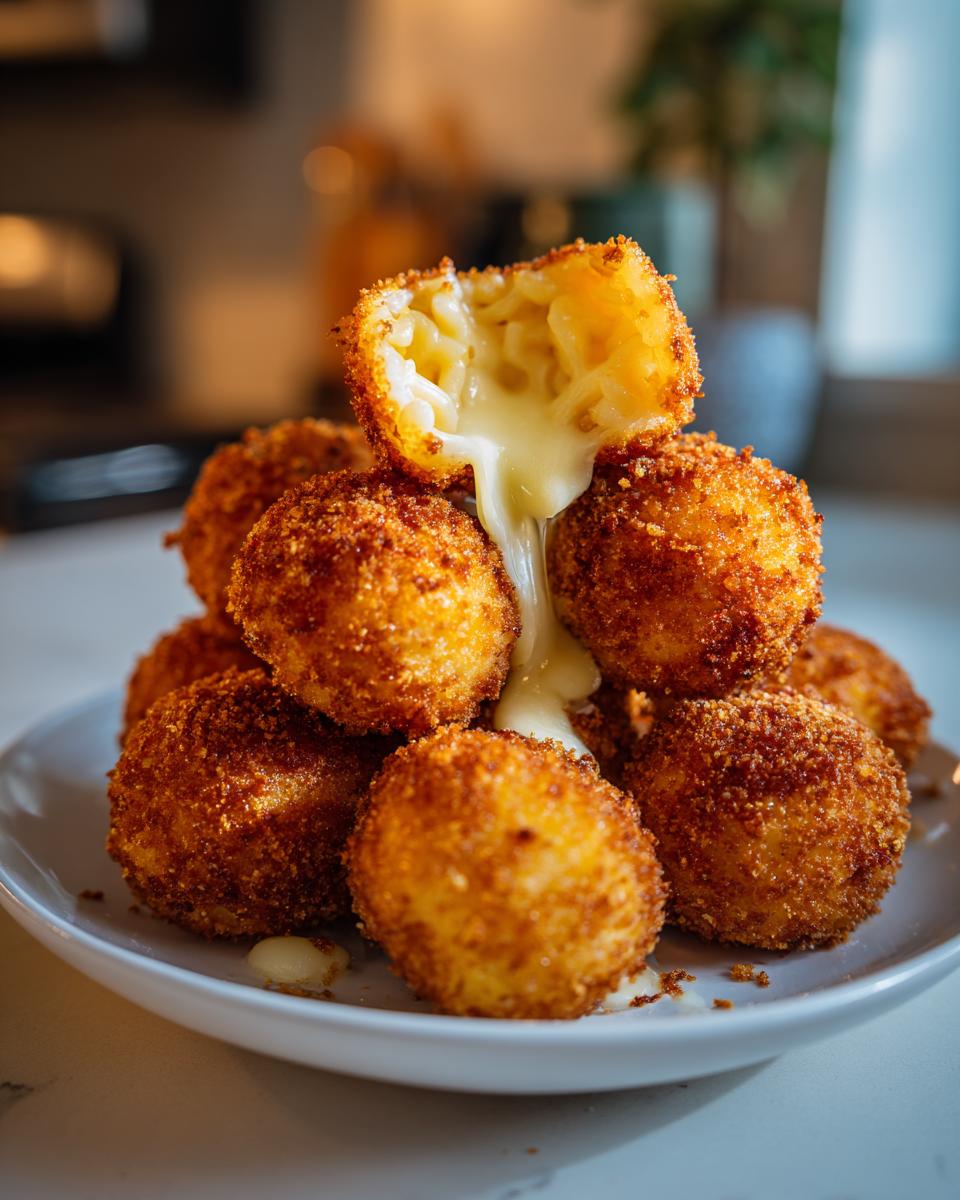
- Texture Win: They boast that perfect crunch—a truly crispy fried mac and cheese bites exterior giving way to the warmest, gooiest center imaginable.
- Zero Waste Heroes: This is the absolute best way to use up leftover mac and cheese you might have chilling in the fridge.
- The Crowd Pleaser: They transform instantly into amazing party snack recipes and are essential game day food ideas.
Ingredients for Perfect Fried Mac and Cheese Balls
Okay, let’s talk specifics. Since we want that gooey mac and cheese appetizer center, the chilling step for your base ingredient is non-negotiable. You need about four cups of that leftover mac and cheese, and yes, it absolutely needs to be well-chilled! Then, for the dredging trio, grab one cup of regular all-purpose flour, two large eggs that are nice and beaten, and one cup of panko breadcrumbs. That breadcrumb mix is important—you toss the panko with a teaspoon of garlic powder, salt, and pepper. That little bit of seasoning is what gives you that fantastic flavor when they turn golden brown!
How to Prepare Crispy Fried Mac and Cheese Balls: Step-by-Step
Alright, this is where the magic happens, and trust me, if you follow these steps, you’ll have the most foolproof fried mac and cheese balls that are crispy but still ooze ridiculously when you bite into them. The secret? Temperature. Seriously, you must start with your mac and cheese completely cold. I mean bedrock cold, ideally overnight in the fridge. This structure is totally necessary before we even start breading!
Preparing the Mac and Cheese Base and Breading Station
Once your macaroni is firm—so firm you can barely scoop it—it’s time for the setup! We need a classic three-part breading station, and it needs to be ready before you handle the cold cheese. Dish one gets your plain flour. Dish two is for your beaten eggs—just whisk them up! Dish three is the star seasoning mix: your panko crumbs mixed well with that garlic powder, salt, and pepper we talked about. Give that breadcrumb mix a good toss so every little flake is flavored!
Forming and Coating the Fried Mac and Cheese Balls
Now, grab a small ice cream scoop or a tablespoon—I aim for about 1.5 tablespoons of mac and cheese per ball. Roll it gently but firmly between your hands to make a nice tight sphere. Don’t compress it too hard, or it gets dense! Then, work fast: flour first (shake off the extra!), then dunk it into the egg for a quick coat, and finally, roll it aggressively in that seasoned panko. You really need to press that coating on so you get those amazing crispy fried mac and cheese bites when they hit the oil.
Deep Frying for a Golden Brown Mac and Cheese Bites Finish
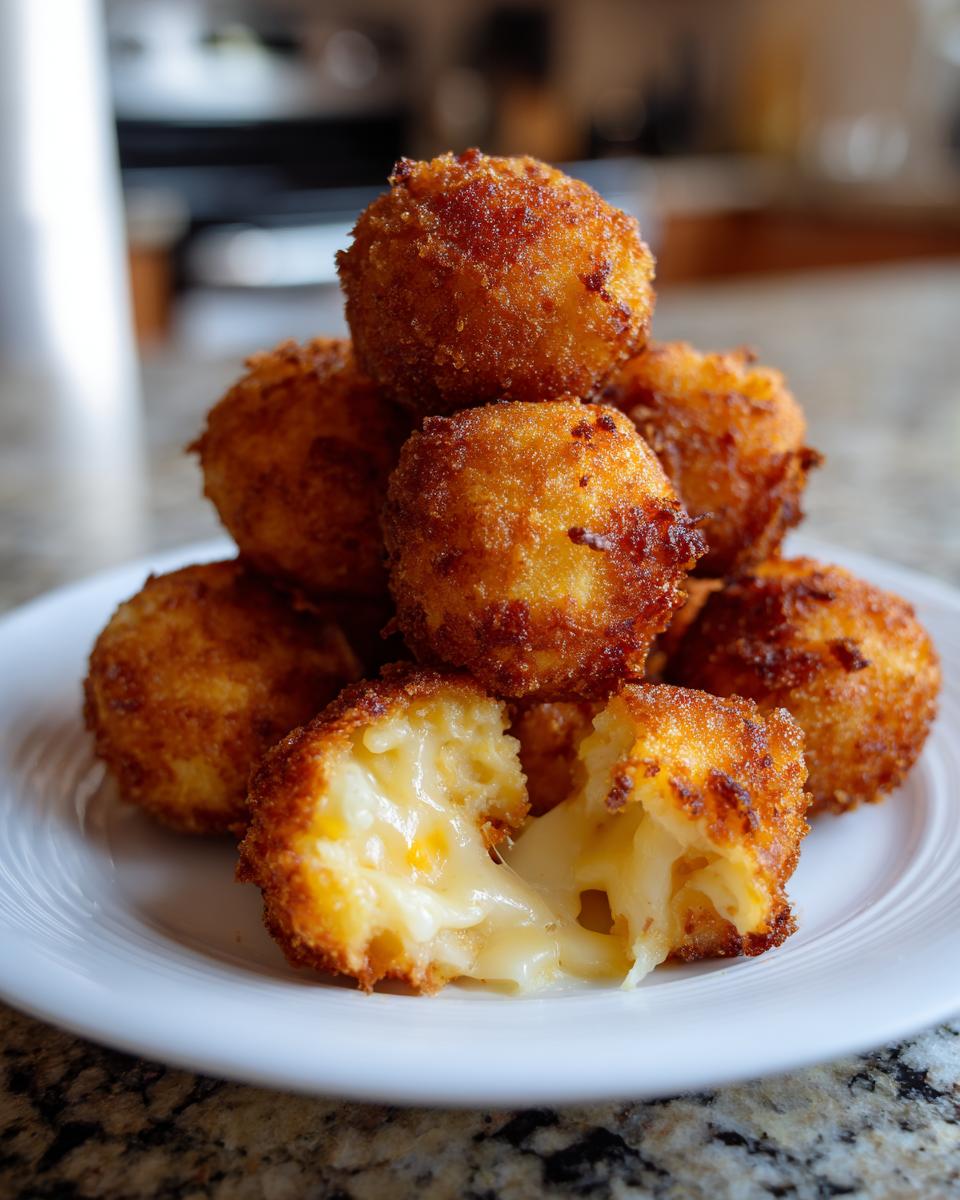
This is the exciting part! Get your vegetable oil heated up until it hits exactly 350°F (175°C). If you don’t use a thermometer, you are just guessing, and we don’t guess when it comes to deep-frying! Work in small batches, maybe only 3 or 4 balls at a time. Overcrowding drops the oil temperature, and that equals greasy snacks, which is the opposite of what we want! Fry them for only 2 to 3 minutes, just until that crust is deeply golden brown. Scoop them out onto a wire rack immediately; letting them drain there ensures they stay totally crispy!
Air Fryer Mac and Cheese Balls: A Lighter Alternative
I know, I know, deep frying is fun, but sometimes you want that incredible crunch without submerging everything in oil, right? Absolutely! If you’re looking for a slightly lighter take on these addictive snacks, the air fryer is your best friend. We can totally nail that golden brown look and get a crispy exterior using way less grease. It’s the perfect method if you want Air Fryer Mac and Cheese Balls that still taste amazing.
After you’ve coated your chilled balls exactly like we did for frying—flour, egg, seasoned panko—you just need one extra little step before they go into the basket. Give those coated beauties a light but thorough spritz all over with cooking spray. Seriously, make sure they look a little damp on the outside; that helps that panko crisp up instead of drying out.
Set your air fryer temperature to 380°F (195°C). Pop your prepared balls in there, making sure not to let them touch too much, because the air needs to circulate for that all-over crispness. Cook them for about 8 to 10 minutes total. About halfway through, pull the basket out and flip them over gently. In no time, you’ll have golden gems that are just as satisfying as the deep-fried version! If you’re curious about copycat recipes, I saw someone making a great version inspired by The Cheesecake Factory over here, though mine are way simpler!
Tips for Achieving the Gooey Mac and Cheese Appetizer Center
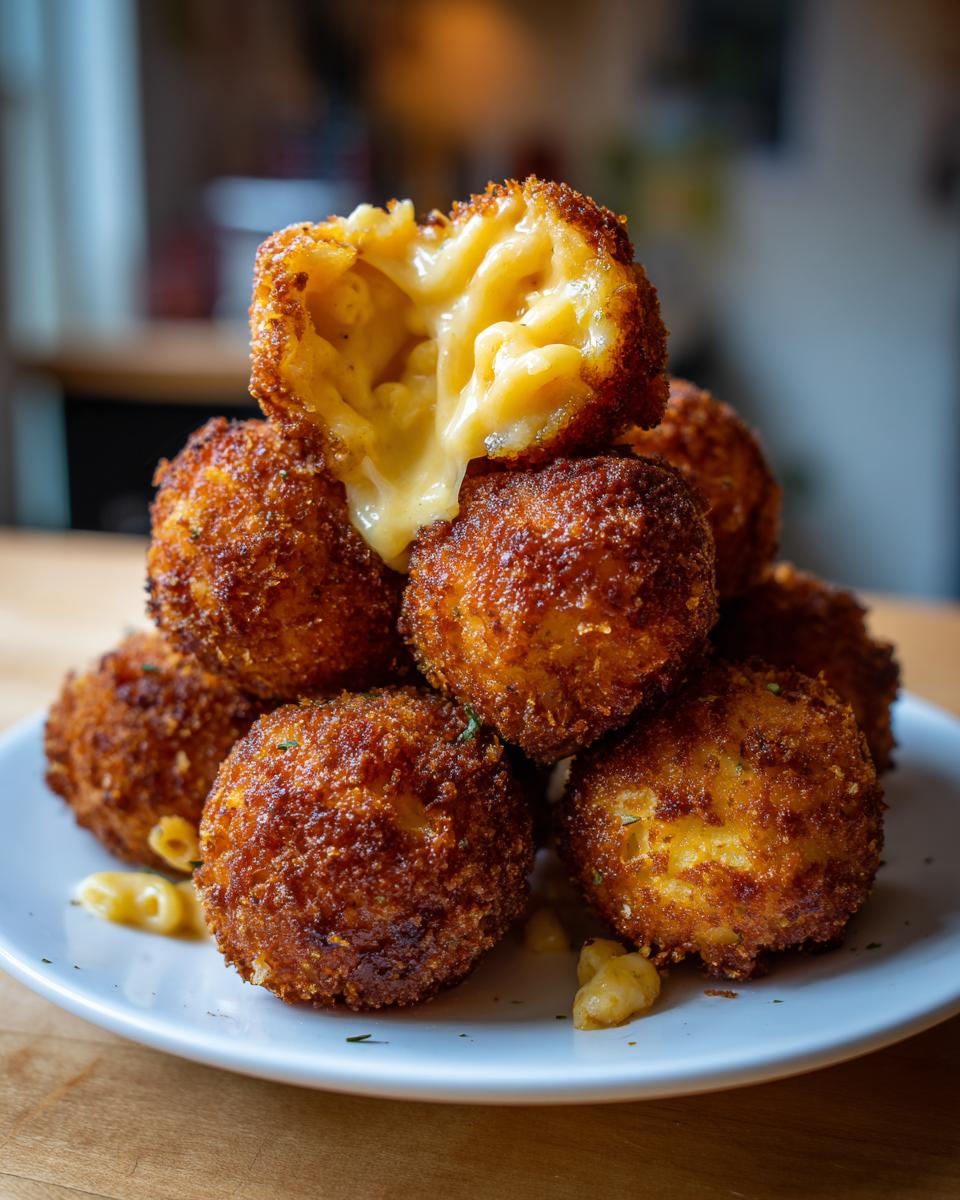
Listen, the whole point of making these fried mac and cheese balls is that incredible textural contrast, right? We want maximum cheese pull! That golden, crispy shield is just there to protect the molten lava of cheesy goodness inside. If yours are coming out dry or the cheese isn’t quite liquidy enough, it almost always comes down to one of two mistakes. I’ve made them enough times now to spot trouble early, so let’s troubleshoot your way to the perfect gooey mac and cheese appetizer.
First and foremost: Chill time is your best friend. I cannot stress this enough. If you try to form or fry mac and cheese that is even slightly warm, it just doesn’t have the structure to hold up. It will sag when you roll it, it won’t stick to the breading properly, and when it fries, the cheese melts out into the oil instead of staying put. That’s how you end up with little nuggets of fried breading instead of actual balls!
Next up is oil temperature—this is critical for timing. We fry them hot and FAST. That 350°F (175°C) range isn’t just a suggestion; it’s the sweet spot. Too low, and the crust has too much time to soak up oil before the interior gets hot enough to melt the cheese beautifully—hello, sad, greasy balls. Too high, and you burn that perfect panko crust before the inside has a chance to get warm and melty. It’s a quick, powerful blast of heat we need.
Finally, think about size. If you try to scoop out huge portions of mac and cheese, you’re basically guaranteeing that the outside will burn before the inside reaches that glorious, gooey stage you want. I stick religiously to that 1.5-tablespoon measure. It’s the ideal surface-area-to-volume ratio for deep comfort food! Keep the size uniform, and your frying times will be consistent across the whole batch.
Serving Suggestions for Your Fried Mac and Cheese Balls
Okay, we’ve successfully created these wonderfully crispy, steaming hot, gooey masterpieces. Now, we have to serve them, and frankly, these amazing deep fried comfort food bites deserve the perfect partner. Think about it: rich, salty, cheesy fried goodness just begs for something tangy, bright, or sharp to cut through all that decadence. Serving them plain is fine, but using a dipping sauce is what takes these from a great snack to an absolute legend status!
When it comes to selecting the best dipping sauces for fried cheese, you have so many great options depending on the mood. For a classic, slightly Italian-American vibe—especially if you are having these alongside pizza or meatballs or something—you can’t beat a simple, warm marinara sauce. It’s tart and savory, and it really complements the cheddar hiding inside.
But hey, sometimes you want something cool and creamy! That’s where a bold ranch dressing comes in handy. My recipe for homemade ranch is amazing here, or even a simple buttermilk ranch works wonders. The coolness is just heavenly against the hot crunch.
For those of you who like a little kick, I always recommend a spicy aioli. It brightens everything up! You can take a regular mayonnaise base, whisk in some sriracha or a dash of your hot sauce, maybe a squeeze of lemon juice, and you’ve got an instant upgrade. It’s simple, it’s fast, and it pairs so perfectly with these easy cheesy appetizers. Seriously, set out two or three different sauces and watch them disappear!
Make Ahead Appetizers: Freezing Fried Mac and Cheese Balls
We all know the party planning struggle, right? You want to pull out the most amazing snacks, but you don’t want to be stuck frying things five minutes before the guests arrive. That’s why I love that these fried mac and cheese balls are fantastic make ahead appetizers! The key here is timing—you have to freeze them *after* they are fully breaded but *before* they ever see the hot oil.
Once you’ve finished rolling and coating those cheesy balls in panko—making sure that coating is pressed on really well—lay them out on a baking sheet lined with parchment paper. Make sure none of them are touching! You want them to chill completely separate so they don’t stick together when frozen solid. Pop that tray right into the freezer for about an hour or until they are hard as little rocks.
When they are fully frozen, just transfer those solid little bundles of joy into a heavy-duty freezer bag or an airtight container. If you stack them, put a small square of wax paper between the layers so you can easily pull out just what you need later. They keep perfectly in the freezer for about two months this way!
Now, for the best part: cooking them from frozen! It’s so simple. You don’t thaw them at all. If you are deep frying, just carefully drop them into your 350°F oil just like normal, but anticipate needing an extra minute or two of cooking time before they hit that perfect golden brown. If you’re air frying (which works great for frozen food, by the way), set your machine to 380°F (195°C) and start checking them around the 10-minute mark. They might need 10 to 12 minutes total versus the previous 8 to 10 if they were fresh. It’s always best to check that the inside is nicely melted before you serve. Easy peasy cleanup!
Frequently Asked Questions About Homemade Mac and Cheese Balls
You guys ask the best questions! I get so many notes on how people are adapting this recipe, and honestly, that’s the best part of sharing food. Since we are aiming for that iconic crispy shield around the melty cheese, a few common questions always pop up. Let’s run through the biggest ones about making your perfect homemade mac and cheese balls!
Can I use fresh mac and cheese instead of leftovers for these fried mac and cheese balls?
That is a really fair question! If you’re starting from scratch and want to make a fresh batch just to turn into these amazing fried mac and cheese balls—yes, you totally can—but you need patience! Leftovers are perfect because we’ve already had that essential chilling time. Freshly made mac and cheese holds way too much moisture right out of the pot, making it sloppy and gooey before it even hits the breading station. If you must use fresh, you have to chill it solid—and I mean really, really solid—for at least 6 to 8 hours, maybe even overnight, just like you would for the leftovers. If it’s not cold, you won’t get the tight, rollable shape you need for these easy cheesy appetizers.
What is the best oil temperature for achieving Golden Brown Mac and Cheese Bites?
If you remember nothing else from this whole post, remember the temperature! For these little guys to achieve those gorgeous golden brown mac and cheese bites when frying, you absolutely must anchor that oil at 350°F (175°C). It’s the magic number because we need a quick, intense fry time—just 2 to 3 minutes. If your oil is too cool, say 325°F, the outside crust soaks up all that oil before the inside even warms up properly, resulting in heavy, greasy snacks. Whoops! On the flip side, if your oil is way too hot, like 385°F, you risk burning that beautiful panko crust before the inside has a chance to get warm and melty. We want that perfectly melted, gooey mac and cheese appetizer center, so keep that thermometer steady!
Is it possible to bake these instead of deep frying?
It is! If you are looking at ways to make these a slightly lighter option for your party snack recipes, baking is certainly possible, though I’ll warn you that the texture is different. Baking won’t give you that intensely crisp, deep-fried shell we worked so hard for. If you bake them, I strongly recommend using the air fryer method I detailed above, which gives you a much better crunch! If you must use a traditional oven, make sure you use a cooking spray all over the panko coating and bake them at a high heat—like 400°F (200°C)—on a parchment-lined sheet until they are browned and the cheese is melted. They tend to flatten a little bit while baking, so just be gentle!
How long do the fried mac and cheese balls stay warm and crispy?
This is always a concern before a big get-together! When they come right out of the oil and drain for just a minute on the wire rack, they are absolutely divine—crispy, hot, and wonderfully gooey. Generally, if you are serving them immediately, they are perfection for about 15 minutes before the exterior starts to soften even slightly. That’s why I love making them in batches right before people arrive! If you let them completely cool down, they lose that fresh crispness quickly, but that’s fine because we covered the freezing method for reheating later!
Storage and Reheating Instructions for Fried Mac and Cheese Balls
So, what happens if—and this is highly unlikely, but let’s prepare for it—you actually have leftover fried mac and cheese balls? Don’t you dare throw them out! They are too good to waste, but you need to treat them right if you want to bring back that initial glorious crunch. If you just pop them in the microwave later, you’re going to end up with a soft, steamed ball, and nobody wants that sad experience after all the work we put into making them perfectly crispy!
For storing leftovers, whether they are fried or air-fried, you need to let them cool down completely from being piping hot. Once they are room temperature, put them into an airtight container. You can put a paper towel on the bottom of the container first, which helps absorb any minor condensation. They should keep well in the refrigerator for about 3 to 4 days. If you think you won’t get to them within that time, remember the freezer trick we talked about earlier—you should freeze them *before* frying, by the way!
When it’s time to bring them back to life, we have to focus purely on reheating for crispness. The best way, hands down, is to use the oven or the air fryer again. The microwave is strictly forbidden; it melts the cheese out and ruins the coating texture we worked so hard to build. Pre-heat your oven to about 375°F (about 190°C). Pop the cold balls directly onto a baking sheet—no need for extra oil or anything gooey. Bake them for about 8 to 10 minutes. You’re basically just warming the inside through while giving the crust a quick second-fry in the dry heat.
The air fryer is even faster! If you’re reheating, set your air fryer to about 350°F (175°C) and just cook them for 4 to 5 minutes, shaking the basket halfway through. They come out almost as crispy as fresh, I promise! This way, your ultimate comfort food snack is ready for seconds without any extra muss or fuss. Just remember to serve them piping hot with fresh dipping sauce!
Share Your Ultimate Comfort Food Snack Experience
Phew! Now that you’ve got the secrets to making the crispiest, gooiest fried mac and cheese balls, all that’s left is the best part: sharing them!
I truly hope you love bringing this ultimate comfort food snack into your life, whether it’s for a huge game night bash or just an epic Tuesday dinner side. Honestly, seeing photos of your creations is what keeps me going in the kitchen! Once you try these, please come back and let me know how they turned out.
Did they hold their shape perfectly? Which dipping sauce did your family love the most? Drop a comment below and give those stars a rating so other folks can see how easy and amazing these little cheesy bites are. Happy cooking, everyone!
PrintThe Ultimate Crispy Fried Mac and Cheese Balls (Easy Recipe Using Leftovers)

Make irresistible fried mac and cheese balls that are crispy outside and gooey inside. This simple recipe works perfectly with leftover mac and cheese and is ideal for parties or game day snacks.
- Prep Time: 20 min
- Cook Time: 10 min
- Total Time: 30 min
- Yield: About 16 balls 1x
- Category: Appetizer
- Method: Deep Frying
- Cuisine: American
- Diet: Vegetarian
Ingredients
- 4 cups cooked leftover mac and cheese, chilled
- 1 cup all-purpose flour
- 2 large eggs, beaten
- 1 cup panko breadcrumbs
- 1 teaspoon garlic powder
- 1/2 teaspoon salt
- 1/4 teaspoon black pepper
- Vegetable oil, for frying
Instructions
- Ensure your leftover mac and cheese is completely chilled, preferably for at least 4 hours or overnight. This helps the balls hold their shape.
- Prepare a standard breading station using three shallow dishes. Place flour in the first dish. Whisk eggs in the second dish. In the third dish, combine panko breadcrumbs, garlic powder, salt, and pepper.
- Scoop about 1.5 tablespoons of the chilled mac and cheese and roll it gently between your palms to form a tight ball.
- Dredge each ball first in the flour, shaking off excess.
- Dip the floured ball into the beaten egg, allowing excess to drip off.
- Roll the ball thoroughly in the seasoned panko breadcrumbs, pressing lightly to make sure the coating adheres completely.
- Place the coated balls on a baking sheet lined with parchment paper. If time allows, chill the coated balls for 30 minutes to help the coating set before frying.
- Heat 2 to 3 inches of vegetable oil in a deep, heavy-bottomed pot or Dutch oven to 350°F (175°C). Use a thermometer to monitor the temperature.
- Carefully lower 3 to 4 balls at a time into the hot oil, ensuring you do not overcrowd the pot.
- Fry for 2 to 3 minutes, turning occasionally, until the exterior is deep golden brown and crispy.
- Use a slotted spoon to remove the balls from the oil and place them on a wire rack set over a paper towel-lined plate to drain excess oil.
- Serve immediately while the interior is warm and gooey.
Notes
- For an Air Fryer alternative, spray the coated balls lightly with cooking spray. Air fry at 380°F (195°C) for 8 to 10 minutes, flipping halfway through, until golden brown.
- Serve these crispy fried mac and cheese bites with a side of marinara sauce for dipping.
- These make great make ahead appetizers; freeze the coated, uncooked balls, then fry directly from frozen, adding 1-2 minutes to the cooking time.
Nutrition
- Serving Size: 4 balls
- Calories: 450
- Sugar: 4
- Sodium: 650
- Fat: 28
- Saturated Fat: 12
- Unsaturated Fat: 10
- Trans Fat: 0.5
- Carbohydrates: 35
- Fiber: 2
- Protein: 15
- Cholesterol: 110