
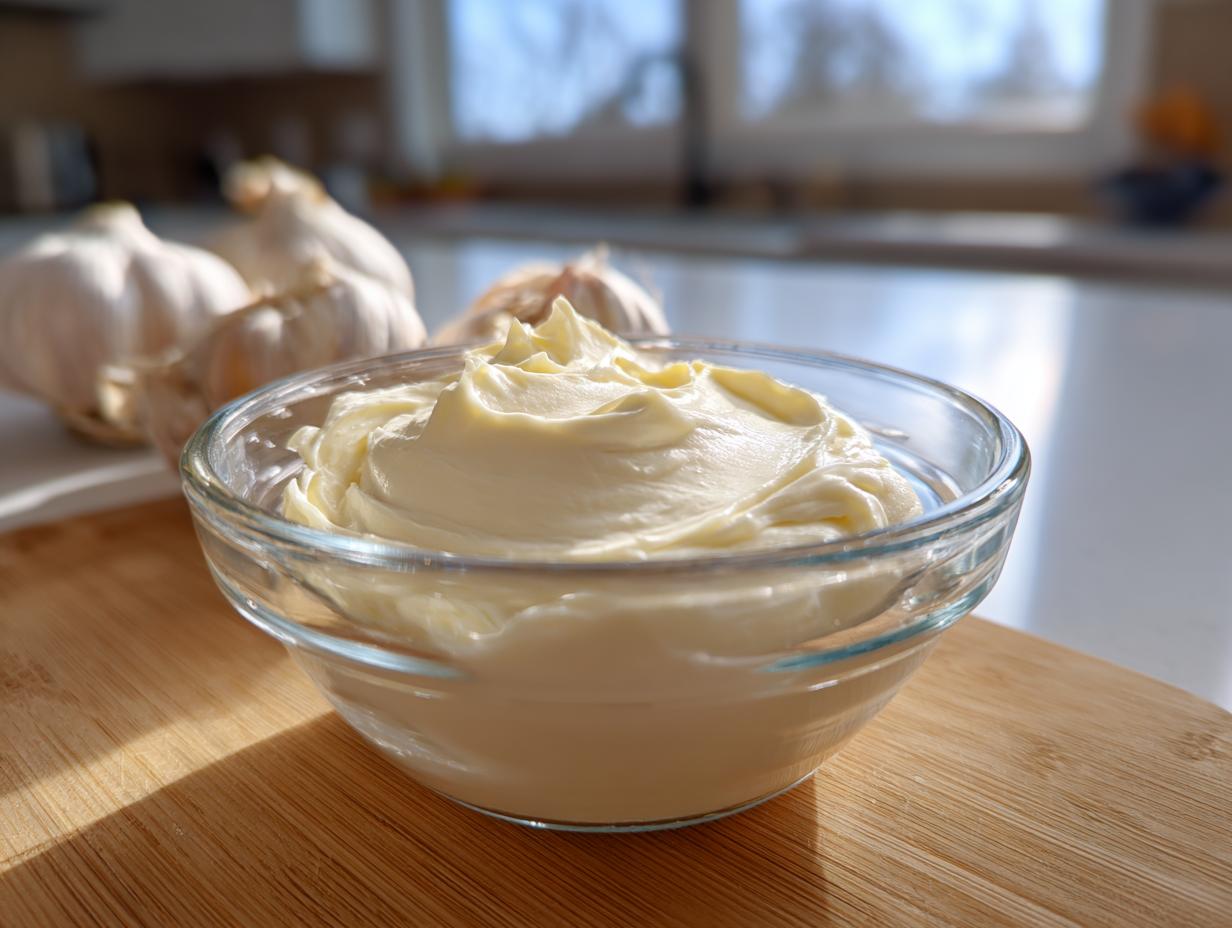
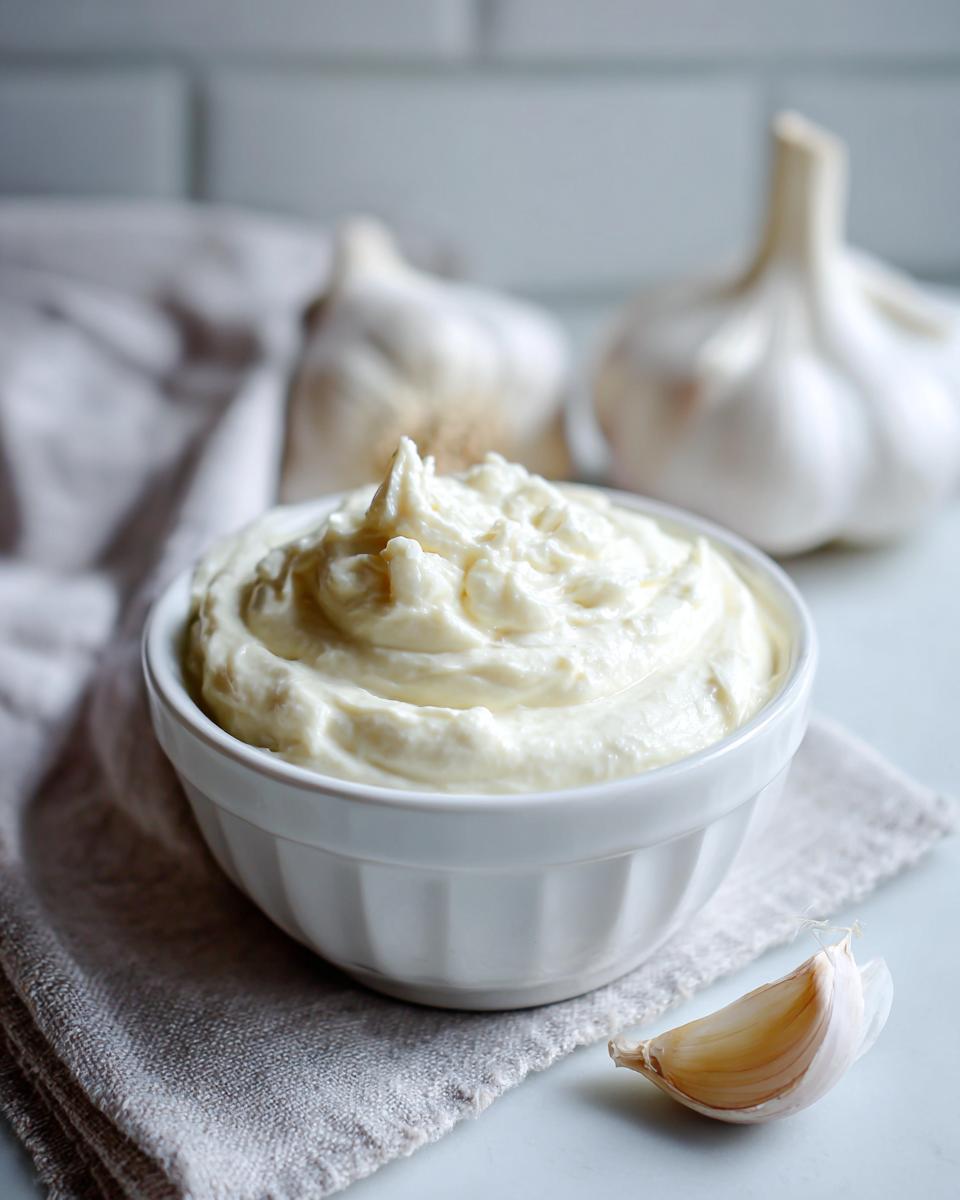
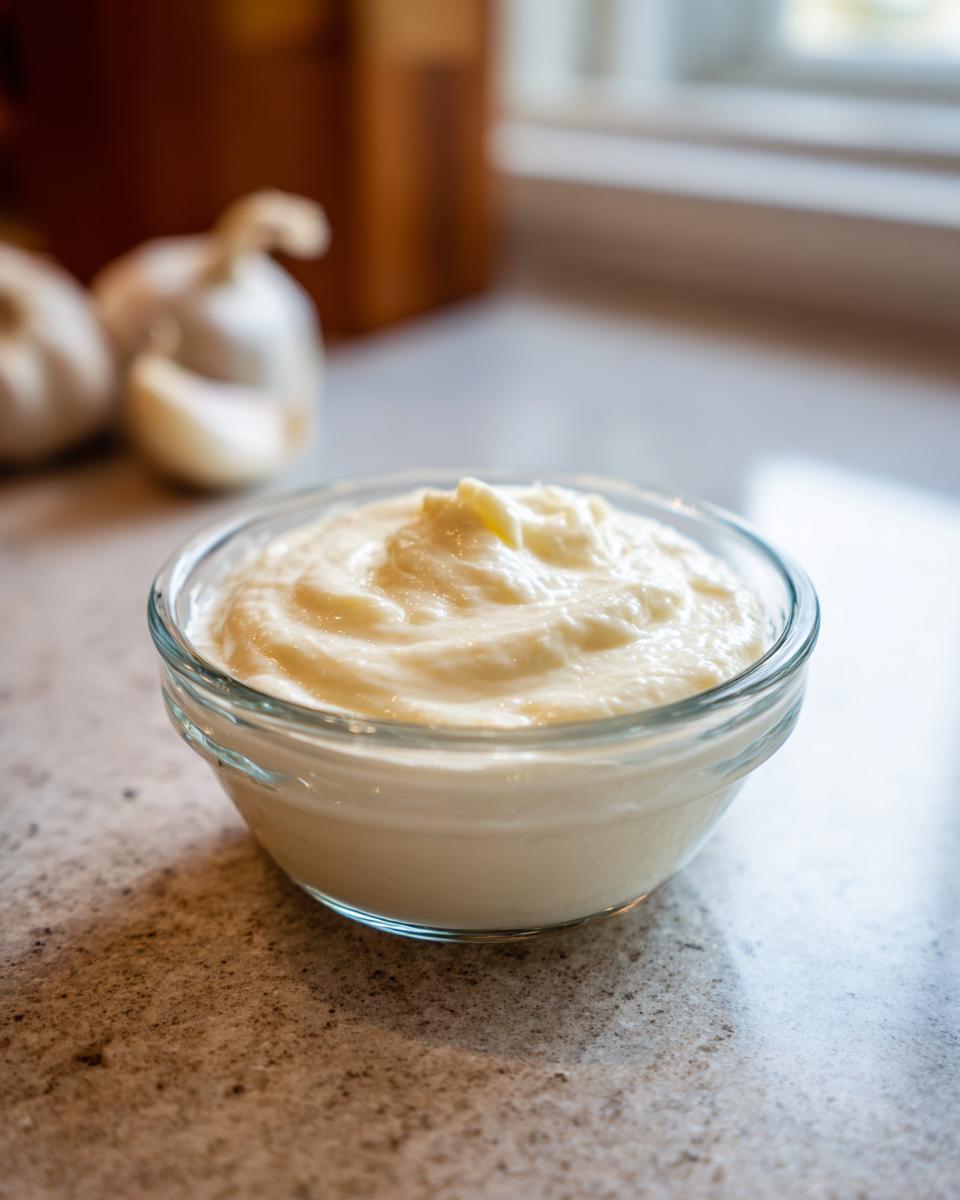
Are you looking to take your everyday meals from “meh” to “wow” with just a little extra something? I totally get it! Sometimes, all it takes is a spoonful of something creamy, garlicky, and utterly delicious to make a regular sandwich feel gourmet or turn roasted veggies into a showstopper. That’s where this simple, yet incredibly satisfying, homemade garlic aioli comes in. It’s one of those recipes that truly embodies my food philosophy here at Devour Dish – making joyful, simple cooking accessible to everyone. This recipe is tested and trusted, and I’m just so excited to share it with you! You can learn more about our mission here.
- Why You'll Love This Garlic Aioli
- Ingredients for Your Easy Garlic Aioli
- How to Make Homemade Garlic Aioli
- Tips for the Best Garlic Aioli
- Serving Suggestions for Your Versatile Condiment
- Frequently Asked Questions About Garlic Aioli
- Nutritional Information for Garlic Aioli
- Share Your Delicious Creations
Why You’ll Love This Garlic Aioli
Seriously, this garlic aioli is a game-changer! Here’s why you’ll be making it again and again:
- Super Quick: It comes together in less than 10 minutes, perfect for when you need a flavor boost in a hurry.
- Incredible Flavor: That punch of fresh garlic combined with creamy goodness is just divine.
- So Versatile: It’s the ultimate spread, dip, and drizzle for just about everything!
- Elevates Any Dish: Makes even the simplest meal feel special and restaurant-worthy.
Ingredients for Your Easy Garlic Aioli
It’s always best to have everything ready to go before you start whipping up this fantastic garlic aioli. Trust me, it makes the process so much smoother! Here’s exactly what you’ll need:
- 1 large egg yolk (make sure it’s fresh!)
- 1 teaspoon Dijon mustard
- 1 tablespoon fresh lemon juice (a little tang goes a long way)
- 1 clove garlic, very finely minced
- 1/2 cup neutral oil – think canola, grapeseed, or even a light olive oil
- Salt, to taste
- Freshly ground black pepper, to taste
How to Make Homemade Garlic Aioli
Okay, getting this luscious, creamy garlic sauce recipe just right is honestly easier than you think! It all comes down to a little patience and paying attention to a few key steps. Don’t worry if your first try isn’t *exactly* like you imagined, you’ll get the hang of it in no time. For an extra smooth aioli, you could even whip this up in a food processor or with an immersion blender – it makes things super quick!
Step 1: Combine Wet Ingredients
First things first! Grab a medium bowl. Whisk together that gorgeous egg yolk, the Dijon mustard for a little zing, and the fresh lemon juice until it’s all nice and blended up. This is our starting point for all that creamy goodness.
Step 2: Add Garlic
Now, toss in your finely minced garlic. Give it another good whisk. You can really start to smell that amazing garlic flavor blooming already!
Step 3: Slowly Emulsify with Oil
This is the most important part! You want to slowly, and I mean *slowly*, start drizzling in your neutral oil. Think just a few drops at first while whisking like crazy. As you see it start to thicken up and get a little creamy, you can gradually increase to a thin, steady stream of oil. Keep that whisk moving constantly!
Step 4: Achieve Creamy Garlic Sauce Texture
Don’t stop whisking until all that oil is incorporated and you’ve got a beautiful, thick, and wonderfully creamy garlic sauce. It should look rich and luscious, like a dreamy condiment ready for anything.

Step 5: Season Your Garlic Aioli
Now’s the time to make it taste *just* right. Add your salt and freshly ground black pepper to taste. Give it a final little whisk and taste-test it (carefully, of course!).
Step 6: Chill and Store
Pop your amazing homemade garlic aioli into an airtight container. It’s best stored in the fridge and will keep beautifully for about 3-4 days. Perfect for having on hand for all your culinary adventures!

Tips for the Best Garlic Aioli
Making this garlic aioli is already super simple, but let me give you a few little tricks I’ve picked up to make it absolutely perfect every single time. First off, if you want to amp up the flavor and make it even prettier, don’t be shy about adding some fresh herbs! Finely chopped parsley or chives are my go-to. They just add this fresh pop that’s incredible. Also, for that super smooth texture like you see in fancy restaurants? Make sure you’re drizzling that oil in really, really slowly at the beginning. If it starts to break or look weird, just stop adding oil and whisk like crazy for a minute – it usually comes right back together!
Serving Suggestions for Your Versatile Condiment
Now that you’ve got this glorious homemade garlic aioli ready to go, the fun really begins! Honestly, this stuff is like culinary magic. Ditch the boring mayo and slather this creamy concoction on literally anything. It’s the ultimate flavor enhancing sauce for:
- Sandwiches & Wraps: Forget sad, dry sandwiches! A generous spread of this aioli makes any sandwich a star. Think grilled chicken, turkey clubs, or even simple veggie wraps.
- Roasted & Grilled Veggies: Broccoli, asparagus, potatoes, zucchini – you name it! Dip them, drizzle them, toss them with this aioli. It’s a revelation!
- Seafood & Fish: From grilled shrimp and pan-seared salmon to fish tacos, this garlic aioli adds a gourmet touch that’s just divine.
- French Fries & Potatoes: It’s the perfect dip for fries, sweet potato wedges, or even a dollop on mashed potatoes.
- Burgers: Take your burger game to the next level with a swipe of this zesty goodness.
Frequently Asked Questions About Garlic Aioli
Got questions about this amazing homemade garlic aioli? I’ve got you covered! It’s a super popular condiment for a reason, and sometimes folks just want a little more info. Here are some things I get asked about! If you have more, feel free to reach out via my contact page!
Can I make garlic aioli without raw egg yolk?
Great question! The egg yolk is really what helps emulsify everything and gives us that creamy texture. While you *can* try making it without, it might not thicken up the same way. Some folks have success using aquafaba (the liquid from canned chickpeas) as a vegan alternative, or even using a store-bought mayo as a base for a quick garlic mayo, but this recipe works best with that fresh egg yolk!
How long does homemade garlic aioli last?
Because this creamy garlic sauce uses fresh egg yolk and no preservatives, it’s best enjoyed within about 3 to 4 days. Make sure it’s stored in an airtight container in the refrigerator. It’s so good, though, I bet it won’t last that long anyway!
What’s the difference between garlic aioli and garlic mayonnaise?
Honestly, the lines can get a little blurry, especially in the US! Traditionally, aioli is an emulsion of garlic and olive oil, maybe with a little lemon juice. What we often call garlic aioli here is essentially a garlic-flavored mayonnaise, which is made with egg yolks, oil, and an acid like lemon juice or vinegar. This recipe makes a fantastic, rich garlic mayo that many people lovingly call aioli. Either way, it’s delicious!
Nutritional Information for Garlic Aioli
Just so you know, this is a rough estimate, as nutritional values can change based on the exact ingredients you use, especially the type of oil! But, for a single tablespoon of this delicious garlic aioli, you can expect something like this:
- Serving Size: 1 tablespoon
- Calories: Around 90
- Fat: About 10g (9g unsaturated, 1g saturated)
- Sodium: Roughly 50mg
- Carbohydrates: 0g
- Protein: About 1g
- Cholesterol: Around 20mg
It’s a rich condiment, for sure, but oh-so-worth-it for the flavor it adds!
Share Your Delicious Creations
I just love seeing what you all make! If you try this garlic aioli, please leave a comment below and let me know how it turned out. A star rating is super helpful too! And if you snap a pic, tag me on social media – I can’t wait to see your amazing creations! Remember to check out our terms of use and privacy policy.
PrintEasy Homemade Garlic Aioli

A simple recipe for creamy, flavorful garlic aioli that elevates sandwiches, vegetables, and seafood.
- Prep Time: 10 min
- Cook Time: 0 min
- Total Time: 10 min
- Yield: About 3/4 cup 1x
- Category: Condiments
- Method: No Cook
- Cuisine: Mediterranean
- Diet: Vegetarian
Ingredients
- 1 large egg yolk
- 1 teaspoon Dijon mustard
- 1 tablespoon fresh lemon juice
- 1 clove garlic, minced
- 1/2 cup neutral oil (like canola or grapeseed)
- Salt to taste
- Black pepper to taste
Instructions
- In a medium bowl, whisk together the egg yolk, Dijon mustard, and lemon juice until combined.
- Add the minced garlic and whisk again.
- Slowly drizzle in the neutral oil, a few drops at a time, while whisking constantly. As the mixture begins to emulsify and thicken, you can gradually increase the oil to a thin, steady stream.
- Continue whisking until all the oil is incorporated and the aioli is thick and creamy.
- Season with salt and black pepper to your taste.
- Transfer the aioli to an airtight container and refrigerate until ready to use.
Notes
- For a smoother aioli, you can use an immersion blender or food processor.
- Add fresh herbs like parsley or chives for extra flavor.
- This aioli is best used within 3-4 days.
Nutrition
- Serving Size: 1 tablespoon
- Calories: 90
- Sugar: 0g
- Sodium: 50mg
- Fat: 10g
- Saturated Fat: 1g
- Unsaturated Fat: 9g
- Trans Fat: 0g
- Carbohydrates: 0g
- Fiber: 0g
- Protein: 1g
- Cholesterol: 20mg