
Oh, heaven help us, sometimes you just need a dessert that screams decadent but demands zero actual *labor*, right? If you’ve been searching for that *ultimate creamy pie* that tastes like it took all day but really took about twenty minutes, then stop right here. I’m so excited to share my absolute favorite, can’t-mess-it-up winner: the Easy No-Bake Creamy Peanut Butter Pie with a chocolatey Oreo crust. Hi, I’m Avery Collins, and if you want to know a little more about why I believe the best food is simple food, you can always check out my full story over at my About Page. My goal here at Devour Dish is to give you the most reliable, simple recipes for real life. This one checks every box—it’s rich, it’s smooth, and best of all, we don’t even have to turn on the oven! Trust me, this recipe is tested, trusted, and guaranteed to be the star of your next potluck.
- Why This Easy No-Bake Peanut Butter Pie is Your New Favorite
- Gathering Ingredients for the Ultimate Creamy Peanut Butter Pie
- Step-by-Step Instructions for Your No Bake Peanut Butter Pie
- Expert Tips for the Best Peanut Butter Pie Recipe
- Variations on the Classic Comfort Dessert Peanut Butter Pie
- Storing and Serving Your Dreamy Peanut Butter Dessert
- Frequently Asked Questions About This Peanut Butter Pie
- Nutritional Estimates for This Rich Peanut Butter Filling Dessert
- Share Your Experience Making This Classic Comfort Dessert
Why This Easy No-Bake Peanut Butter Pie is Your New Favorite
Honestly, what’s not to love? This peanut butter pie is designed for real life, which means it fits perfectly when you need an easy peanut butter dessert that wows everyone. It’s the definition of a simple dessert for a crowd because it requires almost no effort for a huge payoff.
Speed and Simplicity: The No-Bake Advantage
You read that right—zero baking time! With only 20 minutes of active prep, this falls right into the category of no oven dessert ideas. You whip it up, stick it in the fridge, and boom, you have a showstopper! It’s perfect for those last-minute needs.
Texture Profile: Rich Peanut Butter Filling Meets Oreo Crust Pie
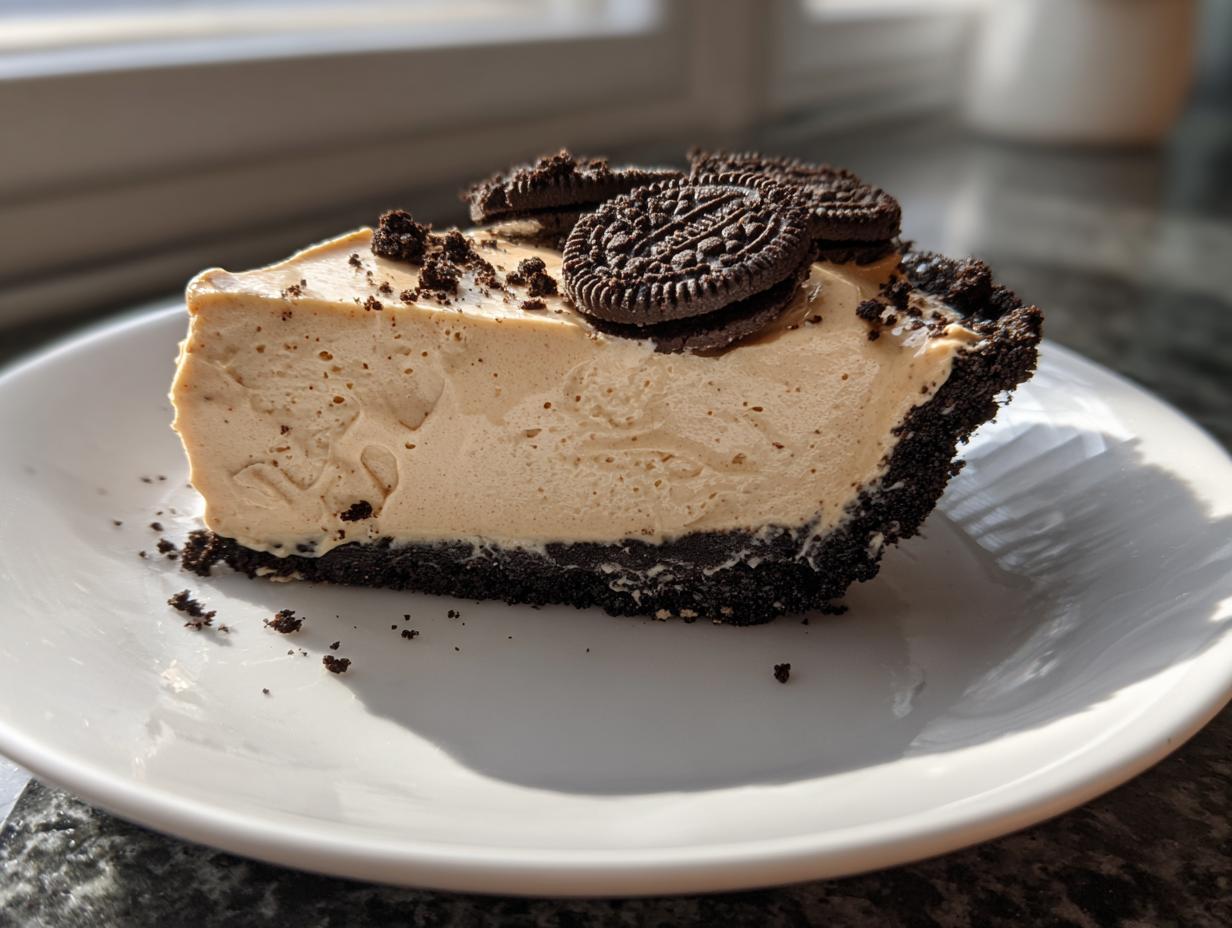
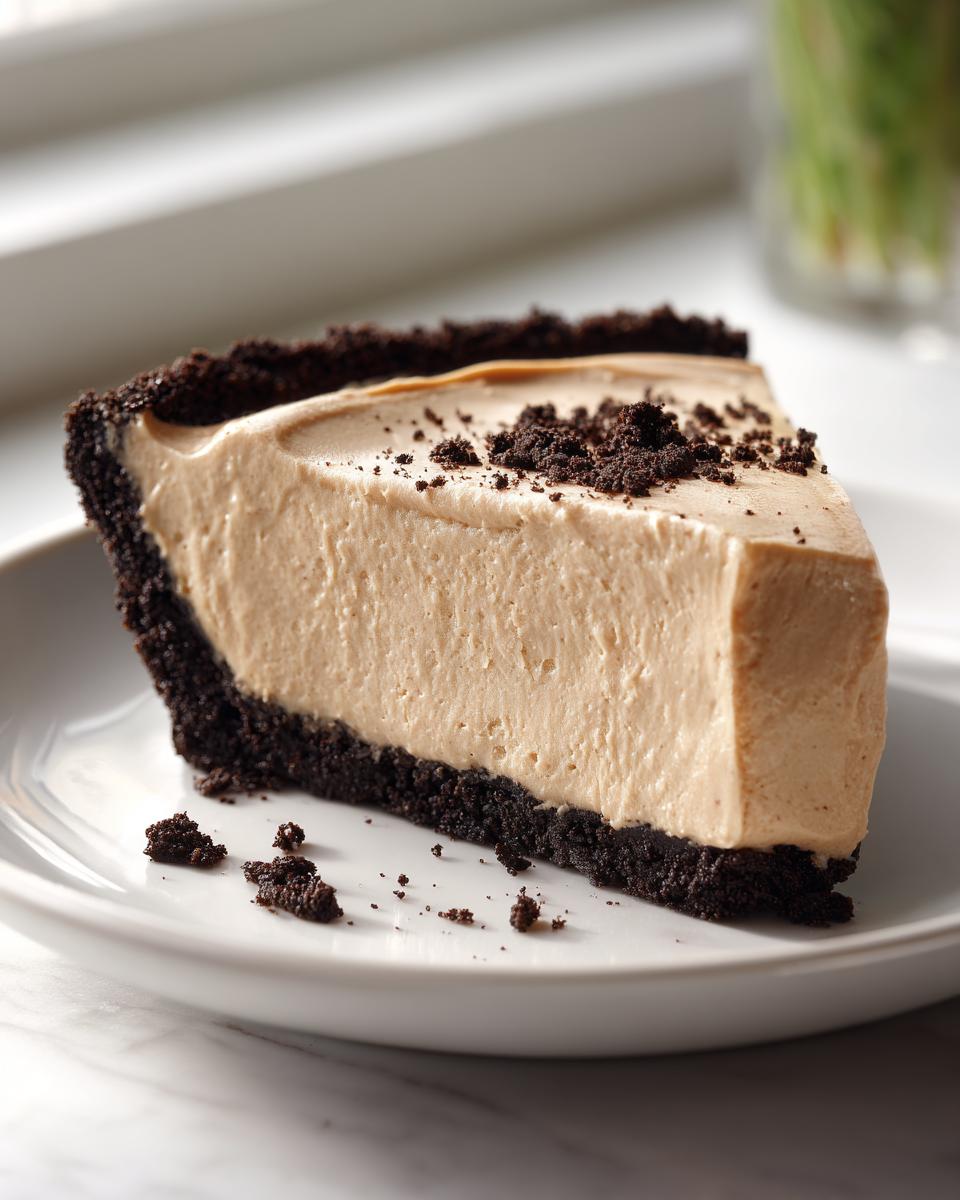
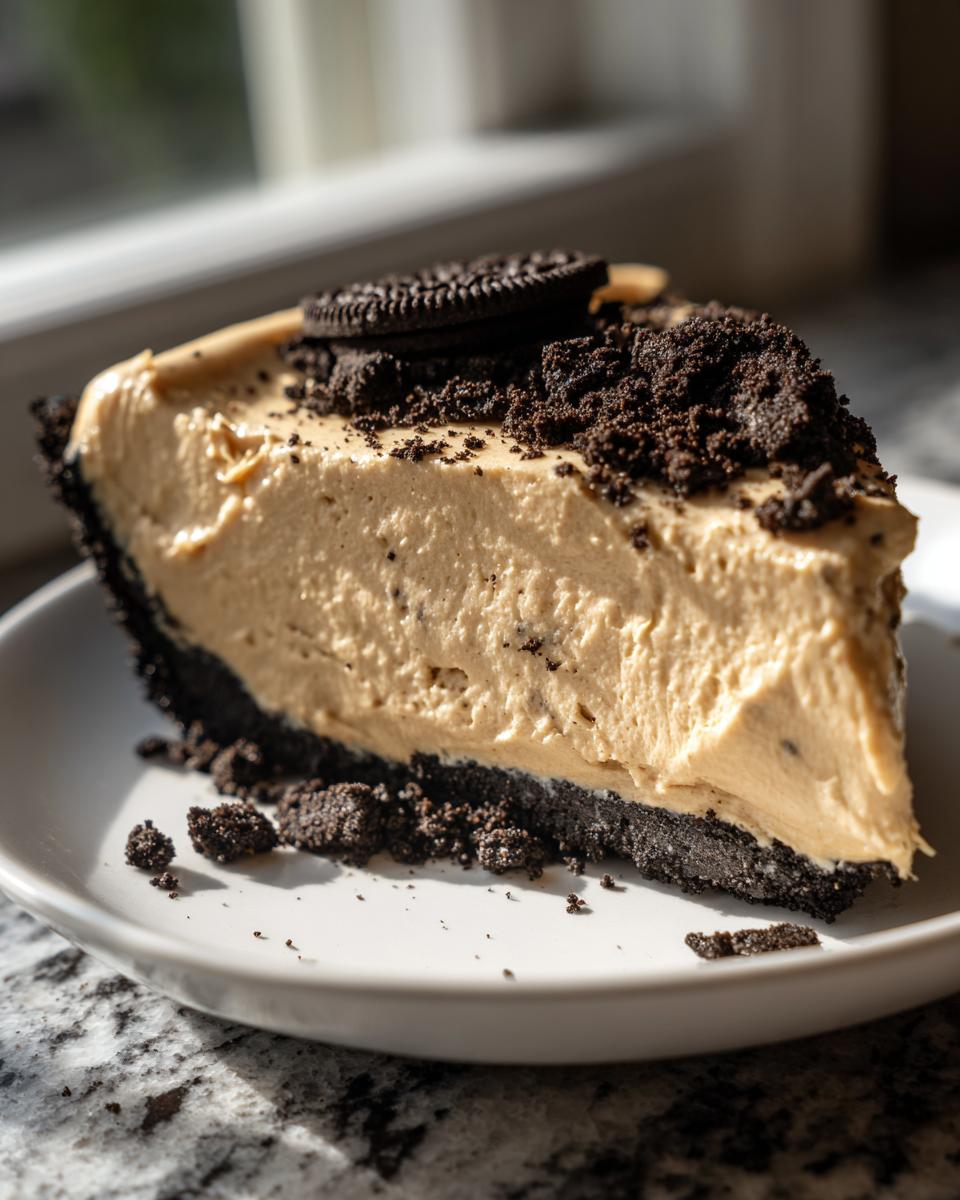
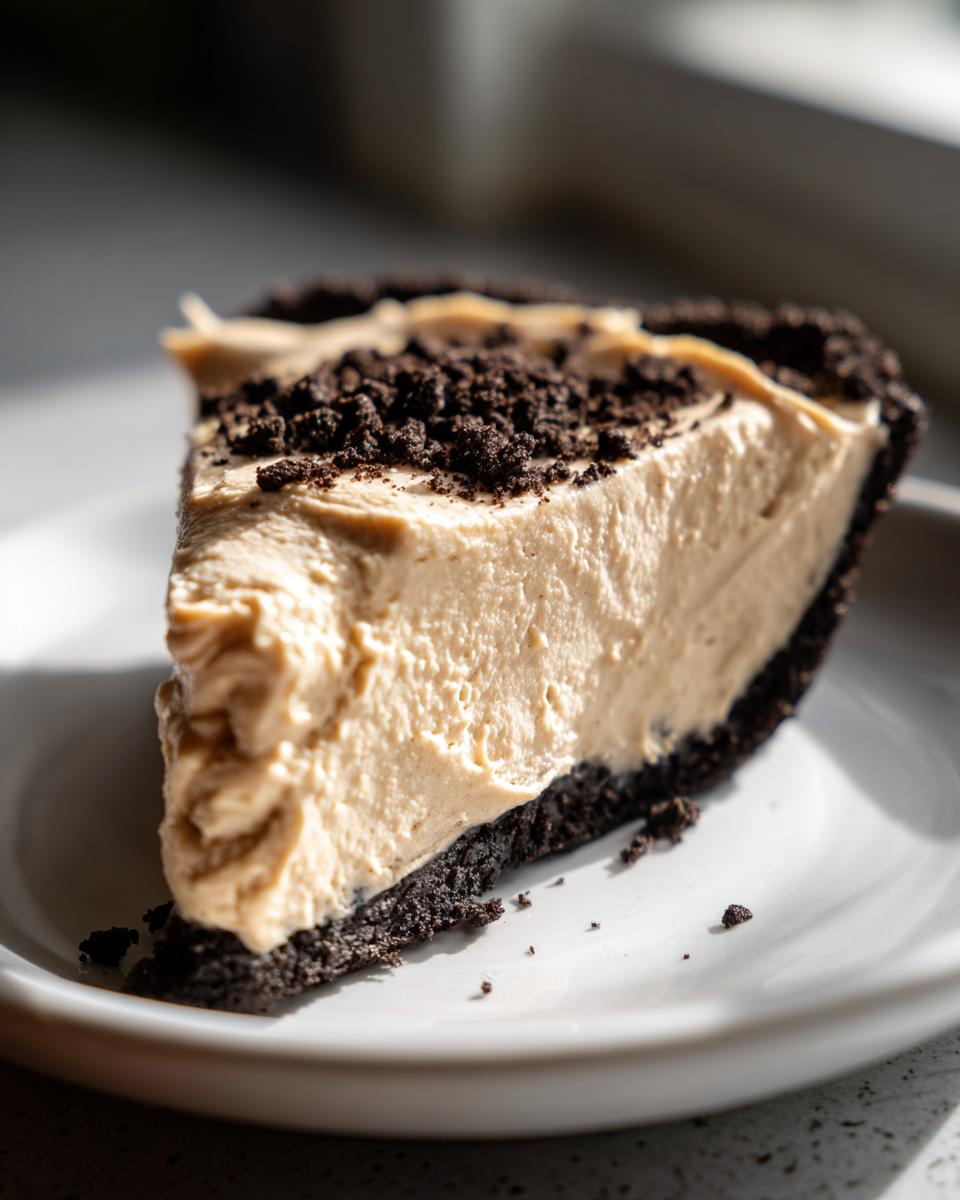
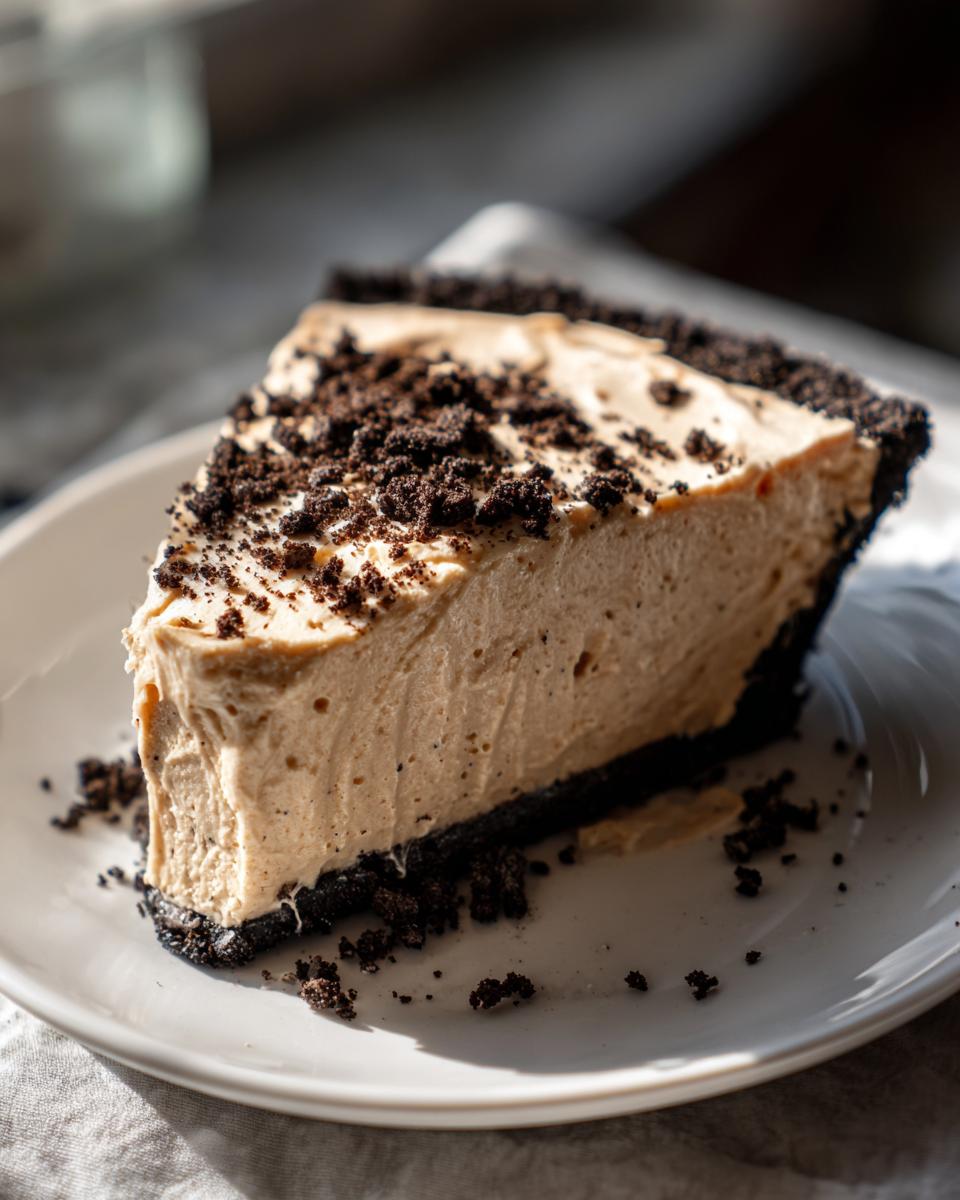
This is where the magic happens. We are talking about the ultimate smooth texture here. The filling is so rich, but the best part is that crunchy, chocolatey base. Using that classic Oreo crust pie means you get that great contrast between the smooth and the crunchy in every single, dreamy bite.
Gathering Ingredients for the Ultimate Creamy Peanut Butter Pie
Okay, because this is a no-bake recipe, we really need to make sure every single ingredient is spot on. When you’re not using the oven to bake out any mistakes, preparation is everything! I’ve laid everything out clearly below so you can check your pantry. Remember, the quality of your peanut butter will really shine through in this rich peanut butter filling, so don’t skimp!
For the Oreo Crust Pie Base
We are sticking with the classic chocolate cookie vibe because it pairs perfectly with the peanut butter filling. You’ll need:
- One package (that’s usually 14.3 ounces) of chocolate sandwich cookies—the whole package, crumbs and all!
- Six tablespoons of unsalted butter, melted, ready to bind everything together.
For the Rich Peanut Butter Filling
This is the part that makes it so unbelievably smooth and that beautiful, dreamy color. Make sure your cream cheese is genuinely softened, it makes blending so much easier. We are using two types of sugar here—one for structure and one for that fine, velvety mouthfeel:
- Sixteen ounces of cream cheese, made sure it’s fully softened to room temperature.
- One full cup of creamy peanut butter—no chunky stuff for this pie, sorry!
- One teaspoon of pure vanilla extract for depth.
- Half a cup of granulated sugar.
- Half a cup of powdered sugar for that smooth, creamy peanut butter pie finish.
- One full container (8 ounces) of frozen whipped topping, which needs to be thawed out completely before you start.
If you’re feeling extra like I often do, I listed some optional toppings too, mostly just extra peanut butter and chocolate chips for maximum impact!
Step-by-Step Instructions for Your No Bake Peanut Butter Pie
This is the fun part! Since this is a no bake pie recipes superstar, getting the technique right ensures we get that gorgeous structure. Don’t rush the chilling steps, they are key to a clean slice later on. We’re moving fast on the active steps, but we need patience for the setting!
Preparing and Chilling the Oreo Crust Pie
First, let’s deal with those cookies. Pop them into your food processor and pulse them until you have fine crumbs—we’re not aiming for big chunks here. Then, mix those crumbs with the melted butter until it genuinely looks like wet sand. You need to see that moisture! Press this mixture firmly using the bottom of a measuring cup into your 9-inch pie plate. Really pack it down on the bottom and up the sides. Once it’s secure, toss the crust into the freezer while you create the filling. That chill time is non-negotiable!
Assembling the Creamy Peanut Butter Filling
Grab your big mixing bowl! Start by beating that softened cream cheese until it’s completely smooth. No lumps allowed, this is for a smooth dessert recipe! Next, beat in your creamy peanut butter, both the granulated and powdered sugars, and the vanilla until it looks perfectly blended. Now, here’s the most important part for fluffiness: gently fold in your thawed whipped topping using a spatula. You’re going slow here—you want to keep all those lovely air pockets we just mixed in so the final texture isn’t too dense. Check out this no-bake recipe inspiration if you ever get stuck!
Setting and Serving the Peanut Butter Pie
Pour that amazing, rich peanut butter filling right into your chilled Oreo crust and smooth the top out. Now, cover it loosely with plastic wrap—don’t let it touch the surface, please! This needs to set in the refrigerator for a minimum of four hours, but seriously, overnight is how you guarantee that ultimate creamy pie texture. When you’re ready to serve this classic comfort dessert, you can top it with extra whipped cream or even melt some chocolate chips for a drizzle. Head over to my dessert page for more sweet ideas once you’ve devoured this!
Expert Tips for the Best Peanut Butter Pie Recipe
Even though we aren’t turning on the oven, there are still a couple of spots where we can mess up the texture if we aren’t careful. Remember, I want your results to be perfect! These little tricks are what turn a good peanut butter pie into a truly unforgettable one. They are all about technique and temperature control, which, as you know, is my jam. Check out how to make sure everything comes together perfectly for you.
Achieving Maximum Smooth Dessert Texture
If you have ever mixed cream cheese only to find hard lumps, you know it ruins the whole vibe of a rich peanut butter filling! The biggest tip I can give you is patience with that cream cheese. Take it out early—like an hour early. When you beat it alone first, it must be pliable, soft to the touch, almost spreadable on a counter. If it fights your electric mixer even a little bit, stop and let it sit longer. Softened cream cheese equals a silky smooth filling every time, no grit allowed.
Make Ahead Dessert Planning for Your Peanut Butter Pie
The best part about this entire recipe is that it qualifies as a fantastic make ahead dessert. Seriously, you can whip this up entirely the day before you need it! It actually tastes better after chilling overnight because the filling firms up even more beautifully. Since this is an amazing potluck desserts that travel well, just make sure you keep it covered and chilled until about 15 minutes before serving.
Want to see another favorite dessert from my book? You should really check out my recipe for Snickerdoodle Cheesecake—it’s got a similar vibe of comforting sweetness!
Variations on the Classic Comfort Dessert Peanut Butter Pie
While the Oreo crust is my pick—who doesn’t love a good Oreo crust pie?—this classic comfort dessert is super flexible! If you aren’t feeling chocolate, don’t stress. Swapping in a standard graham cracker crust pie works absolutely beautifully; it gives the pie a lighter, more traditional flavor profile. Also, think about toppings! If you want to lean into that rich flavor, try sprinkling crushed peanut butter cups on top for serious peanut butter cup pie inspiration. For something a little different, check out my recipe for Pecan Pie Dip if you’re looking for other pull-apart options!
Storing and Serving Your Dreamy Peanut Butter Dessert
This creamy peanut butter pie is the best kind of make-ahead showstopper, but you do have to treat it right once it’s set! Since we didn’t bake this beauty, keeping it cold is super important to maintain that gorgeously smooth dessert recipe texture we worked so hard for. If it gets too warm, that lovely whipped topping starts to lose structure, and nobody wants a soupy peanut butter pie!
Optimal Storage for Peanut Butter Pie
Once your pie is fully set—and I mean firmly set after its long chill—you need to cover it carefully. Don’t just press plastic wrap directly onto the surface, either! That can make the top smear or sometimes cause condensation. Instead, you want to create a little tent. Use toothpicks pressed into the filling around the edges to hold the plastic wrap up and away before sealing the edges tightly around the pie plate.
Keep it tucked away in the coldest part of your refrigerator. It should stay perfectly fresh—and totally delicious—for about three to four days. Seriously, if you can resist it that long! If you’re taking it to a party, transport it chilled, maybe with a frozen gel pack next to it, so it doesn’t sit at room temperature for too long before you serve it. It really holds up well as a simple dessert for a crowd!
Frequently Asked Questions About This Peanut Butter Pie
I know you might have some lingering questions before you dive into making this dreamy peanut butter dessert! Since I’ve made this so many times for parties and just because, I’ve figured out the little things that make all the difference. Here are the most common things folks ask me about this super easy recipe. If you need to reach out after you’ve baked, you know where to find me over at the contact page!
Can I use a different crust for this peanut butter pie?
Absolutely! While the dark, chocolatey crunch of the Oreo crust is my favorite pairing, this recipe is great with alternatives. If you prefer a slightly sweeter, lighter taste, you can easily swap it out for a graham cracker crust pie. Just crush up about 1½ cups of graham crackers, mix with melted butter and a tiny bit of sugar, and press it into the pan. You can also skip the no-bake route entirely and use a store-bought pre-baked crust, but honestly, the whole joy of these no bake pie recipes is that *nothing* has to go into the oven!
What is the best peanut butter to use for the filling?
This is a make-or-break question for achieving that creamy peanut butter pie texture! You must use conventional, shelf-stable, creamy peanut butter—I’m talking about Jif or Skippy style. Why? Because those natural peanut butters that separate and have oil on top? They are too oily and don’t have the stabilizers needed to help the filling set up correctly. If you use a natural style, your rich peanut butter filling might end up weeping or turning runny. Stick to the good, creamy stuff for the smoothest result possible!
Can I freeze this easy peanut butter dessert?
Yes, you can freeze it, but you have to manage your expectations a little. Since this recipe uses whipped topping instead of a heavy meringue or baked elements, it actually freezes reasonably well, making it an excellent holiday pie idea if you need space in the fridge. Pop it in the freezer, well-covered, for up to a month. The main downside is that when you thaw it out, that whipped topping can sometimes get a little weeping or watery. I always recommend taking it out the night before and letting it slowly thaw in the fridge. It won’t be quite as firm as when it was fresh, but it’ll still be delicious!
Nutritional Estimates for This Rich Peanut Butter Filling Dessert
Now, I know when we are making something this wonderfully rich—a true slice of heaven—we aren’t usually thinking about macros, but sometimes it’s good to have a basic idea! Because this peanut butter pie relies on cream cheese, sugar, and peanut butter, it definitely falls into the indulgent category. But hey, you deserve a treat now and then! These numbers are just estimates based on the standard recipe ingredients I use, so yours might vary a little depending on which brand of peanut butter or whipped topping you grab.
Remember, this is a classic comfort dessert, meant to be savored, not tracked! Here’s a quick look at what you can expect from one slice:
- Calories: Around 450
- Fat: Roughly 30g (Don’t forget, most of that is the good stuff from the peanut butter!)
- Carbohydrates: Around 40g
- Protein: About 8g
And just a quick note here: the sugar content sits around 35g, mainly coming from the powdered sugar in our filling and the cookies in the crust. It’s what makes it so fantastic! If you are watching your intake, remember that these estimates include that glorious Oreo crust, so maybe save this easy peanut butter dessert for special nights!
Share Your Experience Making This Classic Comfort Dessert
Alright, you’ve made the richest, creamiest, easiest peanut butter pie ever, and now I need to know! Did you stick with the Oreo crust, or did you try a graham cracker one? Did you go minimalistic, or did you load yours up with peanut butter cups and chocolate drizzle?
I absolutely love hearing from you all, and knowing that one of my recipes made it onto your table—whether it was for a chaotic Tuesday dinner or a big Thanksgiving spread—just makes my day. Once you’ve tried this ultimate creamy pie, please come back and let me know how it went in the comments below. Did you add any secret twists? I’m always looking for inspiration!
And if you loved this decadent, yet so simple, treat, please consider leaving it a five-star rating right here on the recipe card. It helps other folks like you find this amazing no bake pie recipe! If you need to share any questions or just want to say hello, you can always pop over to my contact page. Happy cooking, everyone!
PrintEasy No-Bake Creamy Peanut Butter Pie with Oreo Crust

Make this rich, smooth peanut butter pie without turning on your oven. It features a simple Oreo crust and a decadent, creamy filling, making it a perfect make-ahead dessert for any crowd.
- Prep Time: 20 min
- Cook Time: 0 min
- Total Time: 4 hr 20 min
- Yield: 8 servings 1x
- Category: Dessert
- Method: No-Bake
- Cuisine: American
- Diet: Vegetarian
Ingredients
- 1 package (14.3 oz) chocolate sandwich cookies (like Oreos)
- 6 tablespoons unsalted butter, melted
- 16 ounces cream cheese, softened
- 1 cup creamy peanut butter
- 1 teaspoon vanilla extract
- 1/2 cup granulated sugar
- 1/2 cup powdered sugar
- 1 container (8 oz) frozen whipped topping (like Cool Whip), thawed
- 1 cup creamy peanut butter for topping (optional)
- 1/2 cup chocolate chips (optional, for topping)
Instructions
- Prepare the crust: Place the chocolate sandwich cookies in a food processor and pulse until fine crumbs form.
- Mix the crumbs with the melted butter until the mixture resembles wet sand.
- Press the crumb mixture firmly and evenly into the bottom and up the sides of a 9-inch pie plate. Place the crust in the freezer while you prepare the filling.
- Make the filling: In a large bowl, beat the softened cream cheese with an electric mixer until smooth.
- Add the creamy peanut butter, vanilla extract, granulated sugar, and powdered sugar. Beat until the mixture is fully combined and creamy.
- Gently fold in the thawed whipped topping until no streaks remain. Do not overmix.
- Pour the rich peanut butter filling into the chilled Oreo crust, spreading it evenly.
- Chill the pie for at least 4 hours, or preferably overnight, until the filling is firm.
- Before serving, top the pie with extra whipped topping, melted peanut butter, or chocolate chips if desired. Slice and serve this ultimate creamy pie.
Notes
- For an even richer flavor, use a graham cracker crust instead of the Oreo crust.
- You can use a handheld electric mixer or a stand mixer for the filling.
- This simple dessert for a crowd travels well if kept chilled.
Nutrition
- Serving Size: 1 slice
- Calories: 450
- Sugar: 35g
- Sodium: 300mg
- Fat: 30g
- Saturated Fat: 10g
- Unsaturated Fat: 20g
- Trans Fat: 0g
- Carbohydrates: 40g
- Fiber: 2g
- Protein: 8g
- Cholesterol: 40mg