
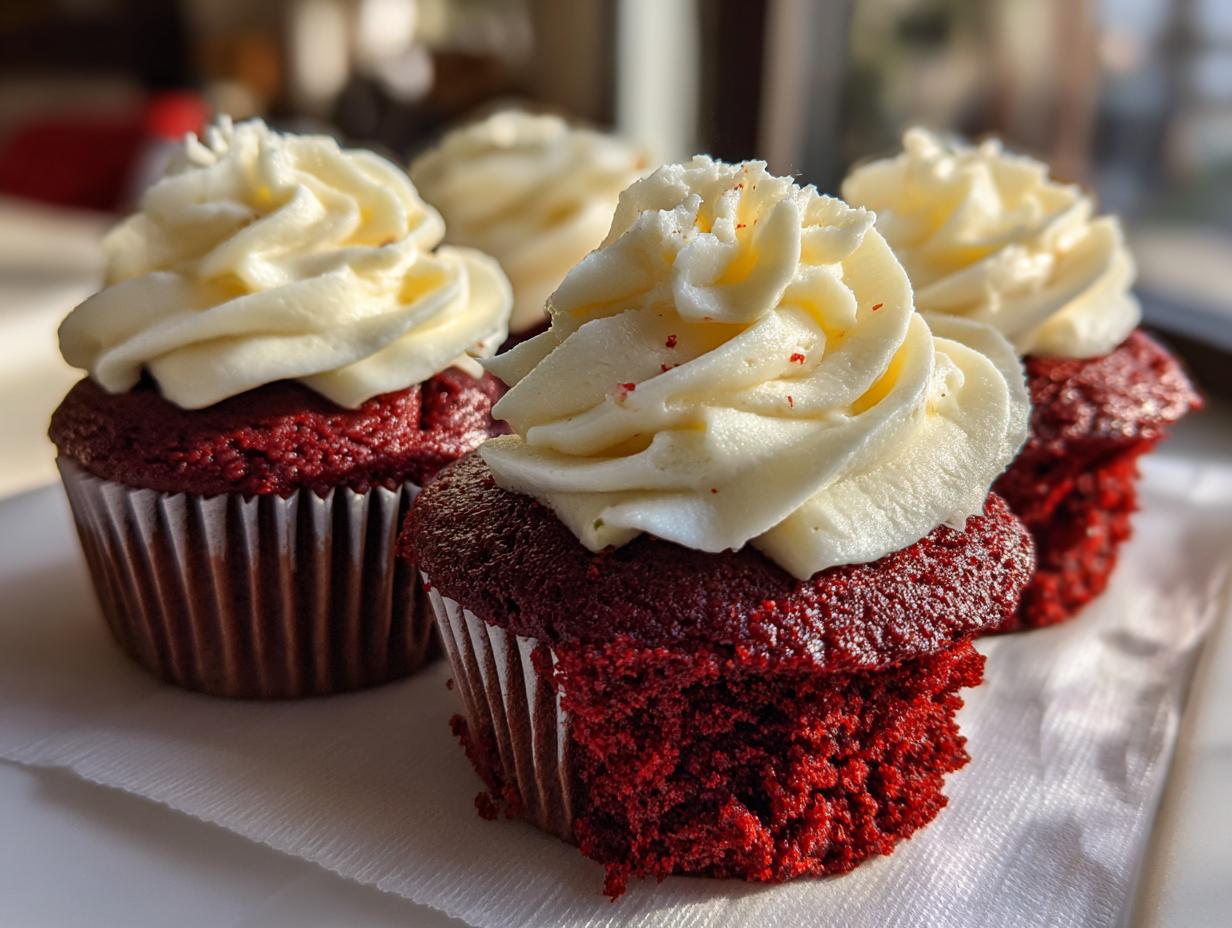
There are certain desserts that just feel special, right? They bring a sense of occasion even if you’re just having one on a Tuesday night. For me, that’s always been the gorgeous, dramatic red velvet cupcakes. But let’s be honest—so many recipes end up tasting dry or too much like food coloring, and that is just a tragedy! That’s why I spent ages tweaking and testing until I landed on what I firmly believe is The Ultimate Moist Red Velvet Cupcakes with Classic Tangy Cream Cheese Frosting. This recipe is my go-to because it guarantees that soft, velvety crumb and deep, beautiful color every single time. I know you want reliable results, and trust me, this one delivers comfort and connection in every single bite.
- Why You Will Love These Moist Red Velvet Cupcakes
- Essential Ingredients for Perfect Red Velvet Cupcakes
- Step-by-Step Instructions for Your Red Velvet Cupcakes
- Tips for Achieving Vibrant Red Velvet Cupcakes Color and Texture
- Ingredient Notes and Substitutions for Red Velvet Cupcakes
- How to Decorate Bakery Style Cupcakes
- Storing and Reheating Your Red Velvet Cupcakes
- Frequently Asked Questions About Red Velvet Cupcakes
- Sharing Your Homemade Dessert Ideas
Why You Will Love These Moist Red Velvet Cupcakes
If you’re looking for a showstopper that’s secretly simple, this is it! I promise these red velvet cupcakes will become your new favorite homemade dessert ideas.
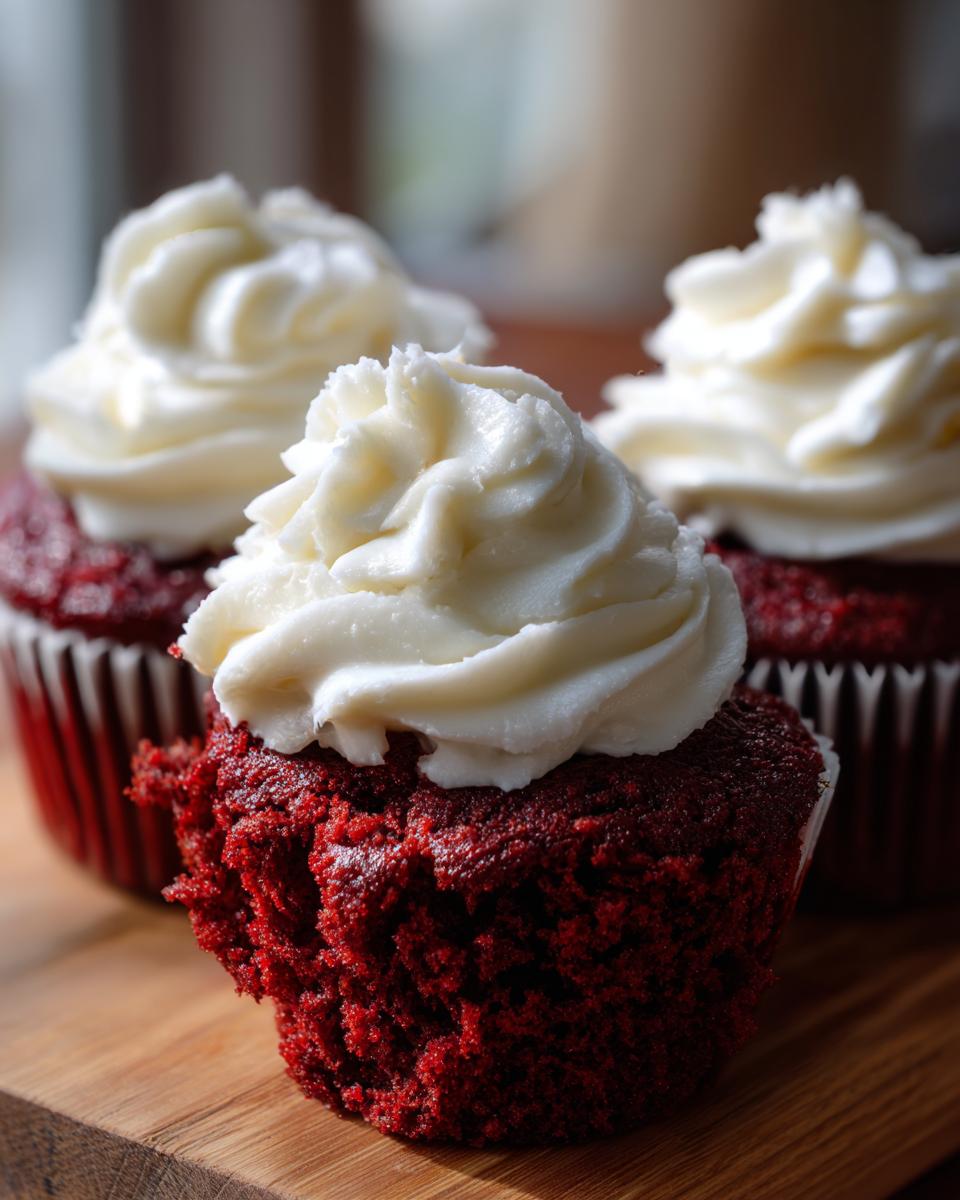
- They deliver the absolute perfect cupcake texture—tender, delicate, and wonderfully moist.
- The hint of cocoa flavor is just right; you taste chocolate, not just dye!
- We pair them with my scratchy, tangy, best cream cheese frosting recipe; they are divine together.
- This recipe proves that achieving moist red velvet cupcakes doesn’t require advanced baking degrees!
Essential Ingredients for Perfect Red Velvet Cupcakes
When we talk about making these red velvet cupcakes truly perfect, it all comes down to the quality and preparation of the ingredients. Don’t get tempted to swap things out here—the science behind this classic Southern treat needs specific components to achieve that airy, yet moist, result. Buttermilk is absolutely non-negotiable; it’s what gives us that perfect cupcake texture!
For the Red Velvet Cupcakes Batter
Here’s what you need for the cake itself. Pay special attention to the coloring!
- 1 1/2 cups all-purpose flour
- 1 teaspoon baking soda
- 1 teaspoon unsweetened cocoa powder (just a hint!)
- 1/2 teaspoon salt
- 1 cup granulated sugar
- 1/2 cup unsalted butter, softened (don’t melt it!)
- 2 large eggs
- 1 teaspoon vanilla extract
- 1 cup buttermilk
- 1 tablespoon white vinegar
- 1-2 teaspoons red food coloring (I’m serious, use the gel kind for that truly vibrant red velvet color, otherwise you’ll need way too much liquid dye!)
For the Best Cream Cheese Frosting Recipe
This frosting is tangy, luscious, and the perfect contrast to the cake. Make sure both your cream cheese and butter are fully softened so you don’t end up with lumps in your beautiful best cream cheese frosting recipe.
- 1 (8 ounce) package cream cheese, softened
- 1/2 cup unsalted butter, softened
- 3 cups powdered sugar, sifted
- 1 teaspoon vanilla extract
- 1/4 teaspoon salt
Step-by-Step Instructions for Your Red Velvet Cupcakes
Okay, this is where the magic happens! We’re taking those lovely ingredients and turning them into pure culinary joy. Remember, baking is a process, and following these steps keeps everything running smoothly so you get those wonderfully moist red velvet cupcakes we talked about. Don’t rush anything, especially the creaming part! I actually swear by using a tiny bit of homemade cake release paste on my liners for this recipe—it makes sure I never lose a single crumb.
Mixing the Red Velvet Cupcakes Batter
First things first, get that oven preheated to 350°F (175°C) and line up your paper liners. Grab a bowl and whisk together your flour, baking soda, cocoa, and salt—that’s your dry team. In a separate big bowl, cream the softened butter and sugar until they puff up and get pale. Then, pop in your eggs one by one, beating well after each one, followed by the vanilla. Now for the wet side: mix your buttermilk, vinegar, and all that beautiful red coloring together until it’s one stunning color. Here’s the key to the perfect cupcake texture: Add the dry mix and the buttermilk mix to your butter mix by alternating—start and end with the dry stuff. Mix only until it’s *just* combined. Seriously, stop the second you don’t see streaks of flour; overmixing is our enemy today!
Baking and Cooling the Red Velvet Cupcakes
Spoon that vibrant batter into your liners, filling them only about two-thirds full. Pop them into the preheated oven for about 18 to 20 minutes. You’ll know they’re done when a toothpick slides in and comes out clean, with just a few moist crumbs clinging to it. Don’t yank them out right away! Let those beauties chill in the muffin tin for about 5 minutes. This short rest helps them firm up so they don’t shatter when you move them. After that, transfer them right onto a wire rack to cool completely. Nothing ruins a good frosting job faster than warm cupcakes!
Preparing the Cream Cheese Frosting and Decorating
While the cakes are cooling down, let’s make the topping. Start by beating your softened cream cheese and butter together until there are zero lumps—we want smooth sailing! Now, slowly add in the sifted powdered sugar until it comes together. Finally, mix in your vanilla and salt. Beat this mixture on medium-high speed until it looks light and fluffy; that aeration makes the best cream cheese frosting recipe! Once those red velvet cupcakes are bone dry—I mean totally cool—you can pipe or spread that glorious frosting on top. If you want that gorgeous, stiff look, pop the frosted cupcakes in the fridge for 10 minutes before serving.
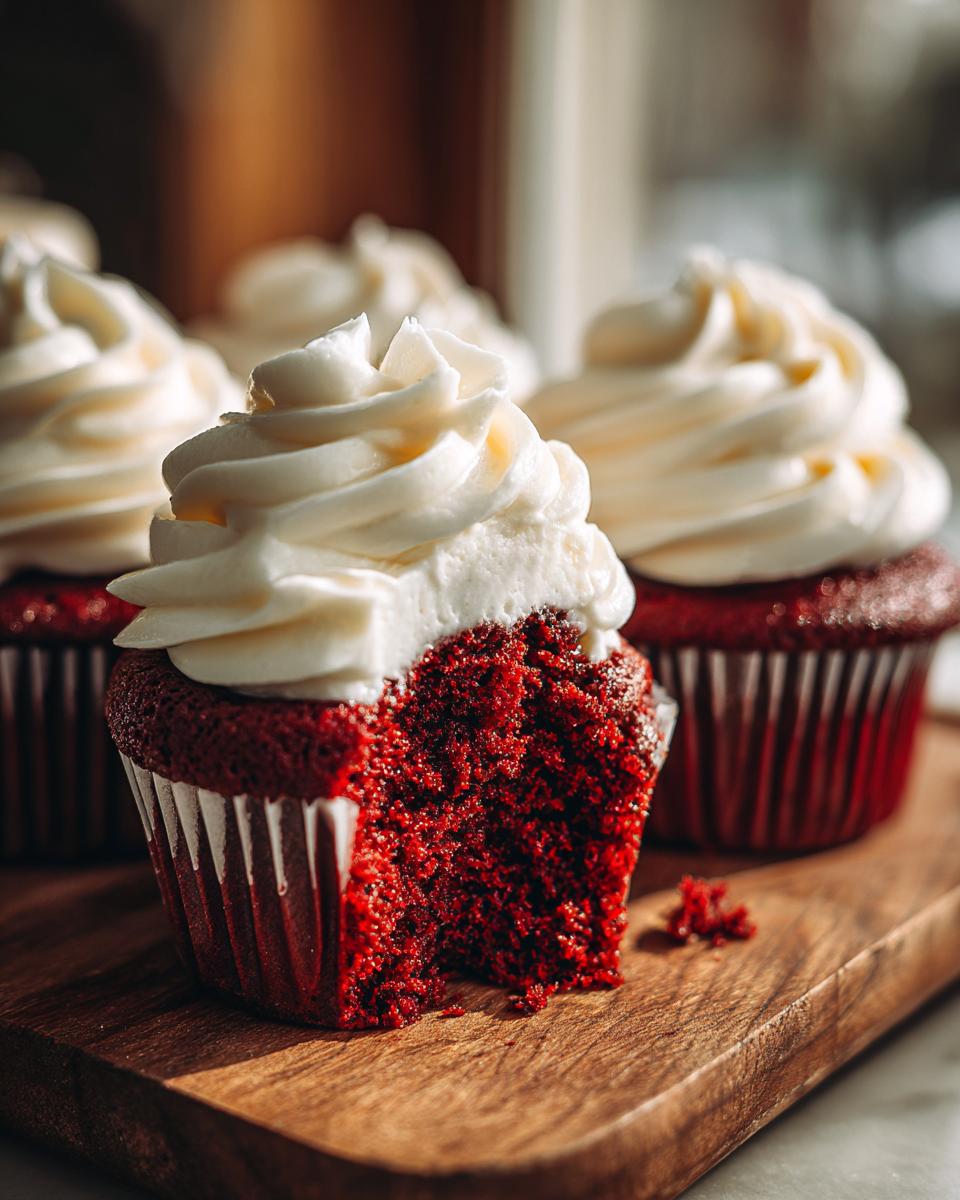
Tips for Achieving Vibrant Red Velvet Cupcakes Color and Texture
You want that show-stopping, gorgeous color, right? It’s tempting to just dump in half a bottle of red dye, but please don’t! If you use standard liquid food coloring, you end up adding way too much liquid to the batter, which ruins the structure we worked so hard to create for that perfect cupcake texture. Instead, trust me here and use a high-quality gel food coloring. It’s super concentrated, so a little goes a long way in creating that deep, vibrant red velvet look without watering down your beautiful batter. It’s a game-changer when making these from scratch cupcakes.
Also, remember that classic red velvet actually gets a little reddish-brown hue from the chemical reaction between the vinegar, baking soda, and the small amount of cocoa powder. The buttermilk is key here; it activates the leavening and keeps them incredibly tender, even with the added color component. If you’re ever curious about how other amazing desserts get their color, check out this interesting find on red velvet cupcakes!
Ingredient Notes and Substitutions for Red Velvet Cupcakes
I know the ingredient list can look a little specific sometimes, especially with the buttermilk and vinegar! Don’t stress! These aren’t just arbitrary steps; they are the things that take these from being good ‘chocolate cupcakes’ to truly moist red velvet cupcakes. You want that signature tang and tender crumb, and that means sticking close to what’s written here.
So, let’s talk about buttermilk first. Please, please, please don’t try swapping it out for regular milk if you can help it. Buttermilk is acidic, and that acid is super important because it interacts with the baking soda to help the red velvet cupcakes rise beautifully and become incredibly tender. If you’re in a pinch, you can make a quick substitute by adding one tablespoon of white vinegar or lemon juice to one cup of milk and letting it sit for five minutes until it curdles a bit. That works in a pinch for tenderness!
And why the vinegar in the recipe itself? That little bit of vinegar works with the baking soda too, giving us an extra lift as they bake! It also contributes ever so slightly to that classic tang we look for in Southern baking. These little chemical reactions are what separate a dense, okay cupcake from one that melts in your mouth. Trust me, following these notes keeps your treats moist and delicious!
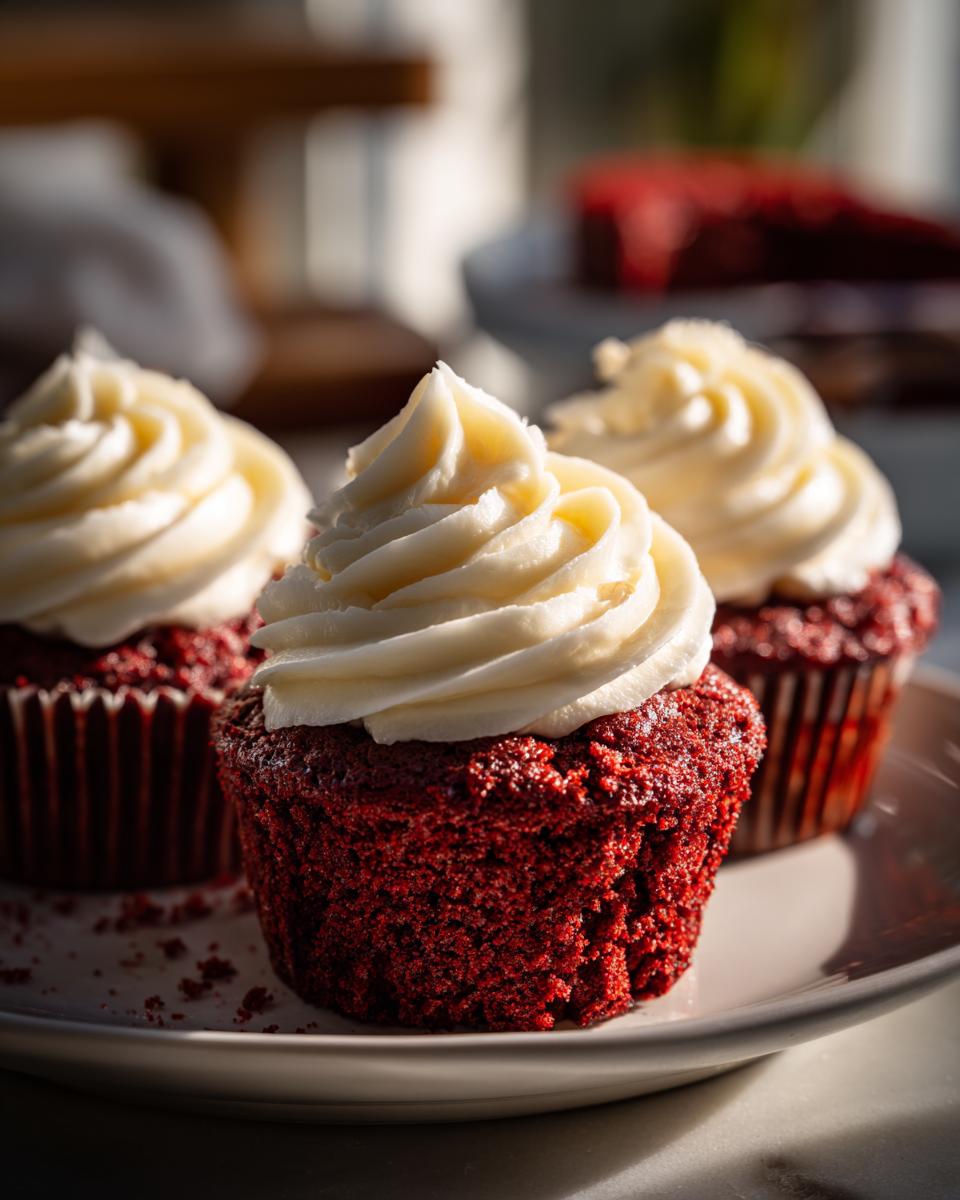
How to Decorate Bakery Style Cupcakes
Now that your red velvet cupcakes are completely cool—and I mean cool, not even slightly warm—it’s time for the fun part: decorating! Making them look like they came straight from a professional shop is actually easier than you think. If you have a piping bag fitted with a star tip, you can create a gorgeous swirl! Just load it up with that amazing frosting and hold the bag right over the center of the cupcake, squeeze steadily while moving in a slow spiral outwards, and stop before you pull the tip away.
But hey, if you’re new to piping and don’t want the fuss, grab an offset spatula! Just swirl the frosting on in a rustic mound. It still looks fantastic! For that professional finish that keeps everything neat, try chilling the frosted red velvet cupcakes in the fridge for about 10 minutes before serving—this sets the frosting perfectly, giving you that coveted bakery style cupcakes look. See? Cupcake decorating easy!
If you are looking for more presentation inspiration, take a peek at how others style their beautiful creations over here: red velvet cupcakes!
Storing and Reheating Your Red Velvet Cupcakes
These beauties really shine the day after baking, but you do need to treat them right! Since we used that incredible cream cheese frosting, they absolutely must be stored in an airtight container in the refrigerator. They’ll keep wonderfully for about three to four days that way, which is great because it means you have leftovers for snacking!
Here’s the most important part about reheating: You don’t really reheat cupcakes, you warm them up temperature-wise. Always take your frosted red velvet cupcakes out of the fridge at least 30 to 45 minutes before you plan to serve them. Letting them come back up to room temperature makes that cake part soft again and ensures the frosting is creamy—nobody enjoys a cold, hard crumb!
Frequently Asked Questions About Red Velvet Cupcakes
I love getting your questions about my red velvet cupcakes! It means you’re out there baking, and that makes me so happy. Here are some of the most common things I hear about getting that perfect color and texture.
Can I skip the vinegar in this red velvet cupcakes recipe?
Oh, I really wouldn’t recommend skipping it! Think of that tablespoon of vinegar as a secret ingredient that ensures you get truly moist red velvet cupcakes. It’s not there just for flavor; it’s necessary for the chemical reaction with the baking soda. When the acid (vinegar) hits the base (baking soda), it creates carbon dioxide bubbles, which gives our cakes that beautiful lift and keeps them tender. If you skip it, they can end up a bit dense, and we definitely don’t want that!
What makes these red velvet cupcakes ‘from scratch’ better than a box mix?
That’s an easy one because the difference is night and day! When you make these from scratch cupcakes, you control everything. Box mixes rely on flavorings, but here, we get real depth from using softened, real butter, not oil. We use buttermilk for authentic tang and texture, and we control the cocoa powder—just enough for that classic earthy note without overpowering the red. Plus, when you make them yourself, you get to brag that they are truly homemade dessert ideas, not something scooped out of a box!
For some other great baking insights on this classic treat, take a look at what the folks over at red velvet cupcakes have to say!
Sharing Your Homemade Dessert Ideas
Baking is always better when it’s shared, isn’t it? I’m so excited for you to try these red velvet cupcakes! Knowing I helped you create something beautiful and delicious is truly why I do what I do here at Devour Dish. Once you’ve made them and you’re admiring your perfectly swirled frosting, I would absolutely love for you to come back and tell me how they turned out!
Did the tangy cream cheese frosting win everyone over? Did you manage to keep them around long enough to see the next day? Please leave a rating right below the recipe card—it helps other bakers know this is a recipe they can really trust. And if you snap a picture of your gorgeous treats, tag me on social media! I live for seeing your successful homemade dessert ideas come to life in your own kitchens.
From my kitchen to yours, thank you so much for baking along with me today! Happy cooking, friend!
PrintThe Ultimate Moist Red Velvet Cupcakes with Classic Tangy Cream Cheese Frosting

Bake rich, moist red velvet cupcakes from scratch. This recipe delivers the signature soft texture and vibrant color, topped with the best tangy cream cheese frosting.
- Prep Time: 20 min
- Cook Time: 20 min
- Total Time: 40 min
- Yield: 12 servings 1x
- Category: Dessert
- Method: Baking
- Cuisine: American
- Diet: Vegetarian
Ingredients
- 1 1/2 cups all-purpose flour
- 1 teaspoon baking soda
- 1 teaspoon unsweetened cocoa powder
- 1/2 teaspoon salt
- 1 cup granulated sugar
- 1/2 cup unsalted butter, softened
- 2 large eggs
- 1 teaspoon vanilla extract
- 1 cup buttermilk
- 1 tablespoon white vinegar
- 1–2 teaspoons red food coloring (gel preferred for vibrant red velvet)
- 1 (8 ounce) package cream cheese, softened
- 1/2 cup unsalted butter, softened
- 3 cups powdered sugar, sifted
- 1 teaspoon vanilla extract
- 1/4 teaspoon salt
Instructions
- Preheat your oven to 350°F (175°C). Line a 12-cup muffin tin with paper liners.
- In a medium bowl, whisk together the flour, baking soda, cocoa powder, and salt. Set aside.
- In a large bowl, cream together the softened butter and granulated sugar until light and fluffy. Beat in the eggs one at a time, mixing well after each addition. Stir in the vanilla extract.
- In a small bowl, mix the buttermilk, vinegar, and red food coloring until the color is uniform.
- Alternate adding the dry ingredients and the buttermilk mixture to the butter mixture, beginning and ending with the dry ingredients. Mix only until just combined; do not overmix.
- Spoon the batter evenly into the prepared cupcake liners, filling each about two-thirds full.
- Bake for 18 to 20 minutes, or until a toothpick inserted into the center comes out clean. Let the cupcakes cool in the pan for 5 minutes before transferring them to a wire rack to cool completely.
- To make the cream cheese frosting, beat the softened cream cheese and butter together until smooth. Gradually beat in the sifted powdered sugar until fully incorporated. Mix in the vanilla extract and salt. Beat on medium-high speed until the frosting is light and fluffy.
- Once the cupcakes are completely cool, pipe or spread the cream cheese frosting onto each cupcake.
Notes
- For the most vibrant red velvet cupcakes, use a high-quality gel food coloring instead of liquid drops.
- Buttermilk reacts with the baking soda to give these cupcakes their classic tender crumb. Do not substitute.
- To achieve bakery style cupcakes, chill the frosted cupcakes for 10 minutes before serving.
Nutrition
- Serving Size: 1 cupcake
- Calories: 380
- Sugar: 40g
- Sodium: 250mg
- Fat: 21g
- Saturated Fat: 13g
- Unsaturated Fat: 8g
- Trans Fat: 0.5g
- Carbohydrates: 48g
- Fiber: 1g
- Protein: 4g
- Cholesterol: 75mg