
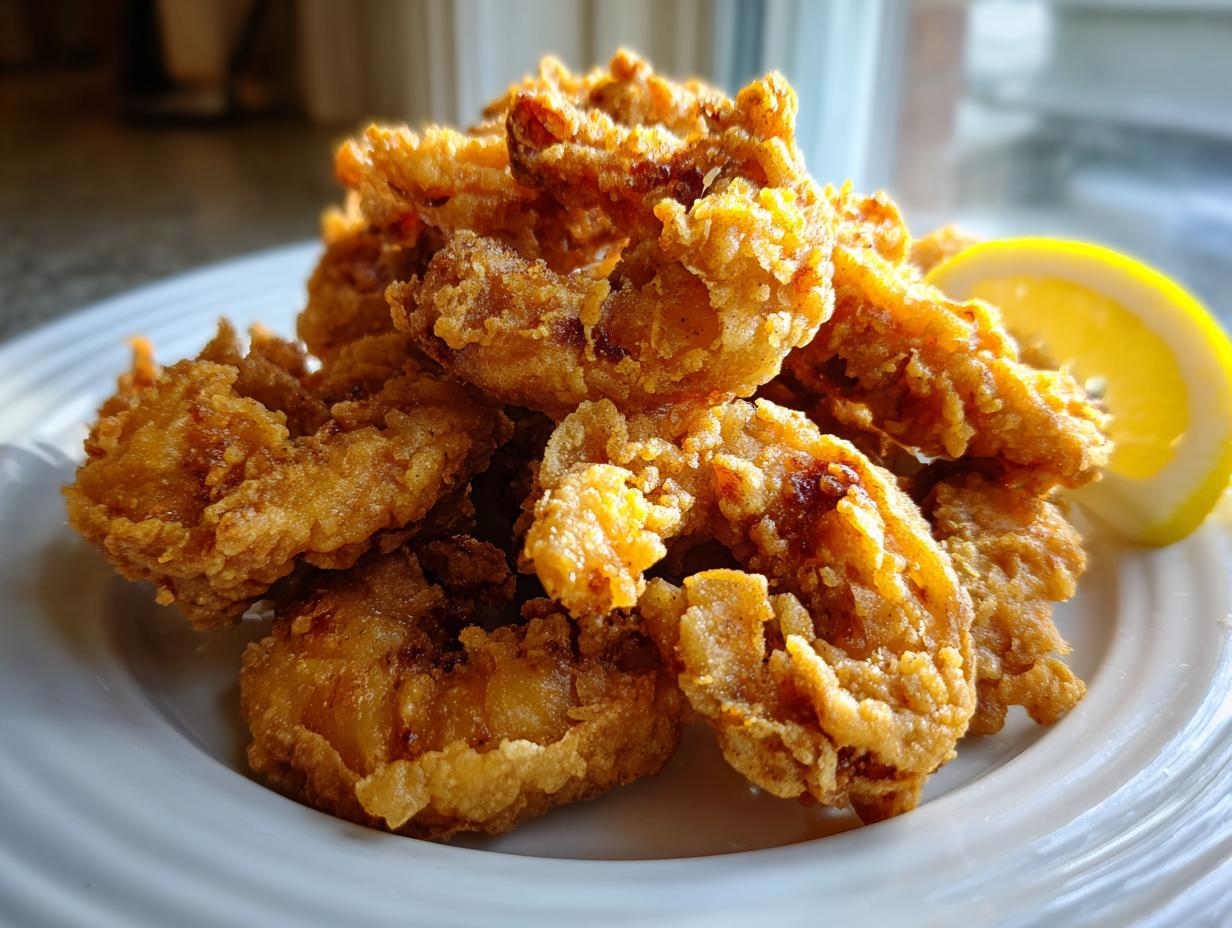
Oh, friends, when that craving hits for golden, crunchy seafood, nothing else will do. I’m talking about shrimp so crispy they practically shatter when you bite them. That’s why I’m sharing my ultimate Crispy Southern Fried Shrimp Recipe today. This isn’t fussy; it’s pure, comforting, reliable deliciousness—the kind of fried shrimp that belongs right next to hushpuppies on a Saturday night. When I develop recipes here at Devour Dish, I look for that sweet spot where effort meets incredible payoff, and this crispy coating delivers that every single time. You can pair these beauties with my quick shrimp Creole recipe if you want a full seafood feast! Get your oil hot, because we are making the best seafood treat!

- Why This Crispy Fried Shrimp Recipe Delivers Restaurant Style Fried Shrimp
- Gathering Ingredients for Perfect Fried Shrimp
- Step-by-Step Deep Fried Shrimp Tutorial
- Tips for How to Make Fried Shrimp Crispy Every Time
- Serving Suggestions: Best Dipping Sauces for Fried Shrimp
- Making Southern Fried Shrimp Ahead of Time
- Frequently Asked Questions About Fried Shrimp
- Estimated Nutrition for This Easy Fried Shrimp Recipe
- Share Your Perfect Fried Shrimp Success
Why This Crispy Fried Shrimp Recipe Delivers Restaurant Style Fried Shrimp
Listen, if you’ve ever been disappointed by heavy, greasy seafood, I get it. We fix that here! This recipe relies on a couple of classic tricks that guarantee you get truly unforgettable fried shrimp. It’s about technique, not complicated ingredients. I use the same principles I use for amazing fried chicken, the recipe I detailed right here, but tailored perfectly for delicate shrimp so they stay juicy inside while achieving that perfect crunch.
- Keeps the shrimp incredibly tender where it counts.
- Produces a thick, highly textured crust that stays attached.
- Guarantees that beautiful, golden brown finish we all chase.
The Secret to Crispy Fried Shrimp: Buttermilk and Double Dredging
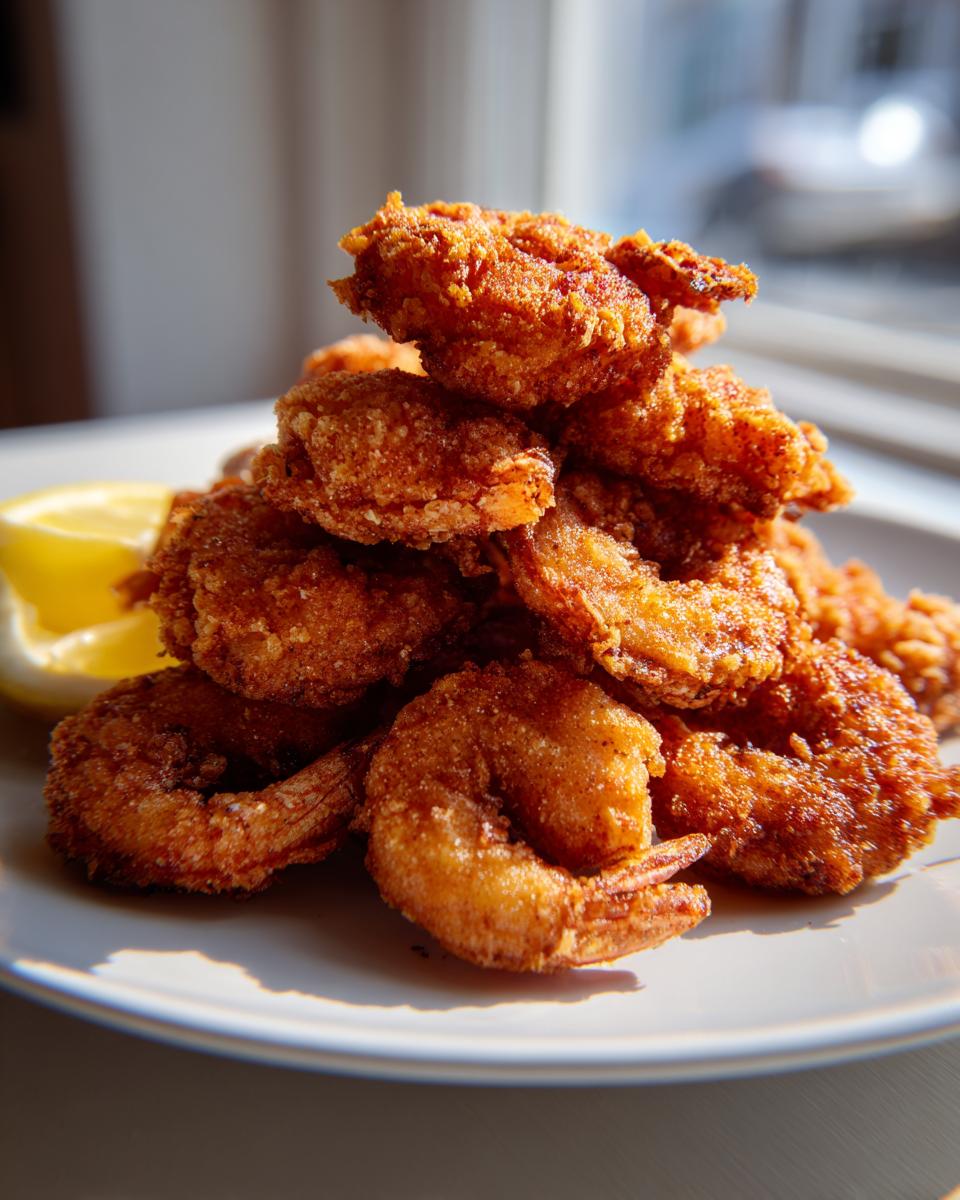
Two things make the magic happen for this crispy fried shrimp. First, the buttermilk soak. Don’t skip it! The buttermilk tenderizes the shrimp ever so slightly, but more importantly, its thickness gives the flour something substantial to cling to. Then, we double dredge. That means dipping in the wet mix, coating in flour, dipping back into the wet mix briefly, and then back into the flour again! Press firmly during that second flour coating. That repetition builds those wonderful little craggy bits that fry up shatteringly crisp.
Gathering Ingredients for Perfect Fried Shrimp
Before we even think about heating up the oil, we need our players assembled! I’ve listed everything you need below for about four satisfying servings. When you’re buying shrimp, really look for the freshest ones you can find—we want those gorgeous, peeled and deveined beauties, and yes, keep the tails on! It just gives you something to hold onto. If you love a little heat, don’t forget that optional hot sauce in the wet mix! For serving after, you might want to whip up my super savory Cowboy Butter Dipping Sauce!
The Best Fried Shrimp Coating Mix
This dry mix is where the flavor really pops! Don’t be tempted to skip the cornstarch; that’s our secret weapon for achieving that light, sturdy layer that makes the best fried shrimp coating. It’s what keeps the crust from getting heavy. Mix everything really thoroughly so that when you dredge those lovely shrimp, every particle of flour is seasoned evenly. You want a beautiful pale orange hue from the paprika throughout!
- 2 pounds extra large shrimp, peeled and deveined, tail on
- 2 large eggs
- 1/2 cup buttermilk
- 1 tablespoon hot sauce (optional)
- 1 1/2 cups all-purpose flour
- 1/2 cup cornstarch
- 1 teaspoon salt
- 1 teaspoon black pepper
- 1 teaspoon garlic powder
- 1 teaspoon smoked paprika
- 1/2 teaspoon onion powder
- 1/2 teaspoon cayenne pepper (optional, for heat)
- Peanut oil or vegetable oil, for frying
- Lemon wedges, for serving
Step-by-Step Deep Fried Shrimp Tutorial
Alright, let’s get cooking! Making amazing fried shrimp is totally straightforward once you follow the order. It seems like a lot of steps, but trust me, this is our blueprint for perfectly crunchy results. We need to set up our stations before we even turn on the heat. Once everything is ready, the actual frying goes super fast! If you’re curious about avoiding deep frying later, I have some notes on how to manage air fryer frozen shrimp, but for this recipe, we are using the classic method!
Prepping the Shrimp and Seasoned Flour
First thing’s first: take those shrimp and pat them down until they are bone dry. I mean it—use a ton of paper towels! If they are damp, the coating won’t stick, and that ruins everything. While they are drying off, whisk your eggs and buttermilk together in one bowl until they are creamy. Then, mix up your flour blend really well in the other shallow dish until you see that paprika creating uniform color everywhere. Dry goes with dry, wet goes with wet. Easy peasy!
Mastering the Double Dredge for Homemade Fried Shrimp
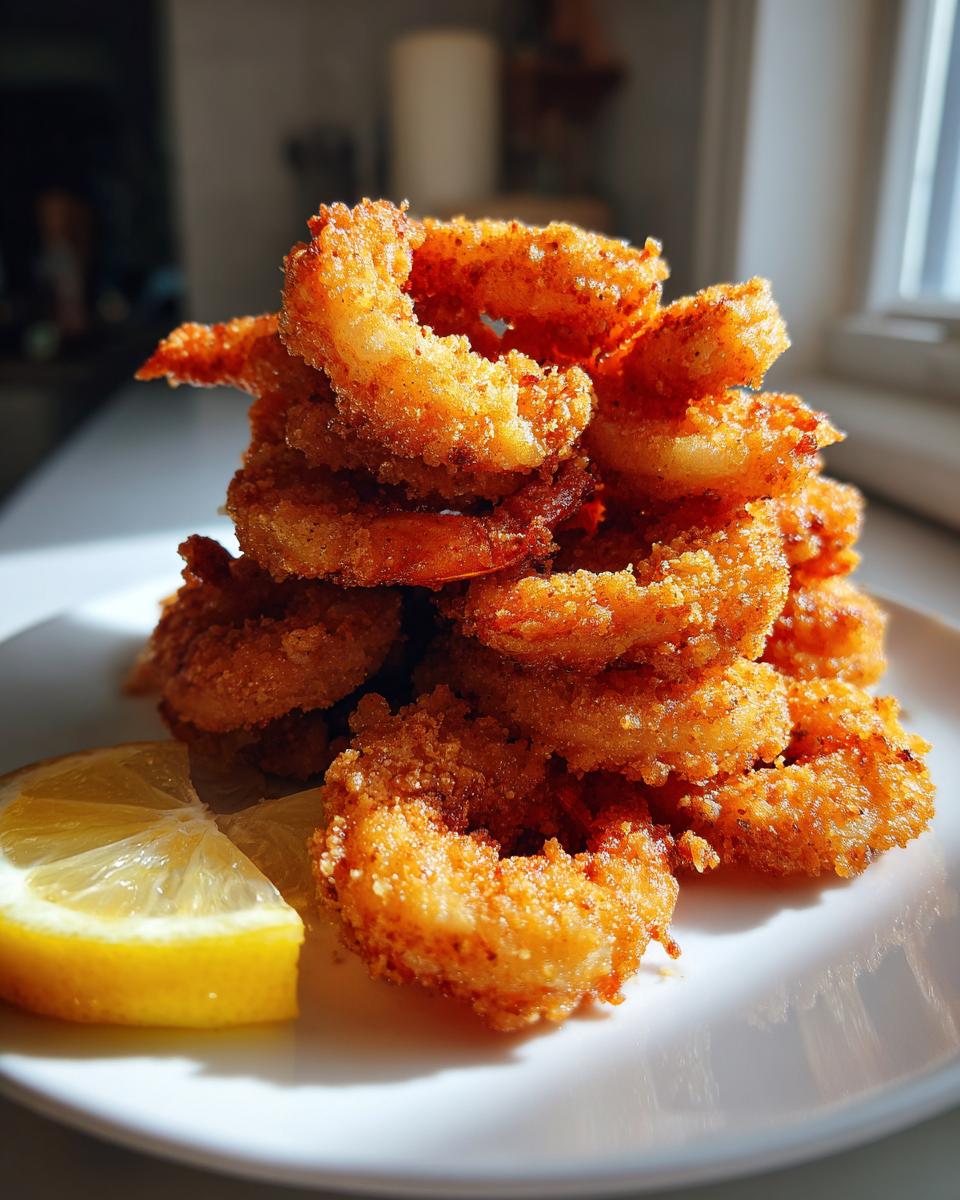
This is our texture step! Take your dry shrimp, dip it gently into the buttermilk—let the excess drip off for just a second. Then, it goes into the flour mixture. Press that coating on there! Next, dip it *right* back into the wet mix, just quick, and finish it off back in the flour. As you press that final coating on, you’re building the craggy, amazing texture that defines great homemade fried shrimp. Lay them on a wire rack until they are ready for the oil.
Oil Temperature Control for Golden Brown Shrimp Appetizer
If you want that beautiful, non-greasy finish, you must nail the oil temperature. You really need a thermometer—don’t guess! We are aiming for a steady 360 degrees Fahrenheit. When you carefully place the shrimp in, they should sizzle immediately but not violently. If you crowd the pot, the oil temperature drops too fast, and suddenly you have a mushy mess. Work in small batches so every piece of this golden brown shrimp appetizer cooks evenly for just 2 or 3 minutes per side.
Tips for How to Make Fried Shrimp Crispy Every Time
I know we talked about the double dredge, but let’s hammer home the absolute must-dos that separate amazing fried shrimp from just okay shrimp. Soggy coating is the enemy, right? It usually happens for two reasons, and we can defeat both!
First, dry shrimp! I can’t say it enough. If those shrimp have even a single bead of moisture on them when they hit that flour, the coating will slip right off into the oil. Pat, pat, pat them dry before they even see the buttermilk bath.
Second, consistency in the fryer matters so much. Make sure your oil is fully up to 360°F before the first batch goes in! If your oil temperature drops below 345°F, the coating starts absorbing oil instead of crisping up. If you need a break between small batches, let the oil recover its heat. It’s worth the extra minute of waiting for that perfect crunch we achieved with the buttermilk and double dredge!
If you want a super simple, non-fried alternative for a weeknight, check out my guide for easy sheet pan taco pizza dinner—sometimes you just need to skip the deep fry altogether!
Serving Suggestions: Best Dipping Sauces for Fried Shrimp
What’s a perfectly crispy piece of seafood without something wonderful to dunk it into? Honestly, that’s half the fun! I love keeping things simple since the shrimp itself is so flavorful, but a great sauce really elevates this whole experience from a great snack to a truly memorable seafood night. Since we went with that beautiful Southern Style coating, we need slightly tangy, slightly creamy accompaniments.
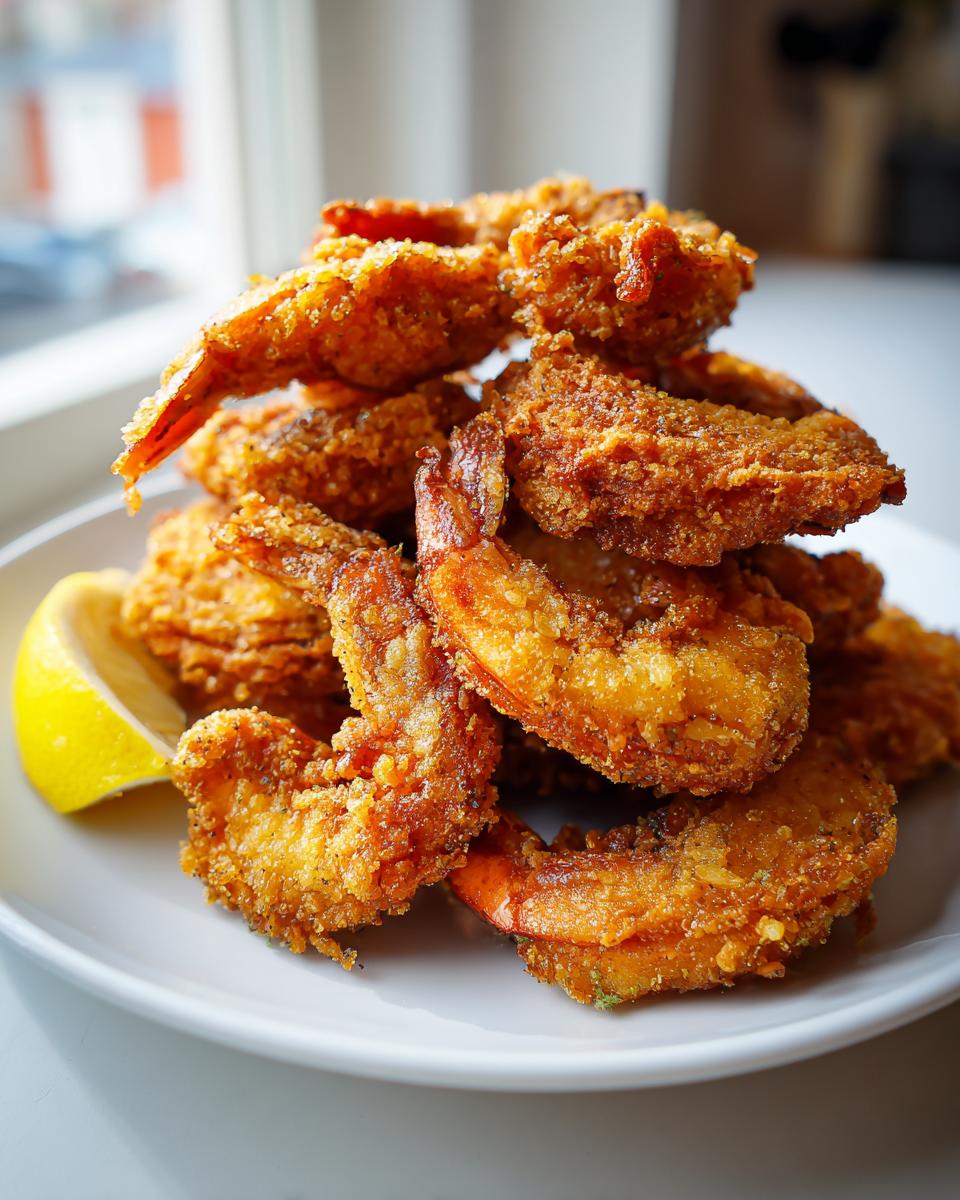
For a quick fix, you can’t beat fresh lemon wedges—that bright acid cuts through the richness of the fry beautifully. A simple mixture of ketchup and prepared horseradish is always a crowd-pleaser too. But if you really want to commit to that deep Southern flavor, you absolutely need a good remoulade sauce.
I have a recipe for the most incredible, zesty, Louisiana-style remoulade sauce that pairs just perfectly with the smoky paprika in our coating. It’s creamy, it’s got great spice, and it turns regular fried seafood into something special. If you don’t have time for that, even a good, thick tartar sauce works wonders. The key is having something cool and sharp ready to go when those hot, crunchy shrimp come out of the oil!
Making Southern Fried Shrimp Ahead of Time
I know, I know. The absolute best time to eat this is straight out of the fryer, sizzling hot. But life happens, right? Sometimes you need a quick seafood dinner but don’t have 30 minutes to prep and fry. The good news is you absolutely can prep elements of this southern fried shrimp recipe ahead of time to make weeknights way easier!
You have two main options here, and both work wonderfully for making future meals lightning-fast. You have to be careful not to let the breading get soggy, so storage is everything.
Freezing Pre-Dredged Shrimp
This is my favorite trick for busy weekends. Once you complete that double dredge and the shrimp is fully coated, don’t let it sit around! Lay the coated shrimp single-file on a baking sheet lined with parchment paper. Make sure none of the pieces are touching. Pop that whole tray into the freezer for about an hour until they are frozen solid. Once they’re firm little nuggets, transfer them to a good quality, airtight freezer bag. You can even slip one of those bags of coated shrimp into another bag with one of my easy freezer jam recipes for a full future meal!
When you’re ready to cook, don’t thaw them! Just increase your frying oil temperature slightly to 375°F and add an extra minute or two to the frying time. They will cook right from frozen, which keeps that crust locked tight.
Quick Prepping for Later Assembly
If you don’t want to freeze them, you can still save time. You can peel and devein all your shrimp a day or two ahead of time and keep them tightly covered in the fridge. You can also mix up your seasoned flour blend and keep that sealed in an airtight container on the counter. This basically collapses your prep time down to just the 15 minutes needed for the wet mix and the dredging process on the day you want to eat!
Frequently Asked Questions About Fried Shrimp
I always get so many questions when people try this recipe for the first time—which is wonderful! It usually means people are trying to optimize their technique for the absolute best results. I gathered a few of the most common queries about achieving that elusive perfect crunch and what to do with leftovers. We want this easy fried shrimp recipe to work flawlessly for you!
Can I use an Air Fryer Fried Shrimp Alternative?
Yes, you absolutely can, especially if you are looking for a lighter option that cuts down on oil. Remember, it won’t give you that deep-fried richness, but you can still get great texture! After you complete the double dredge using the buttermilk and that amazing best fried shrimp coating, you need to place the coated shrimp in a single layer in your air fryer basket. Do not overlap them, or they will steam instead of crisp. Spray the tops lightly with cooking spray. Cook them at 400 degrees Fahrenheit for about 8 to 10 minutes total, flipping them once halfway through until they look beautiful and golden brown. If you often use your air fryer for sides, you should check out my recipe for air fryer french fries recipe crispy easy!
How long can I store leftover fried shrimp?
This is tricky because, like most breaded, fried foods, they truly shine straight from the hot oil. However, if you have extras, here is the best way I’ve found to store them. Once they are completely cooled on the wire rack, put them in an airtight container—but here’s the key—line the bottom layer with a paper towel first! This absorbs any residual moisture that tries to sneak up and wilt the coating.
You can keep them like this in the fridge for up to two days. When you reheat them, skip the microwave unless you enjoy rubbery shrimp! To bring back some crisp factor, spread them on a baking sheet and reheat them in a conventional oven set to 375°F for about 6 to 8 minutes. That quick blast of dry heat helps revitalize that wonderfully crisp crust we worked so hard to build!
Estimated Nutrition for This Easy Fried Shrimp Recipe
Now, I always mention this when we get to the nutrition information: please treat these numbers as a friendly guideline, because what you use for oil, the exact size of your shrimp, and how much seasoning you sprinkle on definitely changes things! Cooking at home gives you wonderful control, but it also means these numbers are estimates based on standard ingredient measurements, okay?
Since this is a fried dish, we know the fat content is going to be a bit higher than if we were baking it, but oh my goodness, that double dredge is worth it for the texture! If you’re ever curious about balancing out your meals on other days, check out my recipe for the easy high-protein Mediterranean bean salad—it’s a completely different vibe but great for a lighter lunch!
Here’s the breakdown for one serving (about 6 ounces) based on the recipe above:
- Serving Size: 6 ounces
- Calories: 450
- Fat: 25g (with 5g saturated fat)
- Carbohydrates: 30g
- Protein: 30g
- Sodium: 650mg
- Cholesterol: 250mg
See? Great protein boost to keep you full, and plenty of flavor from our coating mix! Enjoy these beautiful shrimp, and remember they are meant to be a treat!
Share Your Perfect Fried Shrimp Success
Wow, I am so excited for you to try making this unbelievably crispy fried shrimp! Seriously, when you pull that first batch out of the oil, golden brown and crackling—you’re going to feel like a kitchen superstar. That’s the joy of sharing simple, reliable recipes that absolutely nail the comforting flavor we’re looking for.
I genuinely want to know how it went for you! Did the double dredge work its magic? Did you manage to keep that oil perfectly hot? Please, please, please drop a rating down below. Even better, leave me a comment telling me what you served them with. Were you team tartar sauce or did you try my famous remoulade?
If you snapped a picture of your beautiful, crunchy seafood spread, I would absolutely love to see it! You can tag me over on social media—that always makes my day brighter. And when you’re ready for your next easy seafood adventure, don’t forget you can always get in touch with me via my contact page. Thank you so much for cooking with me today. Happy eating!
PrintCrispy Southern Fried Shrimp Recipe

Learn how to make the best crispy fried shrimp using a simple buttermilk soak and double dredging method for a golden, crunchy texture perfect for a quick seafood dinner.
- Prep Time: 20 min
- Cook Time: 10 min
- Total Time: 30 min
- Yield: 4 servings 1x
- Category: Dinner
- Method: Deep Frying
- Cuisine: Southern
- Diet: Non-specific
Ingredients
- 2 pounds extra large shrimp, peeled and deveined, tail on
- 2 large eggs
- 1/2 cup buttermilk
- 1 tablespoon hot sauce (optional)
- 1 1/2 cups all-purpose flour
- 1/2 cup cornstarch
- 1 teaspoon salt
- 1 teaspoon black pepper
- 1 teaspoon garlic powder
- 1 teaspoon smoked paprika
- 1/2 teaspoon onion powder
- 1/2 teaspoon cayenne pepper (optional, for heat)
- Peanut oil or vegetable oil, for frying
- Lemon wedges, for serving
Instructions
- Prepare the shrimp: Pat the shrimp completely dry with paper towels. This step is key for crispiness.
- Make the wet mixture: In a medium bowl, whisk together the eggs, buttermilk, and hot sauce until combined.
- Make the seasoned flour: In a separate shallow dish, combine the flour, cornstarch, salt, pepper, garlic powder, smoked paprika, onion powder, and cayenne pepper (if using). Mix well to create your best fried shrimp coating.
- Soak the shrimp: Dip the dried shrimp into the buttermilk mixture, allowing excess to drip off.
- First dredge: Transfer the buttermilk-coated shrimp to the seasoned flour mixture. Press the flour onto the shrimp to coat thoroughly.
- Second dredge (for extra crunch): Dip the floured shrimp back into the buttermilk mixture briefly, then return them to the seasoned flour mixture. Press firmly again to create a thick, craggy crust. Place the coated shrimp on a wire rack set over a baking sheet.
- Heat the oil: Pour enough oil into a deep, heavy-bottomed pot or Dutch oven to reach about 2 inches deep. Heat the oil to 360 degrees Fahrenheit (182 degrees Celsius). Use a thermometer to monitor the temperature; maintaining this heat is essential for restaurant style fried shrimp.
- Fry the shrimp: Working in batches to avoid overcrowding the pot, carefully lower the shrimp into the hot oil. Fry for 2 to 3 minutes per side, turning once, until they are golden brown and cooked through.
- Drain: Remove the shrimp with a slotted spoon and place them immediately on a clean wire rack set over paper towels to drain excess oil.
- Serve immediately: Serve your crispy fried shrimp hot with lemon wedges and your favorite dipping sauces, like tartar or cocktail sauce.
Notes
- For the crispiest fried shrimp, make sure your oil temperature stays consistent. If the oil is too cool, the coating will absorb too much grease and become soggy.
- If you want to make this an air fryer fried shrimp alternative, cook at 400 degrees Fahrenheit for 8-10 minutes, flipping halfway, after coating.
- This recipe works well for a quick seafood dinner when you need something fast and satisfying.
Nutrition
- Serving Size: 6 ounces
- Calories: 450
- Sugar: 2
- Sodium: 650
- Fat: 25
- Saturated Fat: 5
- Unsaturated Fat: 20
- Trans Fat: 0
- Carbohydrates: 30
- Fiber: 1
- Protein: 30
- Cholesterol: 250