

Oh, I know the feeling! You pick the most gorgeous, ripe strawberries at the market, smelling that perfect summer sweetness, and you just want to capture that flavor to spread on toast in the middle of January. Am I right? Well, forget wrestling with giant steam clouds and complicated sterilization techniques. That’s the old way!
As you can see on my About Page, I’m Avery, and I started Devour Dish because I believe in keeping things simple, and that goes double for preserving fruit. This recipe for freezer jam is, hands down, the easiest way to get authentic, vibrant fruit flavor into a jar without ever turning on your stove for a prolonged boil. Trust me, this easy freezer jam recipe lets you skip the canning process entirely. It’s pure, concentrated summer made simple, and I can’t wait for you to try it!

- Why This Strawberry Freezer Jam is Your New Go-To Summer Fruit Preservation
- Ingredients for Perfect Strawberry Freezer Jam
- Step-by-Step Strawberry Freezer Jam Tutorial
- Tips for Success When Making Freezer Jam
- Beyond Strawberry: Preserving Fresh Fruit Flavors with Freezer Jam
- Serving Suggestions for Your Easy Spread Recipes
- Storage and Make Ahead Jam Planning
- Frequently Asked Questions About Making Freezer Jam
- Share Your Amazing Freezer Jam Creations
Why This Strawberry Freezer Jam is Your New Go-To Summer Fruit Preservation
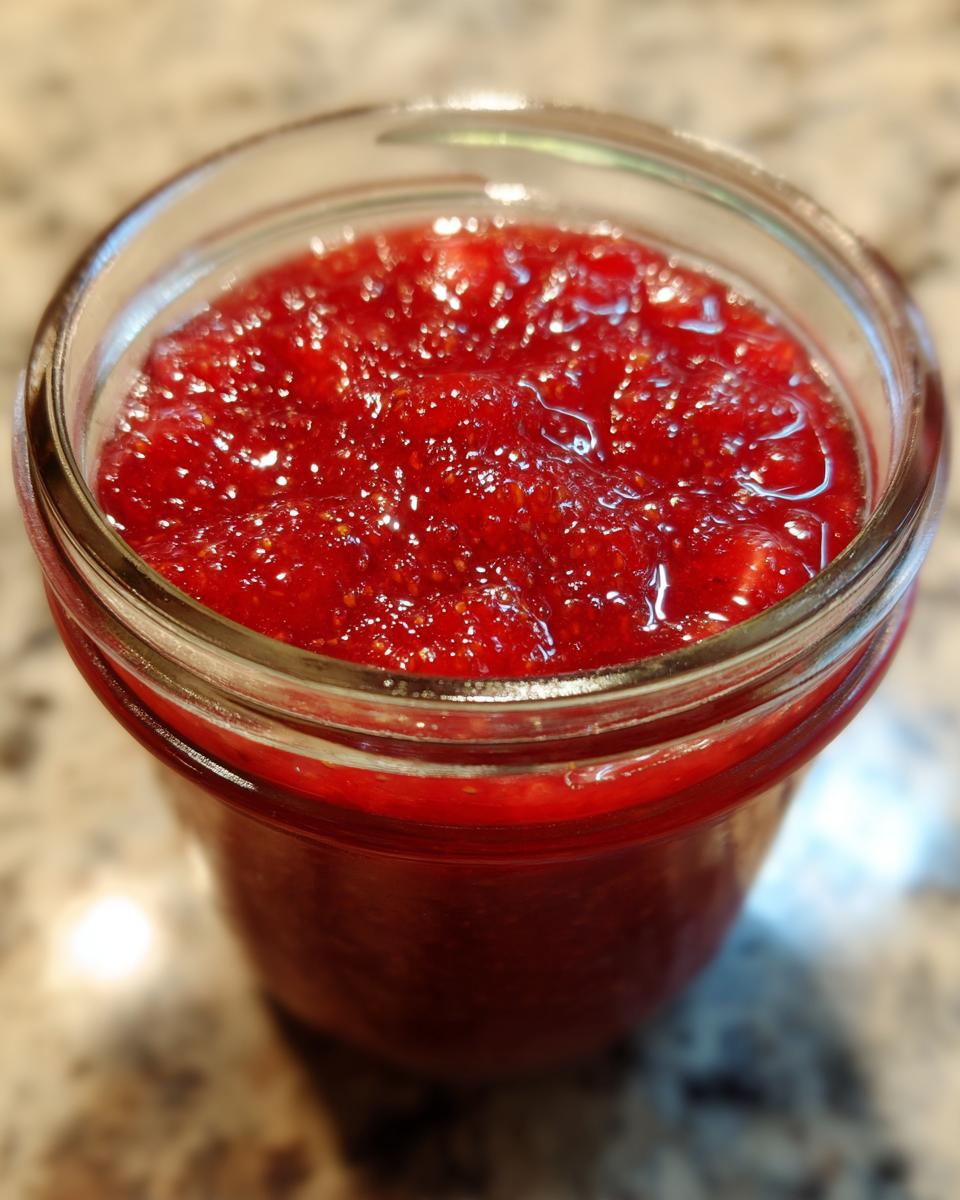
When we talk about freezer jam, we aren’t talking about something that tastes cooked down or watered-out. Because we skip that long boiling step, this recipe captures the bright, vibrant taste of the fresh strawberries right off the vine. It’s preservation magic, truly! This method is absolutely unbeatable for locking in that just-picked flavor.
It’s the perfect solution for capturing the season without spending your whole afternoon over a hot stove. If you’ve been looking for ways to preserve summer fruit, look no further. Don’t forget to check out my recipe for easy homemade onion dip later—it’s a total crowd-pleaser!
Quick Jam Recipe: Ready in Under 30 Minutes
Seriously, this is the beauty of it! You are looking at maybe 20 minutes of active work, tops. That’s it! We are talking about quick jam recipe territory here. Because this is such a simple process, it’s perfect if you’re just dipping your toes into preserving. You can easily scale this up or down, making it a fantastic small batch jam recipe for beginners who don’t want to commit to several gallons of finished product.
The Appeal of No Canning Jam Recipes
Let’s be honest, the intimidating part of traditional jam making is that giant pot of boiling water. Nobody loves hauling that thing out! The huge selling point for this method is that it falls squarely into the beloved category of no canning jam recipes. We don’t blanch, we don’t process, we just mix and freeze! It’s the ultimate no cook jam experience, and it means you keep the fresh taste without the fuss.
Ingredients for Perfect Strawberry Freezer Jam
Okay, the ingredient list for this freezer jam is almost suspiciously short, which is why I love it! Since we aren’t cooking this down, every single item plays a huge role in getting that perfect texture. Remember, we are trying to capture summer flavor, not boil it away. I sometimes prepare everything the night before and keep my berries cold in the fridge, which helps keep the whole process fast the next day. While you’re here, make sure you check out my graham cracker toffee—it’s my other easy, addictive treat!
Here is exactly what you need for this sweet, simple batch:
- 4 cups fresh strawberries, hulled and crushed
- 7 cups granulated sugar
- 1 package (1.75 oz) powdered fruit pectin
- 1/2 teaspoon butter (optional, but I use it!)
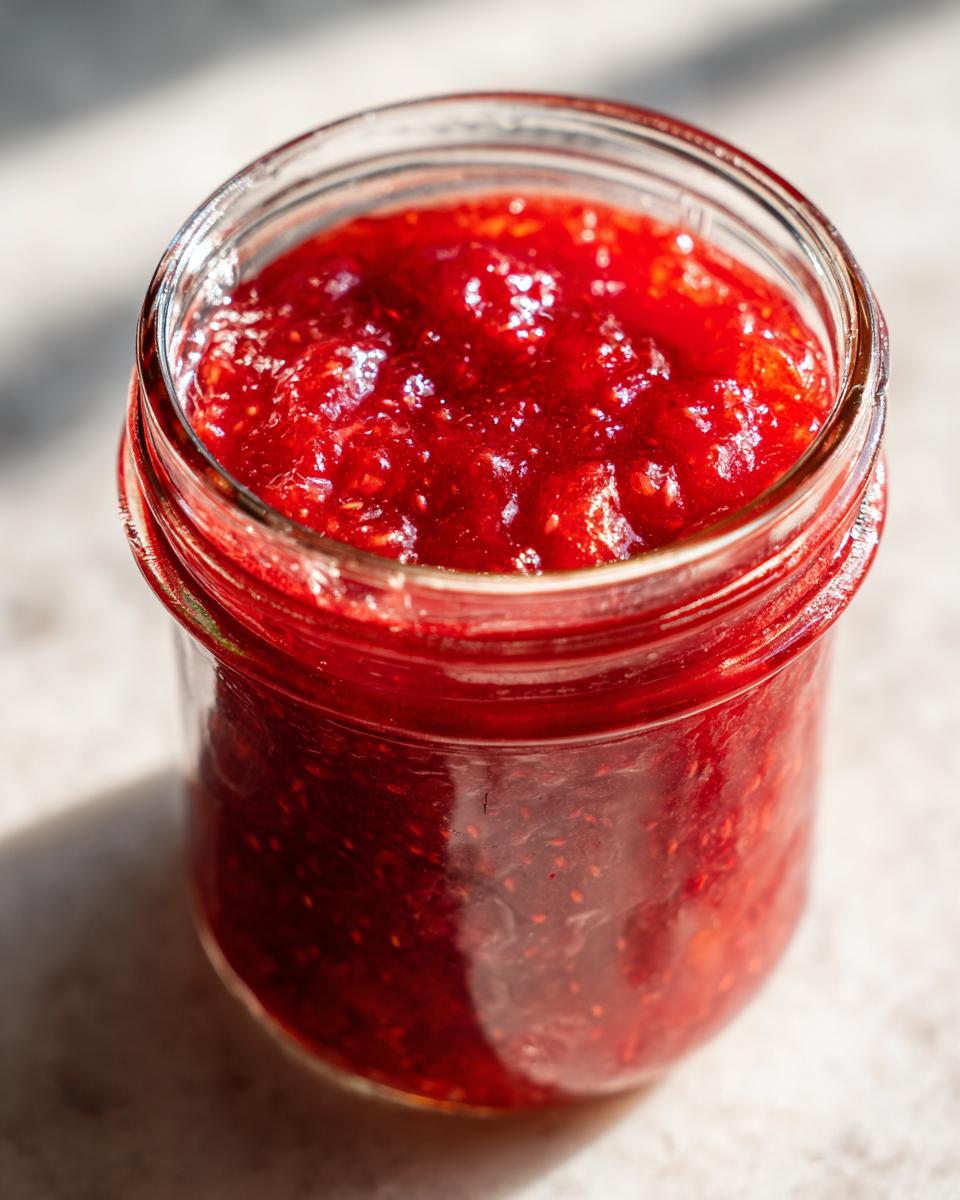
When crushing your strawberries, don’t blend them into baby food! You want some little chunks left so you get that satisfying bite when you spread the jam. For the crushing, I just use a potato masher right in a large bowl. It’s quick, and it works perfectly.
Fruit Pectin Jam Recipe Versus Freezer Jam Without Pectin
This is where people sometimes get confused, so let me clear it up! Because this is a true no cook jam, we need the help of powdered fruit pectin to make sure it sets up nicely in the cold. That pectin is activated by the sugar and the acid in the fruit, giving us that beautiful spreadable texture without ever boiling it. If you were making a freezer jam without pectin, you would have to cook the fruit and sugar for a long time to reduce the water content. Gross! That adds that heavy, cooked flavor we are specifically trying to avoid here with this excellent fruit pectin jam recipe.
Step-by-Step Strawberry Freezer Jam Tutorial
This is the fun part! Once you have your crushed berries ready, the active work in this strawberry freezer jam tutorial moves really fast, which is why I love it. Remember, the goal is to mix everything together so the pectin can start doing its job right away! If you’re looking for a serious treat later, after you finish this, you absolutely have to try my easy salted caramel cheesecake recipe—it’s divine.
Here is exactly how we get this delicious homemade freezer jam ready for the deep freeze:
- First things first: get your freezer containers ready! You need clean jars or sturdy containers and lids ready to go before you add the sugar.
- Measure out your crushed fruit into a large mixing bowl.
- This next bit is super important, so pay attention! In a small, separate bowl, you need to mix the powdered fruit pectin thoroughly with 1 cup of your granulated sugar. Make sure it’s totally blended.
- Now, add that pectin-sugar mix straight into your fresh strawberries. Stir that combo really well for about 2 full minutes. This gets the pectin activated just right!
- Add the rest of that sugar—the remaining 6 cups—into the fruit mixture. You need patience here, stirring until every single sugar crystal is dissolved. If you feel any grit when you rub it between your fingers, keep stirring!
- If you are using that little bit of butter to cut down on foam, stir it in now.
- Ladle the jam into your prepared jars. Here’s a major tip: leave about half an inch of space at the top of each container—that’s called headspace, and it stops your jars from cracking when the jam expands as it freezes solid!
- Wipe those rims clean for a nice seal, put the lids on, and then let them sit on the counter at room temperature for a solid 30 minutes. This gives the pectin a head start on setting up before it hits the cold.
- Into the freezer they go! We wait about 24 hours until they are rock solid.
Mixing the Pectin and Sugar for Your Homemade Freezer Jam
I can’t stress this enough: separating the pectin first is key to success in any homemade freezer jam. If you dump the plain pectin right into the crushed fruit, it tends to clump up into gritty, unhappy little blobs that won’t dissolve later. By mixing it with about a cup of sugar first, you essentially coat those pectin particles, allowing them to be dispersed evenly through the fruit mixture when you stir it in. Then, when you add the rest of the sugar, everything melts together beautifully and sets up perfectly when it freezes!
Preparing Containers and Thawing Instructions for Freezer Jam
Since we aren’t water-bath canning here, we are relying on the freezer for long-term preservation, which means your containers have to be freezer-safe. Avoid thin plastic that might get brittle! Remember the headspace rule: never fill your jars right to the very top lip. When you’re ready to eat your jam—whether it’s jam for toast or yogurt—just take one jar out of the freezer and pop it into the refrigerator. It thaws surprisingly fast, usually within a few hours, and then it’s ready to enjoy!
Tips for Success When Making Freezer Jam
You know, the first time I tried to make freezer jam, I totally messed up. I rushed the sugar stirring, impatient as anything, and the result was this weird, grainy sludge that never quite set right. Oops! But hey, that’s how we learn, right? Now I know the non-negotiable steps that make this simple process foolproof. Since we aren’t cooking this down, we have to be a little more precise than regular jam making.
I learned quickly that the quality of your fruit makes the biggest impact on how great your homemade freezer jam tastes. You absolutely need firm, ripe strawberries. If the berries are mushy or overly soft, they tend to break down too much during the crushing phase and won’t give you that nice texture we are aiming for.
Another major trust-builder in this quick method is making sure that sugar vanishes completely. Don’t settle for slightly gritty! If you can still feel those individual sugar crystals when you rub the developing jam between your thumb and forefinger—keep stirring! Once that sugar dissolves into the fruit liquid, the pectin knows exactly what to do when it gets chilled. It’s this dedication to the little details that makes this so much better than just mashing berries into a bowl.
When you are done, check out the flavor profile of my Cowboy Butter dipping sauce—it’s rich, savory, and completely different, but just as satisfying as this sweet jam!
Beyond Strawberry: Preserving Fresh Fruit Flavors with Freezer Jam
While I adore summer strawberries—and this recipe is definitely optimized for them—the best part about this no-cook method is that it works wonderfully for almost any seasonal fruit you want to capture! This opens up so many possibilities for summer fruit preservation. Honestly, the beauty of using pectin in this way means you can have a burst of fresh flavor ready whenever you need it, giving you year round fruit recipes right in your freezer!
If you want to see a few other fantastic ideas for seasonal fruits, take a peek at what my friends are making over at Amy Sue’s blog—they have some great variations. Also, before you dive into other flavors, remember that the base technique stays the same, but you might need to slightly adjust your fruit prep. I always try to keep things easy, much like this easy Mediterranean bean salad I shared recently!
Adapting This Recipe for Blackberry Freezer Jam
Blackberries are an absolute dream for this process! They are naturally a little tarter than strawberries, which I think balances that sugar perfectly, making for what I think is the best blackberry freezer jam flavor. The process is almost identical: crush the berries (some people like them a little chunkier with blackberries), mix with pectin and sugar, and chill. The only tiny thing you might watch out for is if you pick really dry, late-season blackberries. If those berries feel very firm and maybe a little dusty, you might need to add just a tablespoon or two of lemon juice or water to help the pectin dissolve properly before you add the sugar. Nothing major, promise!

Serving Suggestions for Your Easy Spread Recipes
Okay, now that you’ve got these gorgeous jars of bright, fresh homemade freezer jam tucked away, what are you going to do with them? This is my actual favorite part—using them in real life! Because we kept this recipe so simple, it means the jam tastes exactly how the fresh fruit tastes, ready to elevate just about anything you put it on. It shines in the simplest applications, which is exactly what I aim for here at Devour Dish.
I hope you see this as the start of your obsession with developing easy spread recipes for your breakfast table. I swear, nothing beats a slice of good toasted sourdough slathered with jam that tastes exactly like summer. If you’re planning on making some crispy oven potatoes later, treat yourself to a side of toast with this jam—the sweet and savory combo is next level! You can see my favorite way to get those potatoes crispy here.
Don’t forget that you can also check out some other simple, fun jams from my friends! They have a great 5-ingredient strawberry version over there if you ever run out of pectin.
But really, the biggest payoff for avoiding the boiling process is how versatile this jam is:
- Breakfast Boost: Forget plain yogurt! A spoonful of this vibrant jam stirred into plain or vanilla yogurt makes an instant, easy fruit parfait. It’s miles better than the stuff that comes pre-mixed because you control the sugar entirely.
- Toast Perfection: Obviously, it’s amazing on toast, biscuits, or scones. It spreads beautifully once thawed, giving you that lovely, slightly chunky texture.
- Gifting Galore: Because it travels so well from the freezer to the fridge and still looks professional, this recipe is my go-to gift for neighbors, teachers, or thank-yous. Everyone appreciates a thoughtful, homemade gift!
Storage and Make Ahead Jam Planning
Okay, this might be one of the biggest wins for the freezer jam lifestyle: the storage time! Since this isn’t shelf-stable canned product, the freezing is what keeps that fresh fruit flavor locked away perfectly. I’ve read that you can keep properly prepared homemade freezer jam sealed up tight in the freezer for up to a full year. A whole year! That means you can absolutely make a huge batch during peak strawberry season in June, and still enjoy it on your pancakes come next spring. Isn’t that just the greatest feeling?
I often encourage people to make this a real make ahead jam project. If you have 20 minutes free on a rainy Saturday, go ahead and make four batches! Having those frozen jars ready to thaw means you always have a beautiful, high-quality spread on hand without the last-minute rush. You know, just like making a big batch of my easy creamy Dijon chicken skillet on Sunday means you have dinner backup ready to go!
When it comes to actual planning, here’s what I do. I’ll dedicate one afternoon to prepping and filling all the jars for several different batches of freezer jam, seal them up, and get them into the freezer all at once. Then, when I realize I’m running low, I just move one jar from the freezer to the refrigerator the night before I need it. The thawing process is effortless!
You don’t need any special equipment for thawing, just time and space in your fridge. It usually takes about 12 to 24 hours for a standard half-pint jar to thaw completely. Once it’s thawed in the refrigerator, it’s essentially ready to use, though some folks like to let it sit on the counter for 30 minutes just to take the chill off. Just remember, once that quick jam recipe is thawed, it stays in the refrigerator and should be eaten within about three weeks, just like any refrigerator jam!
Frequently Asked Questions About Making Freezer Jam
I get so many questions when people try this for the first time, which totally makes sense! It feels like cheating because it’s so easy that you worry you missed a crucial step. Don’t worry, I promise I haven’t held back any secrets necessary for success. Here are the burning questions I always hear about making freezer jam.
If you’re looking for other quick fixes, make sure you check out my recipe for easy breakfast cookies; they are perfect for grabbing on the way out the door!
Can I make this easy blueberry jam recipe without commercial pectin?
Oh, absolutely you can! Lots of folks want to try a freezer jam without pectin, and that’s fine, but here is the trade-off: this amazing, super-fast recipe relies on the pectin to set the jam nice and thick without heat. If you ditch the pectin, you have to cook that fruit and sugar down for a good 15 to 20 minutes, maybe more, until the water evaporates enough to get that thick texture. That changes this from a 20-minute, no cook jam into something closer to traditional jam making. So yes, you can, but then it’s not really the same quick, fresh preserve we are making here!
Is freezer jam safe if I don’t use a water bath?
Yes, it is 100% safe! This is the best part about freezer jam. Because we are utilizing the freezer for long-term preservation, we don’t need the heat processing step that traditional canning requires to kill off bacteria and sterilize jar lids. The freezer keeps everything locked down and safe. You just need to make sure you are using clean, air-tight containers meant for freezing and always leave that little bit of headspace we talked about. It’s the ultimate in no canning jam recipes!
How long does this homemade freezer jam last?
This is excellent for make ahead jam planning! When stored correctly—lids tight and placed in a consistent, deep freeze—your homemade freezer jam will keep its amazing, fresh flavor for up to one whole year. That’s a long time to have a taste of summer ready to go! Once you thaw a jar in the refrigerator, though, it behaves like refrigerator jam recipes, and you should enjoy it within about three weeks. You can check out a sister recipe for refrigerator jam here as well!
Share Your Amazing Freezer Jam Creations
Whew! That’s it—you’ve done it! You’ve captured the entire season in less than 30 minutes of work. I truly hope you’re as excited as I am about having this bright, fresh freezer jam ready to go whenever you need it.
Now, as part of our Devour Dish family, I really want to hear from you! Did this turn out perfectly? Did you use firm berries or try a different fruit first? Jump down to the comments below and let me know how your batch of this easy freezer jam recipe turned out.
Please rate this recipe for me—your feedback helps me know exactly what kinds of simple, effective recipes you want to see next! And if you snap a picture of your beautiful jars—maybe you’re gifting them or slathering them on my suggested toast—I would absolutely love to see it! Tag me on social media so I can share your wonderful success stories. For any specific cookbook questions or issues, you can always reach out through my Contact Page.
Happy spreading, everyone!
PrintEasy Strawberry Freezer Jam: No Cook, No Canning Required

Make homemade strawberry jam in under 30 minutes. This easy freezer jam recipe uses fresh berries and pectin for a perfect, no-boil spread you can enjoy all year.
- Prep Time: 20 min
- Cook Time: 0 min
- Total Time: 20 min
- Yield: About 6 half-pint jars 1x
- Category: Preserves
- Method: No-Cook Setting
- Cuisine: American
- Diet: Vegetarian
Ingredients
- 4 cups fresh strawberries, hulled and crushed
- 7 cups granulated sugar
- 1 package (1.75 oz) powdered fruit pectin
- 1/2 teaspoon butter (optional, to reduce foam)
Instructions
- Prepare your freezer containers. You need clean, freezer-safe jars or containers with lids. Ensure they are ready before starting the jam.
- Measure the crushed strawberries into a large bowl.
- In a separate small bowl, mix the powdered fruit pectin thoroughly with 1 cup of the granulated sugar.
- Add the pectin-sugar mixture to the crushed strawberries. Stir well for 2 minutes.
- Add the remaining 6 cups of sugar to the fruit mixture. Stir until the sugar is completely dissolved. This step requires patience to dissolve all the sugar.
- If using, stir in the 1/2 teaspoon of butter to reduce surface foam.
- Ladle the jam mixture into the prepared freezer containers, leaving about 1/2 inch of headspace at the top of each container.
- Wipe the rims clean, cover the containers with lids, and let them sit at room temperature for 30 minutes to allow the pectin to start setting.
- Place the containers in the freezer. The jam will be ready to eat once frozen solid, usually within 24 hours.
- Once frozen, you can store the jam for up to one year. Thaw one jar in the refrigerator before using.
Notes
- This recipe captures the fresh flavor of summer fruit without the need for boiling or traditional canning methods.
- For best results, use firm, ripe strawberries.
- If you prefer a jam without added pectin, you will need to cook the fruit and sugar down significantly, which changes this recipe from a ‘no-cook’ method.
- This easy spread recipe is perfect for gifting to friends or serving on toast and yogurt.
Nutrition
- Serving Size: 2 Tablespoons
- Calories: 90
- Sugar: 23g
- Sodium: 2mg
- Fat: 0g
- Saturated Fat: 0g
- Unsaturated Fat: 0g
- Trans Fat: 0g
- Carbohydrates: 23g
- Fiber: 0g
- Protein: 0g
- Cholesterol: 0mg