

Oh, that moment when only the absolute best, most comforting meal on earth will do! I’m talking about that rich, savory aroma that fills the entire house—the smell of perfect fried chicken. I grew up making simple, comforting dishes with my parents, and getting that crackly, crisp exterior paired with meat so juicy it practically melts? That was always the challenge. Forget complicated techniques; I’m sharing my tried-and-true Southern style fried chicken method that guarantees that perfect contrast every single time. Trust me, this is the recipe your weeknights have been waiting for, and it uses techniques I learned years ago that keep the chicken tender clear through to the bone. As I talk about over on my About Page, simple cooking done right is the best cooking!
- Why This Southern Fried Chicken Recipe Delivers the Best Results
- Gathering Ingredients for Classic Fried Chicken
- Step-by-Step Instructions for Perfect Fried Chicken
- Expert Tips for the Best Fried Chicken Recipe Every Time
- Variations on Classic Southern Style Fried Chicken
- Serving Suggestions for Your Homemade Fried Chicken
- Storage and Reheating Instructions for Leftover Fried Chicken
- Frequently Asked Questions About Making Fried Chicken
- Nutritional Estimates for This Fried Chicken
- Nutritional Estimates for This Fried Chicken
Why This Southern Fried Chicken Recipe Delivers the Best Results
So, why is this the absolute best fried chicken recipe you’re ever going to try? It comes down to two non-negotiable steps that work together perfectly to give you that incredible texture you crave. We’re aiming for shatteringly crisp on the outside and unbelievably juicy fried chicken on the inside. If you skip these checks, you end up with flavorless bird, and we aren’t having that!
This method isn’t just about throwing flour on chicken; it’s about chemistry that keeps the moisture locked in while building layers of crunch. If you want reliable results, especially when planning a big meal like those found in my Sunday Dinner Ideas roundup, you need to trust the process here.
The Power of Buttermilk Fried Chicken Marinade
This is where the magic for tender, juicy fried chicken begins. That thick buttermilk doesn’t just taste good; the lactic acid works hard to break down the proteins in the meat gently. You need to let it sit—at least four hours is my minimum, but overnight is even better! This ensures the meat stays moist even under the intense heat of the fryer.
Mastering the Seasoned Coating for Crispy Fried Chicken Recipe
The coating is where we build our armor! We use a blend of flour and cornstarch because that cornstarch is the secret weapon for that extra sharp crunch you find in a great crispy fried chicken recipe. Don’t just toss the chicken in the seasoning mix—you must press it on! Really push that dry mixture into every crevice of the buttermilk-soaked meat. This pressure creates the craggy, craggy surface that fries up into those beautiful golden flakes. That’s how you achieve truly crispy fried chicken.
Gathering Ingredients for Classic Fried Chicken
Okay, let’s talk about what you need! Getting the right components is half the battle, especially when you are aiming for that deeply flavorful, golden brown chicken finish. I learned early on that you can’t cheat quality here—especially with your oil choice. For the best results, you absolutely must use a neutral oil with a high smoke point, like vegetable or peanut oil. That’s what helps you achieve that beautiful, consistent color without burning.
For the chicken itself, please grab bone-in, skin-on pieces. Drumsticks, thighs, and breasts are perfect for a classic mix. We need a generous amount of buttermilk for the soak—it’s non-negotiable for tenderness! Then you mix up your dry coating with the flour, cornstarch (that crunch factor!), and a healthy blend of seasonings like salt, pepper, paprika for color, and just a touch of cayenne for a little zing. Trust me, having all this ready to go before you even approach the stove makes this process so much smoother!
Step-by-Step Instructions for Perfect Fried Chicken
It’s time to bring this beauty to life! While deep-frying sounds intimidating, I promise this is an easy fried chicken process if you pay attention to a few key moments. We need to be methodical—this isn’t a place for rushing! We’ll cover the prep, the heat management (the real secret!), and getting that perfect shade of gold for your family dinner. And hey, if you’re looking for a great side to go with this masterpiece, check out my recipe for chicken with buttered noodles!
Marinating and Preparing the Chicken for Frying
First things first: marinate your chicken in that buttermilk mixture for a minimum of four hours, but honestly, overnight is heaven. That acidic bath tenderizes the meat beautifully. Once it’s marinated, pull the pieces out. Let the excess buttermilk drip back into the bowl—we want it moist, but not soaking wet!
Now, scoop that well-seasoned flour mixture onto a baking sheet. Dredge each piece well, pressing hard to build up those crunchy wrinkles we love. Here’s a non-negotiable step: let that coated chicken rest on a wire rack for 15 minutes before it ever sees the oil. This resting time allows the crust to hydrate slightly, making sure it sticks tight during frying, which is absolutely vital for fried chicken success.
Oil Temperature Control for Optimal Fried Chicken
This is where most people mess up! You absolutely need a thermometer. We are aiming for exactly 325 degrees Fahrenheit (160°C). If your oil is too cool, say 290°F, the chicken just soaks up grease and ends up soggy. If it’s 375°F, the outside burns to charcoal before the inside even thinks about cooking. I’ve screamed at my pot more than once when the temperature dipped too low after adding a cold batch! Keep that thermometer handy and monitor it constantly.
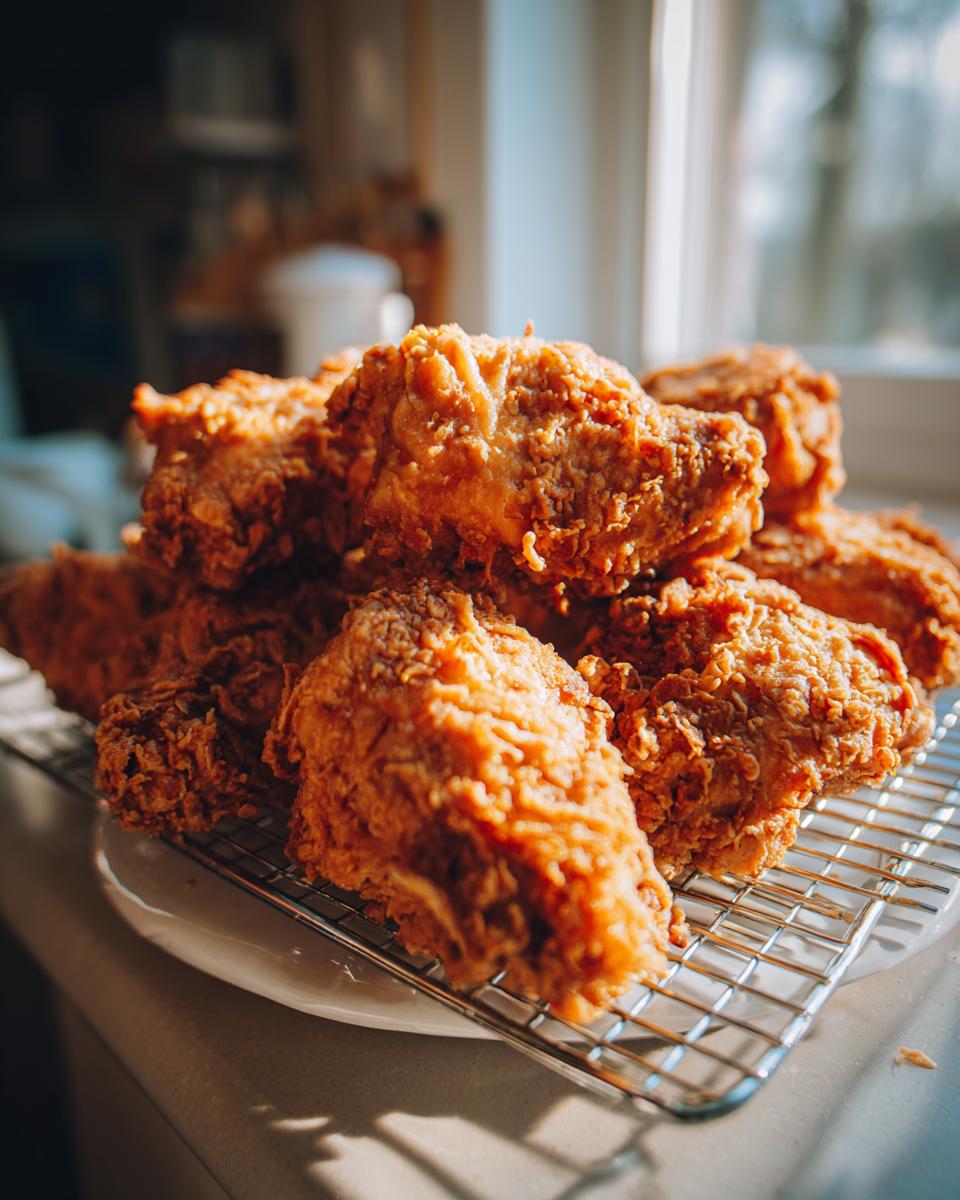
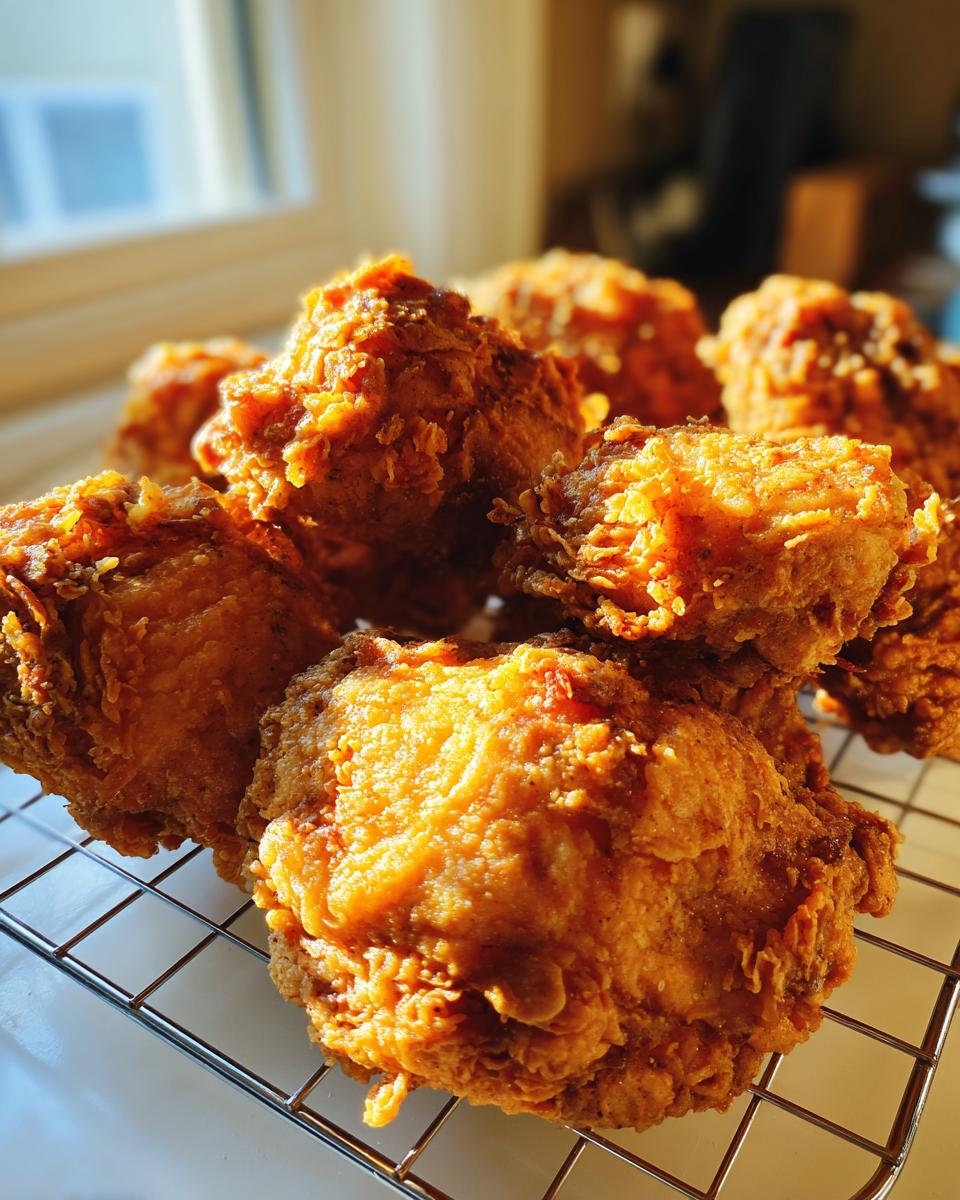
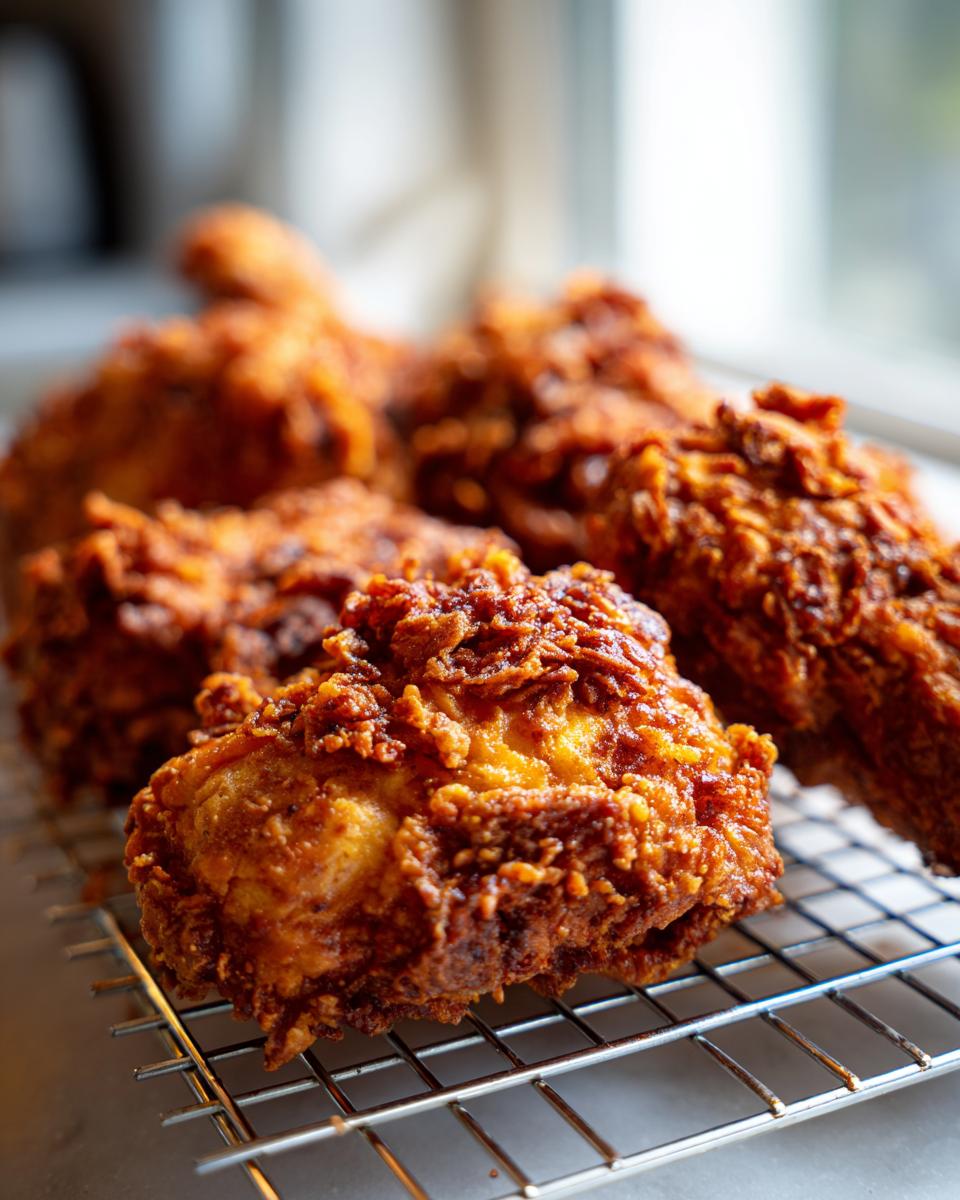
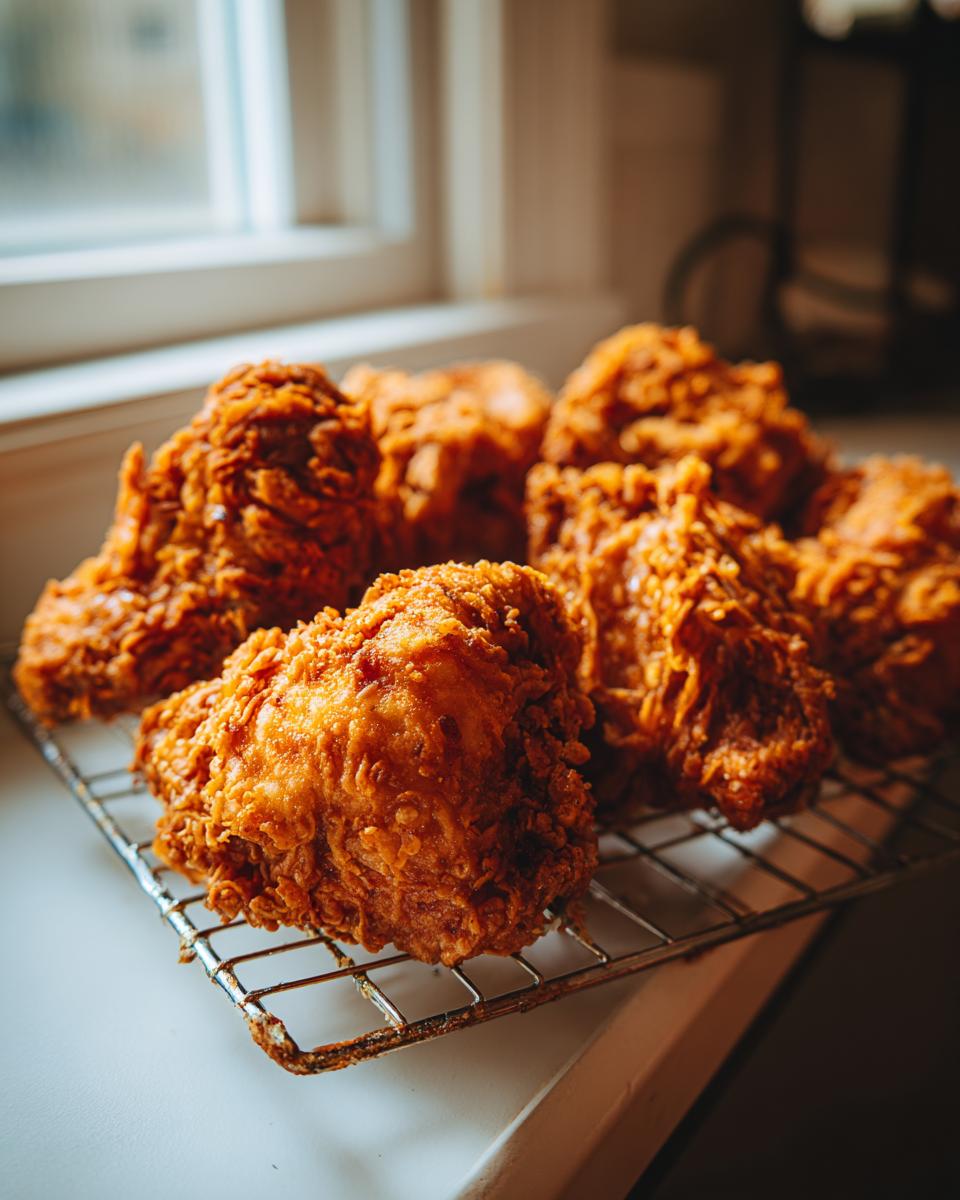
The Frying Process: Achieving Golden Brown Chicken
Once settled at 325°F, gently lower only 3 or 4 pieces in at a time—don’t crowd the pot! Overcrowding drops the temperature instantly. You’ll fry these beauties for about 6 to 8 minutes per side until they are beautifully golden brown chicken. Keep turning them gently until they look perfect.
The real indicator of doneness isn’t just the color; it’s hitting that internal temperature of 165°F (74°C). Use a meat thermometer if you have one! When they’re done, pull them out and place them immediately on a clean wire rack set over paper towels to drain excess oil. The rack lets air circulate, which is what keeps the bottom crust just as crisp as the top. Remember to let the oil cool back down to 325°F between every batch; patience here makes all the difference.
Expert Tips for the Best Fried Chicken Recipe Every Time
If you want to move beyond good and land squarely in the territory of the absolute best fried chicken recipe, you need to know these insider secrets, straight from my test kitchen notes. I always tell people that temperature monitoring is your best friend!
Remember how I mentioned that cornstarch in the coating? For next-level crunch, try the double-dip trick! After the first pass through the flour, dunk the chicken ultra-briefly back into the buttermilk, and then give it a second, firm press into the flour mix. This builds those wonderful craggy edges that become super crispy during frying. I learned this the hard way when I was rushing one afternoon; I forgot that second dredge, and the crust just fell right off after I set the pieces down! That batch was saved only because I quickly pulled them out and re-coated them right before they cooled down.
Also, please listen to me on the temperature! If you’re frying large pieces, sometimes you need to momentarily drop the heat below 325°F once you’ve got that initial beautiful sear, just to make sure you aren’t burning the outside while the inside of that thick breast is still raw. Using these little tricks ensures your fried chicken is perfect.
For more tips on keeping meat incredibly tender, especially when dealing with poultry, check out my notes on brined herb chicken breasts—the principle is the same!
Variations on Classic Southern Style Fried Chicken
While this recipe gives you that quintessential, beloved southern style fried chicken flavor, it’s so versatile! You don’t have to stick to thighs and drums if you don’t want to. This batter works beautifully on smaller, quicker-cooking pieces too, like making a small batch of spicy fried chicken wings recipe. Just keep an eye on the oil temperature since wings cook much faster than a big chicken breast.
If you want more heat, you can easily ramp up that cayenne in the flour dredge, or better yet, infuse that buttermilk soak with extra hot sauce or even some dried chili flake powder. It gives the flavor real depth. If you really want to lean into the spice scene, later on you should absolutely dive into my recipes for Nashville Hot Chicken, like my Nashville Hot Chicken Sandwich—that’s a whole different level of delicious, flavorful heat!
For a slightly different texture, you could whisk about half a cup of instant mashed potato flakes right into your flour mix. It sounds odd, but it deepens the color and gives the crust a unique, almost flaky crispness. It’s a little experiment you can try once you master the classic version!
Serving Suggestions for Your Homemade Fried Chicken
Now that you have this perfectly crispy, golden platter of poultry, what are you going to serve it with? This is classic comfort food through and through, so we need those classic pairings! You can’t go wrong making this a true family dinner chicken recipes event.
For me, creamy, dreamy sides are a must. You absolutely need a mountain of smooth, buttery creamy mashed potatoes—the gravy can even dip right into that crunchy crust! A tangy, cold side cuts through the richness of the fat perfectly, so I always recommend a crisp, vinegary coleslaw or perhaps some sweet, tangy baked beans.
And don’t forget the bread! A simple, warm biscuit, ready to soak up any last bits of salty seasoning or juice, is the only way to finish this meal. Everything about this dinner should feel cozy and satisfying, just like food should!
Storage and Reheating Instructions for Leftover Fried Chicken
So, you miraculously have leftover fried chicken? That is a victory! Don’t you dare ruin those glorious leftovers by treating them poorly. The first rule is storage: absolutely no stacking them in paper towels or wrapping them tightly in plastic wrap if you want to save that crunch. You need to let the chicken cool completely first—this is important; if you seal it warm, condensation will make everything soggy.
Once cool, place the chicken in an airtight container, separating the pieces with wax paper if you have it. When you’re ready to eat it the next day, forget the microwave; it turns the crisp coating into sad, chewy armor. The best way to bring back that glorious texture is by popping it in a conventional oven at about 375°F (190°C) for 10 to 12 minutes. If you have an air fryer, even better! A quick blast there will revive that golden crust perfectly.
Frequently Asked Questions About Making Fried Chicken
I know you probably have a few lingering questions, especially if this is your first time trying a serious southern style fried chicken recipe! Don’t worry, I’ve gotten these exact questions tons of times. Let’s tackle the big ones right now so you can get frying with confidence!
How long does the buttermilk marinade need to be?
For the best, most tender results, you really want to let the chicken soak in that buttermilk for at least four hours. If you can swing it, overnight in the fridge truly yields the most **juicy fried chicken**. It gives the acid enough time to tenderize the meat without making it mealy.
Can I bake this fried chicken instead of deep frying?
Oh, I know everyone asks that! To get that signature crunch associated with a classic crispy fried chicken recipe, deep frying is absolutely the way to go. Baking just won’t give you the same crackle when aiming for that authentic flavor profile. If you are trying to avoid frying completely, I do have a great guide on baked chicken breast recipes, but it won’t have that same texture as this one.
Can I use chicken breast pieces instead of bone-in thighs?
Yes, you totally can use boneless breasts if that’s what you have, but you need to adjust your cooking time drastically, or you’ll end up with shoe leather! For breasts, you should reduce the oil temperature slightly to about 315°F, or keep a close eye on them because they cook through much faster than bone-in pieces. If you’re interested in a different way to cook chicken breast tender, definitely check out some pointers over at The Girl Inspired!
Do I need cornstarch in the coating?
You bet you do! I consider that cornstarch an essential part of any great homemade fried chicken coating. It’s what separates a good crust from a truly fantastic, shatteringly crisp one. It helps absorb just the right amount of oil while creating that light, craggy texture we are aiming for!
Nutritional Estimates for This Fried Chicken
Alright, let’s talk numbers for a second. Since this is a classic, deep-fried comfort food, it’s not exactly light fare, but knowing the estimates helps when you’re planning your meal! These numbers are based on one standard bone-in piece of chicken (about 1/4 of the recipe yield) and are just general guides, of course. Remember, how much oil the chicken absorbs changes everything!
For one serving, you’re looking at roughly 450 calories, with about 28 grams of fat. It brings a whopping 30 grams of protein to the table, which is fantastic! It’s pretty low in sugar, coming in around 3 grams, mostly from the buttermilk. The sodium is a bit higher at about 650mg, but that’s thanks to all that delicious seasoning we used to make it so flavorful!
PrintClassic Crispy Southern Fried Chicken

Make juicy, tender chicken with a perfectly seasoned, golden-brown, crunchy crust using this straightforward Southern fried chicken recipe.
- Prep Time: 20 min
- Cook Time: 30 min
- Total Time: 4 hours 50 min
- Yield: 4 servings 1x
- Category: Dinner
- Method: Deep Frying
- Cuisine: American
- Diet: None
Ingredients
- 3 lbs bone-in, skin-on chicken pieces (thighs, drumsticks, breasts)
- 4 cups buttermilk
- 2 tablespoons hot sauce (optional)
- 4 cups all-purpose flour
- 1/4 cup cornstarch
- 2 tablespoons salt
- 1 tablespoon black pepper
- 1 tablespoon paprika
- 1 tablespoon garlic powder
- 1 teaspoon cayenne pepper
- Vegetable oil or peanut oil, for frying (about 3-4 inches deep)
Instructions
- Place the chicken pieces in a large bowl. Pour the buttermilk and hot sauce over the chicken. Cover and refrigerate for at least 4 hours, or preferably overnight, to tenderize the meat.
- In a wide, shallow dish, whisk together the flour, cornstarch, salt, pepper, paprika, garlic powder, and cayenne pepper. This is your seasoned coating.
- Remove the chicken from the buttermilk, letting excess drip off, but do not wipe it dry.
- Dredge each piece of chicken thoroughly in the flour mixture, pressing the coating firmly onto the chicken to create a thick layer. Place the coated chicken on a wire rack set over a baking sheet. Let the chicken rest for 15 minutes before frying; this helps the crust adhere.
- Pour enough oil into a large, heavy-bottomed pot or Dutch oven to reach a depth of about 3 inches. Heat the oil over medium-high heat until it reaches 325 degrees Fahrenheit (160 degrees Celsius). Use a thermometer to monitor the temperature.
- Carefully place 3 to 4 pieces of chicken into the hot oil, ensuring you do not overcrowd the pot, which lowers the oil temperature.
- Fry the chicken for about 6 to 8 minutes per side, turning occasionally, until it is deep golden brown and cooked through. For bone-in pieces, the internal temperature should reach 165 degrees Fahrenheit (74 degrees Celsius).
- Remove the cooked chicken and place it on a clean wire rack set over paper towels to drain excess oil.
- Allow the oil temperature to return to 325 degrees Fahrenheit before frying the next batch.
- Serve the crispy fried chicken hot.
Notes
- For extra crispy results, double-dip the chicken: after the first dredge, dip the chicken back into the buttermilk briefly, then back into the flour mixture for a second, thicker coating.
- Maintain the oil temperature strictly between 315°F and 330°F for the best texture and to prevent the chicken from burning before the inside cooks.
- If you are frying larger pieces like breasts, you may need to reduce the heat slightly after the initial sear to ensure the center cooks without burning the exterior.
Nutrition
- Serving Size: 1 piece
- Calories: 450
- Sugar: 3
- Sodium: 650
- Fat: 28
- Saturated Fat: 7
- Unsaturated Fat: 21
- Trans Fat: 0
- Carbohydrates: 18
- Fiber: 1
- Protein: 30
- Cholesterol: 110