
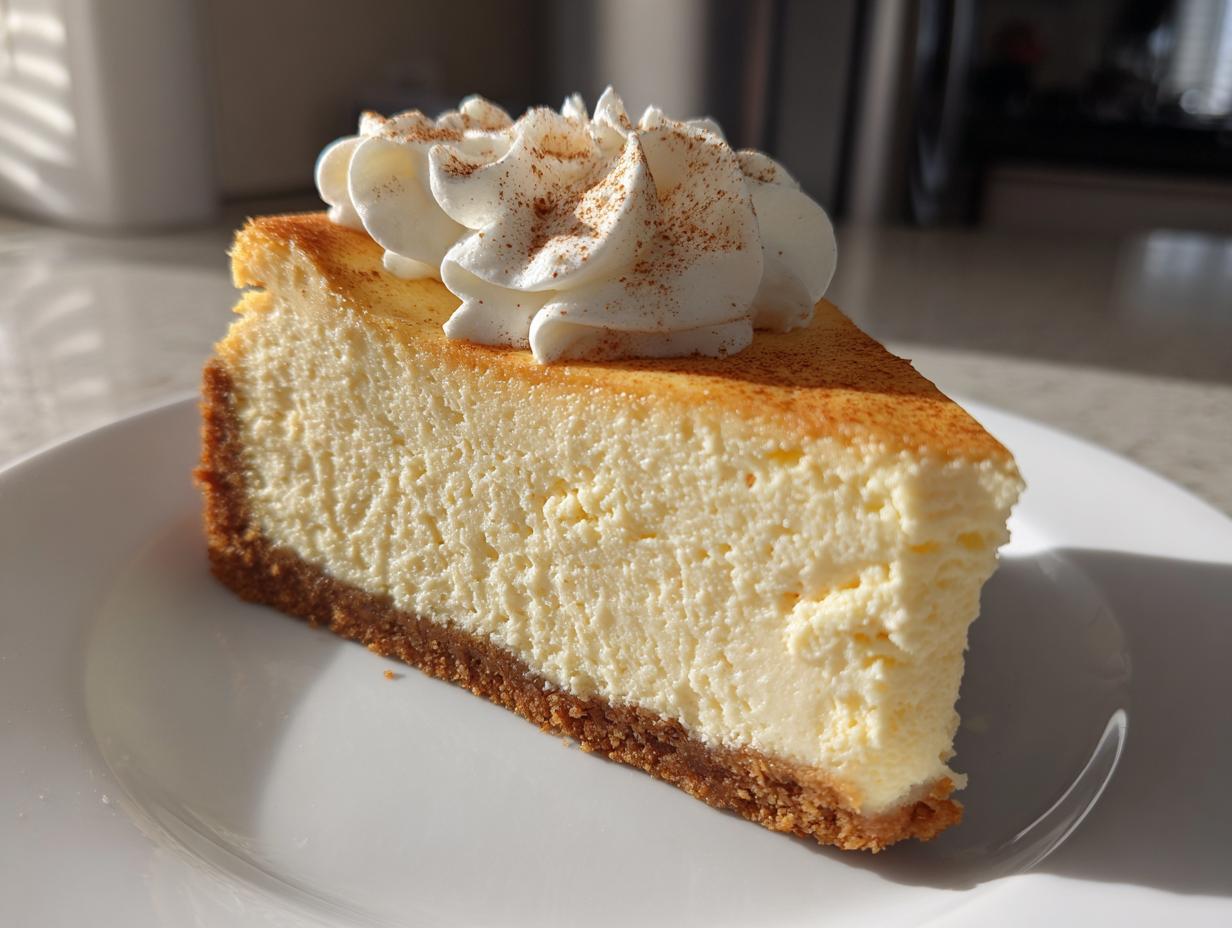
So glad you’re here! Welcome back to Devour Dish. If you’re looking to make something truly memorable this holiday season without spending all day wrestling with complicated techniques, you are in the right spot. Forget everything you think you know about fussy desserts because this creamy eggnog cheesecake recipe is the ultimate holiday show stopper. It looks incredibly fancy, yes, but trust me, it’s simple and wonderfully decadent. Every holiday party I bring this to, people ask for the recipe! It’s rigorously tested and trusted, guaranteeing you a successful, festive baking moment every time.
- Why This Creamy Eggnog Cheesecake Recipe is Your Must-Make Holiday Cheesecake Recipe
- Gathering Ingredients for Your Decadent Eggnog Treat
- Step-by-Step Instructions for the Eggnog Cheesecake Recipe
- Tips for Success with Your Eggnog Cheesecake
- Variations on the Classic Eggnog Cheesecake Recipe
- Serving Suggestions for Your Show Stopper Dessert
- Storage and Make Ahead Holiday Desserts Instructions
- Frequently Asked Questions About This Eggnog Cheesecake Recipe
- Estimated Nutritional Data for This Festive Baking Treat
- Share Your Holiday Cheesecake Creations
Why This Creamy Eggnog Cheesecake Recipe is Your Must-Make Holiday Cheesecake Recipe
When it comes to Christmas desserts, you need something that screams ‘special occasion’ without requiring you to chain yourself to the oven. This is why our creamy cheesecake version beats out nearly every other dessert I make—it’s the definition of a show stopper. I remember serving this a few years ago, and my cousin Sarah, who usually sticks to pie, asked if I was hiding it in the back of the fridge for myself! It’s that good.
We aren’t messing around with a dull texture here; we are aiming for pure indulgence. This recipe nails the velvety richness everyone craves in a Decadent Eggnog Treat.
Texture and Flavor: Achieving the Perfect Creamy Cheesecake
The secret weapon for achieving that impossibly smooth texture is the water bath, or *bain-marie*. It keeps the oven environment moist, which is crucial for a perfect baked eggnog cheesecake. This step prevents scrambling the dairy and guarantees a lump-free, beautifully set surface that melts in your mouth. No cracks, just creamy perfection!
Festive Baking Made Simple: An Easy Holiday Cheesecake
Don’t let the name fool you; this is truly an easy holiday cheesecake. While the total time includes mandatory chilling, the active prep time is super reasonable—just about 25 minutes for the crust and batter combined. This means you can prep it the day before, let it chill overnight, and focus on wrapping presents the day of your party!
If you love rich, spiced desserts, you absolutely need to try my red velvet cheesecake recipe next time you need a colorful showpiece!
Gathering Ingredients for Your Decadent Eggnog Treat
When tackling an impressive dessert like this, having all your ducks in a row before you even turn the mixer on makes all the difference. I always lay everything out on the counter first, just like my mom taught me. It saves so much panic mid-batter! Seriously, getting your cream cheese perfectly soft before you start is my biggest tip for achieving that lump-free, amazing texture we’re aiming for.
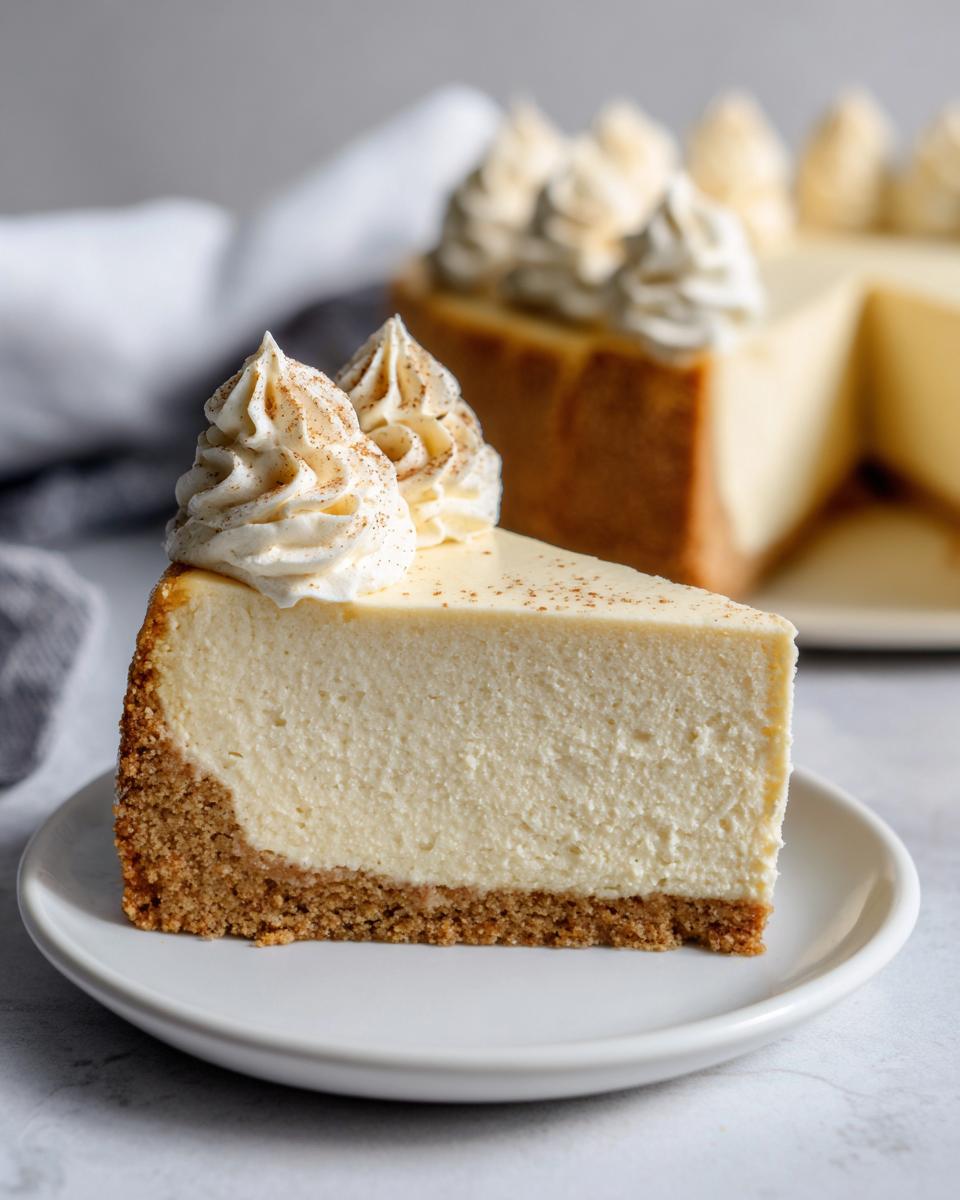
For the Spiced Graham Cracker Crust
The crust gives us that wonderful holiday spice foundation. You’ll need a total of one and a half cups of graham cracker crumbs. We mix those crumbs with a quarter cup of granulated sugar and just half a teaspoon of ground cinnamon for that little warm kick. Then, you’ll pour in 6 tablespoons of unsalted butter, melted down. Make sure that butter is fully incorporated so you get that nice, firm base when you press it into the pan! If you’re looking for other fun crust ideas, check out my graham cracker toffee easy recipe for inspiration.
For the Creamy Eggnog Cheesecake Filling
This is where the magic happens! You need three 8-ounce packages of cream cheese—and remember, they *must* be soft! We also use a cup and a half of granulated sugar here. For the flavor profile, grab one teaspoon of vanilla extract, half a teaspoon of ground nutmeg, and a quarter teaspoon of ground cinnamon. Then come the wet ingredients: 4 large eggs, which you add slowly, and one full cup of good quality eggnog. Please, try not to overmix once those eggs are in; we want to keep things smooth and airy, not tough!
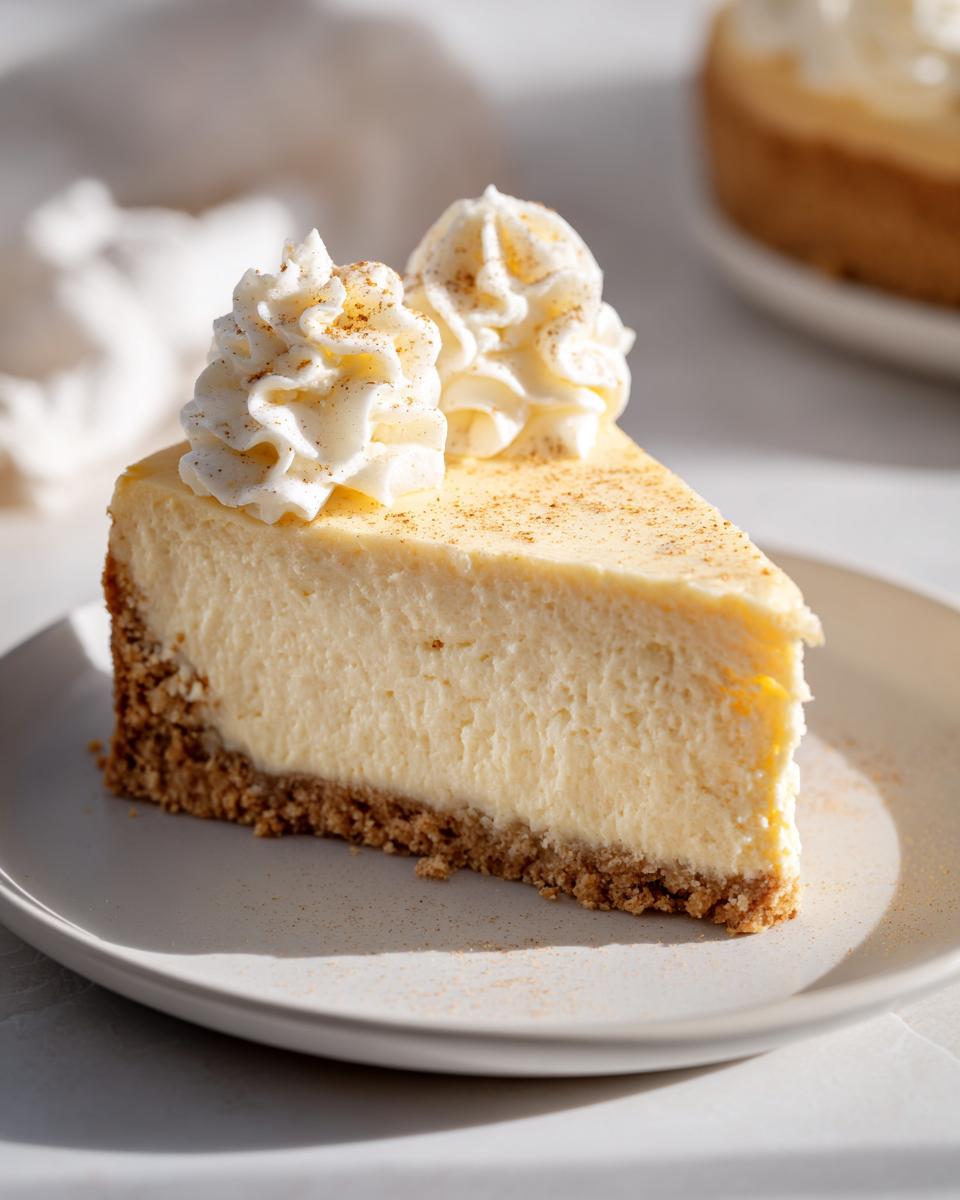
For the Nutmeg Whipped Cream Topping
This topping is light, airy, and the perfect contrast to the rich cheesecake underneath. You’ll need half a cup of heavy whipping cream—make sure that cream is nice and cold! We sweeten it lightly with just one tablespoon of powdered sugar. The final touch, which ties the whole dessert together, is a tiny pinch of ground nutmeg sprinkled right on top before serving. It makes the whole thing look professionally done!
Step-by-Step Instructions for the Eggnog Cheesecake Recipe
Okay, getting this show stopper assembled is easier than you might think, I promise! We are moving through this step by step, and the most important thing is patience, especially when it comes to cooling. If you follow this sequence, you’ll have a perfectly creamy cheesecake, ready for the holidays.
Preparing and Baking the Graham Cracker Crust
First things first: preheat your oven to 350 degrees F! Before you do anything else, wrap the outside of that 9-inch springform pan really well with several layers of heavy-duty aluminum foil. This keeps water from the bath seeping in; we don’t want a soggy bottom! Mix your crust ingredients—crumbs, sugar, cinnamon, and melted butter—until it looks like wet sand. Press it firmly into the bottom of your prepared pan. Pop that into the oven and bake it for 10 quick minutes. When it comes out, just let it sit on the counter so it can cool down a tiny bit while we make the filling.
Mixing the Smooth Eggnog Cheesecake Filling
Grab your biggest bowl! Beat that softened cream cheese until it’s totally smooth—we’re aiming for zero lumps here. Next, mix in your sugar, vanilla, nutmeg, and cinnamon until everything is just combined. Now for the eggs. Add them one at a time, blending just enough after each one so it disappears into the batter. Finally, gently stir in that cup of eggnog. Remember what I said before? Do NOT overmix once the eggs are in, or you’ll incorporate too much air, and that leads to cracking!
Baking with the Water Bath Technique
Pour the batter over your slightly cooled crust. Now, set the springform pan inside a larger roasting pan—this is our water bath setup! Carefully pour hot water into the roasting pan until it comes about halfway up the sides of the cheesecake pan. Bake this setup for about 55 to 65 minutes. You’ll know it’s done when the edges look set, but the very center still has a little wobble, kind of like Jell-O. Turn the oven off, prop the door open slightly, and let it sit in there for a full hour. Trust me on this—this slow cooling is why our easy salted caramel cheesecake recipe works so well too!
Chilling and Finishing the Eggnog Cheesecake Recipe
After that hour in the warm oven, take it out and let it cool the rest of the way on the rack. Then, cover it up and get it into the fridge for at least 6 hours, but truly, overnight is best for that ultimate dense texture. Once it’s completely chilled, you can whip up your topping! Beat the cold heavy cream with powdered sugar until you get soft peaks, then gently fold in that pinch of nutmeg. Before serving, take off the sides of the pan and crown your creation with that fresh whipped cream.
Tips for Success with Your Eggnog Cheesecake
Making a cheesecake that looks as good as it tastes takes a couple of non-negotiable steps. I’ve learned through too many disastrous attempts what really works to prevent lumps and cracks. If you make sure to follow these two major rules, you are winning the festive baking game!
Ingredient Temperature and Cream Cheese Texture
This is so important, I mention it every time I talk about cheesecake! For the smoothest, creamiest filling possible, your cream cheese absolutely must be fully softened to room temperature. If it’s even a little cold when you start beating it, you’re going to get those annoying little lumps that just won’t dissolve, even with a mixer.
Preventing Cracks During Cooling
The main reason cheesecakes crack is temperature shock. We fight this with the water bath—which you handled beautifully while baking—but the cooling process is just as important. That last hour where the cheesecake sits inside the turned-off oven with the door propped open? That’s your insurance policy! It allows that decadent dessert to adjust slowly to the cooler kitchen air, giving you a perfect, unblemished top ready for serving. We want this to be a show stopper, not science fiction!
If you want to try another easy, comforting meal in the meantime, my easy cheesy meatloaf casserole recipe is always a huge crowd-pleaser!
Variations on the Classic Eggnog Cheesecake Recipe
Even though this baked version is my favorite classic, I know sometimes you need something faster, or maybe you just like switching things up for your Holiday Cheesecake Recipes! It’s fun to see how this rich flavor profile works in different forms. Don’t worry if you’re short on oven space; we have options for you that still bring the festive cheer.
Creating an Easy No Bake Eggnog Dessert
If you’re craving that same creamy texture but need to keep the oven off—perfect for those hot kitchen post-Thanksgiving days—we can pivot to an easy no bake eggnog dessert! For this, you skip the whole water bath thing. Instead, you’ll need to use a stabilizing agent like gelatin or swap out half the cream cheese for stabilized whipped cream or Cool Whip folded in right at the end. The crust gets pressed but skips the pre-bake step entirely. It sets beautifully in the fridge!
Adding Extra Nutmeg Spiced Desserts Flavor
If you want to lean into the spice profile even harder, I have great suggestions for adding complexity to your nutmeg spiced desserts. For a grown-up version, try adding just a tablespoon of good quality brandy or dark rum right in with the eggnog in the filling. It doesn’t need much to give it that perfect holiday warmth! You could also fold finely chopped candied ginger into the graham cracker crust mixture. That little burst of heat and sweetness makes the crust absolutely sing.
For a completely different direction, take a look at my german chocolate cheesecake recipe—it’s intense but totally worth the baking time!
Serving Suggestions for Your Show Stopper Dessert
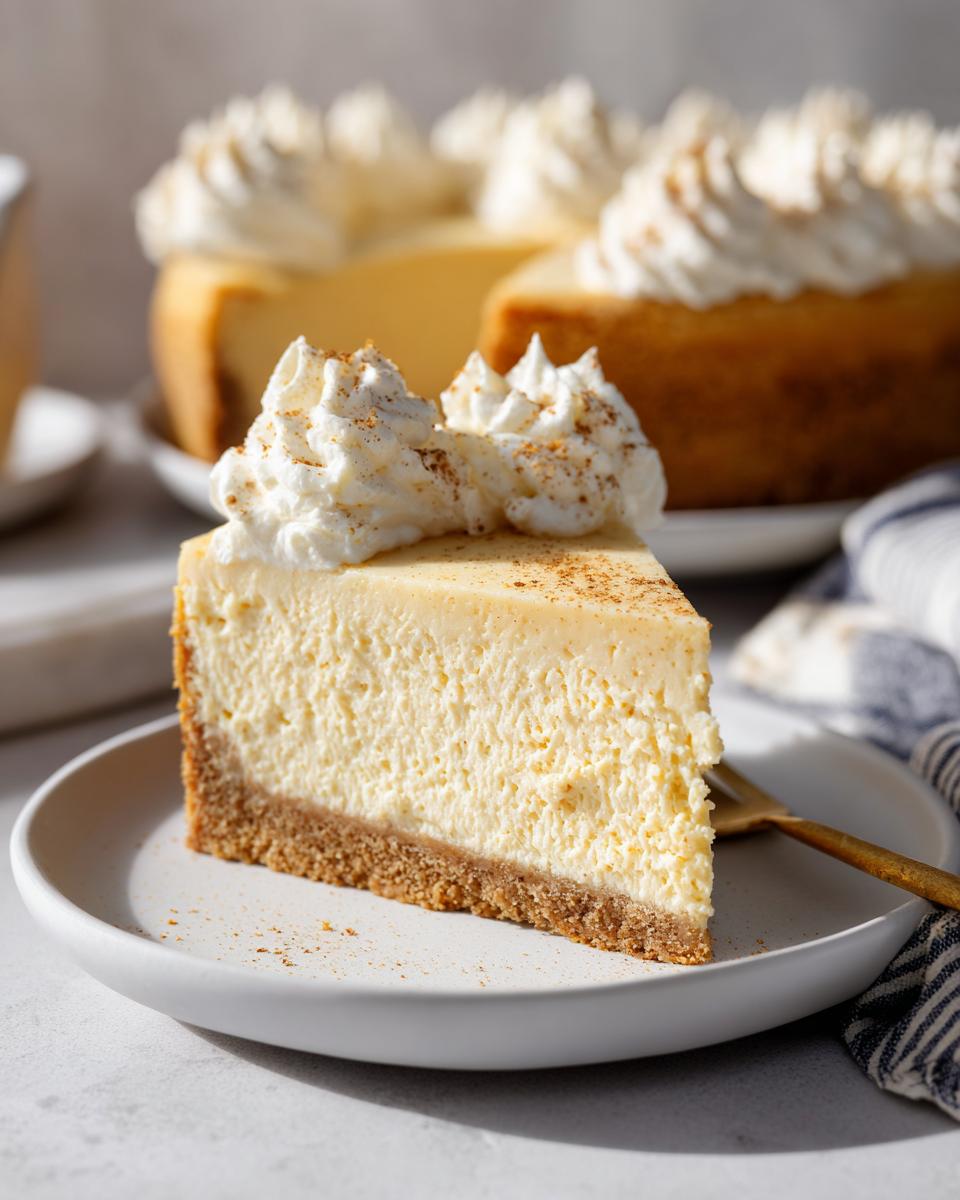
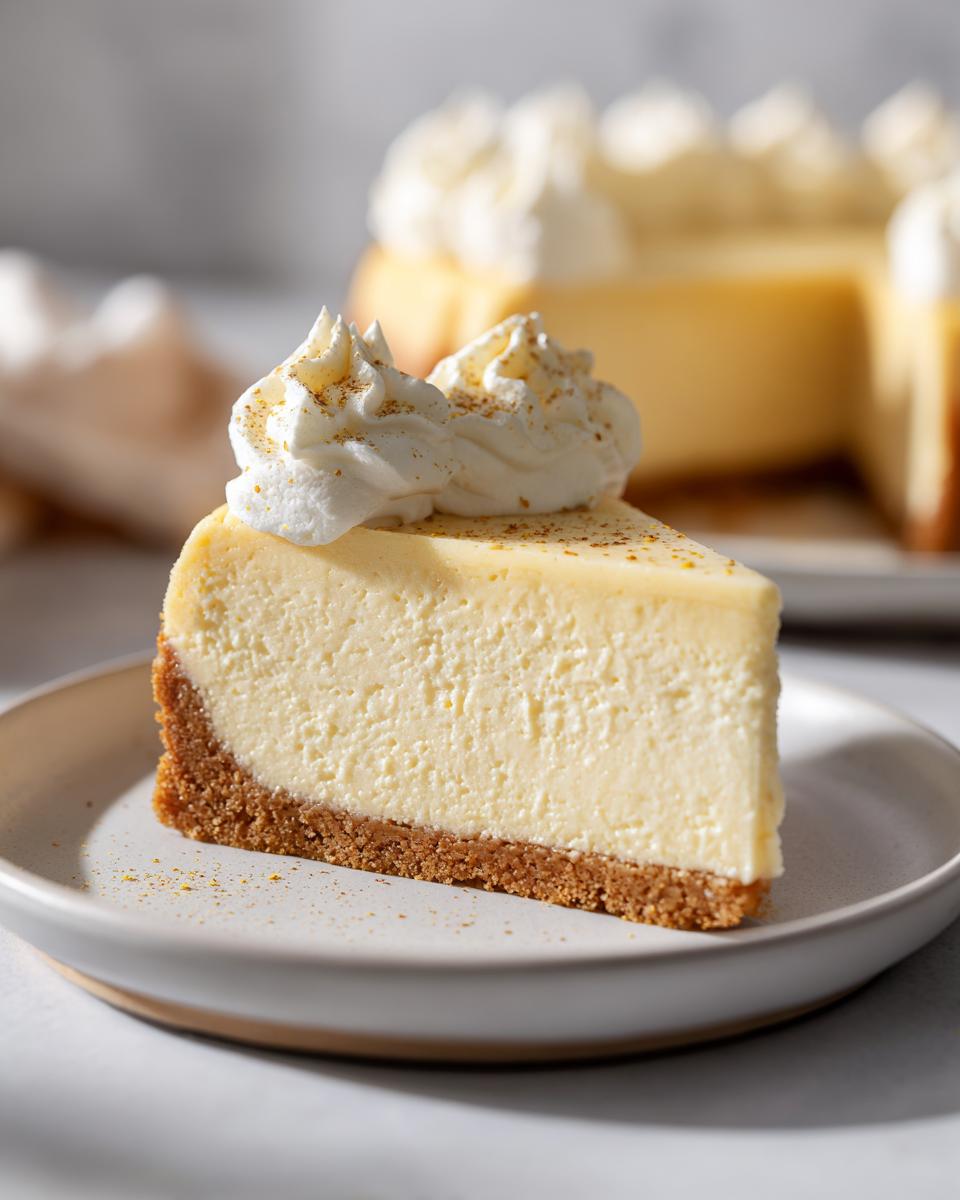
The hard work is done, you’ve chilled it perfectly, and now it’s time for presentation! Since this is meant to be your show stopper dessert, presentation really matters. The homemade nutmeg whipped cream topping we made earlier is gorgeous on its own—it’s light and gives you that classic holiday white contrast against the creamy yellow filling.
When slicing, I always recommend removing the springform ring right before serving for the neatest edges. Heat a sharp, thin knife under hot water, wipe it dry, and slice. Rinse and dry the knife between every cut; trust me, this small step makes razor-sharp slices!
For an extra festive flourish that really grabs attention, try garnishing around the edge with sugared cranberries. They look like little sparkling jewels scattered across the top! If you aren’t into cranberries, a light grating of fresh nutmeg right over the top of the whipped cream, or even some crushed gingersnap cookies sprinkled around the base, looks fantastic. This cheesecake pairs wonderfully with something bright and refreshing, like my citrus salad recipe, to cut through the richness.
Storage and Make Ahead Holiday Desserts Instructions
One of the best parts about making this eggnog cheesecake recipe is that it’s absolutely a make ahead holiday dessert! Honestly, I think it tastes even better on day two once all those wonderful nutmeg and spice flavors have really settled in. You have to plan ahead for the chilling time, though; we can’t rush perfection here.
The absolute minimum chilling time required is 6 hours, but if you are planning a big Christmas Eve dinner or need it for Christmas Day brunch, make it the day before. Seriously! This ensures the structure is strong enough to handle slicing and serving without collapsing when you unmold it.
Once it’s fully chilled and set, cover the springform pan tightly with plastic wrap, or just transfer slices to an airtight container. This rich, creamy cheesecake will last beautifully in the refrigerator for up to four days. That gives you plenty of time to enjoy those leftovers!
Now, about freezing this beautiful thing: I don’t really recommend it for this specific recipe. While you can freeze cheesecake, the water bath method keeps the texture so ideal that freezing and thawing can sometimes compromise that beautiful silkiness we worked so hard for. It’s truly at its peak when eaten within four days of baking. If you need another make-ahead dessert that freezes like a dream, you have to check out my sweet potato cobbler recipe; it holds up perfectly!
Frequently Asked Questions About This Eggnog Cheesecake Recipe
I totally get it—when you’re cooking for the holidays, you have a million questions swirling around, especially when trying a new centerpiece dessert! These are the things I always get asked about my festive baking, so I wanted to save you the trouble of searching for solid answers. Feel free to check out my easy creamy pumpkin soup recipe while you’re here to round out your holiday menu!
Can I substitute store-bought eggnog for homemade in this eggnog cheesecake recipe?
Oh, absolutely! Don’t stress one bit about making your own eggnog for this. Store-bought eggnog works perfectly well for this eggnog cheesecake recipe. Just make sure you use a nice, rich one that you actually enjoy drinking—that flavor transfers directly into your creamy cheesecake filling! It’s such a simple way to keep this recipe easy.
What is the best way to serve this creamy cheesecake?
This is an important step for presentation! You must serve this creamy cheesecake chilled. For the absolute best appearance, always let it chill overnight if you can manage it. Just before you bring it to the table, carefully un-mold the springform pan and right then, spoon on that gorgeous nutmeg whipped cream topping. Slicing is easiest when it’s cold and firm!
How do I prevent my cheesecake from cracking?
Preventing those dreaded cracks is all about gentle temperature changes. The two non-negotiables are the water bath—which keeps the environment humid and cooks the filling evenly—and the slow cooling process. After baking, turn the oven off but leave the cheesecake tucked inside with the door slightly propped open for a full hour. This transitional cooling stops the outside from tightening up too fast, which is what causes cracks. That, and never, ever open that oven door while it’s actively baking!
Estimated Nutritional Data for This Festive Baking Treat
If you’re planning your holiday menu, you might be wondering about the numbers behind this gorgeous dessert. While I focus on making things taste amazing, I know that tracking macros or calories is important for some of you! I want to be super clear: the figures below are careful estimations based on the standard ingredients listed in the recipe, but your specific brands—especially the fat content in your cream cheese or the sugar in your eggnog—will change the final count slightly.
Think of this information as a helpful guide for planning your festive baking, not a strict label. Because this is a rich, decadent eggnog treat, we’re looking at a pretty rich slice, as expected!
- Calories: Approximately 450 per slice
- Total Fat: Around 30g (with 18g of that being Saturated Fat, mostly from the cream cheese and butter)
- Carbohydrates: About 40g
- Protein: Roughly 8g
- Cholesterol: Around 120mg
This data is based on serving 12 slices from the whole cheesecake. If you manage to stretch it to 14 servings, you’ll see those calories drop nicely! Anyway you slice it, it’s worth every bite. Since you’re thinking about the menu, if you need something savory that’s just as easy and comforting, you might love my easy chicken parmesan soup as a starter!
Share Your Holiday Cheesecake Creations
Now that you’ve made this stunning, creamy dream, I really, truly want to see it! Seeing your results is honestly the best part of running Devour Dish. When you take the time to make something for your family or friends, that love shows up on the plate, and I get thrilled seeing that joy.
Did this vanilla cake recipe inspire some festive spirit in you? If you loved this eggnog cheesecake recipe, please take a moment to click those stars—a 5-star rating really helps other home cooks find reliable, tested recipes like this one!
And when you get it all dressed up with that nutmeg whipped cream, snap a photo! Tag me over on social media so I can swoon over your beautiful work. Sharing these holiday successes is what this community is all about. Happy holidays and happy baking!
PrintCreamy Baked Eggnog Cheesecake with Nutmeg Whipped Cream

Make this creamy, decadent baked eggnog cheesecake for your next holiday gathering. It features a spiced graham cracker crust and a light topping of nutmeg whipped cream.
- Prep Time: 25 min
- Cook Time: 65 min
- Total Time: 7 hours 50 min
- Yield: 12 servings 1x
- Category: Dessert
- Method: Baking
- Cuisine: American
- Diet: Vegetarian
Ingredients
- 1 1/2 cups graham cracker crumbs
- 1/4 cup granulated sugar
- 1/2 teaspoon ground cinnamon
- 6 tablespoons unsalted butter, melted
- 3 (8 ounce) packages cream cheese, softened
- 1 1/2 cups granulated sugar
- 1 teaspoon vanilla extract
- 1/2 teaspoon ground nutmeg
- 1/4 teaspoon ground cinnamon
- 4 large eggs
- 1 cup eggnog
- 1/2 cup heavy whipping cream
- 1 tablespoon powdered sugar
- Pinch of ground nutmeg for topping
Instructions
- Preheat your oven to 350 degrees F. Wrap the outside of a 9-inch springform pan with heavy-duty aluminum foil.
- Prepare the crust: In a medium bowl, mix the graham cracker crumbs, 1/4 cup sugar, and 1/2 teaspoon cinnamon. Pour in the melted butter and mix until the crumbs are evenly moistened. Press the mixture firmly into the bottom of the prepared springform pan. Bake for 10 minutes. Remove from the oven and let it cool slightly.
- Prepare the filling: In a large bowl, beat the softened cream cheese with an electric mixer until smooth. Gradually beat in 1 1/2 cups sugar, vanilla extract, 1/2 teaspoon nutmeg, and 1/4 teaspoon cinnamon until combined.
- Beat in the eggs one at a time, mixing just until each egg is incorporated. Gently stir in the eggnog until the batter is smooth. Do not overmix.
- Pour the cheesecake batter over the cooled crust. Place the springform pan inside a larger roasting pan. Carefully pour hot water into the roasting pan until the water reaches halfway up the sides of the springform pan (this is a water bath).
- Bake for 55 to 65 minutes, or until the edges are set but the center still jiggles slightly.
- Turn off the oven, prop the door open slightly, and let the cheesecake cool in the oven for 1 hour.
- Remove the cheesecake from the water bath and let it cool completely on a wire rack. Once cool, cover and refrigerate for at least 6 hours, or preferably overnight.
- Prepare the topping: In a chilled bowl, beat the heavy whipping cream and powdered sugar until soft peaks form. Gently fold in the pinch of nutmeg.
- Before serving, carefully remove the sides of the springform pan. Top the cheesecake with the nutmeg whipped cream.
Notes
- For the smoothest texture, make sure your cream cheese is fully softened to room temperature before starting.
- If you want a make-ahead holiday dessert, this cheesecake keeps well, covered, in the refrigerator for up to four days.
- For an extra festive look, garnish the top with sugared cranberries before serving.
Nutrition
- Serving Size: 1 slice
- Calories: 450
- Sugar: 35g
- Sodium: 250mg
- Fat: 30g
- Saturated Fat: 18g
- Unsaturated Fat: 12g
- Trans Fat: 0.5g
- Carbohydrates: 40g
- Fiber: 1g
- Protein: 8g
- Cholesterol: 120mg