

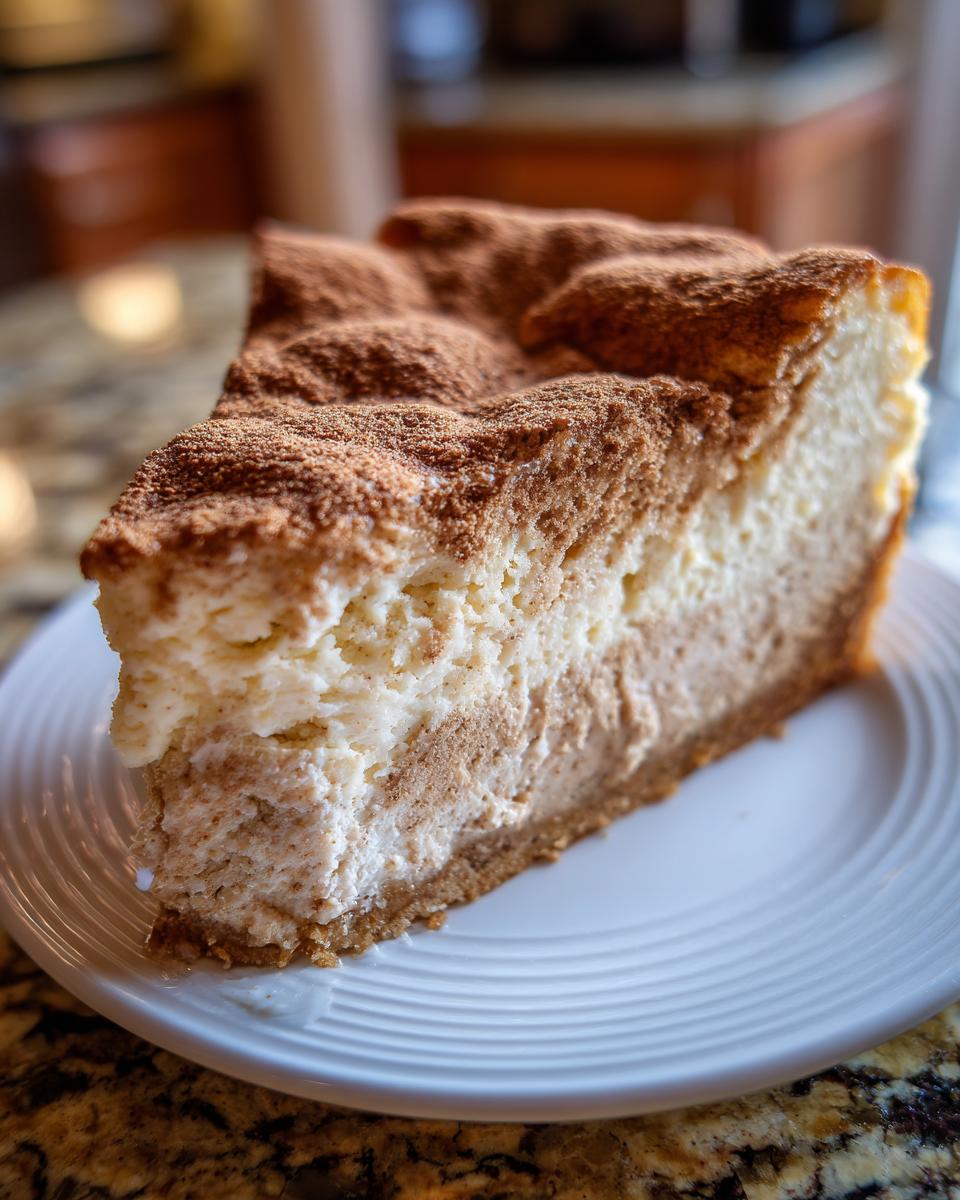
Oh my goodness, I am so excited you are here because we are diving headfirst into dessert fusion heaven today! If you’ve ever looked at a classic snickerdoodle cookie and thought, “You know what this needs? To be incredibly rich and tangy,” then I have the perfect creation for you. This snickerdoodle cheesecake recipe is truly the best of both worlds. Believe me, combining that warm, comforting cinnamon-sugar vibe with a smooth, baked cheesecake filling just seals the deal for me.
In my kitchen, I believe the memorable meals don’t have to mean complicated techniques, and that absolutely goes for dessert! This cheesecake is pure comfort food, the cozy hug you need after a long week. It’s simple enough that you can whip it up for a regular Tuesday, but special enough that everyone asks for the recipe at holiday gatherings. It just feels *right*. If you want to know more about my philosophy on simple, delicious food, you can always check out my About Page!
I’ve tested this recipe over and over, making sure the crust is sturdy and the filling is unbelievably creamy. Get ready, because this is going to be your new favorite baked cheesecake recipe for entertaining!
- Why This Snickerdoodle Cheesecake Recipe Shines
- Essential Ingredients for Your Snickerdoodle Cheesecake
- Step-by-Step Instructions for the Baked Snickerdoodle Cheesecake Recipe
- Tips for the Best Snickerdoodle Cheesecake Results
- Making Snickerdoodle Cheesecake Bars Variation
- Serving Suggestions for Your Snickerdoodle Cheesecake
- Storage and Reheating for Your Snickerdoodle Cheesecake
- Frequently Asked Questions About Snickerdoodle Cheesecake
- Nutritional Estimates for This Creamy Cheesecake Dessert
Why This Snickerdoodle Cheesecake Recipe Shines
When you’re looking for something that truly wows the crowd without stressing you out, this is it! This creamy cheesecake dessert sets itself apart. Seriously, it’s a guaranteed winner for any special occasion.
- It delivers that decadent, rich and creamy desserts texture we all crave in a good cheesecake.
- It’s one of my go-to holiday cheesecake ideas because that cinnamon flavor just screams festive!
- Don’t let the fancy look fool you; this is surprisingly easy cheesecake baking.
I truly think you’ll love how straightforward it is to get such a magnificent result. For other reliable crowd-pleasers, you might check out my recipe for the Pumpkin Cheesecake, too!
The Perfect Snickerdoodle Dessert Fusion
What’s the magic, you ask? It’s simple: we take the cozy, slightly spicy, sugary goodness you know and love from a snickerdoodle cookie—that unmistakable cinnamon-sugar duo—and we marry it perfectly with the cool, tangy smoothness of classic cream cheese filling. It’s that wonderful Snickerdoodle Dessert Fusion that makes people stop mid-bite and ask, “What *is* that?” It’s just pure comfort baked into a beautiful cake, in my opinion!

Essential Ingredients for Your Snickerdoodle Cheesecake
When gathering your ingredients, I always tell people to make sure you’re prepping your dairy first! Nothing ruins a smooth cheesecake batter faster than cold cream cheese or eggs straight from the fridge. Having everything tempered—or at least, the cream cheese and eggs really softened—is key to getting that fantastic texture. If you ever need a quick backup recipe, you can sneak a peek at my Easy Snickerdoodle Cookies recipe to see what flavors we are aiming for!
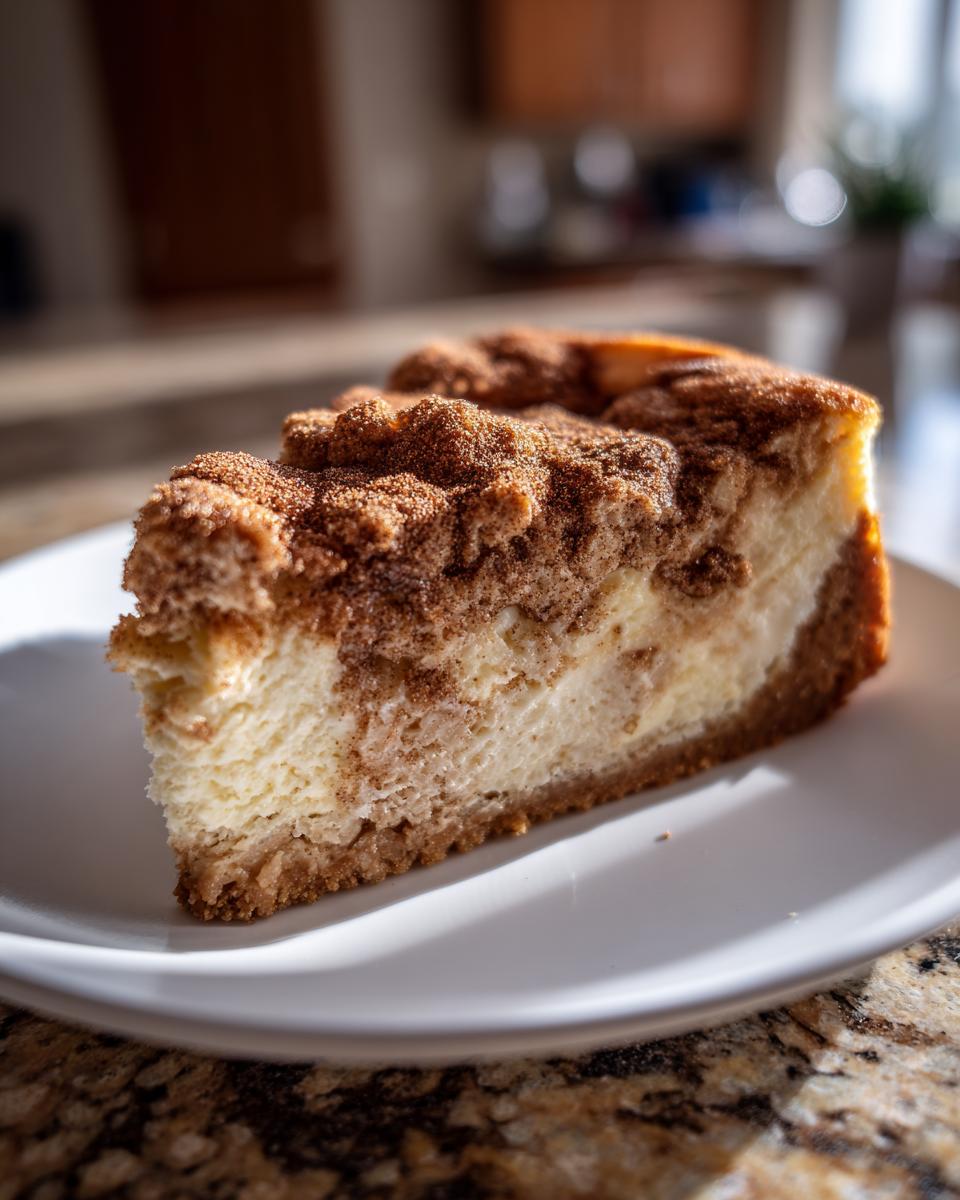
For the crust, we keep it simple but flavorful. You’ll need graham cracker crumbs, a small bit of granulated sugar for binding, and melted butter to hold it all together. Then for the main event of this snickerdoodle cheesecake, we have the cream cheese (that needs to be soft!), the rest of the sugar, a bit of flour to help structure things, one teaspoon of cinnamon, vanilla extract, three eggs, and sour cream for that lovely tang. Finally, don’t forget your crushed cookies and extra cinnamon-sugar mix for the swirl and the gorgeous finish!
Ingredient Notes and Substitutions for Snickerdoodle Cheesecake
Remember what I said about the temperature? Seriously, if your cream cheese isn’t easily smooshed with a finger, let it sit out for an hour. Those lumps do not dissolve when you bake, and nobody wants a lumpy cheesecake! Also, the recipe calls for crushed snickerdoodles for that cinnamon swirl, which is ideal. But hey, real life happens! If you don’t have any cookies on hand, don’t stress. You can totally substitute with vanilla wafers mixed with just a little extra cinnamon and sugar. It still gives you that buttery crunch you need on the bottom and top.
Step-by-Step Instructions for the Baked Snickerdoodle Cheesecake Recipe
This is where the action happens! Don’t let words like “water bath” scare you; this is the secret weapon for achieving that beautiful, crack-free, creamy cheesecake dessert texture. First things first, preheat that oven to 325°F (160°C). Get your 9-inch springform pan ready by wrapping the outside *really* well—I mean heavy-duty foil, like two or three layers. This prevents any rogue water from sneaking in!
Start with the crust. Mix your graham cracker crumbs, the small amount of sugar, and melted butter until it looks like damp sand. Press that firmly into the bottom of your pan and give it a quick 10-minute bake before letting it cool down a bit. While that cools, whip up your filling. Remember to beat that softened cream cheese just until smooth before gently adding the sugar, flour, cinnamon, and vanilla. Add the eggs one by one—only mix until they disappear! Then fold in the sour cream gently.
Here’s the layering: scoop half the filling over the crust, sprinkle half your crushed cookies, then pour the rest of the batter on top. Sprinkle the final cookie crumbles and grab a knife to gently swirl them in for that nice marbled top. Now, go get that roasting pan ready for the next crucial step!
Mastering the Water Bath for a Creamy Cheesecake Dessert
Okay, water bath time! This step is non-negotiable if you want that smooth, dreamy filling, especially in a snickerdoodle cheesecake. Float your foil-wrapped springform pan inside a larger roasting pan. Pour *hot* water into the roasting pan until it comes about halfway up the sides of your cheesecake pan. It needs to be hot water because we don’t want to drop the oven temperature too much. It insulates the cheesecake and keeps the baking environment steamy and gentle. Trust me on this—it prevents that awful dry top and cracking!
Cooling and Chilling: Secrets to a Perfect Snickerdoodle Cheesecake
You’re almost done, but the cooling process takes patience! Once that 55 to 65 minutes are up—the edges should look set but the center should still have a tiny wobble—turn that oven OFF. Don’t pull the cake out! Just crack the door open a tiny bit and let it sit in that residual heat for a full hour. This slow, gentle decrease in temperature is vital. After an hour out of the oven, ditch the water bath wrapping and let it cool completely on a rack. Then, cover it snugly and send it to the fridge for a minimum of six hours, but honestly, overnight is when this cake really shines. This chilling time allows the flavors to meld, ready for you to get your stunning, crack-free slice!
If you need a refresher on delicate baking, sometimes checking out tips on other creamy desserts, like my Berry Cheesecake Recipe, can help ease your mind about the water bath technique!
Tips for the Best Snickerdoodle Cheesecake Results
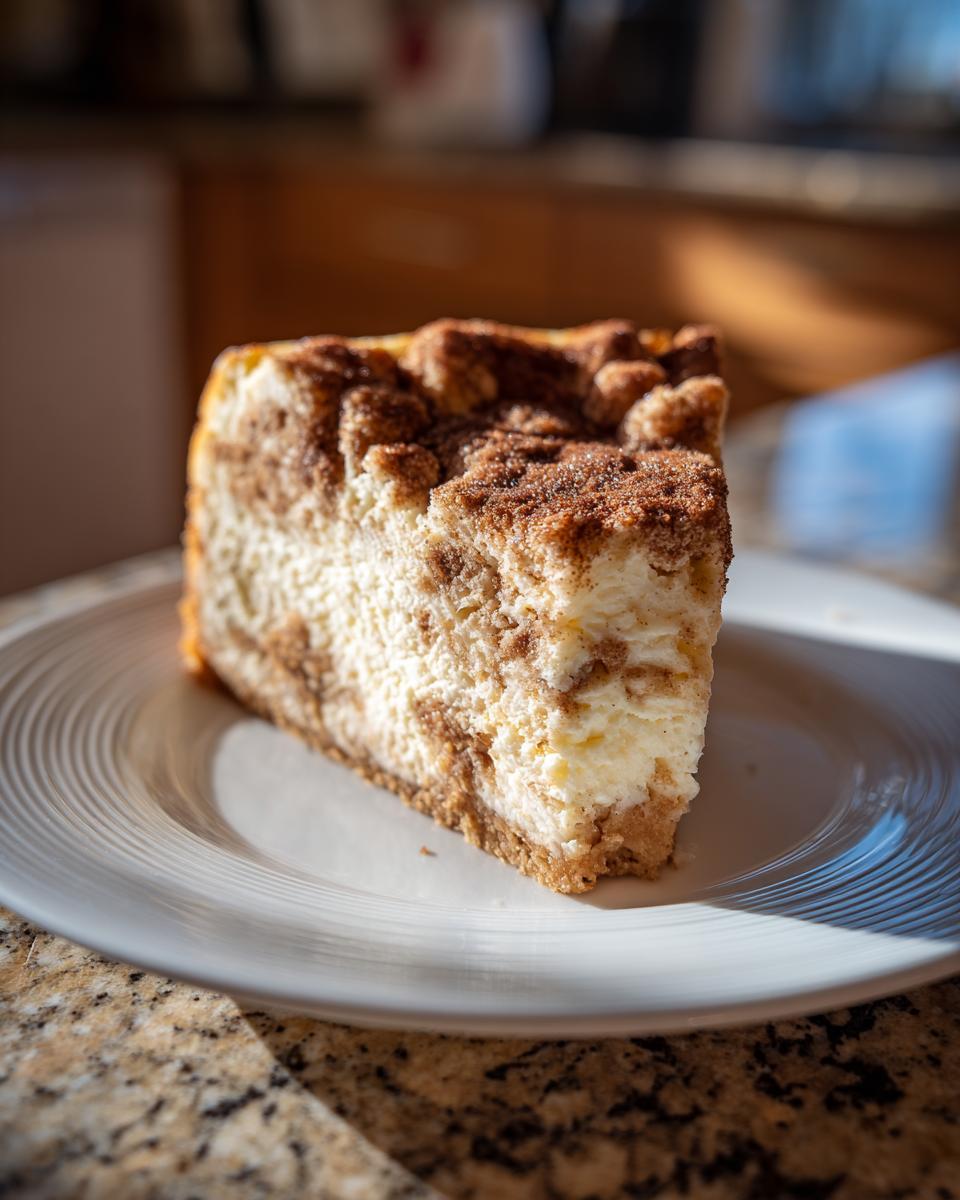
Getting that professional, smooth look isn’t just luck; it’s down to a few little things that really elevate this from good to absolutely show-stopping. My biggest tip for this snickerdoodle cheesecake involves the swirling. When you sprinkle those crushed cookies on top before the oven, don’t go crazy churning the knife!
You only want to gently pull the knife through the surface—maybe just once or twice—to create those beautiful, marbled ribbons of cookie throughout the spiced cheesecake filling. If you mix it too much, you lose that distinct creamy layer beneath the cinnamon decoration.
Also, pay attention when you check for doneness. That slight jiggle in the center is your best friend! If you wait until it looks completely firm, you’ve already baked it too long, and it will dry out as it cools. Remember, we are aiming for ultra-creamy here! If you’re looking for more slow-bake magic, you might enjoy my recipe for Maple Walnut Coffee Cake!
Making Snickerdoodle Cheesecake Bars Variation
So many of you ask about making this into bars because they disappear so fast at parties! I totally get it. Turning this amazing snickerdoodle cheesecake into snickerdoodle cheesecake bars is actually super simple and perfect for entertaining because they’re already portioned out.
For the bars, you’ll want to switch your 9-inch springform pan for a 9×13 inch baking dish. You should line that dish really well with parchment paper, letting the sides hang over like little handles—that’s my trick for effortlessly lifting the whole slab out later on!
Since the layer of batter is thinner in the 9×13 pan compared to the round springform, you’ll need to watch that baking time closely. It might only take about 40 to 50 minutes. Check for doneness early! If you’re looking for another great handheld dessert, I love making my Apple Pie Bars, too. And hey, if you want to see another great take on the bar version, pop over to check out the bars over at Exo Recipes!
Serving Suggestions for Your Snickerdoodle Cheesecake
Because this snickerdoodle cheesecake is so rich and comforting, I love balancing it out when it hits the table. If I’m serving it alongside coffee after dinner, a simple, crisp green apple slice or maybe a tiny scoop of vanilla bean ice cream works wonders to cut through the richness. It’s a dazzling showstopper for any spread, making it one of my favorite Thanksgiving sweet treats!
Don’t forget that beautiful final touch! Make sure you generously sprinkle that extra cinnamon-sugar blend right before serving—that makes the whole top sparkle.
If you’re planning a big holiday meal or just need some festive inspiration, have a look through my favorite Christmas Dinner Ideas for the rest of your perfect menu!
Storage and Reheating for Your Snickerdoodle Cheesecake
This amazing snickerdoodle cheesecake is actually one of those rare desserts that tastes even better the next day. It holds up beautifully in the fridge! Once it’s completely chilled and set—which, remember, should be at least six hours or overnight—cover the whole thing really well. I usually use plastic wrap, making sure it doesn’t stick right to the cinnamon sugar top. If I’ve already sliced it, I’ll use small strips of wax paper between the slices before wrapping to keep everything neat.
You can store this homemade cheesecake recipe in the refrigerator for up to four or five days. Honestly, the flavor just deepens over time, which is a win for us busy cooks!
Now, about reheating—this is a baked cheesecake, so you don’t really reheat it like you would a casserole! You definitely don’t want to microwave a slice because the texture will go from creamy to soft and weird very quickly. The best way to serve it? Just make sure you pull your slice out of the fridge about 20 to 30 minutes before serving. Letting it warm up slightly takes the chill off and lets those cinnamon-sugar notes really wake up on your palate. That slight softening is all you need for the perfect bite!
Frequently Asked Questions About Snickerdoodle Cheesecake
I get so many questions after people bake this amazing snickerdoodle cheesecake! It’s natural when you’re making a dessert fusion this good—you want to make sure every step is perfect. Here are the things I hear most often!
Is this a No Bake Snickerdoodle Cheesecake Recipe?
Nope! This is a true, authentic, baked cheesecake recipe. We need that oven time to set up that luxurious texture using eggs and cream cheese. If you try to make this no-bake, you risk getting a messy, slightly grainy dessert instead of that beautiful, rich and creamy dessert we worked so hard for! Trust me, the water bath technique is worth the effort.
What is the best way to get a Cinnamon Swirl Cheesecake look?
You want that pretty marbling on top, right? That perfect Cinnamon Swirl Cheesecake effect happens when you layer carefully. After pouring your final bit of batter, sprinkle on your last bit of crushed cookies. Then, take an offset spatula or even just a thin butter knife and gently guide it around the top layer a couple of times. If you pull the knife too deep or too many times, you mix the cookie pieces right into the filling, and you’ll lose that distinct layered look!
If you want to read about another great baked treat, check out my recipe for Sour Cream Coffee Cake!
Also, if my recipe doesn’t quite meet your needs, you can always see what others are trying over at Made By Two Sisters for more inspiration!
Why is the water bath so important for this recipe?
The water bath is essential for preventing cracks, which is the number one fear for us bakers! Wrapping the pan tightly and placing it in hot water creates a humid environment. This ensures the cheesecake bakes evenly and slowly. Without it, the edges cook way too fast while the center is raw, leading to that classic cracked top. It helps guarantee you get that perfectly smooth cheesecake flavor profile.
Nutritional Estimates for This Creamy Cheesecake Dessert
Okay, let’s talk numbers for this absolutely decadent snickerdoodle cheesecake. I always feel a little guilty sharing the stats because this recipe is definitely indulgent, but I believe in full transparency for you folks! Remember, since this is a homemade number using real butter and sugar, these are just my best estimates based on the portion sizes.
These figures are rough, so please don’t use them for strict dieting, but it gives you a good idea of what you’re serving up when you cut into these slices. The numbers can change wildly depending on the brands of graham crackers or sour cream I grab that week! If you ever need some lighter dish ideas, I have some great options, like my Creamy Garlic Chickpea Soup.
Here’s the breakdown per slice:
- Serving Size: 1 slice
- Calories: 450
- Sugar: 35g
- Sodium: 300mg
- Fat: 30g
- Saturated Fat: 18g
- Unsaturated Fat: 12g
- Trans Fat: 0.5g
- Carbohydrates: 40g
- Fiber: 1g
- Protein: 7g
- Cholesterol: 100mg
We know the fat and sugar content are high because, hey, it’s cheesecake! But that’s what makes it such a fantastic, rich and creamy dessert for celebrations. The most important thing is the enjoyment you get from baking and sharing it, not the exact milligrams!
PrintCreamy Snickerdoodle Cheesecake

Make this rich and creamy Snickerdoodle Cheesecake, which combines the warm cinnamon-sugar flavor of snickerdoodle cookies with a smooth, baked cheesecake filling. This recipe is simple to follow and perfect for holidays or special gatherings.
- Prep Time: 25 min
- Cook Time: 65 min
- Total Time: 7 hours 30 min
- Yield: 12 servings 1x
- Category: Dessert
- Method: Baking
- Cuisine: American
- Diet: Vegetarian
Ingredients
- 1 1/2 cups graham cracker crumbs
- 1/4 cup granulated sugar (for crust)
- 6 tablespoons unsalted butter, melted
- 16 ounces cream cheese, softened
- 1 cup granulated sugar (for filling)
- 1/4 cup all-purpose flour
- 1 teaspoon ground cinnamon
- 1 teaspoon vanilla extract
- 3 large eggs
- 1/2 cup sour cream
- 1/4 cup crushed snickerdoodle cookies (for swirl/topping)
- 2 tablespoons cinnamon-sugar mixture (for topping)
Instructions
- Preheat your oven to 325°F (160°C). Wrap the outside of a 9-inch springform pan with heavy-duty aluminum foil.
- Prepare the crust: Mix graham cracker crumbs, 1/4 cup sugar, and melted butter. Press the mixture firmly into the bottom of the prepared springform pan. Bake for 10 minutes. Let cool slightly.
- Prepare the filling: In a large bowl, beat the softened cream cheese until smooth. Gradually beat in 1 cup of sugar, flour, and 1 teaspoon of cinnamon until combined. Mix in the vanilla extract.
- Beat in the eggs one at a time, mixing just until incorporated after each addition. Stir in the sour cream until the batter is smooth.
- Pour half of the cheesecake batter over the cooled crust. Sprinkle with half of the crushed snickerdoodle cookies. Pour the remaining batter over the cookies.
- Create a cinnamon swirl: Sprinkle the remaining crushed cookies over the top. Gently swirl the top layer with a knife to create a marbled effect.
- Bake the cheesecake in a water bath: Place the foil-wrapped springform pan into a larger roasting pan. Carefully pour hot water into the roasting pan until it reaches halfway up the sides of the springform pan.
- Bake for 55 to 65 minutes, or until the edges are set but the center still jiggles slightly.
- Turn off the oven, crack the door open, and let the cheesecake cool inside the oven for 1 hour. This prevents cracking.
- Remove the cheesecake from the water bath and foil. Cool completely on a wire rack. Chill in the refrigerator for at least 6 hours, or preferably overnight, before serving.
- Before serving, sprinkle the top with the extra cinnamon-sugar mixture. Run a thin knife around the edge before releasing the springform side.
Notes
- For the best creamy texture, allow your cream cheese and eggs to reach room temperature before mixing.
- If you do not have snickerdoodle cookies, you can use vanilla wafers mixed with extra cinnamon and sugar for the crust and topping.
- This is a baked cheesecake recipe; do not attempt to make this recipe no-bake.
Nutrition
- Serving Size: 1 slice
- Calories: 450
- Sugar: 35g
- Sodium: 300mg
- Fat: 30g
- Saturated Fat: 18g
- Unsaturated Fat: 12g
- Trans Fat: 0.5g
- Carbohydrates: 40g
- Fiber: 1g
- Protein: 7g
- Cholesterol: 100mg