
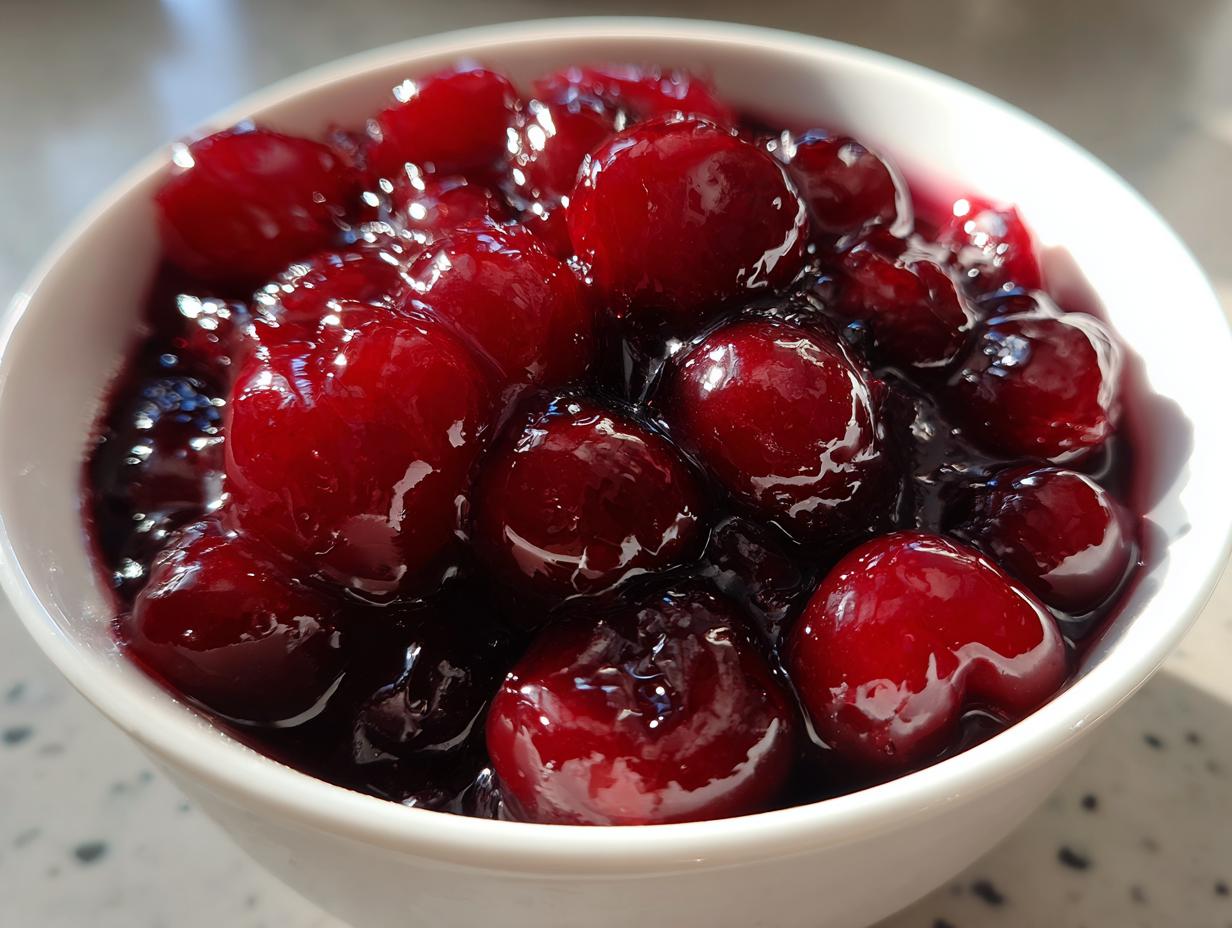
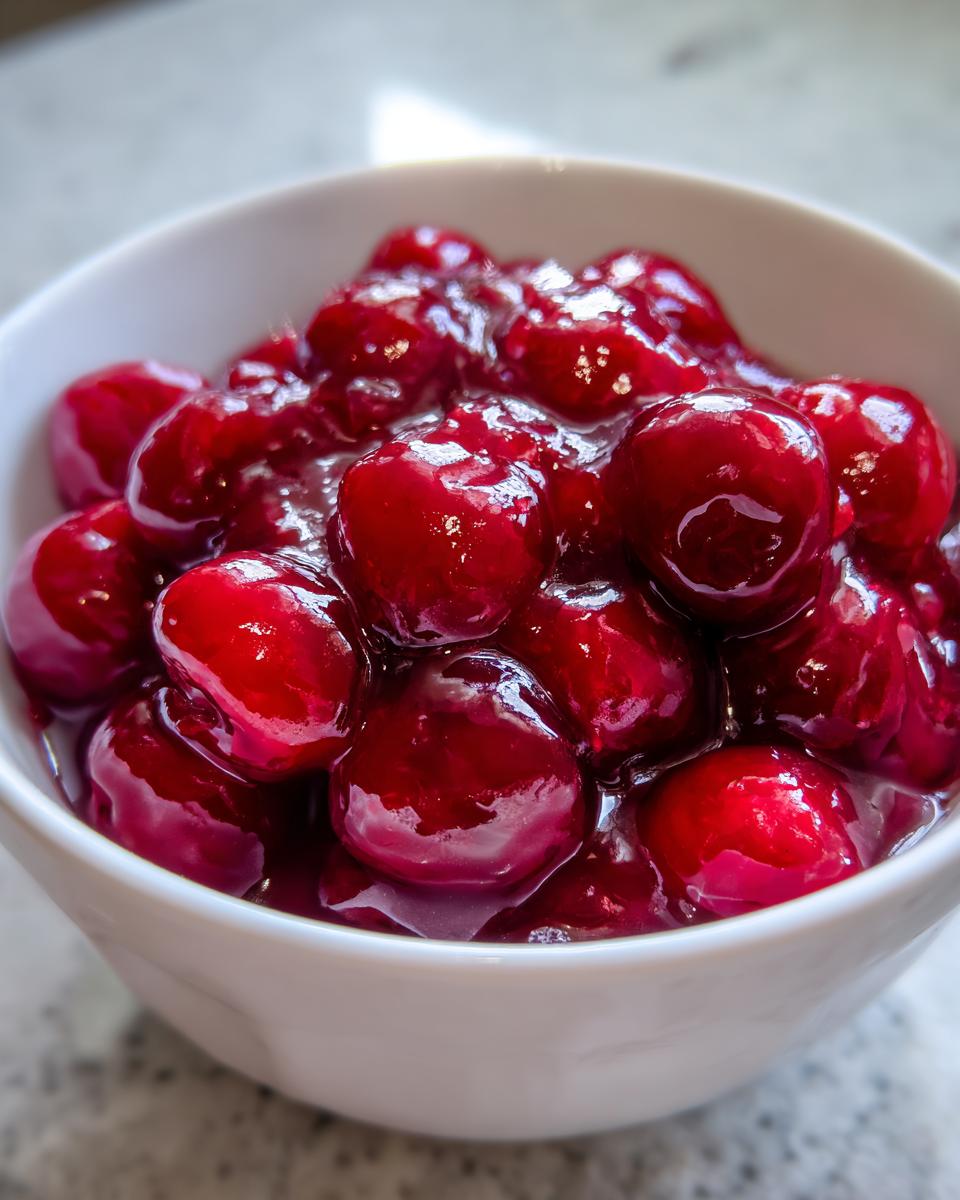
Seriously, can we just agree that the stuff in the can is just sad? It’s always too runny, and the color looks suspiciously artificial! I promise you, tossing out that can opener is the first step toward dessert bliss. I’m Avery, and after tweaking this recipe countless times to make sure it’s reliable for busy cooks, I’m convinced this is the easiest, thickest, homemade cherry pie filling you’ll ever make. In less than 30 minutes, you’ll have something bursting with real fruit flavor that completely transforms your favorite dessert. You can read more about my food philosophy and how I test everything over at my About Page—I promise this recipe is foolproof!
- Why This Homemade Cherry Pie Filling Recipe Beats Store-Bought
- Gathering Ingredients for Your Easy Cherry Pie Filling From Scratch
- How To Make Cherry Pie Filling: Simple Stovetop Instructions
- Versatile Cherry Topping Recipe Uses Beyond the Pie
- Storage and Make-Ahead Tips for Homemade Cherry Pie Filling Recipe
- Quick Cherry Dessert Topping Troubleshooting
- Frequently Asked Questions About This Cherry Pie Filling Recipe
- Recipe Details and Times for Your Cherry Pie Filling
- Estimated Nutritional Data for Homemade Cherry Pie Filling Recipe
Why This Homemade Cherry Pie Filling Recipe Beats Store-Bought
Look, I get it, grabbing a can is fast. But for just a few minutes more on the stove, you get a filling that tastes like summer exploded in your mouth! I spent ages perfecting this standard so you don’t have to fuss with runny messes. Once you taste this, you’ll see why we never go back to the jarred stuff. Plus, you get to control exactly what goes in!
- The flavor is richer; the cherries taste like actual fruit, not sugary syrup.
- It holds its shape perfectly in your pie crust—no soggy bottoms here!
- You control the sweetness; if you use very sweet cherries, you can back off the sugar.
Achieving the Best Thick Cherry Pie Filling Consistency
The absolute game-changer here is the cornstarch slurry. You mix it separately with cold water, which is a deliberate step to prevent lumps! When you pour that slurry into the simmering fruit, it instantly kicks off the thickening process. This is how you guarantee that beautiful, spoon-coating texture instead of a watery mess.
Sweet and Tart Cherry Filling Flavor Profile
If you only use cherries and sugar, you miss out on the complexity. That little splash of lemon juice brightens everything up and keeps the sweetness from feeling heavy. And if you want that fancy bakery touch? A half teaspoon of almond extract elevates the cherry flavor in a way that’s just stunning. It’s the secret weapon for the Sweet and Tart Cherry Filling everyone raves about!
Gathering Ingredients for Your Easy Cherry Pie Filling From Scratch
Okay, gathering your supplies for this Easy Cherry Pie Filling From Scratch is super quick—no need to run to specialty stores! We’re keeping this simple, so you probably have most of this in your pantry already. We need four cups of pitted cherries, plus sugar, cornstarch for thickening, lemon juice, a pinch of salt, and that lovely optional almond extract. You’ll also need a quarter cup of cold water for the slurry.
Ingredient Notes and Substitutions for Cherry Pie Filling
You have options here, which I love! You can absolutely use fresh or frozen cherries; if you’re using frozen, don’t even bother thawing them first. Just toss them straight into the pot! If your cherries are super sweet already, maybe dial back the sugar just a touch. Remember, using real cherries keeps this homemade cherry pie filling tasting bright and totally authentic. And please, if you can find space for it, that almond extract really makes the cherry flavor pop!
How To Make Cherry Pie Filling: Simple Stovetop Instructions
Ready to see the magic happen? Making the How To Make Cherry Pie Filling is honestly faster than cleaning up afterwards. Everything goes right on the stove, so grab your medium saucepan. We’re moving quickly here, but don’t panic! The most rewarding part is watching that beautiful, jewel-toned mixture transform right before your eyes. If you are using frozen fruit, toss them in straight from the freezer; they’ll add plenty of liquid as they cook down. You can find more tips on handling frozen fruit over here, too!
Creating the Cornstarch Slurry for Your Cherry Pie Filling
This step is non-negotiable for silky smooth results! You absolutely have to mix your cornstarch and cold water together in a separate small bowl first. I use a mini whisk and make sure there are zero dry white specks floating around—that tells me I have lumps waiting to happen later! Using cold water is key; if you dump the dry cornstarch directly into the hot cherries, you get a thick clump that ruins the texture of your whole batch of filling.
Thickening the Juicy Cherry Filling Secrets
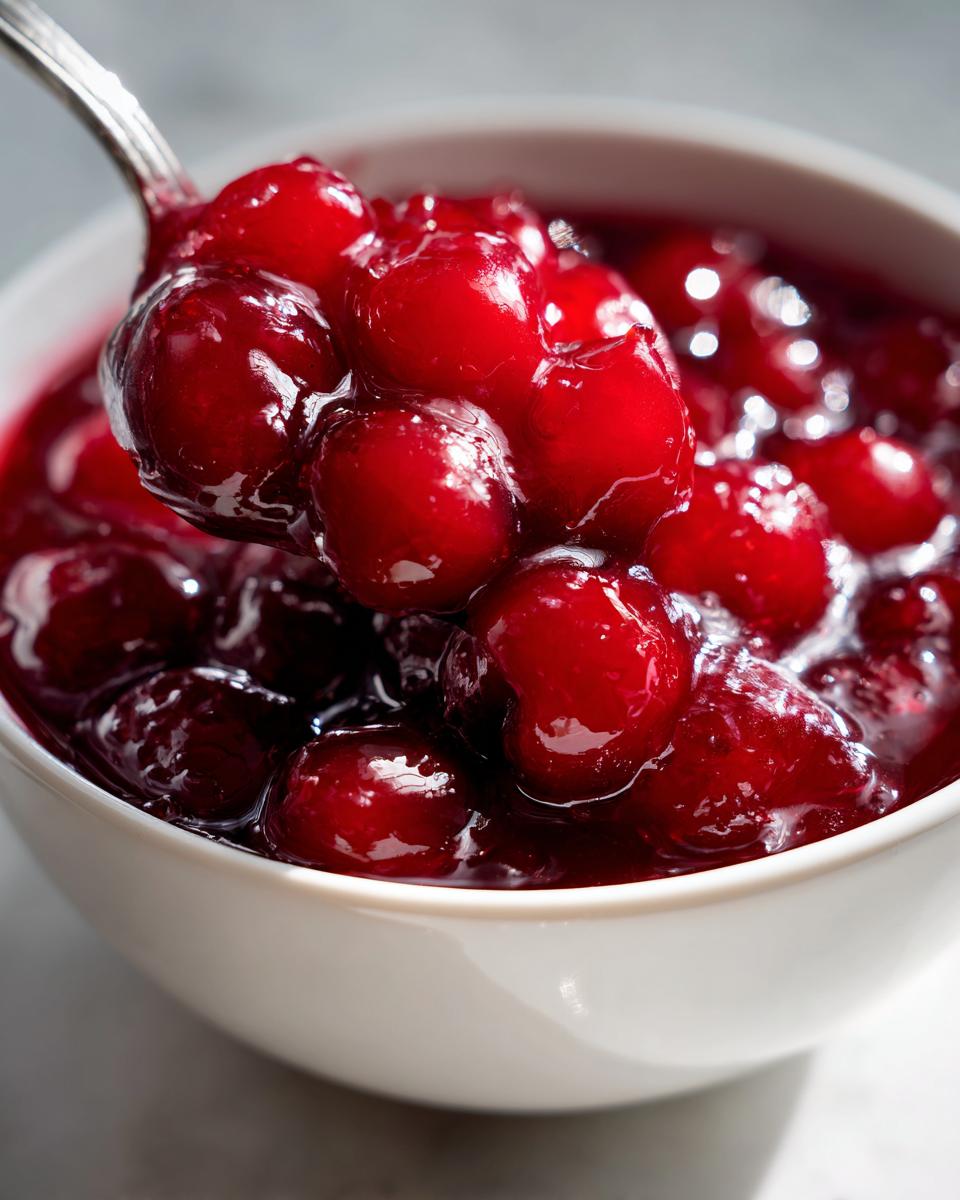
Once the sugar is dissolved and the mixture is gently simmering, it’s slurry time! Slowly pour that liquid into the pot while stirring nonstop. Keep stirring constantly as it comes back to a boil. Seriously, keep stirring for about one to two minutes after it starts bubbling visibly. This is one of the Juicy Cherry Filling Secrets: when it’s finally thick enough to coat the back of a spoon completely, pull it off the heat immediately. That means it’s done thickening!
Versatile Cherry Topping Recipe Uses Beyond the Pie
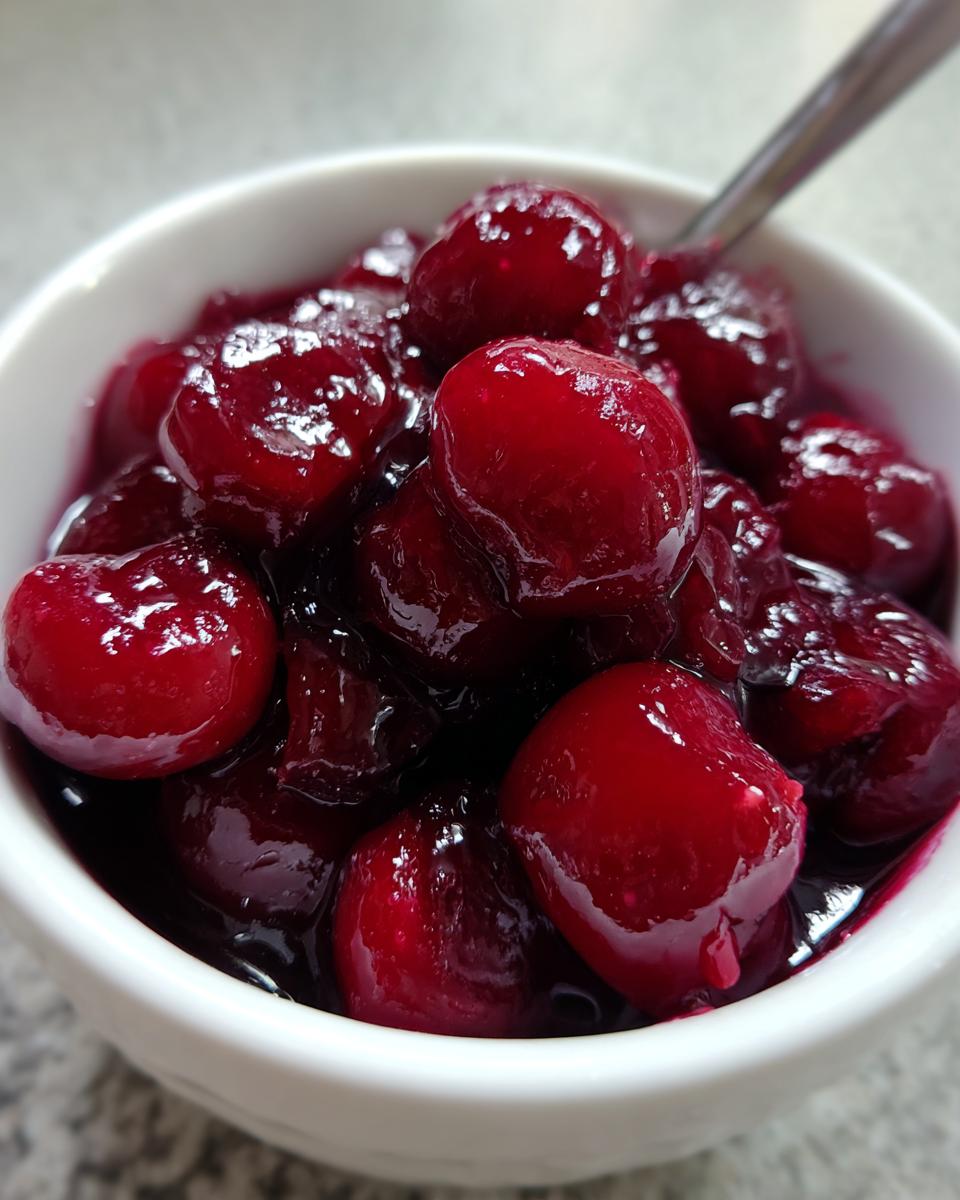
Listen, making this much perfect Homemade Cherry Pie Filling Recipe means we shouldn’t just save it for Thanksgiving pie season! This is one of the reasons I call this the ultimate Versatile Cherry Topping Recipe. Once it cools completely, it becomes thick enough to scoop beautifully. I mean, who needs plain vanilla ice cream when you have this? It’s fantastic spooned warm over pancakes on a Sunday morning, or layered into shortcakes. But where it really shines is when treated like a fancy garnish.
Tips for Using Cherry Pie Filling for Cheesecake
If you’re planning on using this glorious filling on top of a cheesecake—like my amazing Sweet Potato Cheesecake—this next tip is crucial. You MUST let the cherry pie filling cool down completely, preferably resting in the fridge for a few hours until it’s fully set. If you pour warm filling onto a cream cheese base, even a baked one, the heat will cause seepage or melt the top layer. Trust me, cold, thick topping on creamy cheesecake is the perfect textural contrast. For general topping ideas, check out these other ways people are using their fruit toppings!
Storage and Make-Ahead Tips for Homemade Cherry Pie Filling Recipe
One of the best parts about making a big batch of this filling is that you don’t have to use it all right away! Since this recipe makes a generous yield, having extras in the fridge or freezer means you’re always ready for an impromptu dessert night. The texture really sets during the cooling process, so patience here pays off big time.
First things first, though: you must let it cool down completely on the counter before putting it anywhere near a container meant for storage. Putting hot filling into the fridge traps steam and can ruin that beautiful thickness we worked so hard to achieve. Once cool, move it to an airtight container.
In the refrigerator, this filling stays fantastic for about ten days. If you want it for months down the road, freezing is your friend! Transfer it to heavy-duty freezer bags, squeeze out as much air as you can, and flatten the bag before freezing—that makes storage in your freezer drawer so much easier. It usually thaws perfectly overnight in the fridge when you need it.
Canning Cherry Pie Filling For Year Round Preservation
If you love the idea of having this sweet and tart goodness on hand even after cherry season is totally over, canning is the way to go! This keeps the filling shelf-stable for almost a year. Now, canning fruit fillings requires a bit more precision than making a standard jam, so please skip my casual advice here and look up the official protocols. To safely achieve Canning Cherry Pie Filling For Year Round use, you must follow specific USDA guidelines for water bath canning to ensure everything is processed correctly for shelf safety. Always use proper jars and sterilization!
Quick Cherry Dessert Topping Troubleshooting
Even the easiest recipe can have a little hiccup now and then, so don’t stress if your Quick Cherry Dessert Topping isn’t perfect straight off the heat. If it feels too thin, just quickly whisk up another teaspoon of cornstarch with a tablespoon of cold water and stir that slurry in while simmering for another minute. Too thick? That’s easy—just stir in a tiny splash of warm water or cherry juice until it loosens up.
If your frozen cherries seem stubbornly hard even after simmering, just increase the heat slightly and let it gently bubble a bit longer—they usually soften up right when the filling thickens. See? No need to throw it out; we can fix almost anything quickly!
Frequently Asked Questions About This Cherry Pie Filling Recipe
You’ve got great questions! Making something from scratch always brings up a few last-minute doubts. I’ve collected the most common ones readers ask when they are looking to make the Best Homemade Pie Filling. Check these out!
Can I use this Easy Cherry Pie Filling From Scratch with only 3 ingredients?
Well, technically, yes, you could boil cherries, sugar, and cornstarch together, but believe me, you’d be missing out! While the core ingredients are cherries, sugar, and cornstarch—which gets you going toward that Simple 5 Ingredient Cherry Filling territory—the lemon juice and salt are non-negotiable for balancing the flavor. That little bit of almond extract I suggest really takes this from tasting homemade to tasting professional. Don’t skip the enhancers; they are what make it delicious!
What is the best way to use Cherry Pie Filling Using Frozen Cherries?
This is my favorite shortcut, honestly! The best way to handle Cherry Pie Filling Using Frozen Cherries is to treat them exactly like fresh cherries, but don’t thaw them first! Pour them straight from the freezer bag into the pot with the sugar. As they heat up, they release liquid, which is exactly what we want. Just make sure you cook the mixture a touch longer until it comes to that good, steady simmer before adding the cornstarch slurry. That ensures any ice crystals melt properly and incorporate into the final thick consistency.
Can I make a No Bake Cherry Pie Filling with this method?
That’s a great question if you’re in a rush! Because we need the heat to activate the cornstarch and create that beautiful, thick texture, this isn’t technically a No Bake Cherry Pie Filling recipe. You absolutely have to cook it on the stove to get that glossy set. However, once the filling is cooked and cooled completely in the fridge, it is absolutely perfect for layering into a pre-made graham cracker crust or spooning over a chilled no-bake cheesecake. You get the no-bake benefit without the runny texture!
If you want to dive deeper into flavoring, I talk a lot about how almond plays with cherry flavors in my post about almond secret lattice crusts. Happy baking!
Recipe Details and Times for Your Cherry Pie Filling
I know you’re probably eager to get this gorgeous filling into a pie crust or over some ice cream, so here’s the quick summary of how long you’re actually looking at. It’s honestly one of the fastest homemade components you’ll ever throw together. Seriously, if you have 25 minutes free, you can secure dessert satisfaction for days!
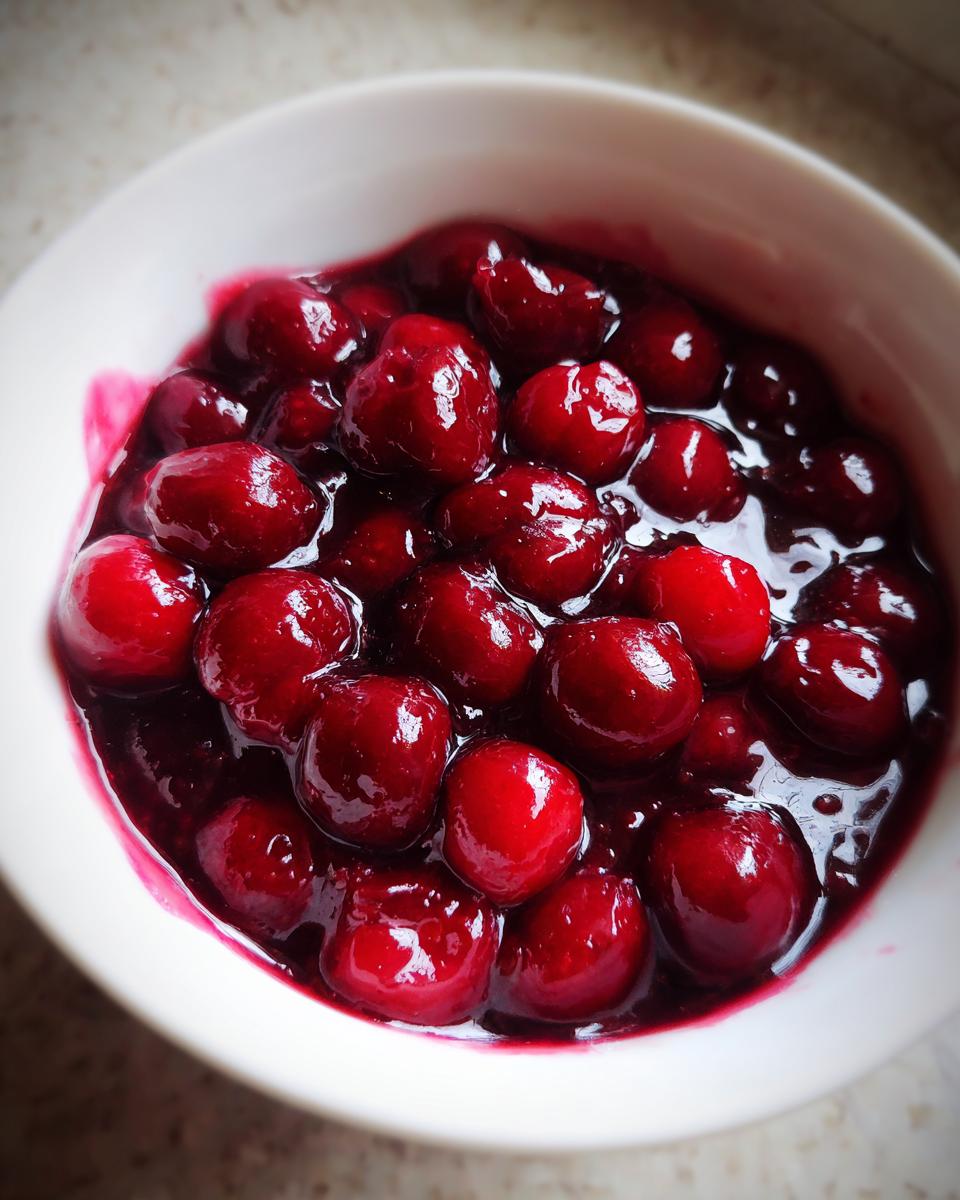
This recipe is perfect for fitting into a busy schedule, yielding just about five cups of thick, luscious filling.
- Prep Time: 10 minutes (That’s mostly just grabbing things out of the pantry!)
- Cook Time: 15 minutes (Watch the thickening magic!)
- Total Time: 25 minutes
- Yield: About 5 cups
- Category: Dessert Component
- Method: Stovetop Cooking
If you love versatile components like this one, you should definitely check out my full collection of dessert recipes over here. Having this type of easy topping ready to go truly changes weeknight desserts!
Estimated Nutritional Data for Homemade Cherry Pie Filling Recipe
I always try to keep things simple here at Devour Dish, and that includes the nutritional breakdown. If you’re tracking macros or just curious what’s in this lovely filling, here’s my best estimate. Keep in mind that this data reflects the recipe as written—using standard granulated sugar and the specific amounts listed.
These numbers represent one serving, which is about half a cup of the finished filling. This calculation (and all my others) is based on the ingredients I personally used to test the recipe, so brand choices can make a tiny difference. But honestly, compared to anything store-bought, I’m happy serving this beautiful, fruit-filled creation!
- Serving Size: 1/2 cup
- Calories: 210
- Sugar: 35g (Yes, fruit has natural sugar, but we controlled the additive!)
- Sodium: 5mg
- Fat: 0g
- Saturated Fat: 0g
- Carbohydrates: 53g
- Protein: 1g
We’re keeping the fat and cholesterol super low here, which is great. The main powerhouse ingredient here is the cherry itself! Since I, Avery Collins, developed and tested this recipe, these estimates are what you can expect when baking along at home. Use this guide loosely!
PrintEasy Homemade Cherry Pie Filling Recipe
Make thick, juicy cherry pie filling from scratch. This simple recipe tastes much better than the canned version and works perfectly for pies, cheesecakes, or as a versatile dessert topping.
- Prep Time: 10 min
- Cook Time: 15 min
- Total Time: 25 min
- Yield: About 5 cups 1x
- Category: Dessert Component
- Method: Stovetop Cooking
- Cuisine: American
- Diet: Vegetarian
Ingredients
- 4 cups fresh, frozen, or canned sweet cherries, pitted
- 1 cup granulated sugar (adjust to cherry sweetness)
- 1/4 cup cornstarch
- 1/4 cup cold water
- 1 tablespoon lemon juice
- 1/2 teaspoon almond extract (optional)
- Pinch of salt
Instructions
- If using fresh or frozen cherries, place them in a medium saucepan. If using canned cherries, drain them, reserving the juice, and add the juice to the saucepan.
- In a small bowl, whisk together the cornstarch and cold water until smooth. This is your slurry.
- Add the sugar, lemon juice, and salt to the cherries in the saucepan.
- Heat the mixture over medium heat, stirring occasionally, until it begins to simmer and the sugar dissolves.
- Slowly pour the cornstarch slurry into the simmering cherry mixture while stirring constantly.
- Continue to cook, stirring constantly, until the filling thickens significantly, about 1 to 2 minutes after it starts to bubble. It should coat the back of a spoon.
- Remove the pan from the heat. Stir in the almond extract, if using.
- Allow the cherry pie filling to cool completely before using it in a pie or as a topping. Cooling helps it set to the best thick consistency.
Notes
- For frozen cherries, do not thaw them before cooking; cook them directly from frozen.
- If you prefer a tarter filling, reduce the sugar slightly or use tart cherries.
- This filling is excellent as a versatile cherry topping for ice cream, pancakes, or cheesecake.
- For long-term storage, you can can this filling using proper water bath canning procedures for shelf stability.
Nutrition
- Serving Size: 1/2 cup
- Calories: 210
- Sugar: 35g
- Sodium: 5mg
- Fat: 0g
- Saturated Fat: 0g
- Unsaturated Fat: 0g
- Trans Fat: 0g
- Carbohydrates: 53g
- Fiber: 2g
- Protein: 1g
- Cholesterol: 0mg