
Okay, let’s talk about Thanksgiving desserts for a minute. We all love that classic sweet potato pie, right? But sometimes, you just need something richer, something that screams decadence when you bring it to the table. That’s exactly why I developed this incredible sweet potato cheesecake recipe. It’s the ultimate fall upgrade! Here at Devour Dish, I always focus on recipes that are simple enough for real life, but I’ve tested this one until it was absolutely perfect and reliable—especially for those busy holiday baking days.
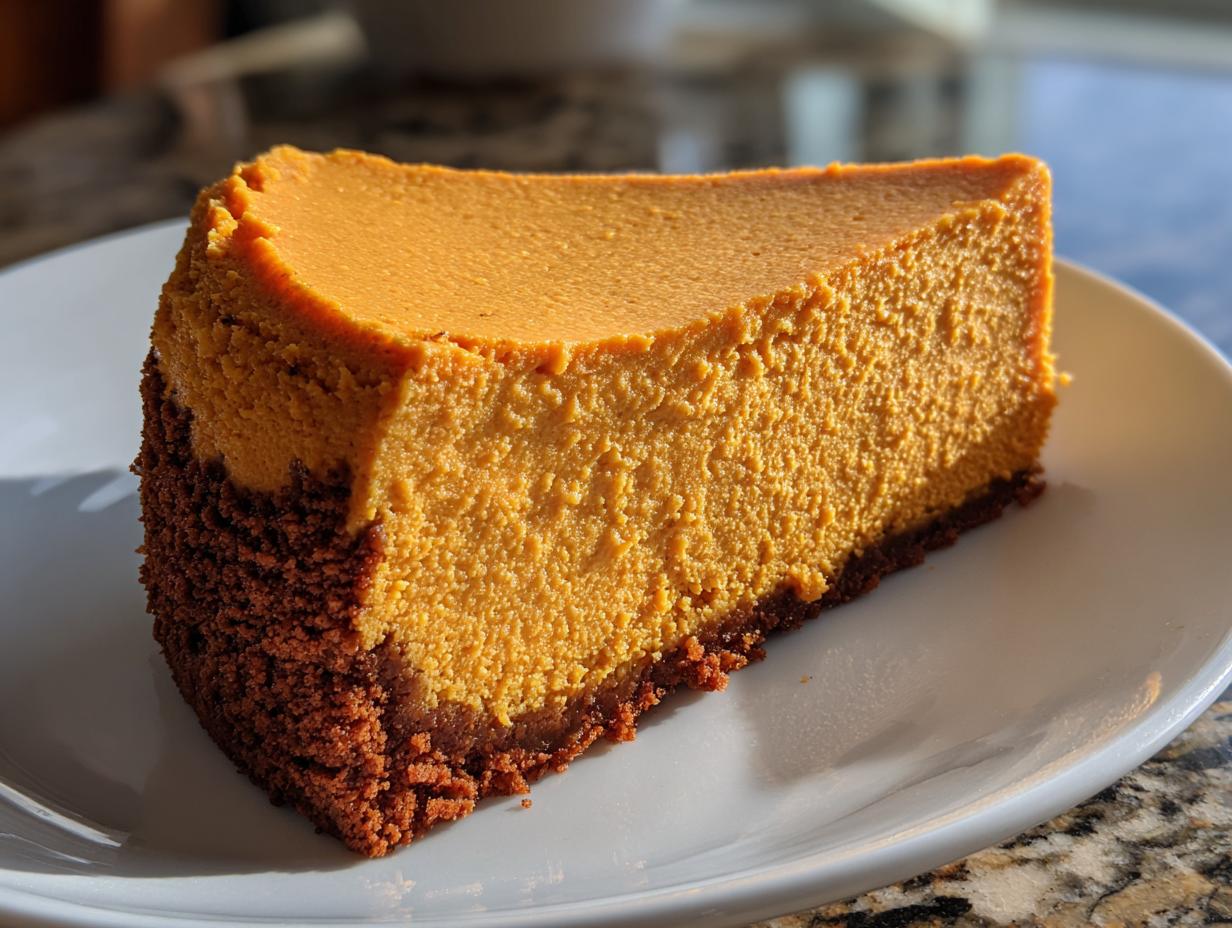
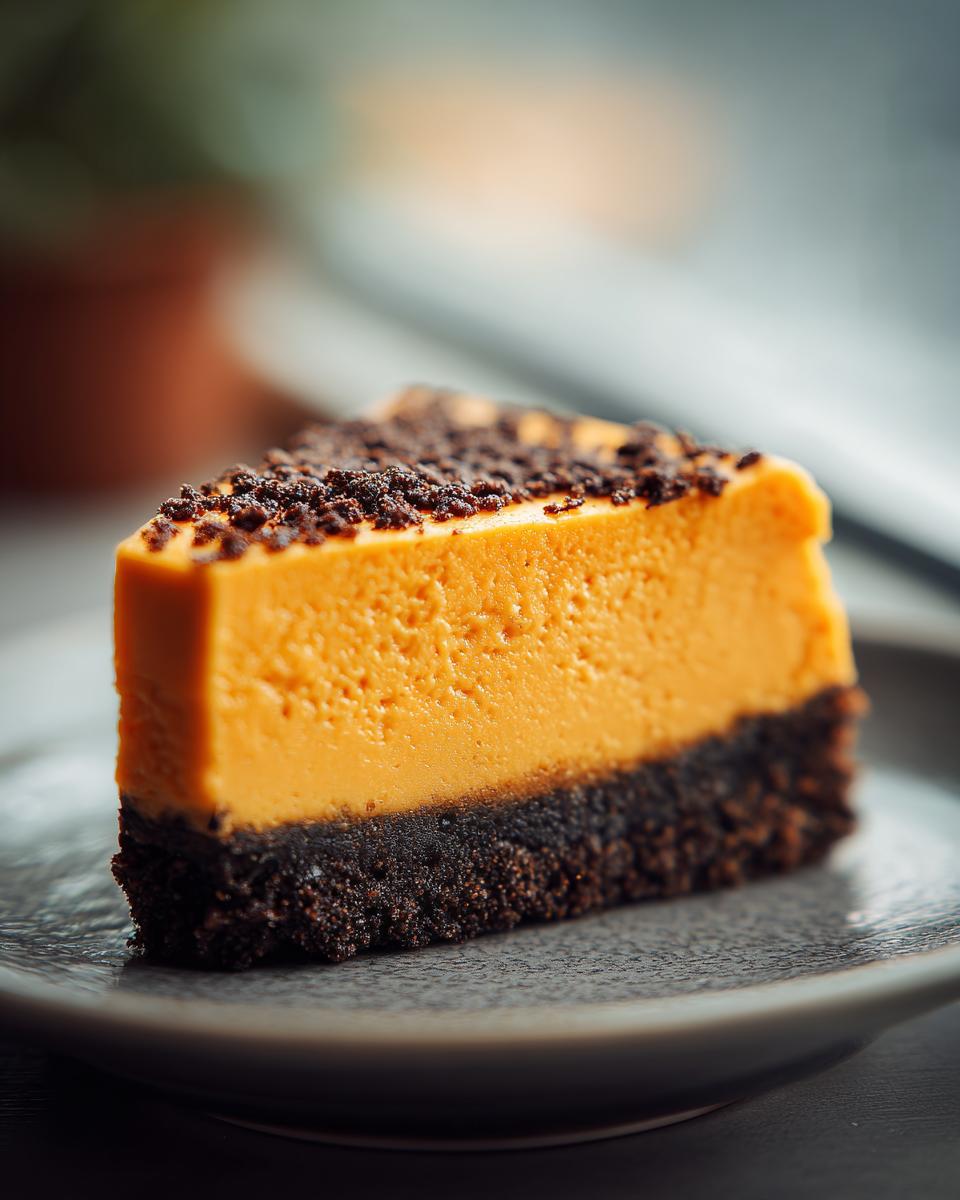
Forget dry or crumbly; this cheesecake is all about that smooth, velvety center. The magic really happens when the warm spices meet that spicy, crunchy gingersnap crust. Trust me, once you try this, the pie is going to have some serious competition!
- Why This Creamy Sweet Potato Cheesecake is Your New Holiday Favorite
- Essential Ingredients for the Best Sweet Potato Cheesecake
- Step-by-Step Instructions for Your Sweet Potato Cheesecake
- Tips for a Crack-Free Sweet Potato Cheesecake
- Variations on the Classic Sweet Potato Cheesecake Treat
- Storage and Make Ahead Tips for Your Sweet Potato Cheesecake
- Serving Suggestions for This Creamy Thanksgiving Dessert
- Frequently Asked Questions About Sweet Potato Cheesecake
- Nutritional Estimate for Sweet Potato Cheesecake
Why This Creamy Sweet Potato Cheesecake is Your New Holiday Favorite
I know, I know, sweet potato pie is classic, but why settle for classic when you can have *legendary*? This sweet potato cheesecake takes all of those cozy fall flavors and amps them up until they are seriously decadent. It’s hands-down the Best Sweet Potato Pie Alternative you’ll ever serve at your table. People literally ask for this specific recipe every year now!
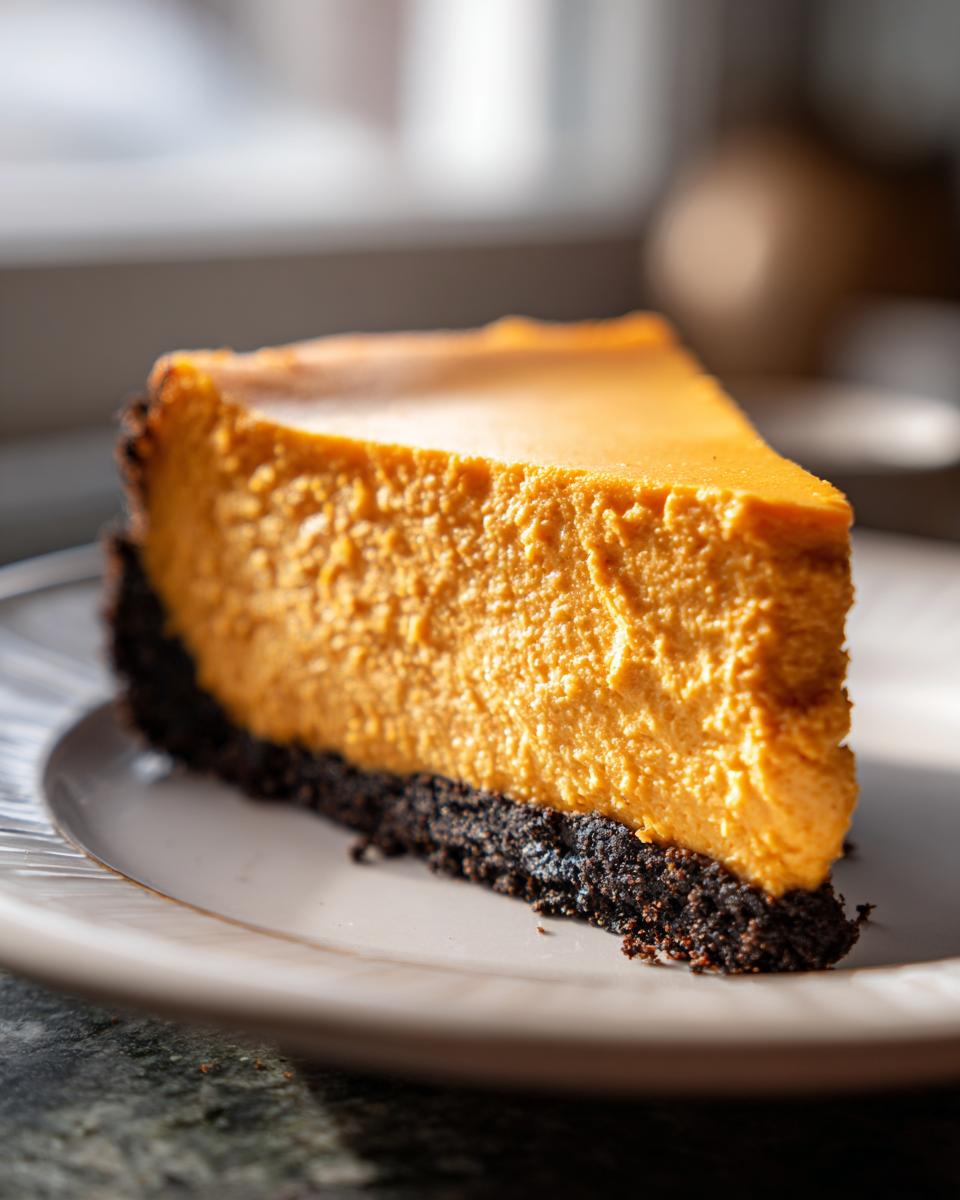
- It’s unbelievably creamy—I mean, cloud-like smooth in every single bite!
- The spice blend hits just right; it’s warm without being overwhelming.
- The gingersnap crust gives that amazing spicy/sweet contrast.
If you want a holiday showstopper that’s actually reliable thanks to our tested methods, this is it. Check out my pumpkin cheesecake tips, because they apply here equally!
Achieving the Perfect Creamy Texture in Your Sweet Potato Cheesecake
Listen, the secret to cheesecake that looks like velvet and tastes divine is all about temperature control. I learned this the hard way—nothing is worse than pouring a lumpy batter! This is where our ‘Tested & Trusted’ philosophy really shines.
You absolutely must bring your cream cheese and your eggs out of the fridge at least an hour before you even think about turning on the mixer. When they hit room temperature, they blend seamlessly, incorporating air gently instead of forcing it. That gentle blending means fewer air bubbles, which means fewer cracks later on. It’s simple physics, but it makes all the difference between good cheesecake and truly creamy cheesecake.
Essential Ingredients for the Best Sweet Potato Cheesecake
If you want this sweet potato cheesecake to taste absolutely amazing, you have to treat your ingredients right. I’ve written out exactly what you need below, but pay close attention to the directions I give you for preparation. When you use exactly what I use, you get my consistent, creamy results. This isn’t the time to pull out the canned pie filling, either—we want real sweet potato flavor shining through!
Before you start mixing, make sure you have your cream cheese and eggs completely softened to room temperature. I can’t stress this enough. Grab your equipment and get those ingredients ready to go so you don’t have to pause mid-recipe! And hey, if you are looking for other great ways to use sweet potatoes in the fall, you should definitely check out my recipe for Sweet Potato Casserole with Pecan Streusel.
Gingersnap Crust Ingredients and Preparation Notes
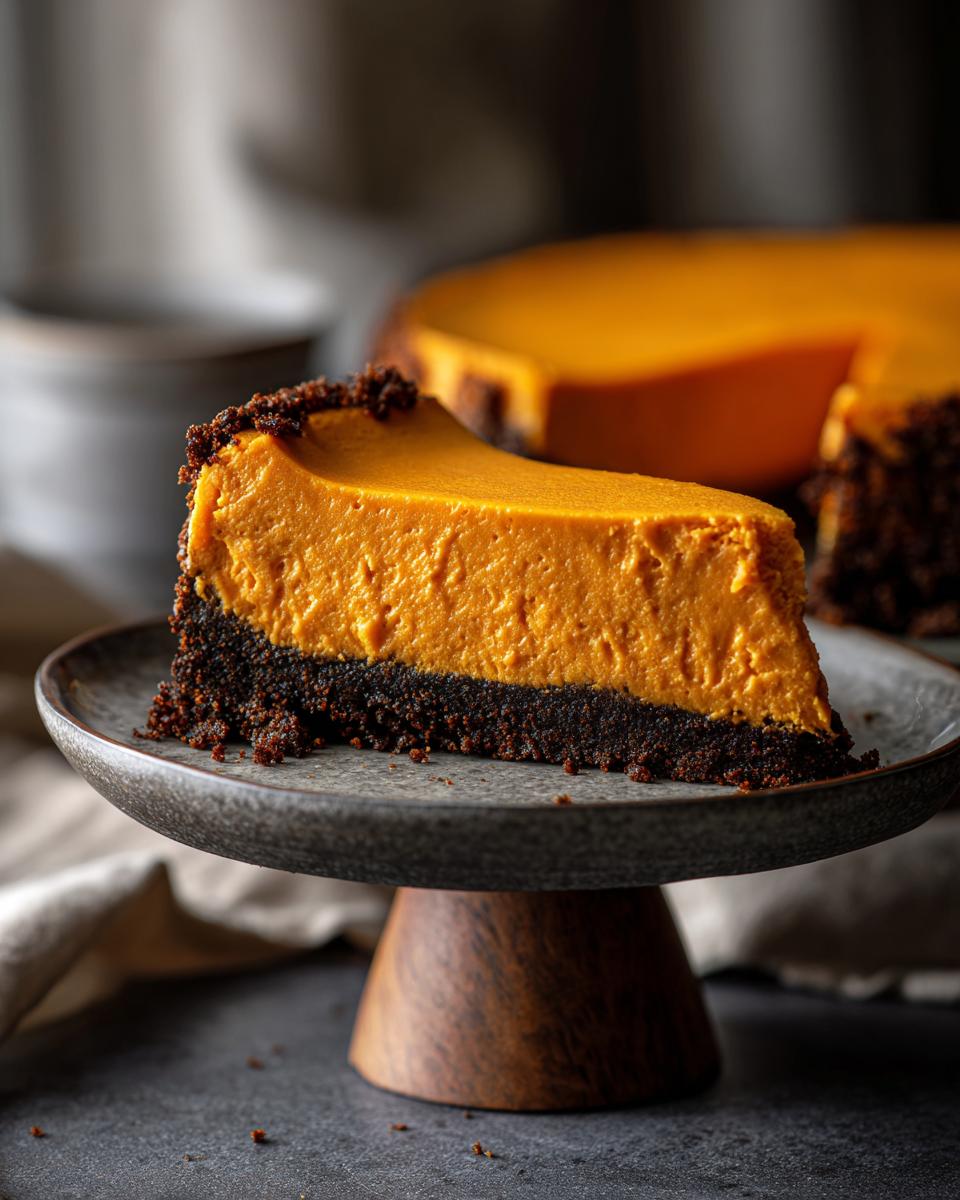
For the base, we need something with a bit more kick than a regular graham cracker crust, which is why I lean so heavily on gingersnaps. They add that lovely spice that complements the sweet potato so perfectly. You’ll need about a cup and a half of the finely crushed cookies, plus a little bit of white sugar to help it set up.
The whole thing is held together with melted butter, so make sure you measure that out exactly. If you happen to be digging through your pantry and realize you don’t have any gingersnaps? No sweat! You can absolutely use graham crackers instead. Just use the same amount by volume. These crust substitutions are part of making this recipe work for your real life!
Sweet Potato Cheesecake Filling Components
This is where the real flavor comes from. You need two full blocks of cream cheese, softened, of course. Then comes the sweet potato part. You must use real mashed sweet potato—bake or boil them until they are incredibly tender, then mash them up until absolutely silky smooth.
We use a blend of white and brown sugar for that perfect depth of flavor. Then we bring in the classic fall spices: cinnamon, nutmeg, and a little bit of ginger. Salt and vanilla are essential for balancing that sweetness, too. Finally, those three large eggs go in one at a time to bind everything together beautifully without overworking that delicate batter.
Step-by-Step Instructions for Your Sweet Potato Cheesecake
Now for the fun part! While this is a sweet potato cheesecake, it’s not complicated—it just requires respecting the process, which is my guarantee you get that incredible texture. Always remember to check your oven temperature before you start assembling anything. I find it’s helpful to have everything measured out, kind of like setting up for a baking marathon! For a great companion flavor, sometimes I pair cheesecake day with making a batch of easy homemade applesauce.
Preparing and Pre-Baking the Gingersnap Crust
First things first, we need to get that spicy crust locked in. Preheat your oven to 350°F (175°C). This is crucial: wrap the outside bottom of your 9-inch springform pan completely in heavy-duty aluminum foil. We do this for the water bath later, so wrap it tight! Mix your gingersnap crumbs, sugar, and melted butter until it looks like wet sand. Press that mixture firmly and evenly into the bottom of the pan—really pack it down there so it doesn’t crumble when slicing later.
Bake that crust for exactly 8 minutes. When it comes out, just let it sit and cool a bit while you get started on the main event. Don’t forget to drop the oven temp down to 325°F (160°C) before putting the filling in!
Mixing the Creamy Sweet Potato Cheesecake Filling
Remember what I said about room temperature ingredients? This step proves why. Grab a large bowl and beat that softened cream cheese until it’s totally smooth—no lumps allowed! You want it looking like fluffy white frosting before you add anything else. This is the key to avoiding cracks later on.
Next, slowly add in your mashed sweet potato, sugars, vanilla, cinnamon, nutmeg, ginger, and salt. Mix it only until it’s *just* combined. Do not overbeat now! Finally, add your three eggs, one at a time, mixing on low speed just until each one disappears into the batter. Scrape down the sides one last time, pour it over your cooled crust, and get ready for the oven!
Baking Your Sweet Potato Cheesecake in a Water Bath
The water bath, or *bain-marie*, is non-negotiable for truly creamy cheesecake. Place that foil-wrapped springform pan inside a larger roasting pan. Carefully pour hot water into the roasting pan until it comes halfway up the sides of your cheesecake pan. This creates a steamy, gentle environment so the edges don’t cook too fast while the creamy center catches up.
Bake this beauty for about 55 to 65 minutes. When the edges look set but the center still has a very slight jiggle, turn the oven OFF. Prop the door open slightly—I use a wooden spoon handle for this—and let it sit in that warm oven for a full hour. This slow, gradual cooling is the final step to prevent the dreaded surface crack. After that hour, take it out, let it cool completely on the counter, and then you must chill it for at least six hours before slicing. Patience wins the cheesecake game!
Tips for a Crack-Free Sweet Potato Cheesecake
If you’ve ever made a full cheesecake before, you know the panic that sets in when you see a tiny hairline fracture start to form. Ugh, no thank you! My goal here is flawless texture every single time you make this sweet potato cheesecake, because nobody wants an sad, cracked top at their holiday dinner. Luckily, we talked about most of the heavy lifting already—the gentle mixing and the water bath—but let’s reiterate the absolute must-dos for a perfect presentation.
First, remember what I said about eggs: slow and steady wins the race. Overmixing after adding the eggs whips too much air into that lovely sweet potato filling. When those bubbles hit the heat, they expand quickly and then collapse when cooling, creating those tell-tale cracks. We want dense smoothness, not airy fluff, so keep that mixer on low!
Second, the cooling process is the real MVP here. Baking is only half the battle; cooling sets the structure. Never take the cheesecake straight from a hot oven to a cold countertop—that temperature shock is guaranteed to ruin your top! The gradual cool-down inside the turned-off oven, followed by the long chill time in the fridge, lets that structure tighten up evenly. If you follow those steps, you won’t need any fancy trickery. For other tips on getting perfect layers, check out my guide on German Chocolate Cheesecake; the crack-prevention rules are universal!
Variations on the Classic Sweet Potato Cheesecake Treat
This recipe is fantastic as a full, gorgeous round cheesecake, but maybe you’re looking for something easier to serve at a big football party or potluck. I get it! Sometimes cutting neat squares is way less stress than slicing a round cake.
That’s why you’ll be thrilled to know this absolutely works as a truly excellent Cheesecake Bars Recipe. If you decide to go this route, you’ll bypass the springform pan entirely. Just grab a 9×13 inch baking dish—I always line mine with parchment paper, leaving an overhang so I can just lift the whole thing out later. It makes slicing into perfect little squares so simple!
When you switch to a 9×13 pan, the baking time changes significantly because the filling is much shallower. Instead of that hour-long bake for the round pan, you’re looking at maybe 35 to 40 minutes at 325°F. Remember to watch for the edges setting firmly. It comes out fantastic, and honestly, cutting them into bars makes these Spiced Cheesecake Treats seem even more dangerously easy to eat!
The Decadent Pecan Praline Topping
If you want to really show off and make this the star of your dessert table, you need texture on top. While a dusting of cinnamon is lovely, a homemade topping sends this sweet potato cheesecake straight into the stratosphere. My absolute favorite topping is a pecan praline!
It’s sweet, buttery, and crunchy—the perfect contrast to that silky filling. You can make it separately, let it cool, and then sprinkle it over the chilled cheesecake right before serving. It gives you that warm, gooey flavor without compromising the texture when you chill the main cake.
If you want to get really fancy, you can follow the method I use for my pecan pie bars, but just use the nuts and sugar mixture and skip the gooey filling binder. Or, if you just want some simple spiced nuts, try making a quick batch of cinnamon sugar pecans to scatter on top. Either way, topping is never a bad idea!
Storage and Make Ahead Tips for Your Sweet Potato Cheesecake
This is arguably the best part about making a full cheesecake, especially during the hectic holidays: it’s practically begging you to make it ahead of time! This sweet potato cheesecake is absolutely an ideal candidate for Make Ahead Holiday Baking. Why? Because it needs that long chill time anyway to set up perfectly, so you’re really just doing the hard work one day early.
Once the cheesecake is completely cooled and set, you need to cover it loosely with plastic wrap. Be careful not to let the plastic touch the top, especially if you skipped the pecan topping. Then, it goes into the fridge. You need a minimum of six hours, but honestly, if you let it chill overnight—that is non-negotiable for the best, firmest slice!
As for leftovers? If you have any (ha!), keep it tightly covered in the refrigerator. It stays wonderfully fresh for about four to five days. That’s right, you get nearly a week of that creamy goodness. I’ve found that the flavor seems to deepen slightly the second day, which is why I always bake mine the day before any big gathering. It’s one less thing stressing me out on Thanksgiving morning! If you are looking for other great make-ahead favorites, check out my tip sheet for other moist, old-fashioned holiday recipes.
Serving Suggestions for This Creamy Thanksgiving Dessert
Once you pull this gorgeous sweet potato cheesecake from the fridge, all set and perfectly chilled, the final step is making it look as good as it tastes. Because this dessert is already so rich, spiced, and decadent, I always lean toward garnishes that are simple and elegant so they don’t fight with the sweet potato and gingersnap flavor.
It’s such a fantastic addition to any holiday spread, truly a step up from your usual pies—one of those ultimate Comfort Food Desserts that makes everyone sigh happily!
Simple Toppings for Maximum Impact
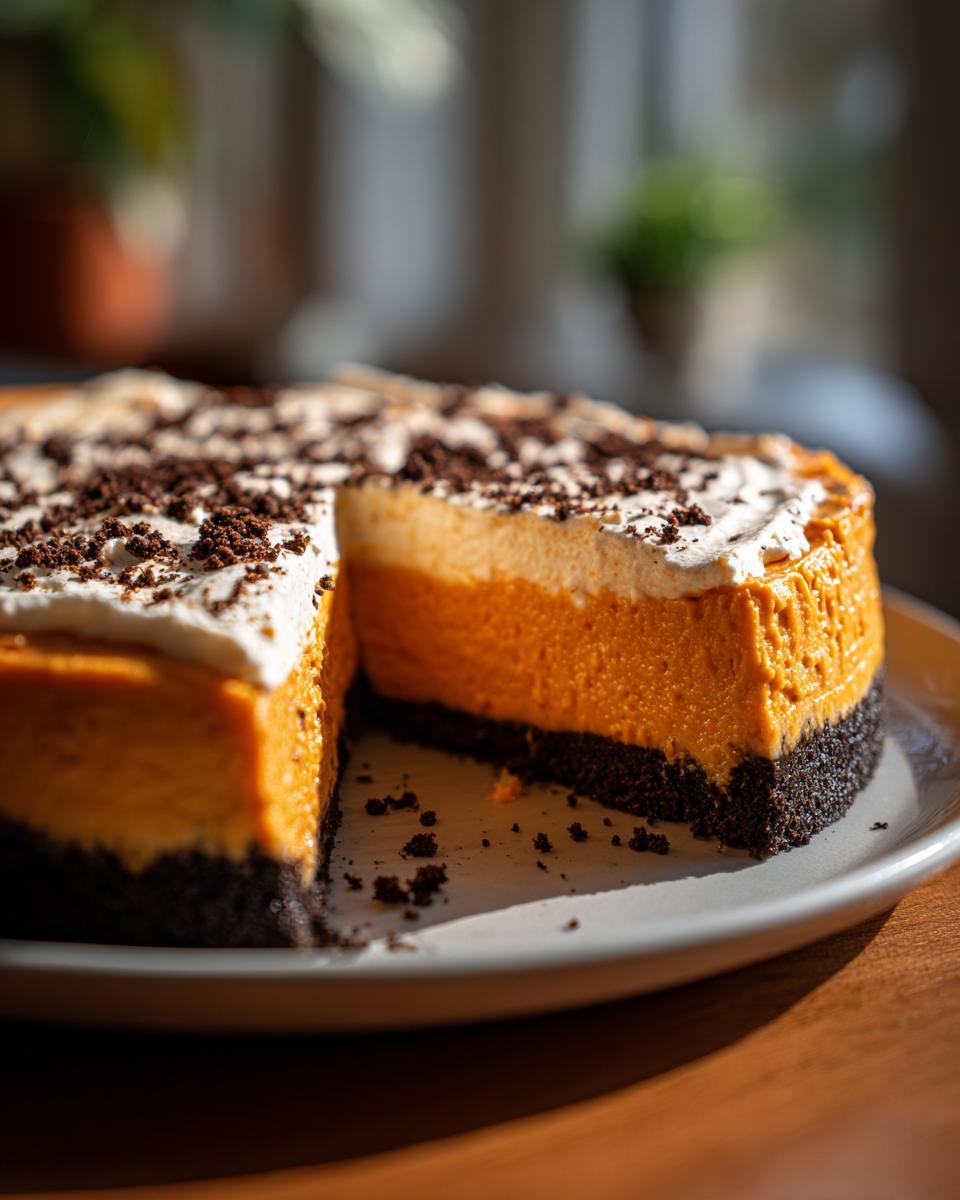
You don’t need to go crazy here. Seriously, sometimes the prettiest desserts are the ones that are least fussy. My go-to is always a big, beautiful dollop of freshly whipped cream. Make sure you whip it yourself! It tastes a million times better than the canned stuff, and it just feels so much more special for a holiday treat.
If you do whip your own cream, add just a tiny splash of vanilla or maybe half a teaspoon of maple syrup right at the end. Then, just before you serve it, lightly dust the whole top surface with a fine layer of ground cinnamon. It smells incredible and really brings out the nutmeg and ginger notes we incorporated into the filling.
Adding Texture with Nuts
If you skipped the praline topping we talked about earlier, you can still add a lovely crunch just by sprinkling some toasted pecans around the edge of the cheesecake, or over the dollops of whipped cream. Toasting the pecans is key; it wakes up their flavor so much!
You can use my quick trick for making simple seasoned nuts—just toast them lightly in a dry skillet until fragrant, or even toast them right on a baking sheet while the oven is still warm from another recipe. It adds that needed textural element to contrast the smooth, creamy filling beautifully without turning it into a whole other topping project.
Serving it Up
When it comes time to cut, run your sharp knife under hot water and wipe it dry between every single slice. This prevents that sticky filling from dragging and makes sure everyone gets a perfectly clean piece. Since this is a rich Thanksgiving Dessert, I find that slightly smaller slices are the perfect serving size. Everyone gets a taste of that amazing spiced cheesecake without feeling overwhelmed!
Frequently Asked Questions About Sweet Potato Cheesecake
I know you probably have a few lingering questions, especially if you’re planning this for a big holiday meal! That’s totally okay. My goal here is to make sure your baking experience is seamless and delicious. We want this sweet potato cheesecake to turn out perfectly, looking just as smooth as some of those other easy fall desserts out there. Let’s clear up any last-minute worries you might have!
Can I make a No Bake Sweet Potato Cheesecake?
That’s a good thought! This particular recipe is optimized for that baked richness and density we love—it relies on the eggs and the lower oven temperature to set up that signature creamy texture. If you were hoping to skip the oven entirely, you absolutely could try a No Bake Sweet Potato Cheesecake, but you’d need to adjust the filling quite a bit.
A no-bake version usually requires a stabilizer. You would need to incorporate either unflavored gelatin or a lot more heavy whipping cream that’s whipped to stiff peaks before gently folding it into the sweet potato and cream cheese mixture. It will be lighter and fluffier than this baked version, but it’s definitely doable if you’re trying to keep the oven free!
What is the best way to mash sweet potatoes for this recipe?
This is critical for that ultra-smooth, luscious texture! If you have lumps in your potato that make it into the batter, you’re going to feel them when you cut into that gorgeous creamy cheesecake. Trust me on this one—we skip the blender for the filling itself, but you should use processing power on the potatoes!
The absolute best method is roasting. Poke the sweet potatoes a few times, wrap them loosely in foil, and bake them until they are super soft—you should be able to squeeze them easily. Then, peel the skin off while they are still warm and mash them completely. If they feel a little stringy, toss them into a food processor for a quick pulse until they reach a flawless puree. That puree is what guarantees you get that silky result every time you make this Holiday Cheesecake Idea.
Why did my cheesecake puff up and then fall in the middle?
Oh, the classic cheesecake drama! Almost always, that puffing and subsequent falling is caused by too much air being incorporated into the batter or a rapid temperature change. We talked obsessively about mixing the eggs only until they disappear, right? That’s step one.
Step two is the cooling process. If you take a fully baked cheesecake straight from the 325°F oven and set it on a cold counter, it shrinks way too fast, causing that collapse and crack. That’s why we use the oven-off, door-ajar method for a full hour. It eases the cake down gently. This structured cooling is essential for achieving a beautiful top on your Decadent Sweet Potato Dessert.
Can I use pre-made crusts for this recipe?
Sure, you can, and that helps make this an Easy Fall Dessert! If you buy pre-made graham cracker crust, go for it, but I really encourage you to try the gingersnap crust I listed in the ingredients. The flavor difference is huge, and it only takes about ten minutes to mix up!
If you stick with the recipe as written using the gingersnaps, you mix the crumbs, sugar, and melted butter, press them into the pan, and bake for 8 minutes. Using a pre-made crust means you might skip that 8-minute pre-bake, but I suggest baking it for just 5 minutes anyway. Getting that base nice and firm before pouring in that wet cheesecake filling is always worth the extra few minutes!
Nutritional Estimate for Sweet Potato Cheesecake
Now, I always like to give people a heads-up on what they are getting into, especially when we are making something as rich and wonderful as this sweet potato cheesecake. Let’s be real, this is a decadent holiday treat, not an every-day snack, but knowing the numbers can sometimes help you budget your calories for the whole day!
Keep in mind that these are just estimates for one slice, cut from a 12-serving cheesecake with the full recipe. If you decide to cut smaller pieces—which, let’s face it, sometimes happens when everyone wants just a tiny bit more—the numbers will change. Also, if you decide to go heavy on toppings like a big swirl of whipped cream or that toasted pecan praline we discussed, that will definitely shift things as well!
Here’s the general breakdown based on the ingredients listed:
- Serving Size: 1 slice
- Calories: Around 410
- Sugar: About 35 grams
- Fat: Roughly 25 grams
- Carbohydrates: Approximately 42 grams
- Protein: About 7 grams
So, yes, it’s a treat! But made with real sweet potatoes and quality cream cheese, it’s definitely a worthwhile one for your Comfort Food Desserts rotation. Enjoy every gorgeous, creamy bite!
PrintCreamy Sweet Potato Cheesecake with Gingersnap Crust
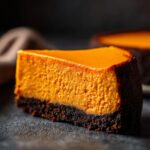
Make this creamy sweet potato cheesecake with a spicy gingersnap crust. It is a simple, rich dessert perfect for fall gatherings or holidays.
- Prep Time: 25 min
- Cook Time: 65 min
- Total Time: 7 hours 30 min
- Yield: 12 servings 1x
- Category: Dessert
- Method: Baking
- Cuisine: American
- Diet: Vegetarian
Ingredients
- 1 1/2 cups gingersnap cookie crumbs
- 1/4 cup granulated sugar
- 6 tablespoons unsalted butter, melted
- 2 (8 ounce) packages cream cheese, softened
- 1 1/2 cups mashed sweet potato (about 2 medium sweet potatoes)
- 1 cup granulated sugar
- 1/4 cup packed light brown sugar
- 1 teaspoon vanilla extract
- 1 teaspoon ground cinnamon
- 1/2 teaspoon ground nutmeg
- 1/4 teaspoon ground ginger
- 1/4 teaspoon salt
- 3 large eggs
Instructions
- Preheat your oven to 350°F (175°C). Wrap the outside bottom of a 9-inch springform pan with heavy-duty aluminum foil.
- Make the crust: Combine the gingersnap crumbs and 1/4 cup sugar in a medium bowl. Pour in the melted butter and mix until the crumbs are evenly moistened. Press the mixture firmly into the bottom of the prepared springform pan. Bake for 8 minutes. Remove from the oven and let it cool slightly.
- Reduce the oven temperature to 325°F (160°C).
- Make the filling: In a large bowl, beat the softened cream cheese with an electric mixer until smooth. Add the mashed sweet potato, 1 cup granulated sugar, brown sugar, vanilla extract, cinnamon, nutmeg, ginger, and salt. Beat until just combined and smooth. Do not overmix.
- Add the eggs one at a time, mixing on low speed after each addition until just incorporated. Scrape down the sides of the bowl as needed.
- Pour the sweet potato cheesecake filling over the cooled gingersnap crust.
- Bake in a water bath: Place the foil-wrapped springform pan into a larger roasting pan. Carefully pour hot water into the roasting pan until the water reaches halfway up the sides of the springform pan.
- Bake for 55 to 65 minutes, or until the edges are set and the center has a slight jiggle.
- Turn off the oven, prop the door open slightly, and let the cheesecake cool in the oven for 1 hour. This prevents cracking.
- Remove the cheesecake from the water bath and let it cool completely on a wire rack.
- Once cool, cover the pan loosely with plastic wrap and refrigerate for at least 6 hours, or preferably overnight, before serving. Remove the springform sides before slicing.
Notes
- For the best texture, make sure your cream cheese is fully softened to room temperature before mixing.
- If you prefer bars, press the crust into a 9×13 inch pan and bake the filling for 35 to 40 minutes.
- You can roast your sweet potatoes ahead of time for easier preparation.
Nutrition
- Serving Size: 1 slice
- Calories: 410
- Sugar: 35
- Sodium: 280
- Fat: 25
- Saturated Fat: 15
- Unsaturated Fat: 10
- Trans Fat: 0.5
- Carbohydrates: 42
- Fiber: 2
- Protein: 7
- Cholesterol: 110