

Oh my goodness, there is nothing that screams cozy autumn baking like a perfect, glossy caramel apple, right? I remember standing next to my mom, trying to sneak caramelized sugar off the bottom of the pan when I was little! But let’s be honest, the store-bought ones are usually just sad, waxy disappointments, and way too many online recipes result in sweet, sticky puddles on your parchment paper. Forget that mess! I’m here to share what I truly believe is the ultimate foolproof **caramel apple** recipe. If you follow my lead—especially on reading that thermometer—you’re going to have stunning, chewy **homemade caramel apples** that stick perfectly every single year for your Halloween haunts or Thanksgiving table. You can check out my recipe for Apple Pie Bars if you need another fall fix while this caramel cools!
- Why This is the Best Caramel Apple Recipe You Will Ever Use
- Ingredients for Foolproof Caramel Apples
- How to Make Caramel Apples: Step-by-Step Instructions
- Gourmet Caramel Apple Topping Ideas and Customization
- Tips for Success When Making Caramel Apples
- Storage and Serving Suggestions for Your Caramel Apples
- Frequently Asked Questions About Caramel Apples
- Approximate Nutritional Data for Your Homemade Caramel Apples
- Share Your Perfect Caramel Apple Creations
Why This is the Best Caramel Apple Recipe You Will Ever Use
If you’ve been burned before by runny caramel that just gives up halfway through dipping—or worse, slides right off the apple once it sets—you need to listen up. That is why this is the **best caramel apple recipe** out there! The entire secret to foolproof, gorgeous, **no slide caramel apples** lives and dies with one thing: a candy thermometer. You cannot wing it based on color alone. Hitting that magic 245 degrees Fahrenheit ensures you get that perfect, satisfyingly chewy caramel coating, not a thin syrup.
I promise you, once you master this temperature, you’ll never look back. It makes the process so much less stressful. If you need something faster while you perfect your dipping skills, you could try my Apple Crumble Recipe Under 1 Hour!
Perfect Apple Selection for Your Homemade Caramel Apples
You wouldn’t think the fruit itself matters this much, but trust me, it does! You absolutely must use a tart apple here. Granny Smith is my tried-and-true choice because the sharp tang cuts right through the massive sweetness of that luscious **caramel apple** sauce. If you use a sweet apple, the whole thing turns into a sugar overload, and honestly, who wants that?
Here’s my one non-negotiable rule for perfect adhesion: you have to get rid of the wax! Before you even think about inserting a stick, wipe down every apple with a little white vinegar or even some rubbing alcohol on a paper towel. It strips off that waxy coating the store puts on them. If the caramel hits wax, it slides right off. That’s just science, folks!
Ingredients for Foolproof Caramel Apples
Okay, the ingredient list for these **homemade caramel apples** is surprisingly short, which is exactly what I love about them! We’re keeping it classic here, focusing on high-quality building blocks. You’ll see the list includes butter, brown sugar, corn syrup, and sweetened condensed milk. That’s the core caramel magic right there.
But hey, if you are serious about getting that textbook 245°F temperature for that perfect chew, you need a candy thermometer. Do not skip it! It’s essential for getting the best **caramel apple** possible. If you need something else for your fall potluck, I have a great Apple Cranberry Coleslaw recipe that’s super refreshing!
Don’t forget the vanilla and salt for that final flavor pop! And of course, grab your tart apples (Granny Smith, please!) and your dipping sticks.
How to Make Caramel Apples: Step-by-Step Instructions
Alright, ready to tackle the big show? Learning **how to make caramel apples** from scratch feels a little intimidating, like you’re stepping into candy shop territory, but trust me, it’s totally doable. Remember all that prep we did? Now it’s time to put those apples and that gorgeous caramel sauce to work. I’ve broken this down into the crucial parts so you don’t end up with a sticky mess!
Preparing the Apples and Setting Up Your Dipping Station
First things first, make sure those apples are bone dry after their vinegar wipe-down! Seriously, dry as a desert. Take your wooden sticks—or skewers work too—and push them right into the core, nice and firmly. You want them snug so they don’t wiggle later. Next, grab a baking sheet and line it with parchment paper or a non-stick silicone mat. That’s your official holding zone for the finished **caramel apple** treats. Having everything set up now saves you so much panic later when the caramel is hot!
Cooking the Chewy Caramel Sauce for Caramel Apples
In your heavy saucepan, mix up the butter, brown sugar, corn syrup, and condensed milk. Heat it over medium heat until that sugar is totally dissolved, stirring it like crazy! Now, hook up your candy thermometer. Once it starts boiling, STOP STIRRING. This is huge for getting that chewy texture. Let it bubble away until the thermometer screams 245 degrees Fahrenheit—this firm ball stage usually takes about 15 to 20 minutes. If you stir it now, you mess up the sugar structure. We want that rich, thick caramel, not hard crack candy!
The Essential Dipping Technique for Perfect Caramel Apples
When it hits 245°F, pull it off the heat immediately! Stir in your vanilla and salt—yep, just a quick stir. Now for the secret trick so the caramel doesn’t slide: let it sit for 5 to 10 minutes. It needs to cool down and thicken up just a bit, I promise! When you dip, tilt the pan and just dip that apple, turning it fast to get an even coat. Lift it up and let the excess drip right back into the pan. If you dip it while it’s too thin and hot, it slips. If you wait too long, it’s too stiff. That little 10-minute cool-down is the key to success for your **homemade caramel apples**!
Quickly roll it in your toppings right after dipping, or set it on that parchment paper to set up! If you’re looking for a fun loaf to bake while you wait for these to chill, you should check out my Easy Amish Apple Fritter Bread recipe.
Gourmet Caramel Apple Topping Ideas and Customization
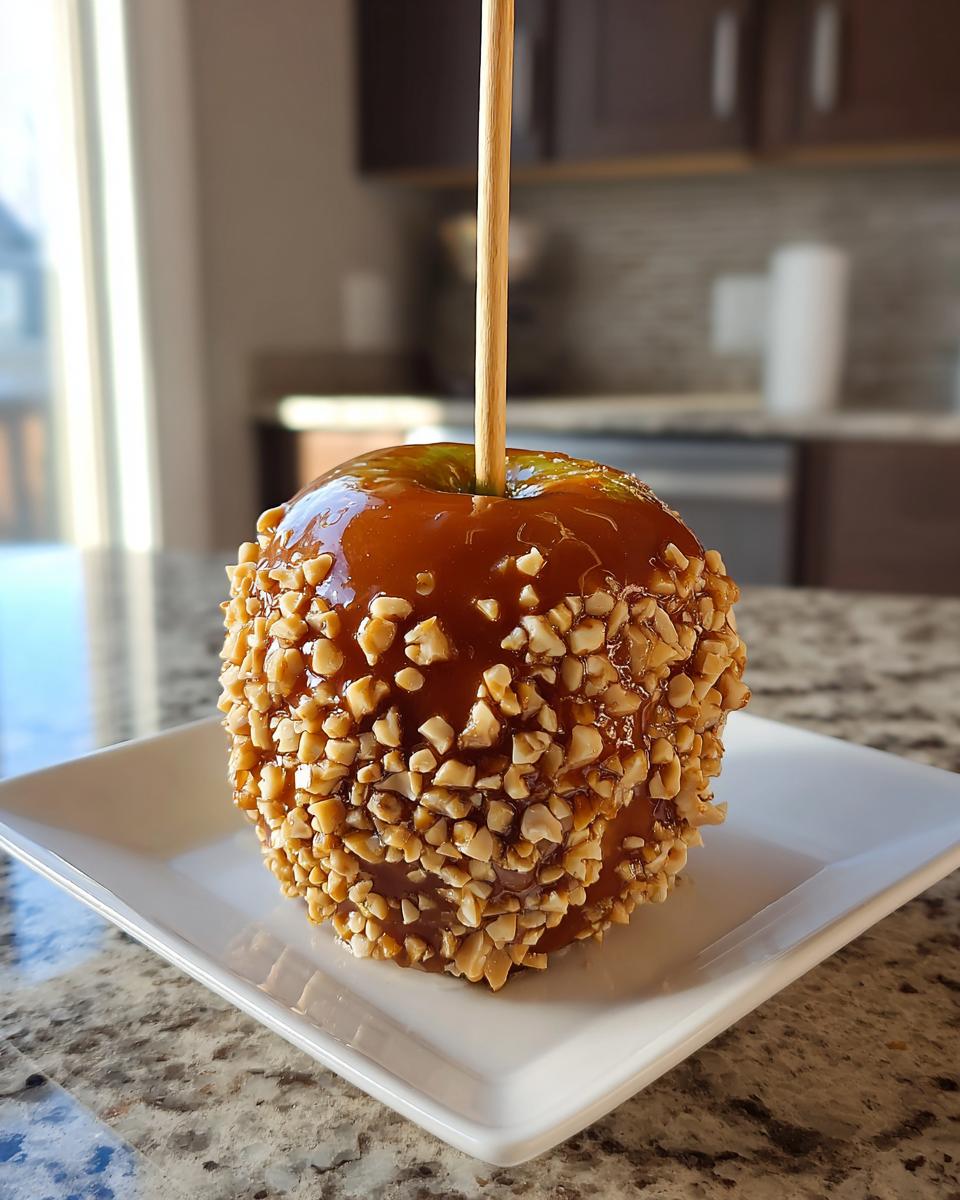
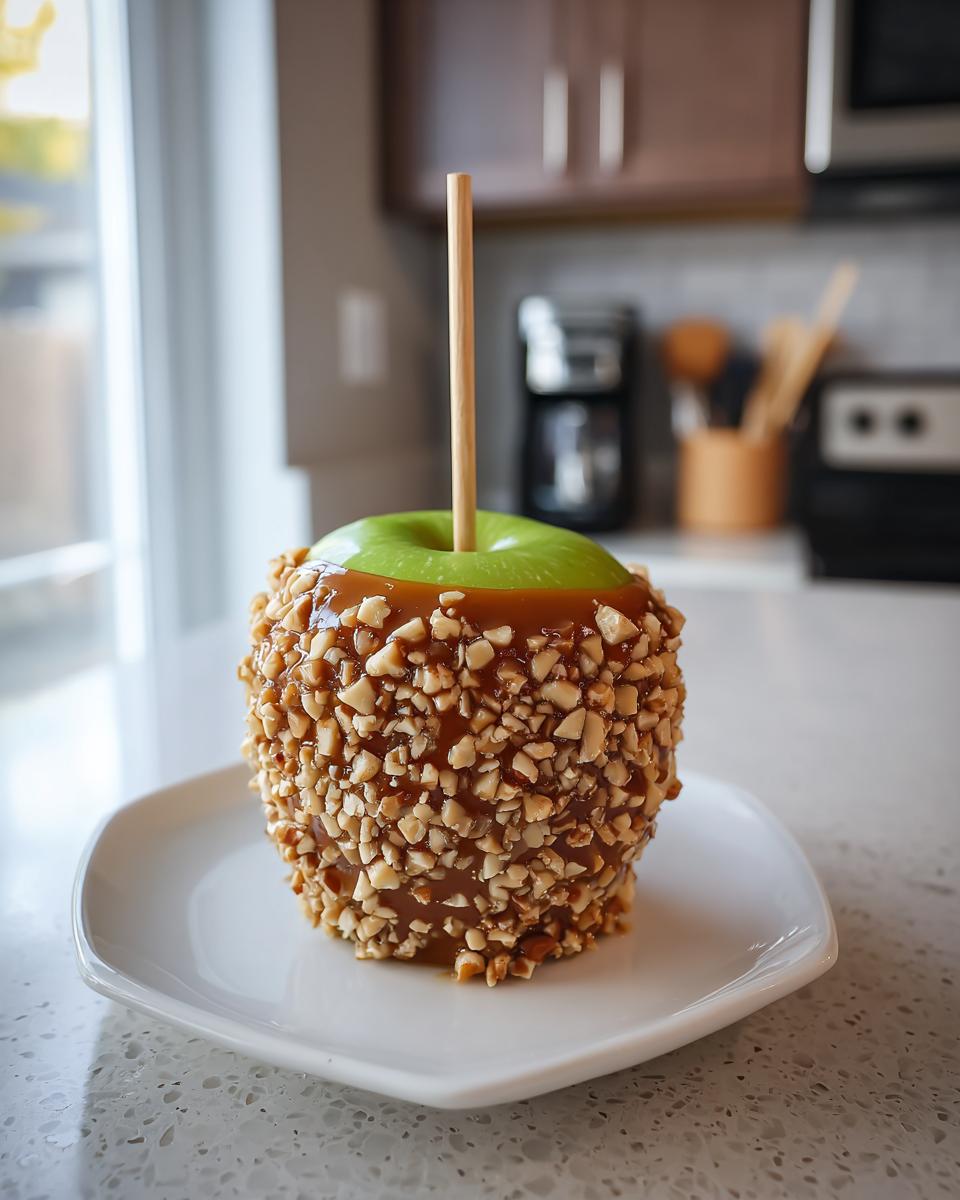
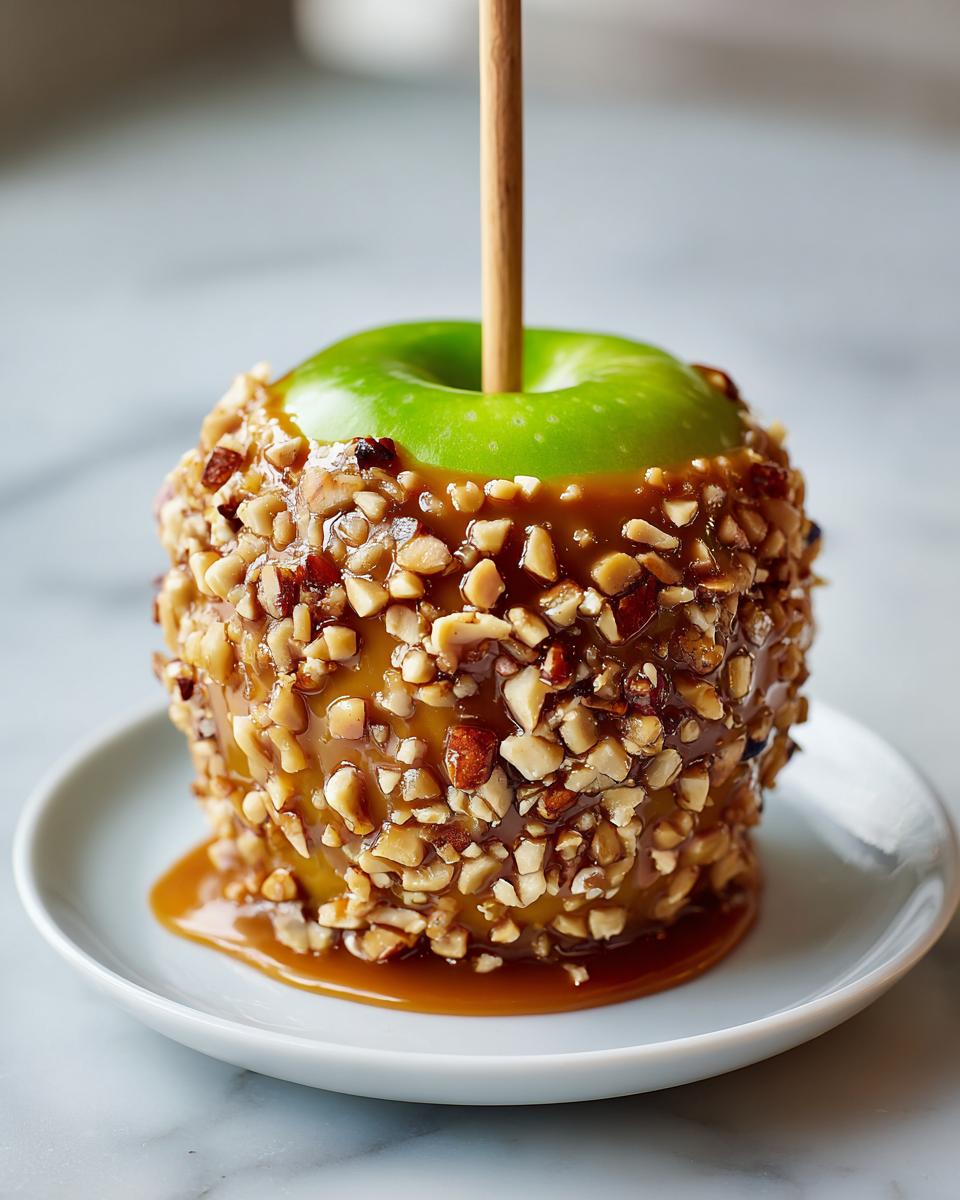
Okay, the dipping is done and the caramel is mostly set, but we aren’t done making these babies gorgeous yet! This is where we take your perfect **caramel apple** and turn it into a total showstopper. You definitely asked about **! If you have mini chocolate chips, chopped nuts, or even some crushed pretzels, you need to have them ready to go right next to your dipping station.
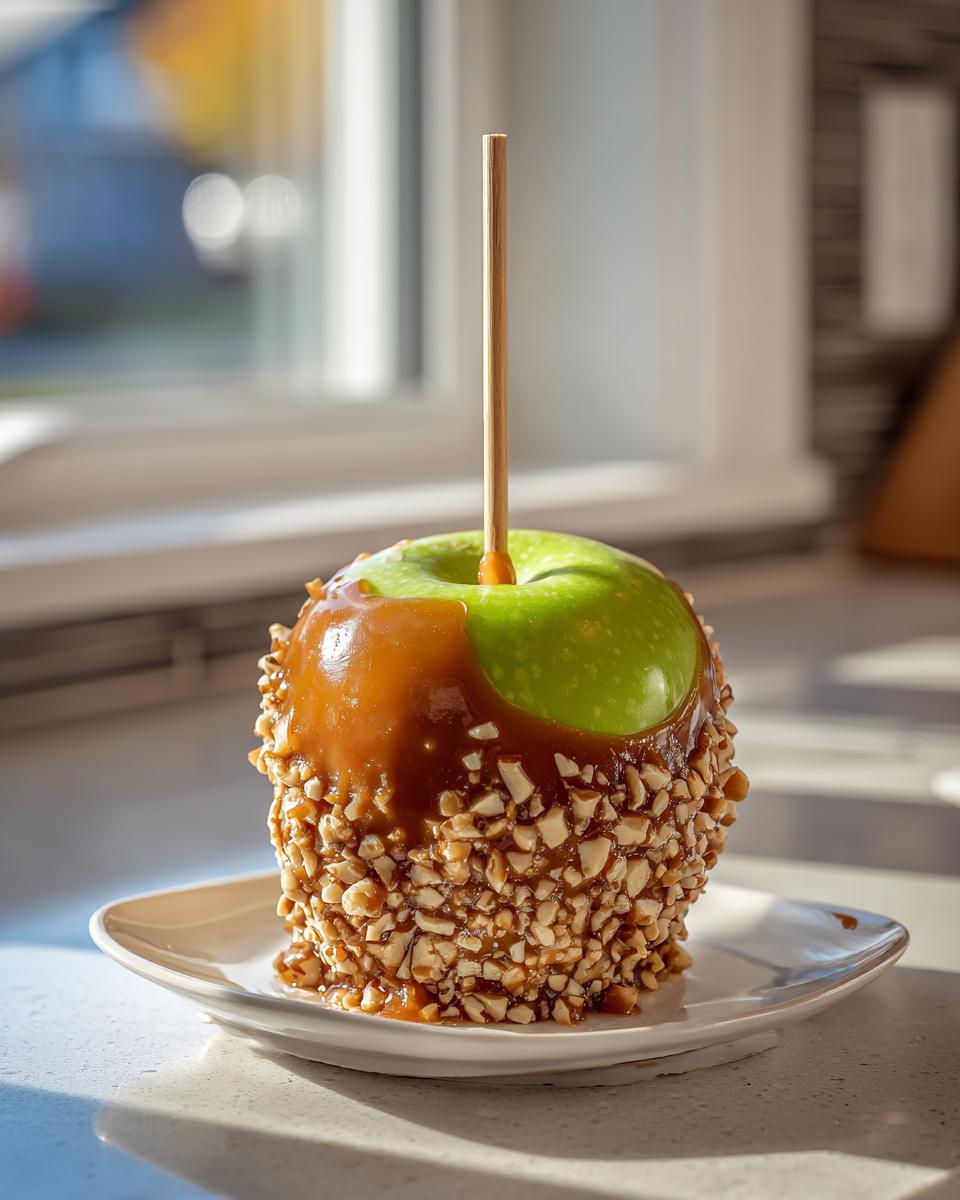
The trick is applying them right away while the caramel is still sticky—don’t wait until it gets firm or they won’t stick at all! I often make a big batch of my Toasted Cinnamon Sugar Pecans and roll half of the apples in those for someone who loves crunch!
For the ultimate upgrade, we need chocolate, don’t we? We call these **chocolate dipped apples** when we add the drizzle.
Making Chocolate Dipped Apples: An Easy Variation
If you want that extra layer of decadence, wait until the caramel is completely firm—like, an hour later. Then, melt some semi-sweet chocolate chips with just a tiny splash, maybe a teaspoon, of coconut oil. The oil keeps it from seizing up and makes that chocolate drizzle beautifully thin. You can use a fork or a small spoon to drizzle lines all over the firm caramel. It looks so fancy, but honestly, it’s the easiest way to make your treats feel extra **gourmet caramel apples** quality! If you love rich chocolate flavors, you absolutely have to try my Fudgy Chocolate Cake Recipe soon!
For more festive ideas, you can always check out some great inspiration over at Delicious Corner.
Tips for Success When Making Caramel Apples
I’ve learned a few things the hard way over the years making **caramel apples**—things that the basic instructions sometimes skip over! If you truly want that guarantee that your caramel is going to stick and stay chewy, you need these pro moves. First off, remember that vinegar wipe? Don’t skip that! Removing that microscopic layer of wax is the absolute foundation for having good adhesion.
Also, keep an eye on your caramel consistency while you’re dipping. If you’re making a huge batch and that mixture starts getting really stiff in the pan halfway through, don’t panic or dump it! Just give the pan a *very* quick spin back over low heat—like 30 seconds max—to soften it up just enough to dip again. This keeps you from wasting that amazing material. For something fun and savory to munch on next time, try my Soft Pretzel Bites! If you’re curious about other foolproof methods, I loved reading what they figured out over at Ask The Food Geek.
Storage and Serving Suggestions for Your Caramel Apples
So you have these beautiful, perfect **caramel apples**! Now what? The good news is they keep really well. Unlike some other **fall apple desserts**, these don’t need to live in the fridge. I keep mine wrapped up separately in plastic wrap and just leave them on the counter in a cool spot for up to a week. Refrigerating can sometimes make the caramel a little too hard—we want chewy, not rock-solid!
They are seriously the showstopper when you put them out for a party. They look fantastic next to my Pumpkin Dump Cake for a real autumn spread. They are an absolute must-have for both **Halloween treats** and as a surprisingly easy contribution to your **Thanksgiving dessert** table. Everyone loves grabbing one for a handheld snack!
Frequently Asked Questions About Caramel Apples
I know you probably have a few last-minute worries before you dive into that hot caramel, so let’s tackle the common ones right here! Don’t worry, we’ll get those gorgeous **caramel apples** made perfectly.
Can I use store-bought caramel instead of making the chewy caramel sauce for my caramel apple recipe?
You sure *can* use store-bought caramel, but here’s the catch: if you’re after the very **best caramel apple** experience—the chewy, rich dipping experience described here—you really need to make your own. Those pre-made tubes of caramel or jars are usually way too soft or they set up hard and crackly. They aren’t designed to hit that perfect 245 degree temperature, so they often slide right off your apple. Making it yourself guarantees that perfect texture!
What if I want an easier alternative, like caramel apple slices?
Oh, I totally get it! Sometimes you just want the flavor without the full commitment of dipping a whole apple. That is where the genius of **caramel apple slices** comes in! You can totally use this incredible **chewy caramel sauce** recipe we made. Instead of dipping apples, just prepare your slices on a tray lined with parchment. Then, drizzle the slightly cooled caramel over them, add your nuts or sprinkles, and let them set up. It’s just as delicious and way less messy for kids!
How do I keep the caramel from becoming too hard on my finished caramel apples?
This all goes back to the temperature check! If you cooked the caramel sauce right to 245°F, it is designed to be perfectly chewy at room temperature, which is where you should store them. If they get too cold, they harden up too much. So, my best tip is to keep them wrapped individually and stored in a cool spot in your pantry or a cool corner of the kitchen. Avoid putting them in the fridge if you can, unless your kitchen is baking-hot! For some faster dessert ideas, check out my Quick Apple Dessert recipe.
If you followed the recipe perfectly, you should have the most divine treat. For someone who insists on the *absolute* best caramel, check out the fantastic tips on texture from The Food Charlatan, too!
Approximate Nutritional Data for Your Homemade Caramel Apples
Listen, when you are making something this decadent and pure, you are not here for light reading, you are here for pure joy! But I know some of you want a general idea of what’s in these amazing **caramel apples**, so I put together an estimate based on the ingredients used here.
Remember, since we are covering six apples and all that amazing chewy caramel sauce, these numbers are for one full apple—one beautiful, gooey, perfect masterpiece. Think of this as a ballpark estimate for your favorite **fall baking recipes**, okay? These numbers are for one apple serving.
- Calories: Around 650 per apple
- Total Fat: About 30g (remember, a lot of that is from the butter!)
- Protein: Low, about 4g
- Carbohydrates: Roughly 98g
- Sugar: Yes, it’s up there at around 95g—that’s the magic!
This is a true indulgence, truly a classic American treat, so enjoy it when you make it! If you need something a little lighter right after this, I always turn to my Quick Creamy Banana Oatmeal Recipe the next morning. Just bake these gorgeous **caramel apples** for your party and worry about the rest later!
Share Your Perfect Caramel Apple Creations
Now that you’ve mastered the art of making the **best caramel apple recipe** and you have these beauties cooling on your counter, I really, really want to hear about them! Seriously, the best part of sharing these recipes is seeing what you all come up with. Did you stick with the classic nuts, or did you go wild with something totally unexpected for your **caramel apples**?
Please leave a comment below and give this recipe a star rating once you’ve tried it. It genuinely helps me know what’s working for you all in your kitchens! And if you share a picture on the internet, tag me! I love seeing what kinds of **caramel apple topping ideas** you used in your fall spread, whether they are destined for a big **Halloween treat** night or waiting patiently for Thanksgiving.
If you’re already cleaning up and thinking about what sweet treat to tackle next, you might enjoy my recipe for Easy Snickerdoodle Cookies—they are chewy and smell like pure comfort, just like these apples! And hey, if you’re looking for even more crazy topping inspiration, check out what the folks over at The Carefree Kitchen suggest for next-level **homemade caramel apples**!
PrintThe Ultimate Foolproof Homemade Caramel Apples with Topping Guide

Make perfect, chewy homemade caramel apples that stick to the apple every time. This reliable recipe is simple to follow and includes ideas for gourmet toppings for your fall gatherings.
- Prep Time: 20 min
- Cook Time: 25 min
- Total Time: 1 hour 45 min
- Yield: 6 servings 1x
- Category: Dessert
- Method: Stovetop Cooking
- Cuisine: American
- Diet: Vegetarian
Ingredients
- 6 medium tart apples (like Granny Smith)
- 12 wooden sticks or skewers
- 1 cup (2 sticks) unsalted butter
- 2 cups light brown sugar, packed
- 1 cup light corn syrup
- 1 (14 ounce) can sweetened condensed milk
- 1 teaspoon vanilla extract
- 1/2 teaspoon salt
- Optional Toppings: chopped nuts, mini chocolate chips, sprinkles, crushed pretzels
Instructions
- Wash the apples thoroughly. Remove the stems and insert a wooden stick firmly into the core of each apple.
- Line a baking sheet with parchment paper or a silicone mat. Set aside.
- In a heavy-bottomed saucepan, combine the butter, brown sugar, corn syrup, and sweetened condensed milk.
- Heat the mixture over medium heat, stirring constantly until the sugar dissolves.
- Attach a candy thermometer to the side of the pan, making sure the tip is submerged but not touching the bottom.
- Bring the mixture to a boil without stirring once boiling. Let it cook until the thermometer reaches 245 degrees Fahrenheit (firm ball stage). This usually takes 15 to 20 minutes.
- Remove the pan from the heat immediately. Stir in the vanilla extract and salt. Let the caramel cool for 5 to 10 minutes until it thickens slightly. If the caramel is too hot, it will slide off the apples.
- Tilt the pan slightly and dip each apple into the caramel, rotating to coat evenly. Lift the apple and let excess caramel drip back into the pan.
- Immediately roll the coated apple in your chosen toppings, or place it on the prepared baking sheet to set.
- Allow the caramel apples to cool completely at room temperature for at least 1 hour until the caramel is firm before serving or storing.
Notes
- For best results, wipe the apples with white vinegar or rubbing alcohol before dipping to remove any wax residue, which helps the caramel adhere.
- If the caramel becomes too stiff while dipping, return the pan to very low heat for a minute to soften it slightly. Do not overheat.
- For chocolate drizzle, melt semi-sweet chocolate chips with a teaspoon of coconut oil and drizzle over the set caramel layer.
- Store finished caramel apples individually wrapped in plastic wrap at cool room temperature for up to one week.
Nutrition
- Serving Size: 1 apple
- Calories: 650
- Sugar: 95g
- Sodium: 150mg
- Fat: 30g
- Saturated Fat: 18g
- Unsaturated Fat: 12g
- Trans Fat: 0g
- Carbohydrates: 98g
- Fiber: 2g
- Protein: 4g
- Cholesterol: 75mg