
There is nothing—and I mean nothing—that says cozy comfort quite like diving into a velvety, steaming bowl of soup. But let’s be honest, the traditional dishware just doesn’t cut it once you get close to the bottom. That’s why I’m so thrilled to share what I consider the ultimate carb-lover’s dream recipe: our homemade bread bowls. Forget those slightly stale options from the grocery store; we are making bakery-style bread bowls right here in your kitchen!
This isn’t just another recipe I threw together; this is my absolutely no fail bread bowl recipe. I spent weeks perfecting the yeast activation and the rise times so you get that perfect, sturdy, golden crust that holds up to even the thickest chili. When you serve this up with my famous creamy potato soup, you’ll see exactly why this recipe is a staple in my home. Trust me, if you follow these steps, you’ll be serving up edible works of art every single time. You’re going to want to save this one before you even finish reading!
- Why This is the Best Bread Bowl Recipe for Soup
- Gather Your Ingredients for Soft Homemade Bread Bowls
- How to Make Bread Bowls From Scratch: Step-by-Step Instructions
- Tips for Success When Making Homemade Bread Bowls
- Serving Soups in Bread: Ideas for Your Bread Bowls for Chili
- Variations: From Rustic Bread Bowls to Pretzel Bread Bowl Recipe
- Storage and Reheating Instructions for Leftover Bread Bowls
- Frequently Asked Questions About Recipe Bread Bowls
- Share Your Perfect Bread Bowls Creations
Why This is the Best Bread Bowl Recipe for Soup
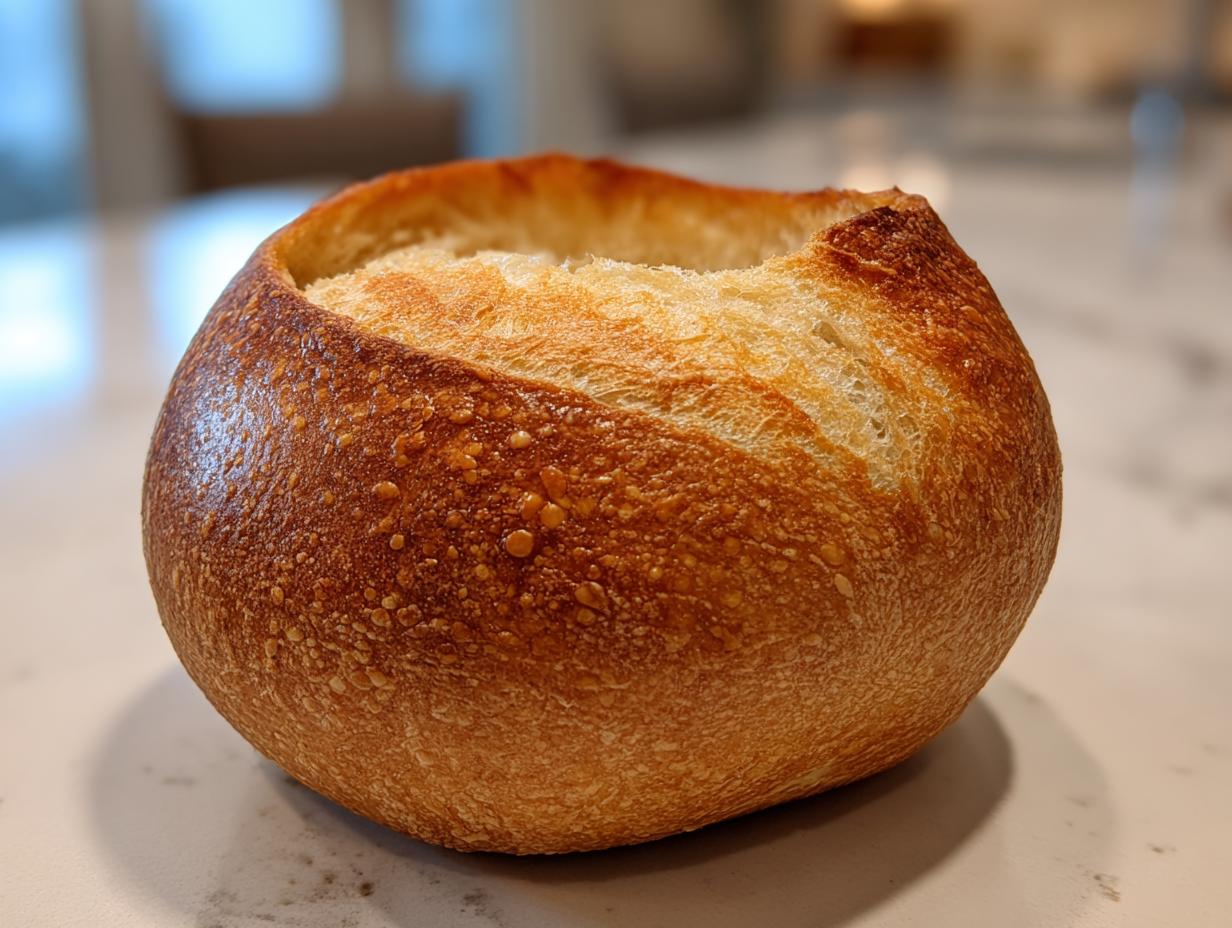
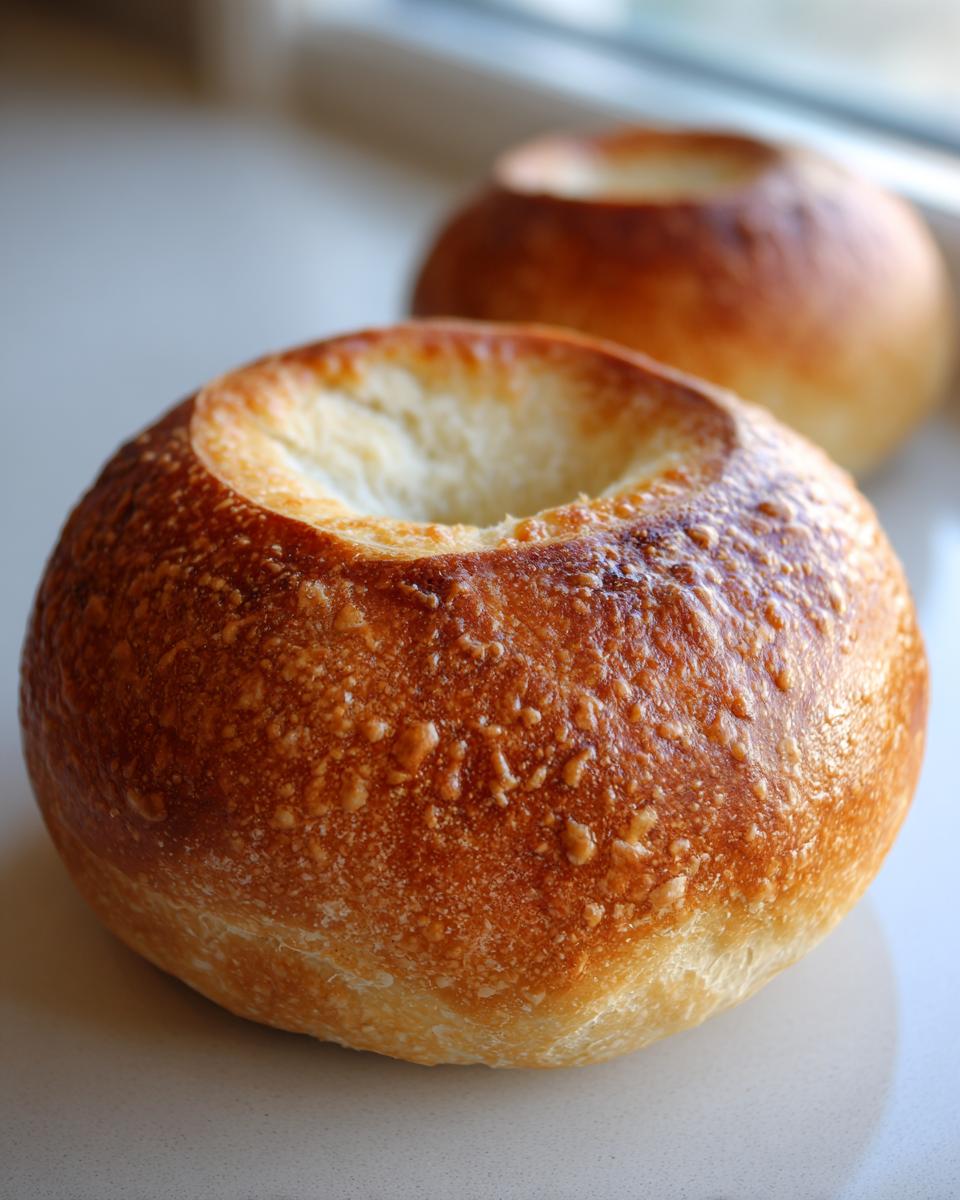
You need a bread bowl that means business, right? It has to be crusty enough on the outside not to collapse the second that chunky chowder hits it, but soft enough on the inside that you can eagerly tear strips off to dunk. This is absolutely the best bread bowl recipe for soup because it nails that structure perfectly. I remember the first time I made these; I was nervous my cheese soup would just soak straight through the bottom, but when I pulled these golden globes out of the oven, I knew I had cracked the code. They looked like they came straight from a fancy artisan bakery!
Key Features of Our Homemade Bread Bowls
- Crust that Crumbles: We achieve a beautiful, deep golden-brown exterior that provides amazing structural support for thick fillings.
- Interior Pillow Softness: Despite the sturdy crust, the inside is tender, chewy, and perfect for soaking up every last drop of sauce or stew.
- Easy to Hollow: The crumb is dense enough that scooping out the middle leaves you with sturdy walls for a true bakery style bread bowls at home experience.
Gather Your Ingredients for Soft Homemade Bread Bowls
The best part about tackling bread bowls yourself is realizing you probably have 90% of what you need sitting in your pantry right now! We aren’t messing around with fussy starters or weird flours here; we are sticking to basics. Using the yeast activates so nicely, and getting the sugar just right helps it feed properly. Make sure you check your water temperature carefully—it’s critical!
For this recipe, you’ll need:
- 1 packet active dry yeast (about 2 1/4 teaspoons)
- 1 teaspoon granulated sugar
- 1 cup warm water (105°F to 115°F)
- 3 cups all-purpose flour, plus more for dusting
- 1 1/2 teaspoons salt
- 1 tablespoon vegetable oil
- 1 egg, beaten (for egg wash)
- 1 teaspoon water (for egg wash)
If you’re looking for other straightforward yeast projects, you absolutely must try my easy yeast bread recipe next!
How to Make Bread Bowls From Scratch: Step-by-Step Instructions
Now for the fun part! This process is incredibly satisfying, and seeing the dough come together is half the reward. Follow these steps closely, especially around the temperatures, and you will have perfect bread bowls ready for dinner. We are making sure these loafs have a great oven spring for that professional look!
Activating Yeast and Mixing the Dough for Your Bread Bowls
First things first: we need happy yeast! Step one is crucial. Your water needs to be warm, like a comfortable bath, between 105°F and 115°F. If it’s too cold, the yeast won’t wake up; too hot, and you’ll kill it instantly. Mix that warm water with your sugar and yeast and let it sit for about ten minutes until it looks foamy on top. That froth means you’re good to go! If you skip this step, you might end up reaching for my easy homemade BBQ sauce recipe instead of bread, so don’t skip it!
While that’s happening, toss your flour and salt into a big bowl. Then, pour in the activated yeast mixture and the oil. Stir it all up with a wooden spoon until you have what I call a ‘shaggy mess.’ Don’t worry about how ugly it looks; that’s just the beginning of your easy yeast bread recipe.
Kneading and First Rise for Perfect Bread Bowls
Time to get your hands dirty! Turn that shaggy dough out onto a lightly floured surface. Now, knead! This is where we build strength into the dough so it can hold whatever hearty filling you plan to pour into it. You need to work it for a solid 6 to 8 minutes. After a few minutes, the dough should transform from sticky and rough to feeling smooth, supple, and wonderfully elastic—like a soft stress ball. When you press a finger into it, it should slowly spring back.
Once it’s perfectly smooth, lightly oil a clean bowl. Place the dough in there, turn it once to coat, cover it up tight, and let it rest in a warm spot. It needs at least an hour, maybe an hour and a half, until it has doubled in size. Patience here is key!
Shaping and Final Proofing for Crusty Bread Bowls Tutorial
Once doubled, gently punch the air out—this is important for the texture! Divide that beautiful dough evenly into four pieces. Now, this next part is my little secret for that gorgeous round shape: roll each piece really tightly into a smooth ball, tucking the edges underneath to create surface tension. This tension is what helps them puff up nicely in the oven, giving you that stellar look for your crusty bread bowls tutorial.
Put those nice, tight rounds on a baking sheet lined with parchment paper, spaced apart so they don’t merge. Cover them loosely and let them chill out for another 30 to 45 minutes. They’ll puff up a bit more during this final rise.
Baking and Hollowing Out Your Edible Soup Bowls Recipe
Get your oven hot! Preheat it to 400°F (200°C). While it’s heating, whisk up your egg wash (that tablespoon of egg and teaspoon of water). Brush this lightly over the tops of your dough balls. This is what gives you that gorgeous, deep brown, professional finish. Bake them for 20 to 25 minutes until they sound hollow when you tap the bottom.
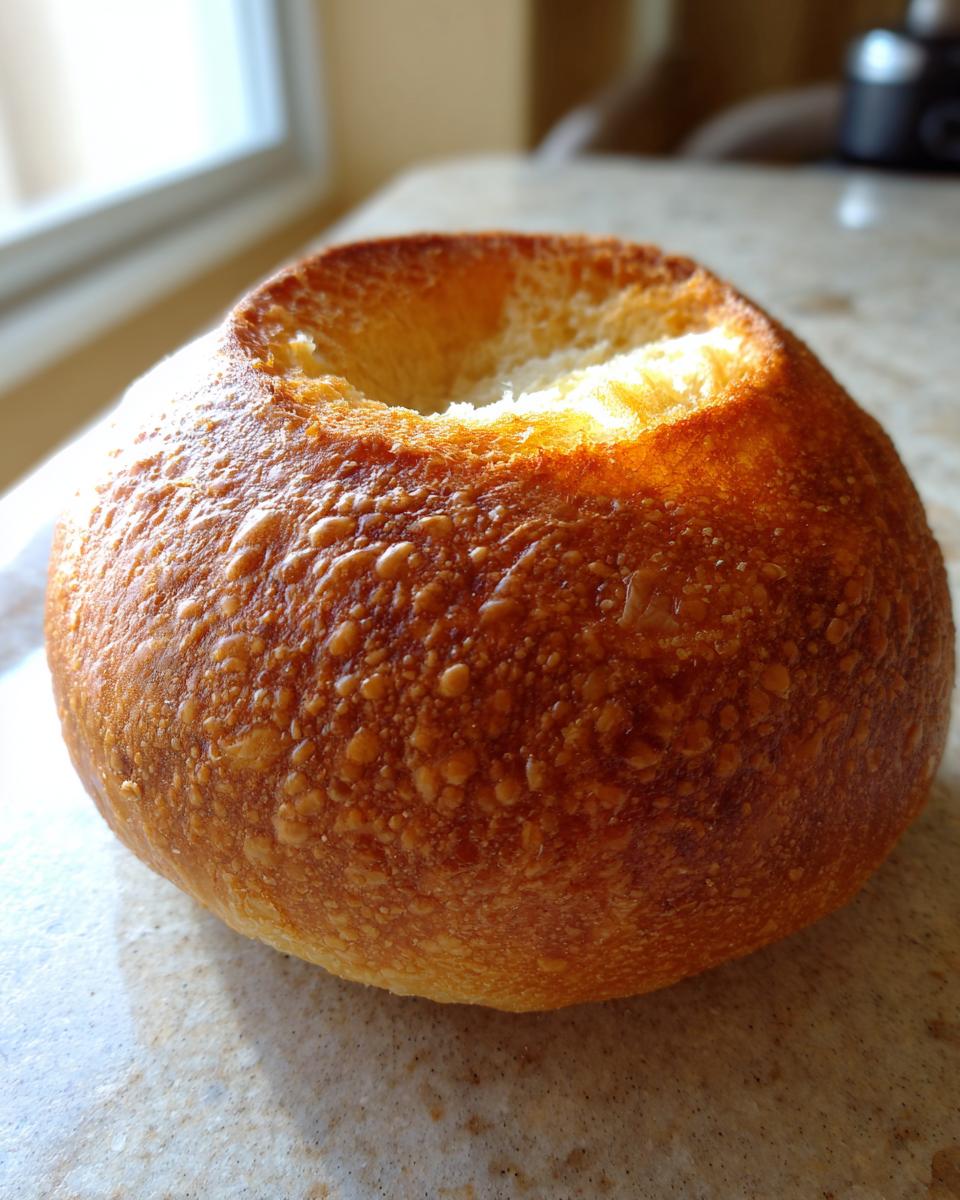
Let them cool on a rack for at least 15 minutes before you think about cutting them! If you try to hollow them immediately, they’ll squish. Once cooled enough to handle, use a serrated knife to carefully slice a circle right off the top. Scoop out that soft middle bread—essential for making great dipping pieces for your final edible soup bowls recipe—but make sure you leave about a one-inch wall all around so your soup stays put. This sturdy wall is what prevents leaks!
As a quick pro-tip from my own kitchen tested batches: if you want the absolute crispiest crust to handle tomato soup, give the loaves a quick spritz with water right before they go into the hot oven. That extra steam helps set that golden shell!
Tips for Success When Making Homemade Bread Bowls
Okay, the baking part is done, and you’ve got four gorgeous, crusty orbs sitting on your counter! To ensure this stays your no fail bread bowl recipe for years to come, let’s talk about finishing touches. First, please, please, please don’t waste that soft bread you scooped out! That’s gold! Chop it right up, toss it with a little garlic powder and olive oil, and toast it in the oven while you clean up. Those make the absolute best dippers for the soup itself, or you can save them for homemade croutons later.
When you’re hollowing them out, remember you’re aiming for a strong container, not just an empty shell. Leave that 1-inch border sturdy—I learned the hard way that the bread closer to the bottom center is squishier, so leave that layer a bit thicker there. If you made them ahead of time, just pop the whole hollow bowl back into a 350°F oven for about five minutes before filling; it refreshes that crust beautifully. If you want to make even more easy deliciousness while you’re waiting for your soup to heat up, try my easy refrigerator dilly beans!
Serving Soups in Bread: Ideas for Your Bread Bowls for Chili
Okay, you’ve nailed the perfect crusty vessel—it’s time for the main event! What are you going to put inside those gorgeous bread bowls? This is where we really lean into the ultimate comfort food vibe. While you absolutely must try this bread filled with my easy chili recipe, don’t stop there!
These homemade containers are sturdy enough to handle nearly anything. I’ve happily devoured everything from thick potato chowder to hearty beef stew, and the bread held up beautifully. But listen, these aren’t just for savory liquid meals. You can treat these just like giant serving dishes for dips, too. They truly transform an appetizer spread.
Pairing Bread Bowls for Dip and Hearty Stews
If you’re looking for the perfect centerpiece that makes everyone swoon, here are a few combinations that absolutely sing when served inside your fresh bread bowls for chili:
- Broccoli Cheddar Soup: The best pairing. The creamy soup contrasts perfectly with the crusty sides.
- Spinach and Artichoke Dip: For an appetizer night, serve this hot dip right in the bowl; people will eat the bowl last! You can try my chili cheese dip recipe and serve it in a bread bowl variation, too!
- Beef Stew: Anything slow-cooked and rich needs a bread counterpart for dunking.
- Thick Clam Chowder: Creamy, dense, and totally decadent in a warm, edible container. Check out some more creative ways people use these containers over at this great resource.
Variations: From Rustic Bread Bowls to Pretzel Bread Bowl Recipe
I absolutely love this basic recipe because it’s so versatile! Once you master these foundation steps, you can start experimenting like a pro. While these look like classic, rustic bread bowls, they can easily pivot into something totally different depending on what you’re craving. You don’t need a brand new recipe every time; you just need a couple of small tweaks.
If you happen to have a sourdough starter bubbling away, you can swap out the commercial yeast for an equal amount of active starter, letting the dough rest a bit longer for that signature tang. Getting that classic sour flavor in your onion dip night just got way better with homemade sourdough bread bowls!
But my other favorite variation, especially when company comes over, is turning them into soft pretzel loaves. It takes just a few extra steps involving a gentle baking soda bath before baking. It sounds fancy, but trust me, it’s easy! If you want to dive straight into that salty, chewy goodness—perfect for dipping into beer cheese—you definitely need to check out the full recipe for pretzel bread bowl recipe.
Either way, starting with this easy yeast dough recipe means you are already miles ahead of anyone buying those boring, pre-made containers. Homemade always wins!
Storage and Reheating Instructions for Leftover Bread Bowls
So, what happens when you’ve got a few leftover bread bowls after a big soup night? Because these are such amazing examples of comfort food bread recipes, you definitely won’t want to throw them out! Luckily, storing them is super simple, whether they are whole or already hollowed out.
If you have whole, uncut loaves leftover, just wrap them tightly in plastic wrap or toss them in a zip-top bag. They’ll stay perfectly soft at room temperature for about two days. If you need them to last longer, you can freeze them whole for up to three months! Just thaw them overnight on the counter when you’re ready to use them.
Hollowed-out bread bowls need a little more care to keep that crust from getting totally stale. If you scooped out the inside but didn’t fill it, wrap the hollowed shell tightly in plastic wrap. Try to keep the cut-off lid nearby too. For the soft interior bread pieces you saved? Keep those in an airtight container at room temperature.
Reheating is the magic trick here. Whether you’re refreshing a whole loaf or just a hollow shell, you want to bring back that fresh-from-the-oven texture. Preheat your oven to 350°F (175°C). Place the bread (whole or hollowed) directly on the rack for about 5 to 8 minutes. This short blast of dry heat crisps up the exterior again without drying out the inside too much. If you’re reviving the interior bread pieces, just toss them in the oven for 3-4 minutes until they are perfectly toasted for dipping later. Remember, if you plan on making more deliciousness soon, you can always check out my easy homemade BBQ sauce recipe!
Frequently Asked Questions About Recipe Bread Bowls
When you’re diving into baking something special like this, I always get tons of questions! It’s totally normal, and honestly, the more you ask, the more confident you’ll be next time you whip up a batch. I want this to be a recipe bread bowls experience where you feel totally comfortable, so let’s clear up a few things that pop up most often.
Can I make these bread bowls ahead of time?
Yes, you certainly can! I always advise baking them the day you plan on serving them, but you have a couple of options. You can bake the homemade bread bowls completely early, let them cool, and store them wrapped tight on the counter for up to 24 hours. Before serving, just pop them back in a 350°F oven for about 5 minutes to refresh that crust. If you’re trying to save even more time, you can complete the entire dough process, shape them, and then put the unbaked loaves in the fridge overnight. They just need a final proof (maybe 45 minutes at room temperature) before brushing with egg wash and baking. Remember, freshness is flavor!
How do I get the bread bowls to stay soft inside?
This all comes down to two things: how you scoop and how you store the leftovers. When scooping, make sure you leave that solid 1-inch wall, especially toward the bottom, so the bread isn’t too thin where the soup will sit. The main secret, though, is minimizing air exposure. If you’re not eating them right away, wrap those hollowed shells tightly—I mean tightly—in plastic wrap. If they are already filled, cover the bowl completely with foil before refrigerating. It keeps that soft texture locked in until serving time. And hey, for another easy treat, if you ever need a crowd-pleaser dessert, my easy creamy homemade chocolate pudding is always a hit!
What is the difference between these and Panera bread bowls?
This is the best question! When people ask how to make bakery style bread bowls at home, they are usually thinking of that familiar chain style, and honestly, we can beat it! The biggest difference is the freshness, obviously, but also the control over the ingredients. Panera uses specific additives to maintain shelf life. Our version uses just yeast, flour, salt, and water, meaning your bread tastes like real bread, not like something processed. Ours also tend to have a slightly sturdier structure, which is fantastic for holding thick fillings like my easy chili recipe. You get that amazing, rustic exterior that you just don’t get in the manufactured versions.
Share Your Perfect Bread Bowls Creations
Whew! I totally hope you enjoyed making these absolute stunners. Honestly, there’s absolutely nothing better than sitting down to a warm bowl of soup cradled inside your own perfectly baked, crusty container. It just feels like a hug from the inside out, doesn’t it?
Now that you’ve created your own magnificent bread bowls, I would be so thrilled if you came back here and let me know how it went! If this recipe was a winner for your family dinner, please take a moment to leave a rating—five stars is always the goal! Seriously, those high ratings really help other home cooks find this recipe and transform their own soup nights.
And please, snap a picture! Tag me on social media when you do. I *live* for seeing what you fill these edible bowls with. Did you go classic with broccoli cheddar soup? Did you dare try spaghetti in there? Or maybe you went wild with a cheesy dip? Leave a comment below telling me what filling you chose for your delicious creation, and I might even feature your photo on my feed!
If you loved the satisfying chew of this yeast bread, you simply have to bookmark my best cinnamon buns for your next baking adventure. Happy eating, friends!
PrintEasy Homemade Bread Bowls: The Best Recipe for Soup and Chili
Make bakery-style bread bowls at home that rival commercial options. This simple, no-fail yeast recipe creates soft, crusty edible bowls perfect for filling with your favorite soups, stews, or dips.
- Prep Time: 20 min
- Cook Time: 25 min
- Total Time: 1 hour 50 min
- Yield: 4 servings 1x
- Category: Baking
- Method: Baking
- Cuisine: American
- Diet: Vegetarian
Ingredients
- 1 packet active dry yeast (about 2 1/4 teaspoons)
- 1 teaspoon granulated sugar
- 1 cup warm water (105°F to 115°F)
- 3 cups all-purpose flour, plus more for dusting
- 1 1/2 teaspoons salt
- 1 tablespoon vegetable oil
- 1 egg, beaten (for egg wash)
- 1 teaspoon water (for egg wash)
Instructions
- Activate the yeast: In a small bowl, mix the warm water, yeast, and sugar. Let this stand for 5 to 10 minutes until foamy.
- Combine dry ingredients: In a large bowl, whisk together the flour and salt.
- Mix the dough: Pour the yeast mixture and the vegetable oil into the flour mixture. Mix with a wooden spoon until a shaggy dough forms.
- Knead the dough: Turn the dough out onto a lightly floured surface. Knead for 6 to 8 minutes until the dough is smooth and elastic.
- First rise: Place the dough in a lightly oiled bowl, turning to coat. Cover the bowl with plastic wrap or a clean towel. Let it rise in a warm place for 1 to 1.5 hours, or until doubled in size.
- Shape the bowls: Gently punch down the risen dough. Divide the dough into 4 equal pieces. Shape each piece into a tight round ball.
- Second rise: Place the dough balls on a baking sheet lined with parchment paper, leaving space between them. Cover loosely and let them rise for another 30 to 45 minutes.
- Preheat and prepare: Preheat your oven to 400°F (200°C). Mix the beaten egg with 1 teaspoon of water to create an egg wash.
- Bake: Brush the tops of the dough balls lightly with the egg wash. Bake for 20 to 25 minutes, or until the bread bowls are deep golden brown.
- Cool and hollow: Let the bread bowls cool on a wire rack for at least 15 minutes before hollowing them out. Use a serrated knife to cut a circle in the top, then gently scoop out the soft interior bread, leaving a sturdy wall for your soup or chili.
Notes
- Save the scooped-out bread pieces to toast for dipping into your filling or for making croutons.
- For a crustier exterior, lightly spritz the loaves with water before placing them in the oven.
- These edible soup bowls are perfect for serving thick chowder, chili, or spinach and artichoke dip.
Nutrition
- Serving Size: 1 bread bowl
- Calories: 320
- Sugar: 2
- Sodium: 350
- Fat: 3
- Saturated Fat: 0.5
- Unsaturated Fat: 2.5
- Trans Fat: 0
- Carbohydrates: 65
- Fiber: 3
- Protein: 10
- Cholesterol: 5