
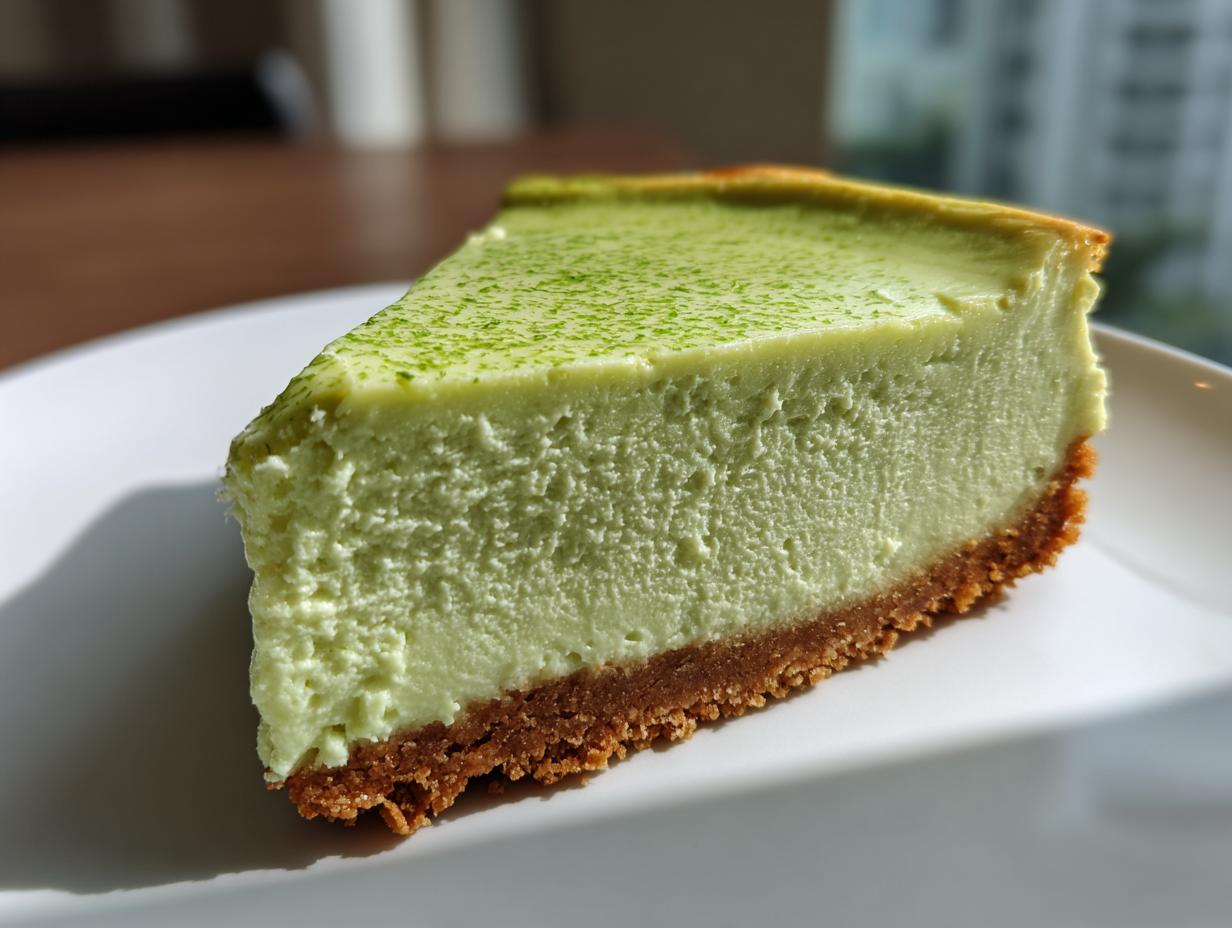
Oh, when that first wave of summer heat hits, you know exactly what I start craving? Anything bright, cold, and zingy! Forget heavy chocolate—I need that perfect burst of citrus. That’s precisely why I developed this recipe for the Ultimate Creamy Baked Key Lime Cheesecake. At Devour Dish, we keep things simple and reliable, and after trying far too many runny fillings, I perfected this baked version. Trust me, this recipe delivers that sweet-and-tart punch you’re dreaming of, all sitting on a sturdy, buttery graham cracker crust. It’s the kind of comforting, yet refreshing, dessert that reminds me why I started this entire blog in the first place—good food made with care, every single time. If you enjoy rich desserts, you should definitely check out my easy salted caramel cheesecake recipe too! It’s ready for you!
- Why This Creamy Key Lime Cheesecake Is Your New Favorite
- Gathering Ingredients for Your Key Lime Cheesecake Recipe
- Step-by-Step Instructions for Baked Key Lime Cheesecake
- Tips for the Best Homemade Key Lime Cheesecake Texture
- Variations: Beyond the Classic Key Lime Cheesecake
- Serving Suggestions for Your Zesty Lime Cheesecake
- Storing and Reheating Your Key Lime Cheesecake
- Frequently Asked Questions About Key Lime Cheesecake
- Nutritional Estimates for This Baked Key Lime Dessert
- Nutritional Estimates for This Baked Key Lime Dessert
Why This Creamy Key Lime Cheesecake Is Your New Favorite
I know, I know, there are a million lime recipes out there. But what makes this specific key lime cheesecake stand above the rest? Well, I promise it’s not complicated, but it is decadent. This is the one that gets rave reviews at every single summer BBQ I host, and here’s why:
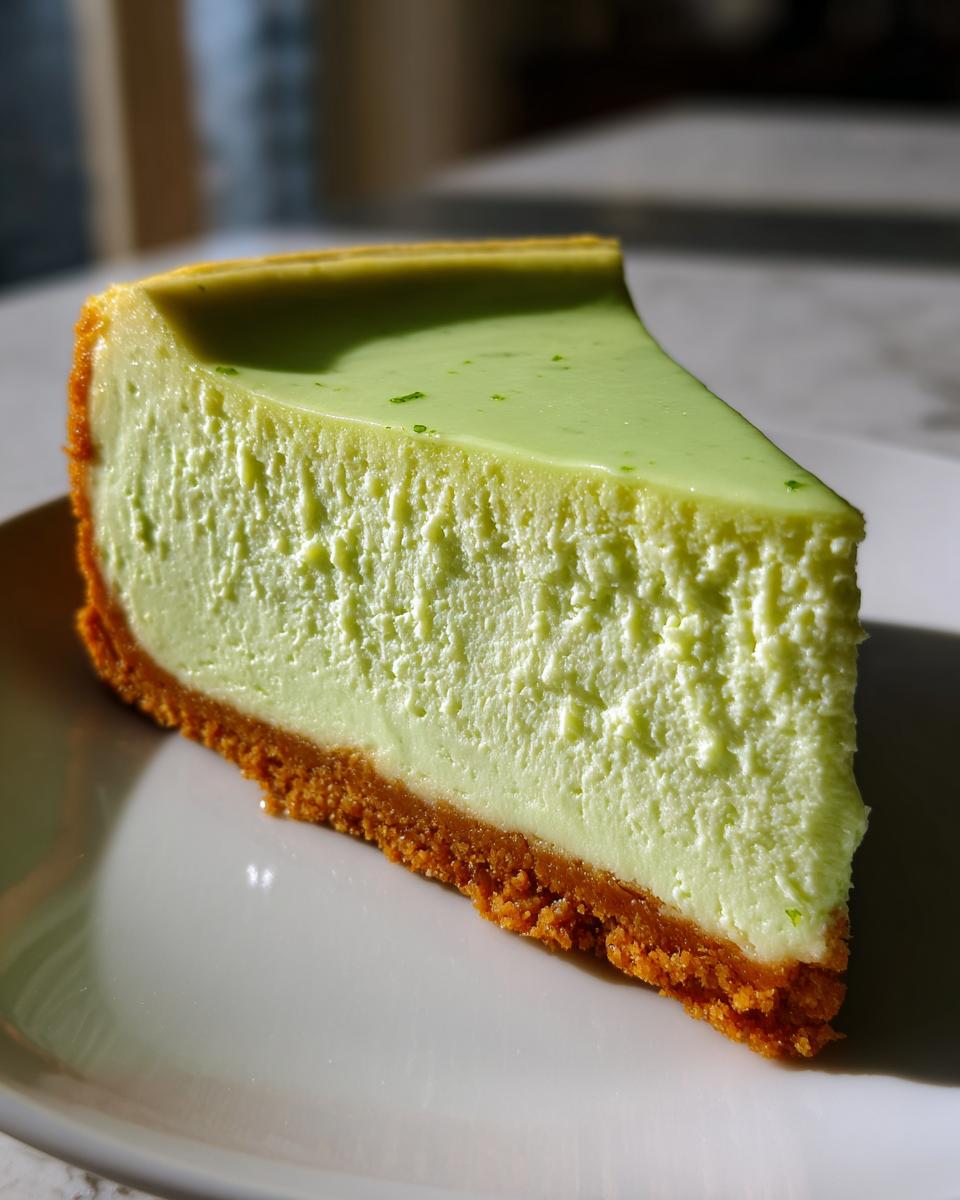
- The Texture: We are achieving that dreamy, velvety lime filling. No rubbery edges here; just smooth, luxurious creaminess thanks to proper technique.
- The Balance: It hits that perfect spot between intensely sweet and wonderfully tart—a truly tangy lime dessert that wakes up your taste buds.
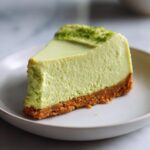
- The Foundation: Forget flimsy toppings! The buttery graham cracker crust is thick, crunchy, and supportive. It’s the perfect partner for the rich filling.
Gathering Ingredients for Your Key Lime Cheesecake Recipe
Before we dive into the magic of the water bath, let’s talk about assembling our treasures! When making any great cheesecake, especially one that needs that vibrant citrus pop, the ingredients really have to sing. I always keep a close eye on texture elements, like making sure that cream cheese is truly softened—no shortcuts there, or you’ll end up with lumps, and nobody wants that!
For the crust, we need simple, classic stuff: graham cracker crumbs, sugar, and lovely melted butter—the foundation sets the stage. If you’ve ever made my graham cracker toffee, you already know the power of a buttery base!
Now, for the filling, the absolute must-have, the hill I will die on, is fresh key lime juice. Please, please use real limes! Bottles concentrates just don’t give you that zesty, bright flavor we are aiming for in this homemade key lime cheesecake. We’re talking about 10 to 12 little limes to get us there, and it is worth every single squeeze!
- Crust needs: Graham cracker crumbs, sugar, and 6 tablespoons of melted unsalted butter.
- Filling needs: Softened cream cheese (all three packages!), sugar, flour, vanilla, the fresh key lime juice, and those four large eggs. Get the eggs out early too!
Step-by-Step Instructions for Baked Key Lime Cheesecake
Okay, now for the fun part! Turning those beautiful ingredients into a show-stopping baked key lime dessert. Baking a cheesecake sounds fancy, but honestly, if you follow these steps exactly, you’ll get that perfect, smooth top every time. Remember how I always talk about reliability? This whole process is tested and true!
Preparing the Graham Cracker Crust Cheesecake Base
First things’s first: get that oven preheated to 325°F (160°C). Before anything else, wrap the bottom of your 9-inch springform pan really well with two or three layers of heavy-duty foil. This is crucial for the water bath later! Now, mix up your crumb mixture—the crumbs, the quarter cup of sugar, and the melted butter—until it looks like wet sand. Press that down super firmly on the bottom of the pan. Pop it in the oven for just 10 minutes while you get the filling ready. Once that’s done, pull it out and let it cool down just a touch.
Mixing the Velvety Lime Filling for Key Lime Cheesecake
This is where we build our texture! Start with that softened cream cheese in a big bowl and beat it until it’s silky smooth. Don’t rush this part! Next, slowly beat in the larger amount of sugar and that small bit of flour—we want everything combined nicely. Then, we add the flavor: the vanilla and that precious fresh key lime juice. Scrape down the sides of the bowl, make sure it’s all incorporated, and then it’s time for the eggs. Add those four eggs one at a time, mixing just until each one disappears. Seriously, stop mixing as soon as that egg is blended in. Overmixing after the eggs go in is what causes cracks later on!
Baking and Cooling: Achieving the Perfect Key Lime Cheesecake
Pour that gorgeous filling over your slightly cooled crust. Now for the secret to a crack-free, creamy key lime cheesecake: the water bath! Set the foil-wrapped springform pan inside a larger roasting pan. Carefully pour hot water into the roasting pan until it goes halfway up the sides of the cheesecake pan. This steam keeps things gentle. Bake it for about 55 to 65 minutes. You’re looking for the edges to be set, but the very middle should still wobble slightly. When it’s done, turn the oven completely off but leave the door cracked open just a tiny bit. Let it cool inside the oven for a full hour before you move it to a wire rack. Finally, this needs a long, patient chill—at least six hours, but overnight is ideal for the best slice. Check out my tips on baking pies like this easy pumpkin pie recipe for more slow-cooling advice!
Tips for the Best Homemade Key Lime Cheesecake Texture
Achieving that dense, supremely smooth texture—that’s the real mission here, isn’t it? It’s what separates an okay cheesecake from the best key lime cheesecake you’ve ever made. Honestly, if you nail three small things, you are golden. First, ingredient temperature matters more than anything else for a velvety lime filling. Your cream cheese absolutely has to be room temperature, soft enough that it seems almost mushy before you start mixing. Lukewarm equals smooth, cold equals lumpy, plain and simple.
Second, let’s come back to the juice. If you use the bottled concentrate for this tangy lime dessert, the flavor profile just falls flat. Fresh juice is mandatory; it brings a natural brightness that canned stuff can’t touch. Lastly, during that final baking stage, ditch the panic! Don’t open the oven door when it’s baking, and absolutely follow the slow cooling process inside the oven. That slow transition from hot to cool is the number one trick to preventing ugly cracks. If you want to see more cheesecake texture secrets, I wrote a ton down when developing my amazing red velvet cheesecake recipe!

Variations: Beyond the Classic Key Lime Cheesecake
While this baked version is my absolute forever favorite for that true, dense texture, I get it—sometimes you need something faster, or maybe you’re just feeling adventurous! I’ve tweaked this exact base recipe to create a couple of other showstoppers, and they are just as delicious in their own right.
For those super hot days when the thought of turning on the oven makes you sweat, we can easily pivot to a no bake key lime cheesecake. The main adjustment here, since we lose the structure eggs provide, is the chilling time. You’ll still need that buttery graham cracker crust, but for the filling, after thoroughly mixing the cream cheese, sugar, and lime juice, add a small amount of sweetened condensed milk—maybe half a can—to help it set up firm. Then, instead of baking, just chill it in the fridge for at least eight hours, or until it’s completely firm. It sets up beautifully and is so refreshing!
If you are serving a crowd or just love single-serving desserts—because everything tastes better in miniature, right?—making mini key lime cheesecakes is a breeze. Just prepare your crust mixture and press a small amount into the wells of a lined muffin tin instead of the full springform pan. Pour the cooled filling right over the top. They bake faster, usually around 20 to 25 minutes, so keep an eye on them! They pop right out, making for the prettiest individual dessert.
These little adaptations keep things fun and flexible in the kitchen. You can see how I use similar base principles even when developing recipes like my berry cheesecake recipe; it’s all about understanding structure!
Serving Suggestions for Your Zesty Lime Cheesecake
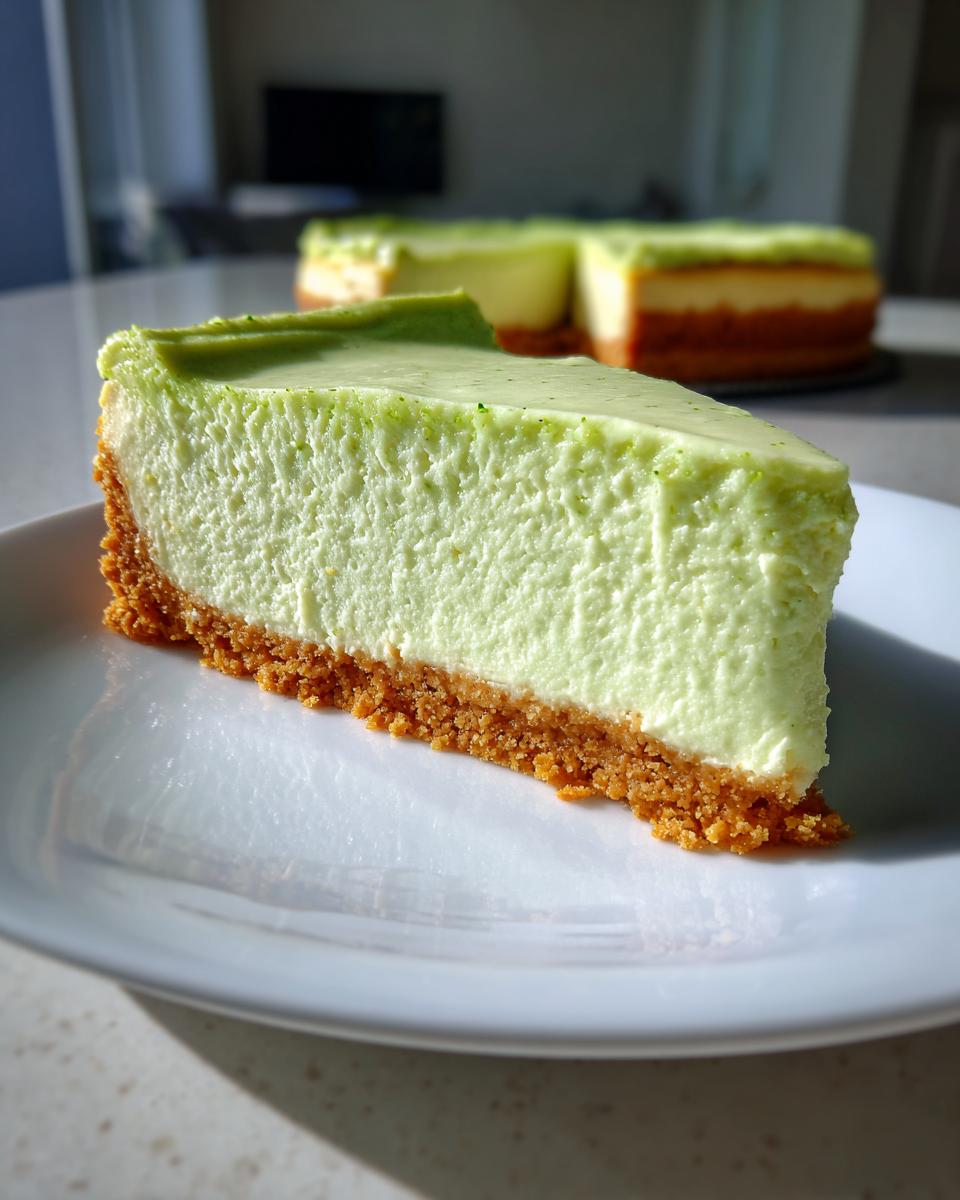
Okay, the waiting game is over, and we have the most beautiful, zesty lime cheesecake to decorate! The beauty of this dessert is how simple it stays while looking totally elegant. You have to use that fresh key lime zest we ignored earlier—just a light dusting over the top surface adds instant color and ramps up that citrus perfume!
I adore serving this chilled, topped with a big cloud of freshly whipped cream. The slight sweetness of the cream is the perfect counterpoint to that sharp lime tang. If dinner was heavy, this cheesecake is the perfect, light ending. To keep that refreshing theme going, I often serve a small side of my bright and zesty citrus salad recipe alongside it. It’s just sunshine on a plate, you know?
Storing and Reheating Your Key Lime Cheesecake
Keeping that perfect, creamy key lime cheesecake as fresh as the moment it came out of the fridge is important! Since this is a dairy-heavy dessert, we have to be smart about storage. The number one rule? Keep the lid on tight. Whether you use the lid that came with your springform pan or you gently tent the whole thing with plastic wrap (make sure the wrap isn’t touching the surface if you don’t have a topping, or it sticks!), you need that seal.
This dessert absolutely thrives in the refrigerator. You should keep it chilled at or below 40°F. Because of all that wonderful lime acid and the high levels of sugar, this homemade key lime cheesecake actually keeps really well; up to five days is perfectly fine! I often bake mine on a Sunday, and it’s still fantastic for dessert on Thursday night. It firms up even more as it chills, which is exactly what we want for a clean slice.
Now, about reheating—let’s ditch that idea right now! Cheesecake is meant to be served cold. Heating it up will just turn that beautiful, velvety texture soupy and sad. So, if you’re planning ahead, just pull your slice out of the fridge about 15 minutes before you want to eat it. That little bit of time at room temperature softens it just enough to bring out the best flavor without compromising the structure. It’s summer perfection!
Frequently Asked Questions About Key Lime Cheesecake
I know you might have a few lingering questions about getting this perfect! Cheesecakes sometimes get a bad rap for being fussy, but I promise sticking to a few key rules makes all the difference. Here are the things I get asked most often about turning out a gorgeous, creamy key lime cheesecake.
Can I use bottled lime juice instead of fresh key limes?
This is the big one! While you *can* use bottled juice in a pinch for an easy key lime cheesecake, I strongly advise against it for this recipe. Bottled juice tends to have a duller, slightly more artificial taste that misses that vibrant punch we want in a truly refreshing citrus dessert. Using fresh key limes ensures you get the clearest, zesty flavor possible. It’s non-negotiable for the *best* result!
What’s the main difference between this cheesecake and a traditional key lime pie?
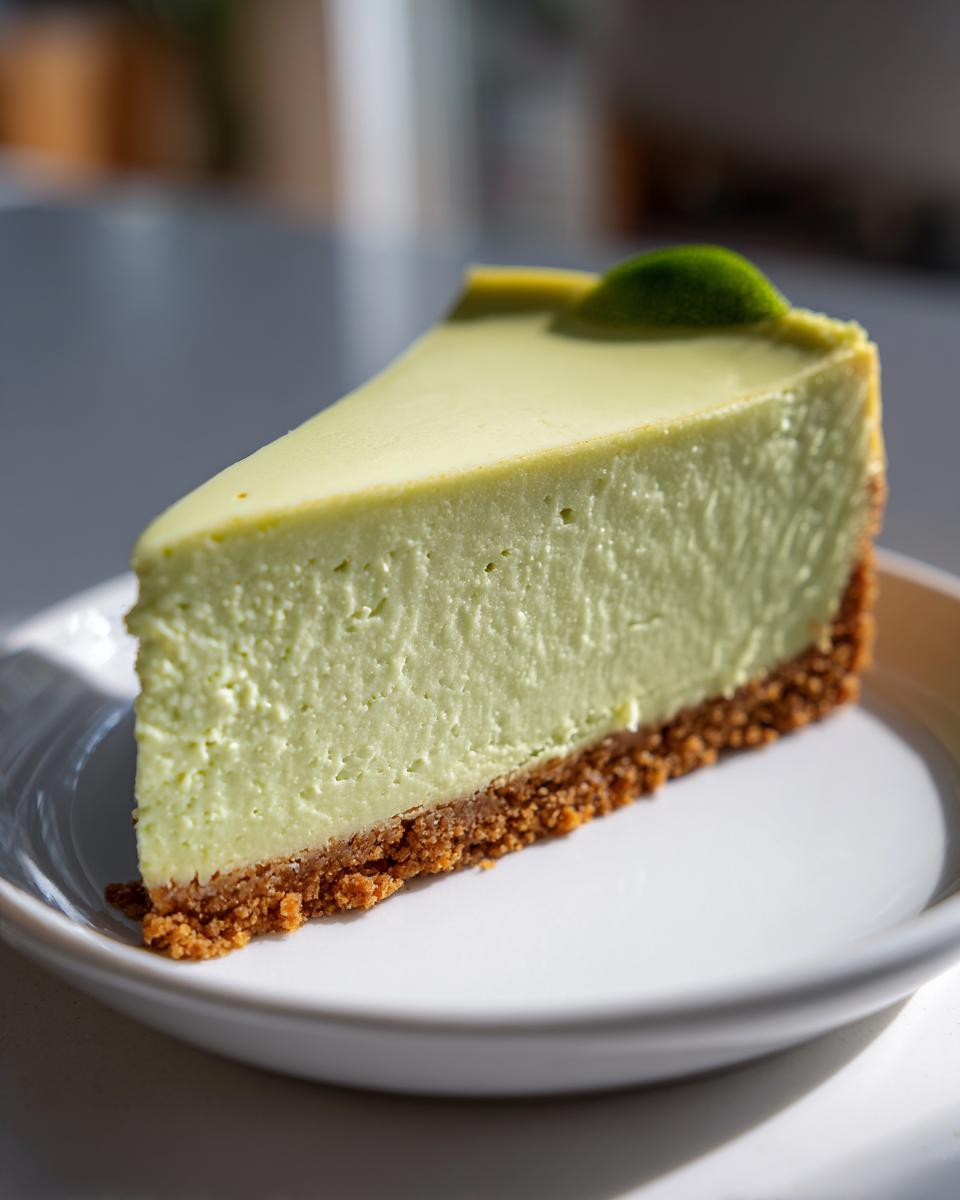
Oh, that’s easy! Think texture. Key lime pie filling is usually lighter, often set with egg yolks or even just gelatin, resulting in a soft, almost pudding-like interior. Our baked key lime dessert uses a whole egg load and is baked slowly, giving it that characteristic thick, dense, and rich structure that’s so satisfying. It’s far creamier than anything you’ll find in a standard pie shell!
How do I guarantee my cheesecake won’t crack in the oven?
Cracking is usually caused by sudden temperature changes or overmixing the eggs. Follow my instructions exactly! Make sure to use the water bath—that steam keeps the edges from baking too fast. Then, the most crucial step is turning the oven off and letting it cool *inside* for a full hour before removing it. Slow transitions prevent the cake from shrinking suddenly. For more deep-dive baking science, check out my thoughts on my sweet potato cheesecake recipe for more anti-cracking tips!
Is this as tangy as the famous restaurant style?
If you are aiming for that restaurant profile, yes! We’ve already loaded this up with fresh juice, but many people feel that flavor deepens perfectly with a little extra zest sprinkled on top, just like they do at the famous spots. If you really want an extra powerful zing, try adding one teaspoon of pure lime extract along with the juice for an extra potent flavor boost.
Nutritional Estimates for This Baked Key Lime Dessert
We’re making rich, comforting dessert here, so we know these aren’t exactly light snacks, but they are totally worth the occasional indulgence! These figures are estimates based on standard ingredients listed for 12 slices of our key lime cheesecake.
- Serving Size: 1 slice
- Calories: 450
- Fat: 28g
- Carbohydrates: 42g
- Protein: 7g
- Sugar: 35g
Like all my recipes, remember these figures don’t account for any extra whipped cream toppings or additions you might put on your glorious slice!
PrintUltimate Creamy Baked Key Lime Cheesecake with Graham Cracker Crust
Make this ultimate creamy key lime cheesecake. It features a buttery graham cracker crust and a perfectly tangy, velvety lime filling. This baked dessert balances sweet and tart flavors for a refreshing treat.
- Prep Time: 25 min
- Cook Time: 65 min
- Total Time: 7 hours 30 min
- Yield: 12 servings 1x
- Category: Dessert
- Method: Baking
- Cuisine: American
- Diet: Vegetarian
Ingredients
- 1 1/2 cups graham cracker crumbs
- 1/4 cup granulated sugar (for crust)
- 6 tablespoons unsalted butter, melted
- 3 (8 ounce) packages cream cheese, softened
- 1 1/2 cups granulated sugar (for filling)
- 1/4 cup all-purpose flour
- 1 teaspoon vanilla extract
- 1/2 cup fresh key lime juice (about 10–12 limes)
- 4 large eggs
- Key lime zest for garnish
Instructions
- Preheat your oven to 325°F (160°C). Wrap the outside bottom of a 9-inch springform pan tightly with heavy-duty aluminum foil.
- Prepare the crust: Mix graham cracker crumbs, 1/4 cup sugar, and melted butter until combined. Press the mixture firmly into the bottom of the prepared springform pan. Bake for 10 minutes. Remove and let cool slightly.
- Prepare the filling: In a large bowl, beat the softened cream cheese until smooth. Gradually beat in the 1 1/2 cups sugar and flour until fully incorporated.
- Mix in the vanilla extract and key lime juice until the mixture is smooth. Scrape down the sides of the bowl.
- Beat in the eggs one at a time, mixing just until each egg is incorporated. Do not overmix the batter once eggs are added.
- Pour the filling over the cooled crust. Place the springform pan inside a larger roasting pan. Carefully pour hot water into the roasting pan until it reaches halfway up the sides of the springform pan (this is a water bath).
- Bake for 55 to 65 minutes, or until the edges are set but the center still has a slight jiggle.
- Turn off the oven, crack the oven door open slightly, and let the cheesecake cool inside the oven for 1 hour. This prevents cracking.
- Remove the cheesecake from the water bath and let it cool completely on a wire rack.
- Chill the cheesecake in the refrigerator for at least 6 hours, or preferably overnight, before serving. Garnish with fresh key lime zest before slicing.
Notes
- For the best tangy flavor, use fresh key lime juice instead of bottled concentrate.
- If you prefer a no-bake key lime cheesecake, chill the filling mixture for 30 minutes before pouring over the crust and refrigerate for at least 8 hours to set.
- To achieve a texture similar to Cheesecake Factory key lime cheesecake, ensure your cream cheese is fully softened before mixing.
Nutrition
- Serving Size: 1 slice
- Calories: 450
- Sugar: 35g
- Sodium: 280mg
- Fat: 28g
- Saturated Fat: 17g
- Unsaturated Fat: 11g
- Trans Fat: 0.5g
- Carbohydrates: 42g
- Fiber: 1g
- Protein: 7g
- Cholesterol: 110mg