

Oh, do I have a comfort food MVP for you today! If you’ve ever been disappointed by soggy bases when you crave amazing potato skins, stop what you’re doing. I’m Avery Collins, and here at Devour Dish, we believe that the best food shouldn’t require a culinary degree. My goal is always to give you recipes that are simple, reliable, and taste like they came from a fantastic restaurant—and that takes serious testing!
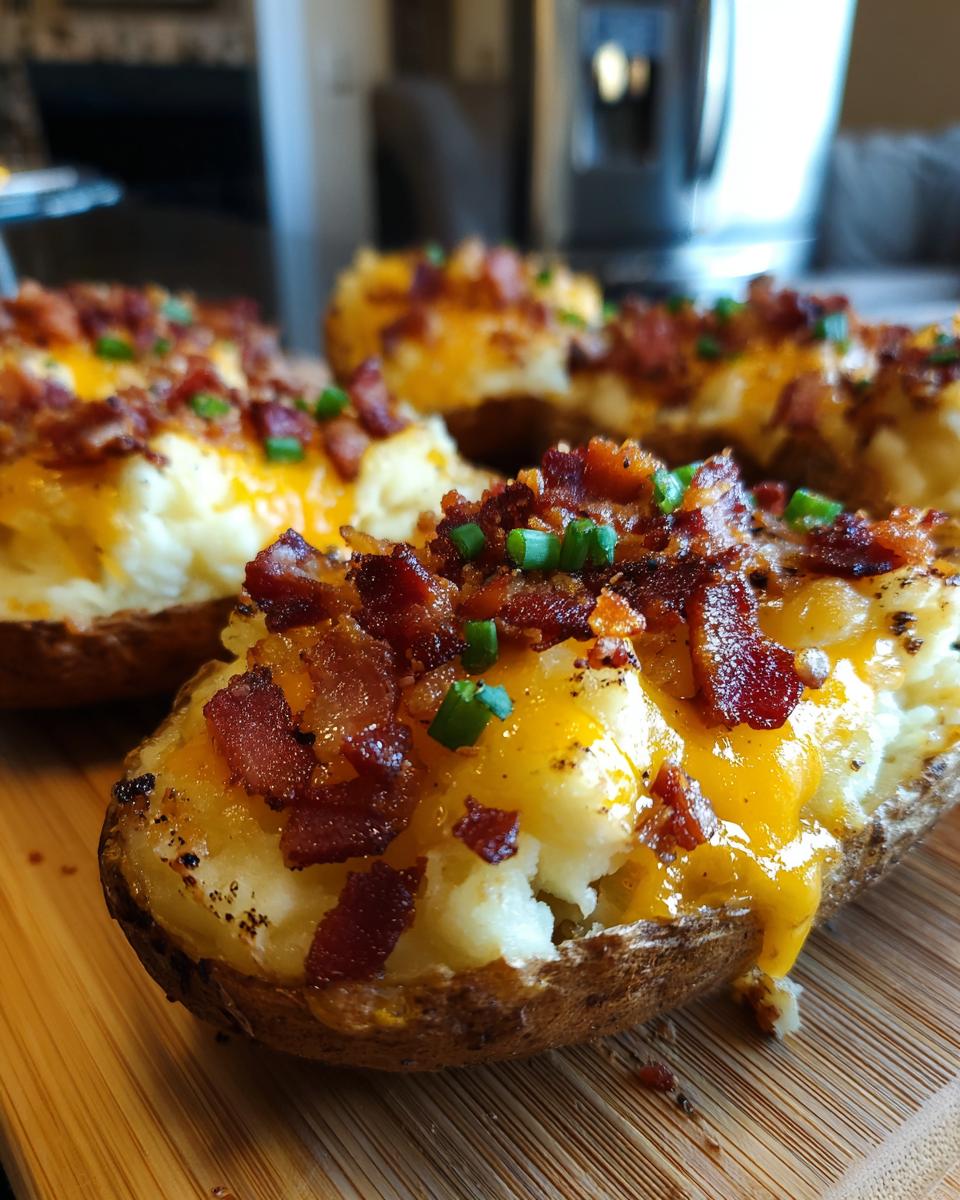
Trust me when I say these **Ultimate Crispy Loaded Baked Potato Skins** will change your snack game forever. We nail that perfect balance: shatteringly crisp on the outside and unbelievably fluffy inside. These cheddar and bacon bites are absolutely perfect for game days or just making Tuesday night feel special. Everything here is made for real life, and I’ve tested this method until it was absolutely flawless!
- Why You Will Love These Ultimate Crispy Potato Skins
- Ingredients for Perfect Crispy Potato Skins
- Expert Tips for Fluffy Inside Crispy Outside Potatoes
- How to Make Restaurant Style Potato Skins
- Variations for Your Loaded Potato Skins
- Serving Suggestions for Potato Skins Appetizer
- Storage and Reheating Instructions for Potato Skins
- Frequently Asked Questions About Potato Skins
- Nutritional Information for Cheesy Potato Skins
Why You Will Love These Ultimate Crispy Potato Skins
I know what you’re thinking: “Another potato skins recipe?” But trust me, this batch is different. We put in the work to make sure these hit all the right notes you’re looking for in the perfect appetizer. Here’s why you need to make this recipe right now:
- Maximum Crispiness: We use a two-bake technique that dries out the potato shells perfectly. You get that satisfying crunch that most recipes promise but rarely deliver!
- Fluffy Interior: Even though the outside is crispy, the inside filling is still wonderfully creamy, thanks to my trick with the sour cream and gentle mixing.
- Classic Crowd-Pleasing Flavor: You can’t go wrong with the savory combination of sharp cheddar, salty bacon, and fresh green onions. It’s pure comfort food perfection.
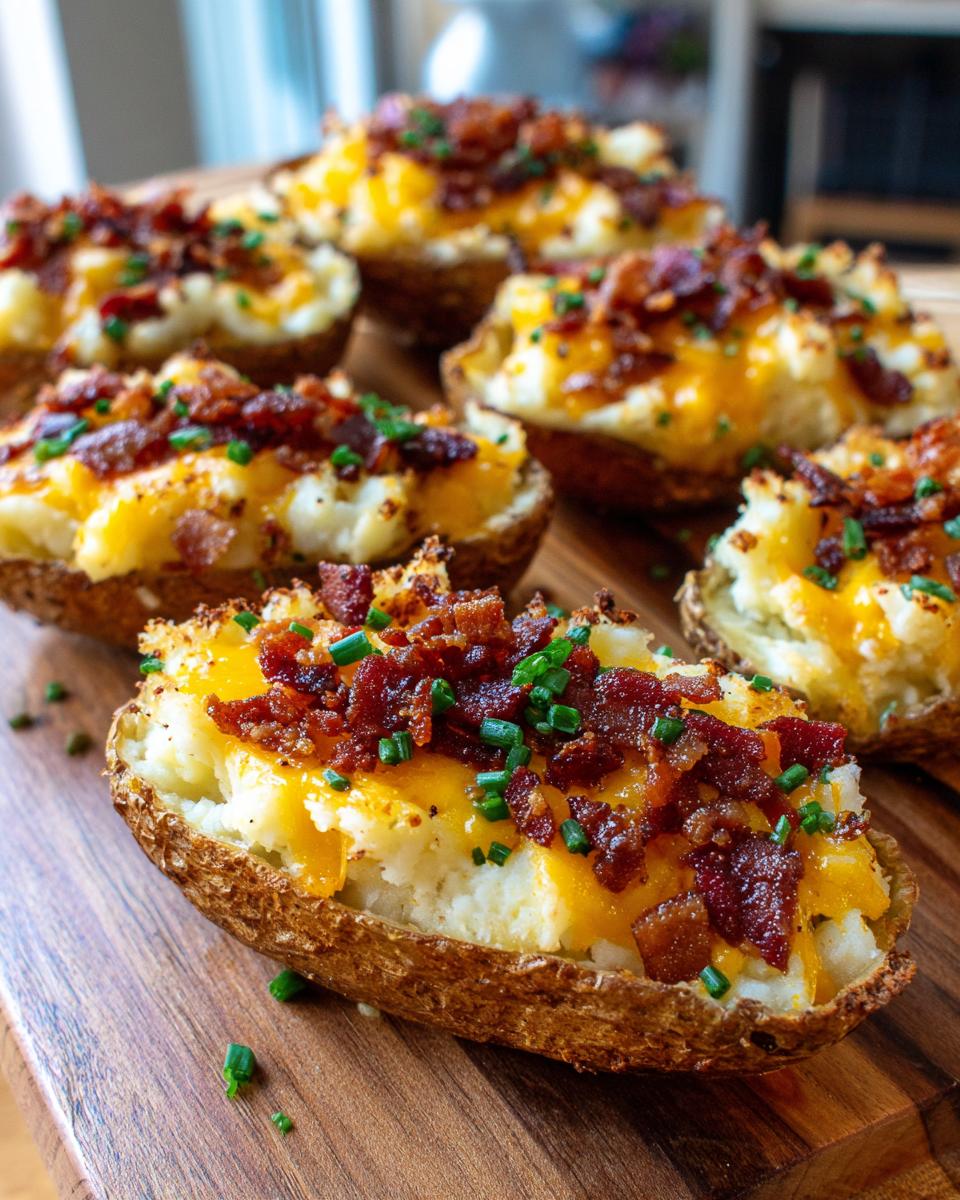
- Versatile Snacking: These work for everything! They’re my go-to for major Game Day Snacks, but they’re also elegant enough to serve as a sophisticated Baked Potato Skins Appetizer for a party.
- Simple Ingredients: We use reliable, easy-to-find ingredients. No gourmet sourcing required for these hits!
Ingredients for Perfect Crispy Potato Skins
Okay, gather your crew! The quality of your starting ingredients is huge here, especially when we are aiming for that ultimate crispy potato skins texture. Don’t even think about substituting the Russets—they are the MVP for this job. Here is exactly what you’ll need for about eight amazing appetizer skins:
- 4 large Russet potatoes (These are non-negotiable, folks!)
- 1 tablespoon olive oil (For rubbing the outside to encourage crispness)
- 1 teaspoon salt (To season the skins before the first bake)
- 8 slices bacon, cooked until crispy and crumbled (Get a good smoky bacon if you can!)
- 1 cup shredded sharp cheddar cheese (Sharp is important for flavor punch!)
- 1/2 cup shredded Monterey Jack cheese (This melts beautifully with the cheddar)
- 1/2 cup sour cream (This is for the filling, not the topping!)
- 2 tablespoons chopped fresh chives or green onions (The fresher, the better for that final pop)
- 1/4 teaspoon black pepper (Just a little zing for the filling)
See? All simple stuff! The magic isn’t in what you buy, but in how we treat these items during the process. We’re going to make that bacon extra-crispy ahead of time, because weak bacon makes weak potato skins!
Expert Tips for Fluffy Inside Crispy Outside Potatoes
Listen, getting those Fluffy Inside Crispy Outside Potatoes isn’t just mixing ingredients; it’s about fighting moisture! My biggest personal tip, which I learned after accidentally making soggy skins one Super Bowl Sunday, is this: when you scoop out the inside filling, take a butter knife and gently scrape the remaining potato flesh clinging to the inside walls of the skin. That little bit of excess moisture is the enemy!
This drying step is critical before the filling goes back in. We want sturdy shells for these Loaded Potato Skins. When you’re ready to start on other appetizers, like these amazing Rotel Cream Cheese Sausage Balls, you’ll find that prepping the potato shells first speeds things up beautifully.
Selecting the Right Potato for Potato Skins
You absolutely must use Russet potatoes here. They are starchy—which means when you bake them, they become light and fluffy on the inside, perfect for mixing with that sour cream. If you use Yukon Golds or Red Potatoes, they have too much moisture, and you’ll end up with heavy, waxy centers, no matter how long you bake those skins!
How to Make Restaurant Style Potato Skins
This is where the magic happens! Achieving that amazing, dual texture—crispy shell, creamy filling—comes down to our two-stage baking process. I always have my make-ahead gravy chilling during this process, because I like to have comfort food ready for any occasion! Follow these steps closely, especially regarding cooling time, to nail these potato skins perfectly.
Baking and Scooping the Potato Shells
First things first: crank that oven up to 400°F. Scrub those Russets until they are spotless, then pierce them all over with a fork—this lets steam escape! Rub them down with oil and salt and bake them directly on the rack for about 50 to 60 minutes until they feel firm. Let them cool just enough so you can handle them without getting burned, then slice them lengthwise. Scoop out the insides carefully, leaving a sturdy 1/4-inch border of skin remaining. You need that border to hold the filling!
Preparing the Best Potato Skin Filling
Take that scooped-out potato goodness and put it in a separate bowl. Now we make the Best Potato Skin Filling! Mix in the sour cream, black pepper, and about half of that gorgeous cheddar and Monterey Jack cheese. Mix it gently—we don’t want a paste, we want fluffy texture! Once combined, carefully spoon this mixture back into those waiting potato shells. Don’t overfill them, or you’ll have cheesy lava flowing everywhere.
The Final Bake for Loaded Potato Skins
Here’s the secret weapon for crispiness: put those filled skins back into a lower-temp oven (375°F) for about 10 minutes *before* you top them. This dries them out even more! Then, load them up with the rest of your cheese and that crumbled bacon. Bake for another 10 to 15 minutes. You’re looking for bubbly, golden cheese and edges on your Loaded Potato Skins that are dark brown and incredibly crispy. Sprinkle on the chives and serve immediately!

Variations for Your Loaded Potato Skins
While the classic bacon and cheddar version is what I dream about, sometimes you need to switch things up! These shells are such a perfect vehicle for flavor, whether you’re looking for something milder or something with a kick. Customizing your potato skins is half the fun, and it lets you cater to everyone at the party.
If you have extra cheese sauce lying around from making my Cheesy Chicken Pasta, now is the time to use it! Don’t be afraid to experiment—these are meant to be indulgent and fun.
Here are a few of my favorite ways to dress up the filling before that final bake:
- Spicy Jalapeño Poppers Style: For those who like it hot, mix 1/4 cup of chopped pickled jalapeños right into the filling before you spoon it back into the shell. Top with pepper jack cheese instead of cheddar for an extra layer of heat when you bake these Cheesy Potato Skins.
- Broccoli and Cheddar Blast: Steam or blanch about half a cup of fresh broccoli florets until tender-crisp, then chop them finely. Mix these in with the sour cream and cheese blend. This adds a bit of green and makes them feel slightly less sinful!
- Taco Night Leftovers: Did you have taco meat leftover? This is the perfect way to use it! Substitute the bacon with seasoned ground beef or turkey, and swap out the cheddar for a Mexican blend cheese. A dollop of salsa on top after they come out of the oven is divine.
Remember, no matter what you load them with, make sure you get the filling back into the shells quickly so they are ready for that final crispy blast in the oven!
Serving Suggestions for Potato Skins Appetizer
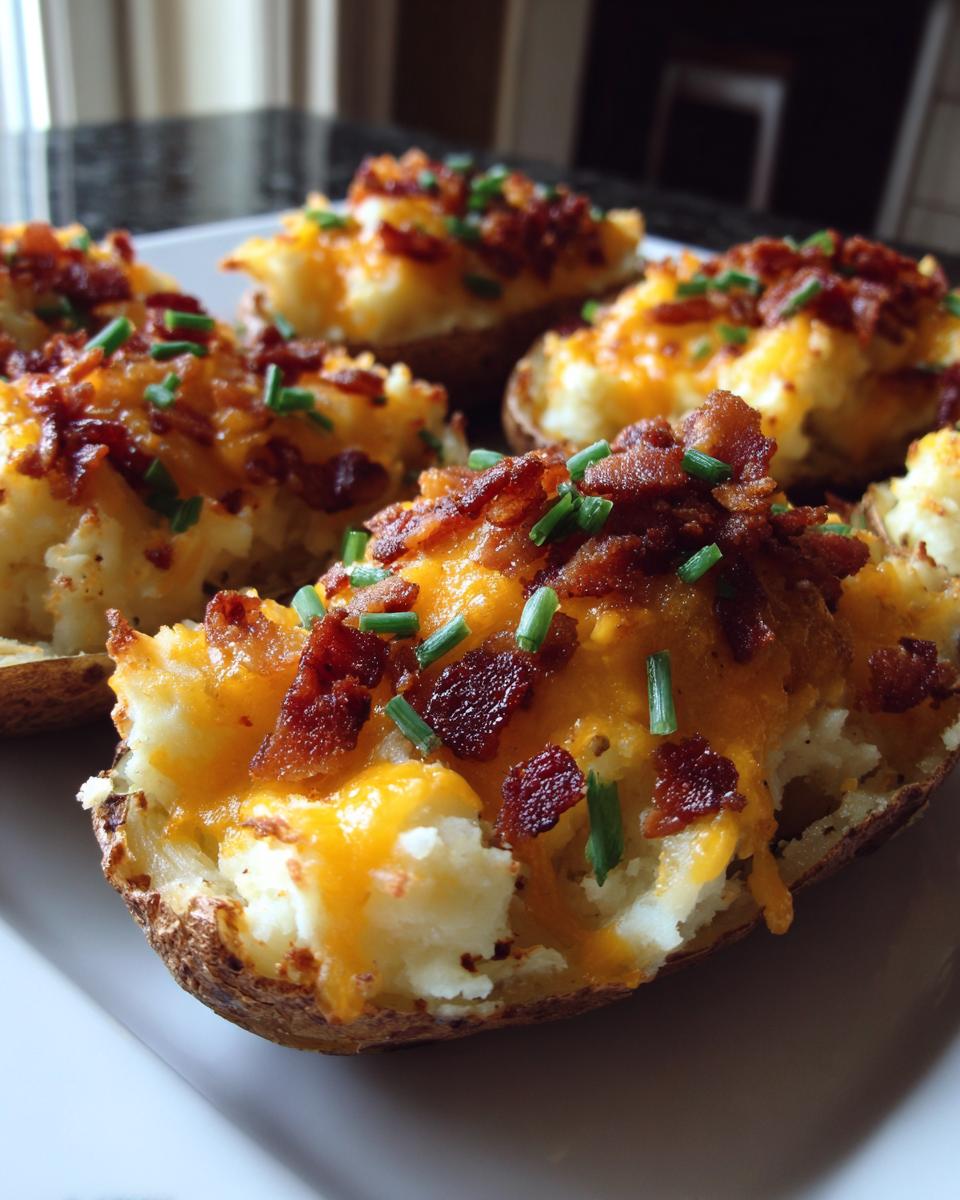
You’ve done the hard work, you’ve achieved peak crispiness, and now the moment of truth arrives! These potato skins are best served piping hot, right out of the oven while that cheese is still molten and the edges are singing. They work perfectly as a standalone snack, but if you’re building out a larger spread, you need some complementary items to round things out.
As I mentioned, these are absolute rockstars when it comes to Game Day Snacks. When everyone is gathered around the TV, you want finger foods that are easy to grab and intensely flavorful. These truly are top-tier Party Appetizer Ideas!
To keep the party vibe going, try serving these alongside other savory bites. A bowl of something bright and fresh balances out the richness of the bacon and cheese perfectly. For instance, I love setting out my tangy Buffalo Chicken Sliders right next to the platter of potato skins. The heat from the buffalo sauce contrasts so nicely with the salty, creamy skins.
If you’re serving these as part of a larger meal—maybe as the ultimate side dish—they pair wonderfully with lighter proteins like grilled chicken or lean steak. But honestly? Sometimes I just make a huge batch of these Loaded Potato Skins, cut them small, and call it dinner. Don’t judge; we’ve all been there! Just make sure you have plenty of napkins handy, because these are guaranteed to disappear fast.
Storage and Reheating Instructions for Potato Skins
Okay, listen up, because this is important for keeping that amazing crispness alive! The unfortunate reality is that these potato skins are best eaten fresh, right out of that 375°F oven. But let’s be real, sometimes you make too many, or you just want leftovers for lunch the next day. Don’t throw them out! We just need to be smart about storage.
If you have any extras, let them cool down completely on the baking sheet first. Once they are room temperature, gently place the leftover Loaded Potato Skins in an airtight container. You can fit quite a few if you layer them carefully, maybe putting a small piece of parchment paper between layers if you need to stack them high. They should be fine in the fridge for about 3 days, tops.
Now, for reheating—this is where you resurrect the magic. You MUST avoid the microwave if you value your texture. Microwaves equal soggy skins, and we worked too hard for that!
I highly recommend putting them back in a moderate oven, around 350°F, for about 10 minutes. If you’re in a hurry, the air fryer is your best friend! Just pop them in at 370°F for about 5 to 7 minutes. That quick blast of dry heat will crisp up the edges beautifully, making them taste almost freshly baked. It works like a charm, just like when I’m reheating my Apple Crisp and trying to get that topping crunchy again!
If you’re planning ahead, remember you can prep the filled (but unbaked) shells and keep them chilled for up to 24 hours. Just factor in an extra 5 to 10 minutes for that final bake when cooking from cold. Happy snacking tomorrow!
Frequently Asked Questions About Potato Skins
I know you’ve got questions! Anytime you make a classic comfort food recipe, there are bound to be little uncertainties, especially when it comes to handling potato texture. I’ve collected the questions I get asked most often about these delicious morsels, so hopefully, your path to making the Ultimate Potato Skins is totally clear!
Can I make these Air Fryer Potato Skins instead of baking?
Oh, absolutely! If you have an air fryer, you should totally use it—it’s fantastic for getting that crispy exterior without heating up the whole oven. Once you’ve baked and filled your shells, just pop those Loaded Potato Skins right into your air fryer basket. I set mine to 370 degrees Fahrenheit for about 8 to 10 minutes. You just watch until that cheese is bubbly and the edges start looking extra golden brown. It’s much faster than oven baking!
How far ahead can I prepare the potato skins?
This is a great question for party planning! Yes, you can totally prep ahead, which is so helpful when you’re hosting. You can complete the entire process right up until the very last topping stage. Scoop out the filling, mix it in, and stuff the shells. Then, cover the filled skins tightly with plastic wrap and keep them in the fridge for up to a day. When you’re ready to serve, just add 5 to 10 extra minutes to that final baking time to account for starting cold. That way, you aren’t scrambling when guests arrive!
What is the secret to getting potato skins really crispy?
If there’s one thing I won’t compromise on, it’s the crispiness! The secret really lies in eliminating moisture in two key phases. First, you must bake the potatoes until they are aggressively done at a high heat (400°F) on the open rack. Second, and this is huge, you have to bake the *empty* shells again for 10 minutes before adding any filling back in. This second bake literally dries out the internal walls of the skin, allowing them to crisp up like a chip when they go back in for the final melt. Don’t skip that initial high-heat bake; it sets the stage for perfect, crunchy potato skins every single time. If you’re looking for other great potato ideas, check out my recipe for Kielbasa Potato Soup!
Nutritional Information for Cheesy Potato Skins
Now, let’s talk about the fueling facts! I always believe in being transparent about what goes into our food here at Devour Dish, even when we’re making decadent, cheesy appetizers. Remember, these are loaded with bacon and cheese, so they are definitely an indulgence, perfect for that game day spread!
Please keep in mind these numbers are estimates based on the ingredients listed in the recipe (using 2 skins as one serving size). Your actual nutrition facts might look a little different depending on how much bacon grease you keep or what brand of shredded cheddar you pick up.
- Serving Size: 2 skins
- Calories: 350
- Total Fat: 22g
- Saturated Fat: 10g
- Carbohydrates: 28g
- Sugar: 2g
- Protein: 15g
- Sodium: 450mg
See? Packed with protein and flavor! That extra fat comes mostly from the sour cream and bacon, which is what makes these Cheesy Potato Skins so satisfying. Enjoy every single bite!
PrintUltimate Crispy Loaded Baked Potato Skins with Cheddar and Bacon

Welcome! If you want truly crispy potato skins with a fluffy interior, this is the recipe you need. These loaded baked potato skins, filled with sharp cheddar, smoky bacon, and fresh chives, are the perfect game day snack or party appetizer. Follow these steps to achieve restaurant-style crispiness every time.
- Prep Time: 20 min
- Cook Time: 70 min
- Total Time: 90 min
- Yield: 8 servings 1x
- Category: Appetizer
- Method: Baking
- Cuisine: American
- Diet: Vegetarian
Ingredients
- 4 large Russet potatoes
- 1 tablespoon olive oil
- 1 teaspoon salt
- 8 slices bacon, cooked and crumbled
- 1 cup shredded sharp cheddar cheese
- 1/2 cup shredded Monterey Jack cheese
- 1/2 cup sour cream
- 2 tablespoons chopped fresh chives or green onions
- 1/4 teaspoon black pepper
Instructions
- Preheat your oven to 400 degrees Fahrenheit. Scrub the potatoes clean and pierce each potato several times with a fork.
- Rub the potatoes lightly with olive oil and sprinkle with salt. Bake directly on the oven rack for 50 to 60 minutes, or until the skins are firm and the insides are tender.
- Remove the potatoes from the oven and let them cool until you can safely handle them. Reduce the oven temperature to 375 degrees Fahrenheit.
- Slice each potato in half lengthwise. Carefully scoop out most of the cooked potato flesh into a bowl, leaving about a 1/4-inch shell of potato skin.
- Place the hollowed-out potato skins skin-side down on a baking sheet. Brush the outside of the skins lightly with any remaining olive oil.
- Bake the empty skins for 10 minutes to help them dry out and crisp up.
- In the bowl with the scooped potato, mix in the sour cream, black pepper, and half of the cheddar and Monterey Jack cheese. Mix until just combined.
- Spoon the potato mixture evenly back into the potato skins.
- Top each skin generously with the remaining shredded cheese and the crumbled bacon.
- Return the loaded potato skins to the 375 degree Fahrenheit oven and bake for another 10 to 15 minutes, or until the cheese is melted and bubbly and the edges of the skins are golden brown and crispy.
- Remove from the oven, sprinkle with fresh chives, and serve immediately.
Notes
- For maximum crispiness, ensure the scooped-out potato shells are dry before the second bake. You can gently scrape the inside walls of the skin to remove excess moisture.
- Make ahead: You can scoop the potatoes and mix the filling a day ahead. Store the filled skins covered in the refrigerator. Add 5-10 minutes to the final baking time if baking from cold.
- If you prefer an Air Fryer Potato Skins method, cook the filled skins at 370 degrees Fahrenheit for 8 to 10 minutes until the cheese is melted and the edges are crisp.
Nutrition
- Serving Size: 2 skins
- Calories: 350
- Sugar: 2
- Sodium: 450
- Fat: 22
- Saturated Fat: 10
- Unsaturated Fat: 12
- Trans Fat: 0.5
- Carbohydrates: 28
- Fiber: 3
- Protein: 15
- Cholesterol: 45