
Oh, the sigh of utter defeat when you spend an hour piping perfect little borders only to watch them melt into a sad, runny puddle! I have been there so many times, swearing off decorated cookies forever, mainly because my icing just wouldn’t cooperate. But guess what? I finally cracked the code for you! After endless batches that were either too thin or cracked weirdly, I nailed down what I firmly believe is the absolute foolproof royal icing recipe. This one dries rock hard and smooth, making it the absolute best for everything from outlining to flooding your prettiest sugar cookies. Trust me, Avery Collins has saved you the headache!
- Why This Royal Icing Recipe Works Every Time (E-E-A-T Focus)
- Gathering Your Ingredients for the Best Royal Icing Recipe
- Step-by-Step: How to Make Royal Icing (Meringue Powder Royal Icing Recipe)
- Tips for Perfect Cookie Decorating Icing Consistency
- Troubleshooting Common Issues with Your Royal Icing Recipe
- Storage and Making Ahead with This Royal Icing Recipe
- Serving Suggestions for Icing for Decorated Cookies
- Frequently Asked Questions About This Royal Icing Recipe
- Share Your Royal Icing for Cookies Creations!
Why This Royal Icing Recipe Works Every Time (E-E-A-T Focus)
When I first started decorating cookies years ago, I tried using fresh egg whites, and honestly, it was a nightmare! The consistency was always changing, and sometimes I worried about bacteria, which is the last thing you want when cooking for friends. That’s why this no fail royal icing recipe, designed around meringue powder, is such a game-changer. Meringue powder gives you that incredible, stable royal icing we all crave because it’s consistent and shelf-stable. You just don’t get the same unpredictable results you do with fresh whites. You can check out my basic cookie icing recipe if you want a simpler spreadable variation, but for decorating, this powdered sugar powerhouse is the ticket!
The other huge factor, which I learned the hard way, is the whipping time. We whip this icing for a solid five to seven minutes on high speed. That lengthy whipping isn’t just for show, though; it actually incorporates the air needed for that amazing, hard, crack-free finish. It’s what ensures your hard work holds up perfectly for gifting!
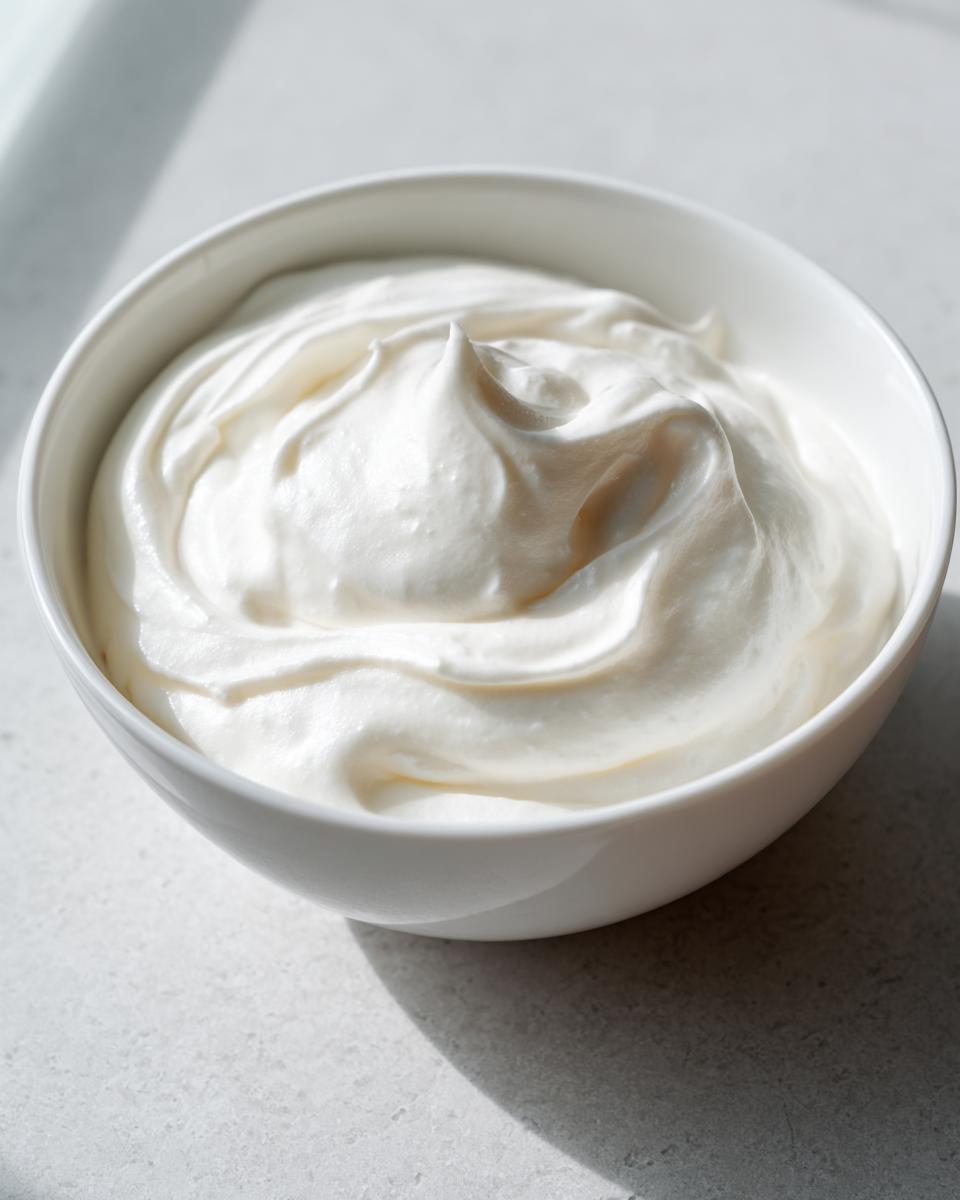
Achieving That Perfect Smooth Shiny Icing
You simply cannot skip sifting your powdered sugar if you want that glass-like finish. Seriously, don’t even try! Little lumps of sugar are your enemy here, and they will ruin the look of a perfect layer. Sifting ensures you get the ultra-fine texture required for a truly smooth shiny icing that looks professional right out of the bowl. Once you see how great it pipes, you’ll understand why I harp on this step so much!

Gathering Your Ingredients for the Best Royal Icing Recipe
Okay, let’s get our ingredients lined up! Because this is an ultra-reliable recipe, precision really matters here. Don’t panic, though; these are all common pantry staples. The most important thing you need to do first is sift that powdered sugar—yes, really, every time! I’ve found that having everything measured out before I turn the mixer on helps me keep my cool when things get busy.
Here is what you’ll need to make about four cups of this amazing icing:
- 4 cups powdered sugar, sifted
- 3 tablespoons meringue powder
- 1/2 teaspoon vanilla extract (or clear vanilla extract if you don’t want any tint!)
- 6 to 8 tablespoons warm water
That’s the whole list! See? It’s shockingly simple to get started on making your perfect batch of best royal icing recipe icing.
Step-by-Step: How to Make Royal Icing (Meringue Powder Royal Icing Recipe)
This is where the magic happens! Don’t walk away from the mixer during the whipping phase; that’s the secret sauce for making sure your icing sets up properly. We are making a base that is thick enough to start with, because it is so much easier to thin icing down than it is to thicken it up later. And remember, if you want that gorgeous, durable finish, you have to respect the whip time. This is what guarantees your decorations will have that ‘royal icing dries hard‘ quality! For more decorating ideas, check out this lovely royal icing guide.
- First things first, get your sifted powdered sugar and the meringue powder into a big mixing bowl. Give them a quick whisk outside the mixer so they are totally combined before you add any wet stuff.
- Next, pour in your vanilla extract and start with 6 tablespoons of warm water. You might not need more, but we want to be ready.
- Attach that whisk attachment and start mixing on the absolute lowest speed. We don’t want a sugar cloud explosion across the kitchen! Scrape down the sides really well once it starts happening.
- Now, crank that mixer up to medium-high, and this is important: let it whip for a full 5 to 7 minutes! Seriously, set a timer. This beating incorporates all the air that makes this homemade royal icing stable and firm.
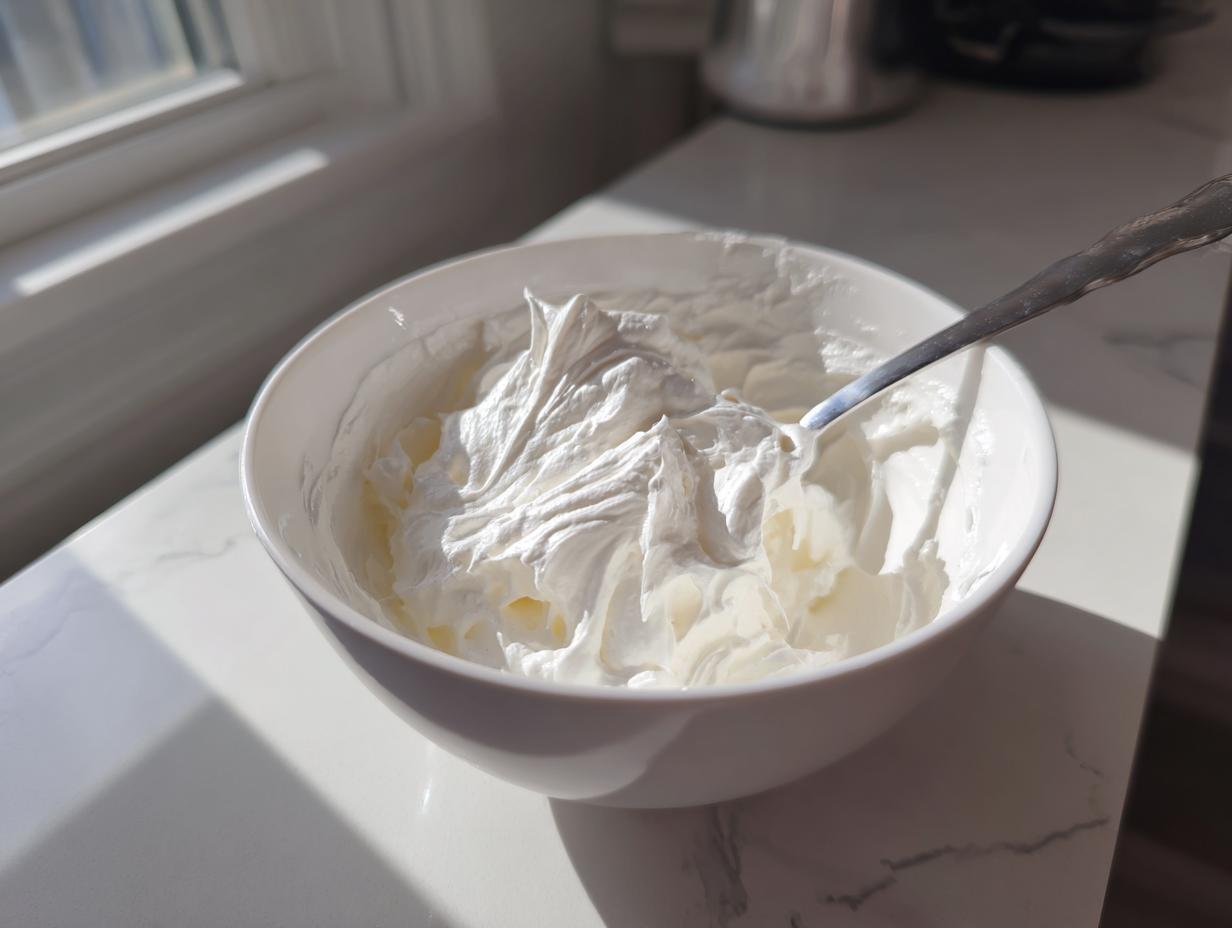
- Once it looks super smooth and thick, it’s time to check the consistency. This is the most crucial part of the whole royal icing recipe process for customizing your decorations.
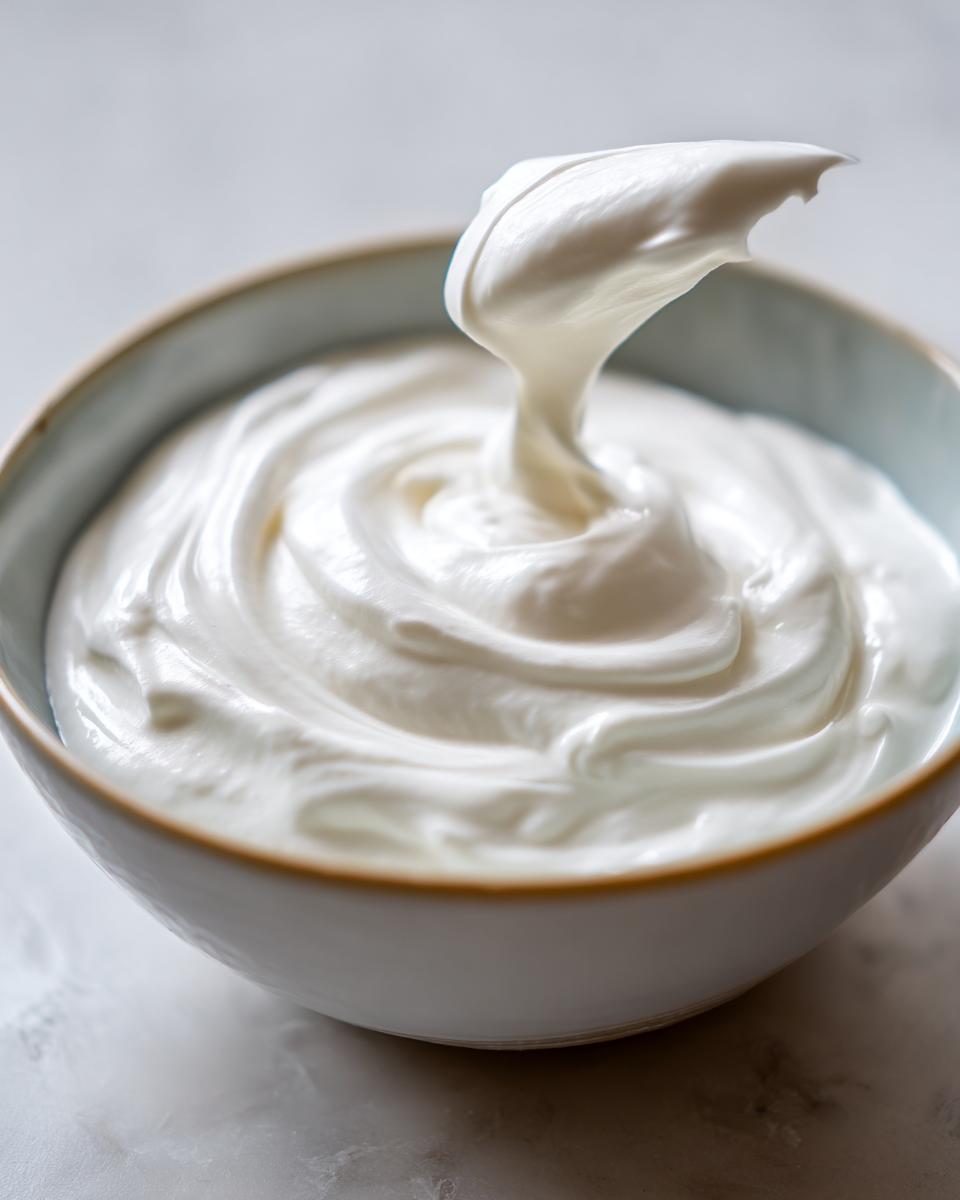
- If you are aiming for that beautiful outline work, you want it stiff enough to hold a peak when you lift the whisk. But if you’re going to flood a big area, you need a looser flood icing recipe. For flooding, you want it to fall off the whisk in a ribbon that slowly disappears back into the mass in about 10 seconds.
- If it’s too thick for flooding, just add water one single teaspoon at a time until you hit that perfect flow. Then, color everything using your gel food coloring until the color is perfectly even. Always cover the bowl with plastic wrap pressed right onto the surface so it doesn’t form a crust while you’re decorating cookies! I learned about using gel colors (instead of liquid) from my friend who runs a bakery; they don’t thin out the icing like liquid drops do. You can find some great buttercream tips on my site that mention similar mixing rules!
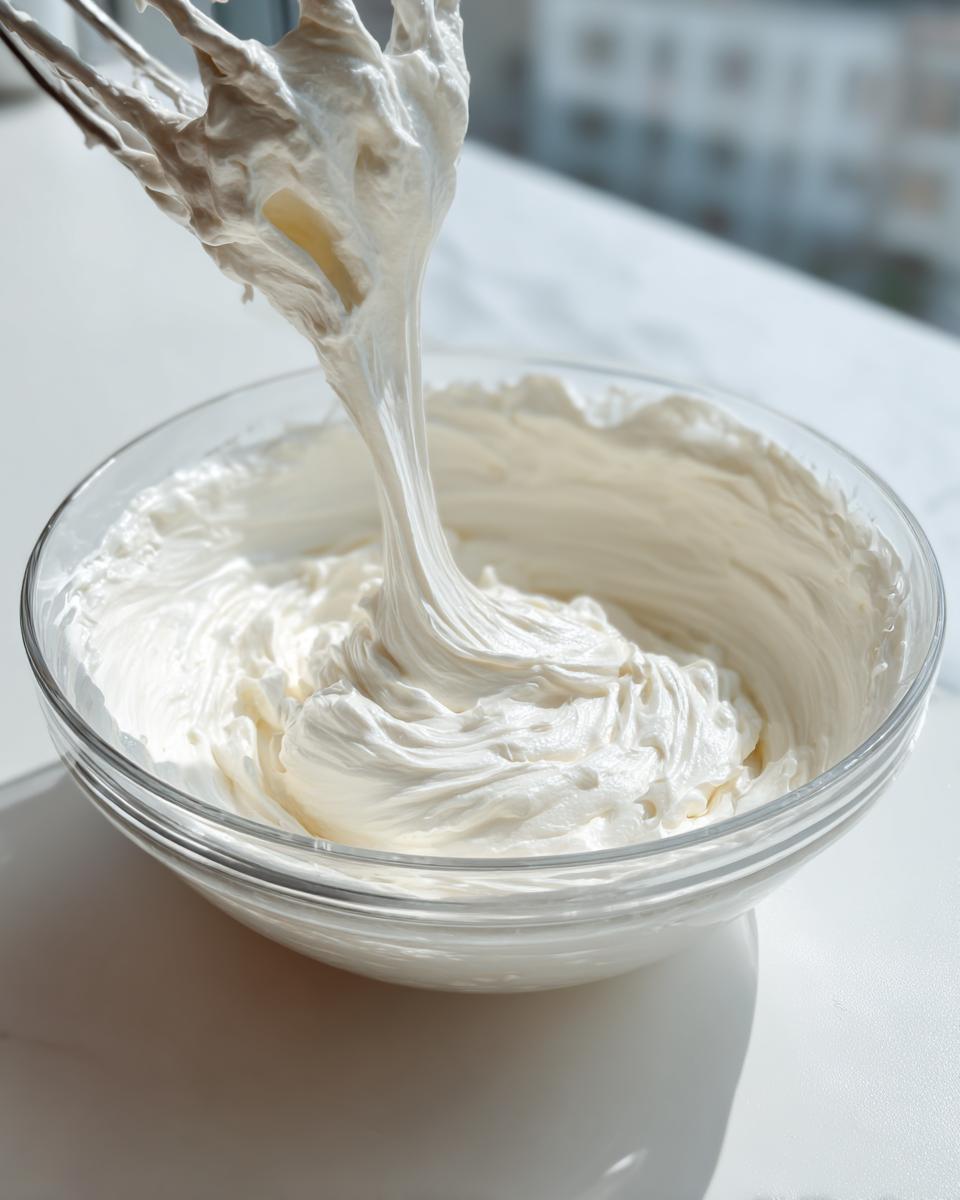
Mixing for Piping Consistency Icing
Getting that initial thick stage down is key if you plan on doing intricate line work or those neat borders. For true piping consistency icing, you are aiming for those stiff peaks that stand straight up when you pull the whisk away. If you want to know when it’s perfect for flooding, that’s when you lift the spatula and the icing drips off in what looks like a slow wave or ribbon. If that ribbon sinks back into the main bowl within 10 seconds, you’ve got yourself a lovely royal icing consistency for flooding. If it sinks right away, add a touch more sifted sugar!
Tips for Perfect Cookie Decorating Icing Consistency
This is where most folks get stuck, and honestly, I get it! Figuring out the right royal icing consistency feels like guesswork at first, but once you know the tricks, this beginner royal icing recipe becomes second nature. Remember what I said about adding water? If your icing is too stiff for outlining or flooding, you must add water a single drop or tiny teaspoon at a time. Don’t rush this part, or you’ll end up with soup!
Conversely, if your icing ends up too runny for those fine details (and it happens to everyone!), the quick fix is adding a bit more sifted powdered sugar, about a tablespoon at a time, mixing until it comes back up to the right stiffness. Another pro tip that made decorating so much easier for me was learning to exclusively use gel food coloring. Liquid drops can throw off your moisture balance, but gels give you vibrant color without changing that crucial texture you worked hard to achieve. For more inspiration on how to use this icing, you should check out my truffle recipe while you wait for your cookies to dry!
If you’re looking for a deeper dive into why certain recipes work better than others, this famous royal icing tutorial is fantastic!
Troubleshooting Common Issues with Your Royal Icing Recipe
Even with a foolproof royal icing recipe, sometimes the baking gods throw you a curveball! The most common issue I hear about is the icing starting to develop that dried-out, papery crust right in the bowl while you’re coloring or piping. That’s why I always stress keeping plastic wrap pressed on the surface! If it does crust over, don’t throw it out! Just scrape the crust off the top and beat the mixture up again; usually, a tiny splash of water helps revive it right away.
If your cookies look cracked after they dry, that usually means you didn’t whip it long enough, or maybe you added too much water after whipping. Also, watch out for high humidity days—they make drying so much harder! If they won’t dry, a great trick is to set them in front of a small fan for a couple of hours. That airflow helps set the surface beautifully.
Storage and Making Ahead with This Royal Icing Recipe
I love that this is such an easy royal icing because you can totally make it ahead of time for big cookie projects! If you have extra or didn’t use it all, just store any reserved icing in an airtight container at room temperature for up to a week. Super important note: never put royal icing in the fridge!
The cold air makes it absorb moisture and get all grainy, which is the opposite of the smooth texture we worked so hard for. If you find it has stiffened up a little bit after sitting out, don’t worry! Just stir in a few drops of water until you get that ribbon consistency back. It’s so forgiving, which is why I love it for busy weeks. For more on recipes you can prep early, check out my guide to make-ahead gravy!
Serving Suggestions for Icing for Decorated Cookies
So, you’ve mastered the royal icing recipe! Now what do you put this glamorous stuff on? My absolute favorite, hands down, is using this specifically as icing for decorated cookies, especially sturdy sugar cookies because they hold the icing’s weight beautifully. But don’t stop there! This icing is strong enough to add those sharp little details onto gingerbread houses, too. If you are looking for something soft and chewy to serve alongside your beautifully decorated creations, try my snickerdoodle recipe! You can even use a slightly thicker batch around the base of a small cake for a really clean, crisp border, like a true professional. If you need more decorating inspiration, this icing guide has wonderful ideas for piping!
Frequently Asked Questions About This Royal Icing Recipe
Can I use fresh egg whites instead of meringue powder for this royal icing recipe?
You absolutely can, but I highly recommend sticking to the meringue powder for the most reliable royal icing recipe, especially if you are a beginner! Egg whites require careful handling for food safety and often need extra sifting or straining to get that perfectly smooth shiny icing. Meringue powder is the secret ingredient for a consistent, easy royal icing batch every single time.
How long does this icing take to dry hard?
This icing starts setting up pretty quickly once you apply it, especially if you use piping consistency icing for outlines. For the icing to truly dry hard—hard enough to stack or gift—it usually takes a few hours at room temperature, depending on humidity. If you need it faster, just pop those decorated cookies in front of a fan; that speeds up the ‘royal icing dries hard‘ process wonderfully!
Can I make this recipe ahead of time for easy royal icing?
Yes, you certainly can make this ahead of time! That’s one of the perks of using this easy royal icing method. You can mix up a big batch like my apple crisp topping and store it airtight at room temperature for about a week. Just make sure you press plastic wrap right onto the surface before covering the bowl so it doesn’t dry out on you. If you are curious about using meringue powder in general, check out this reference from Healthy Little Peach!
What is the secret to making the flood icing recipe flow just right?
The key to a good flood icing recipe is patience with the water! After you’ve whipped it to that stiff peak stage, you slowly introduce water, one tiny teaspoon at a time, until it reaches that 10-second ribbon stage. Don’t eyeball it! A little too much water, and you’ve lost your structure for defining borders.
Share Your Royal Icing for Cookies Creations!
Now that you have the absolute royal icing recipe down pat, I want to see what you make! Seriously, tag me on social media when you use this icing for decorated cookies—I love seeing your designs. If this recipe saved your holiday baking session, please head over and leave a quick rating! Your feedback helps me know I’m giving you the best, most reliable recipes here on Devour Dish. If you ever have questions, feel free to reach out on my contact page, or read a little more about what we stand for on my About Page. Happy decorating!
PrintFoolproof Royal Icing Recipe: Smooth, Easy, and Dries Hard (With Meringue Powder)

You need a reliable recipe for royal icing that dries firm and hard, perfect for detailed cookie decorating like outlining and flooding. This easy recipe uses meringue powder for a smooth, stable finish every time you decorate cookies.
- Prep Time: 10 min
- Cook Time: 0 min
- Total Time: 10 min
- Yield: About 4 cups 1x
- Category: Baking
- Method: Mixing
- Cuisine: American
- Diet: Vegetarian
Ingredients
- 4 cups powdered sugar, sifted
- 3 tablespoons meringue powder
- 1/2 teaspoon vanilla extract (or clear vanilla extract)
- 6 to 8 tablespoons warm water
Instructions
- In a large bowl, combine the sifted powdered sugar and meringue powder. Whisk them together until fully mixed.
- Add the vanilla extract and 6 tablespoons of warm water to the dry ingredients.
- Using an electric mixer with a whisk attachment, start mixing on low speed until the ingredients are just combined. Scrape down the sides of the bowl.
- Increase the speed to medium-high and beat for 5 to 7 minutes until the icing is very smooth, thick, and holds stiff peaks. This whipping process incorporates air, which helps the icing dry hard.
- Check the consistency. If the icing is too thick for piping or flooding, add the remaining water, one teaspoon at a time, until you reach your desired texture.
- To achieve piping consistency for outlining, the icing should hold its shape when lifted. For flood consistency, it should flow slowly off a spoon in a ribbon that sinks back into the bowl after about 10 seconds.
- Color the icing using gel food coloring, mixing thoroughly until the color is uniform.
- Cover the bowl with plastic wrap, pressing the wrap directly onto the surface of the icing to prevent a crust from forming while you work.
- Use immediately for decorating cookies. The icing will dry firm and hard as it sits.
Notes
- For the smoothest, shiniest icing, sift your powdered sugar before measuring.
- If you need the icing to dry faster, you can place decorated cookies in front of a fan.
- Store unused icing in an airtight container at room temperature for up to one week; do not refrigerate.
- If your icing becomes too thick while decorating, simply stir in a few drops of water to restore the correct consistency.
Nutrition
- Serving Size: 1/4 cup
- Calories: 450
- Sugar: 110g
- Sodium: 5mg
- Fat: 0g
- Saturated Fat: 0g
- Unsaturated Fat: 0g
- Trans Fat: 0g
- Carbohydrates: 112g
- Fiber: 0g
- Protein: 1g
- Cholesterol: 0mg