
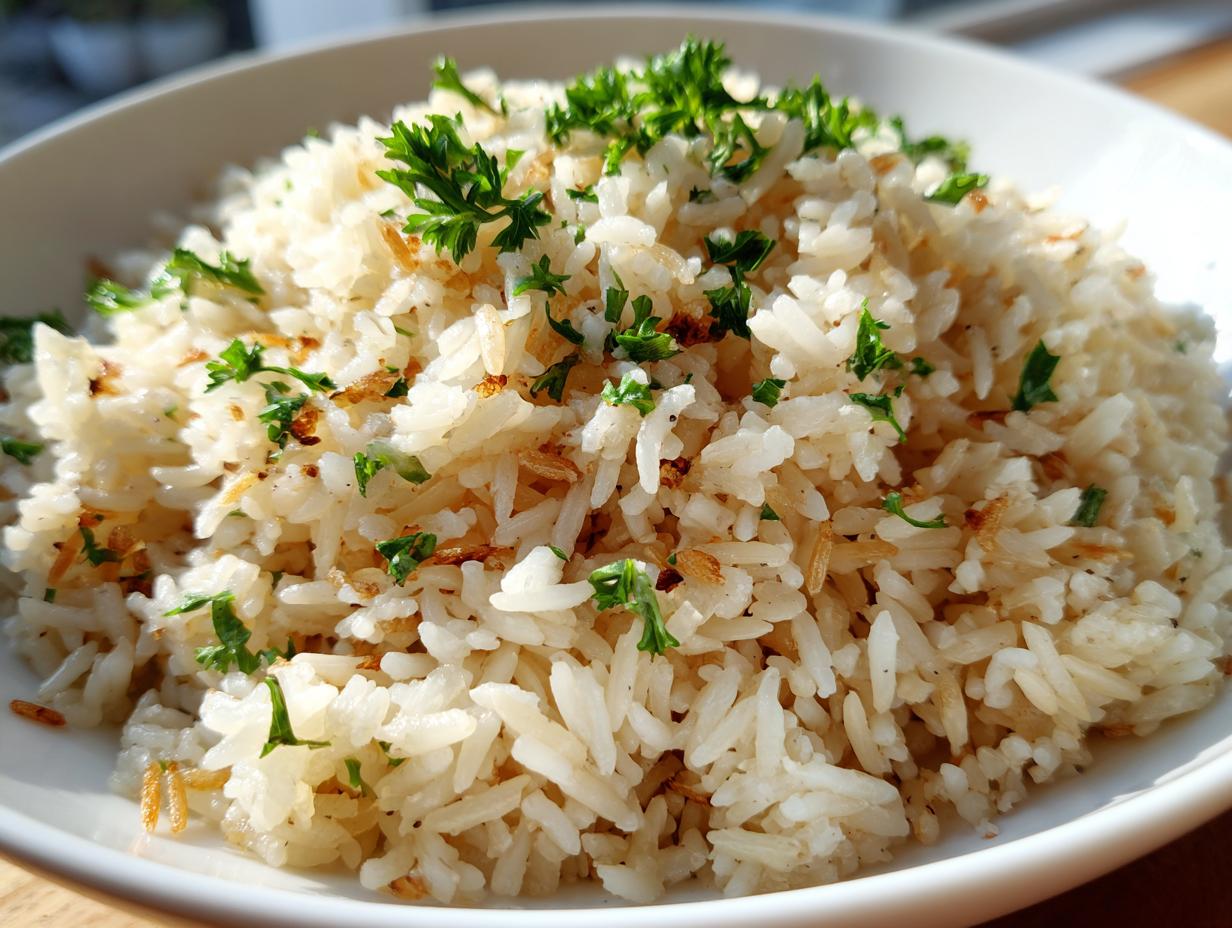
Oh, friend, I know the struggle. You want that perfect side dish—fluffy, fragrant, and totally delicious—but you’re staring down a pot of sticky, gummy rice clumps. It happens to the best of us! But here in my kitchen, we draw a hard line against sad rice. That’s why I want to share my absolute favorite rice pilaf recipe with you today. This formula isn’t about complicated techniques; it’s about simplicity and connection, just like everything else we cook here at Devour Dish. We use a few simple steps to ensure you get a flavorful, fluffy result every single time, turning this side dish into a reliable weeknight staple that everyone will clamor for. Trust me, once you master this savory rice, you won’t go back!
- Why This Is the Best Rice Pilaf Recipe for Weeknights
- Essential Ingredients for Your Homemade Rice Pilaf Tutorial
- How to Make Rice Pilaf from Scratch: Step-by-Step Instructions
- Tips for Success with Your Aromatic Rice Pilaf
- Making Your Rice Pilaf Recipe Versatile for Any Meal
- Storage and Reheating Instructions for Leftover Rice Pilaf
- Frequently Asked Questions About This Easy Rice Pilaf Recipe
- Estimated Nutritional Data for This Rice Pilaf Recipe
- Share Your Homemade Rice Pilaf Experience
Why This Is the Best Rice Pilaf Recipe for Weeknights
I promise you, this isn’t just another rice dish clogging up your feed—this is genuinely the best rice pilaf recipe when life gets busy. We developed this because I wanted a reliably flavorful and incredibly fluffy side dish that didn’t require me to stand over the stove the entire time. It’s simple, it’s honest, and it delivers that homemade feel even on a chaotic Tuesday. It’s all about smart technique, not complicated ingredients!
Quick Rice Side Dish for Dinner Ready in Under 35 Minutes
Seriously, you can’t beat the speed here. From the moment you start chopping to the final fluffy forkful, this entire savory rice recipe comes together in about 35 minutes total. That speed means you can skip the boring plain white rice on a quick rice side dish for dinner night, and wow everyone with something that tastes like you spent way more time on it. That’s my kind of weeknight magic!
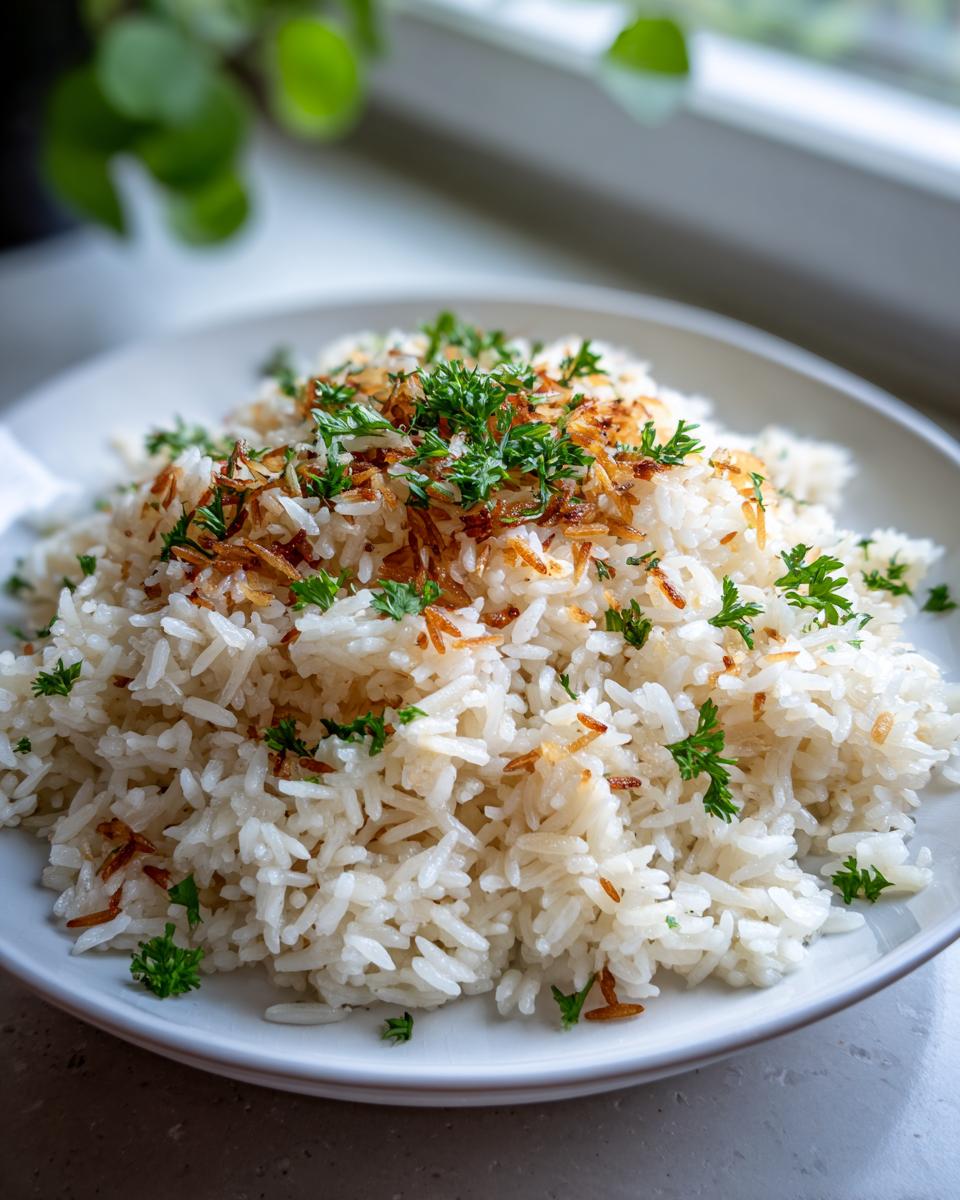
Achieving Fluffy Rice Side Dish Texture Every Time
The secret to avoiding that dreaded clumpy texture in your fluffy rice side dish is all in the prep work we do right upfront. You absolutely must rinse your long-grain rice until the water runs clear—that washes away the sticky excess starch. Then, we toast everything, including that little bit of orzo, coating every grain in fat before the liquid goes in. This simple act of toasting is key to keeping those grains separate and light, giving you that textbook fluffy texture.
Essential Ingredients for Your Homemade Rice Pilaf Tutorial
Making this homemade rice pilaf tutorial work perfectly hinges on using the right players and prepping them correctly. When I’m making my go-to savory rice recipe, I don’t mess around with shortcuts on the prep work. Every single component, from the onion to the rice itself, matters if you want that authentic, fluffy result!
Aromatic Base for Your Savory Rice Recipe
We start building flavor immediately with the fats and aromatics that create that wonderful aromatic rice pilaf scent. You need one tablespoon of olive oil mixed with a tablespoon of real unsalted butter. That butter is what gives us that lovely, rich, buttery rice side flavor once everything is cooked down. You’ll also need one small yellow onion, chopped finely—no big chunks here!—and two minced cloves of garlic. We sauté these low and slow until the onion is sweet and soft; that’s where the foundation of taste is laid.
Selecting the Right Rice and Broth for This Rice Pilaf Recipe
For this rice pilaf recipe, I insist on long-grain white rice. It has lower starch content than medium grain, which is exactly what we need to achieve that light, separate texture. Make sure you rinse it really well until the water looks clear! For liquids, you’ll use 2 1/2 cups of chicken broth—or vegetable broth if you’re keeping it vegetarian. Using a high-quality broth is key to learning how to make rice pilaf from scratch that tastes homemade, not like it came out of a box mix!
How to Make Rice Pilaf from Scratch: Step-by-Step Instructions
Okay, now for the fun part! This is where we turn simple ingredients into that incredible, foolproof, homemade rice pilaf tutorial you’ve been dreaming of. Look, the beauty of this recipe is that once we get things going, we walk away! No helicopter parenting your grains here. If you’ve ever worried about making rice, this method is designed to give you confidence. We’re going to break down the toasting and simmering steps so you get it right every time, just like the perfect rice pilaf everyone raves about.
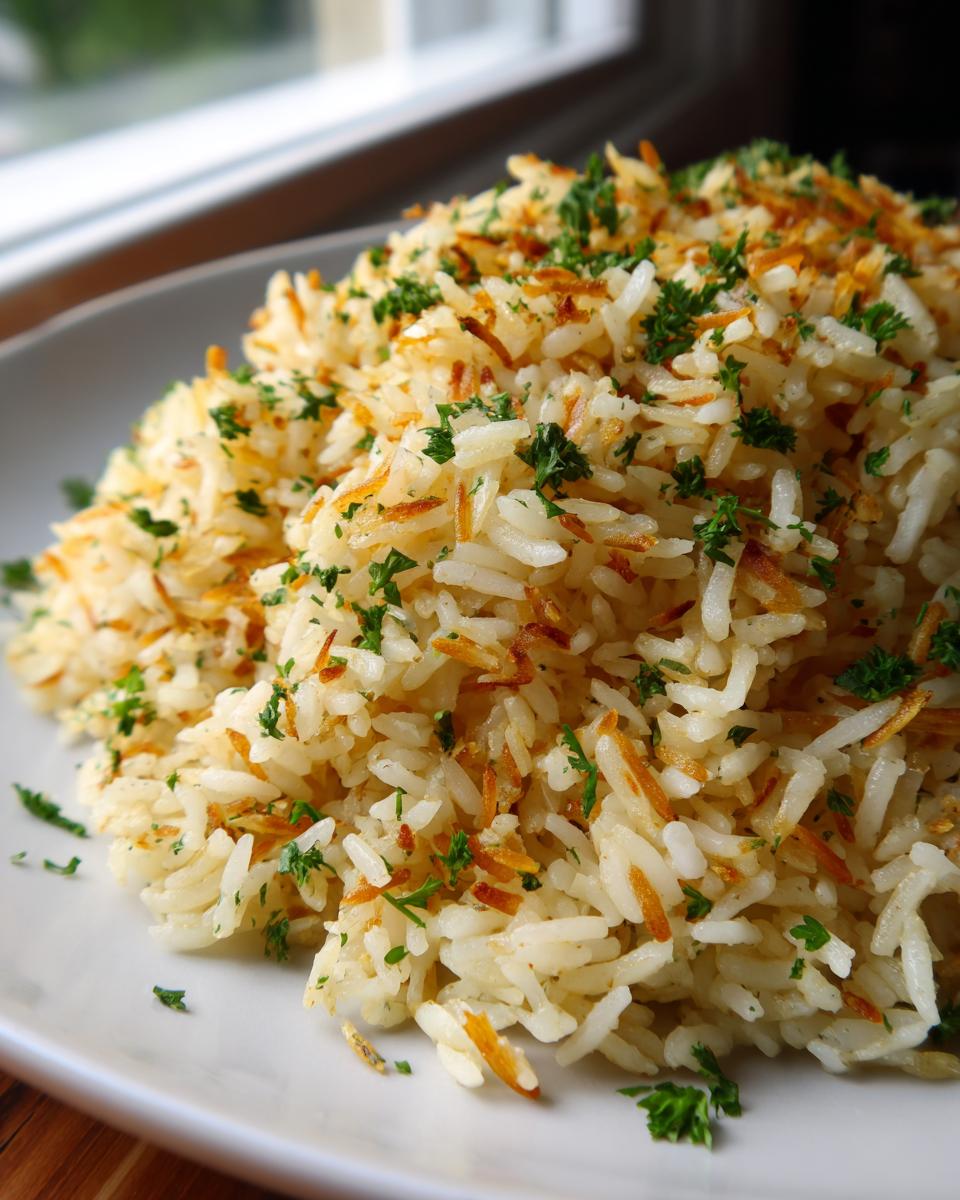
Toasting the Orzo and Aromatics for Depth of Flavor
First things first: grab your medium saucepan and get that oil and butter warming up over medium heat. Now, this is where we build the texture that makes this a true toasted rice side dish success. Toss in the 1/2 cup of orzo pasta. You have to stand right there and stir it constantly for maybe three to five minutes until it turns a gorgeous, nutty golden brown. Don’t walk away, because burned orzo tastes bitter, and we want flavor, not regret! Once it’s golden, toss in your finely chopped onion and cook until it gets soft—that takes about four minutes. Then add the garlic for just sixty seconds until you can really smell it.
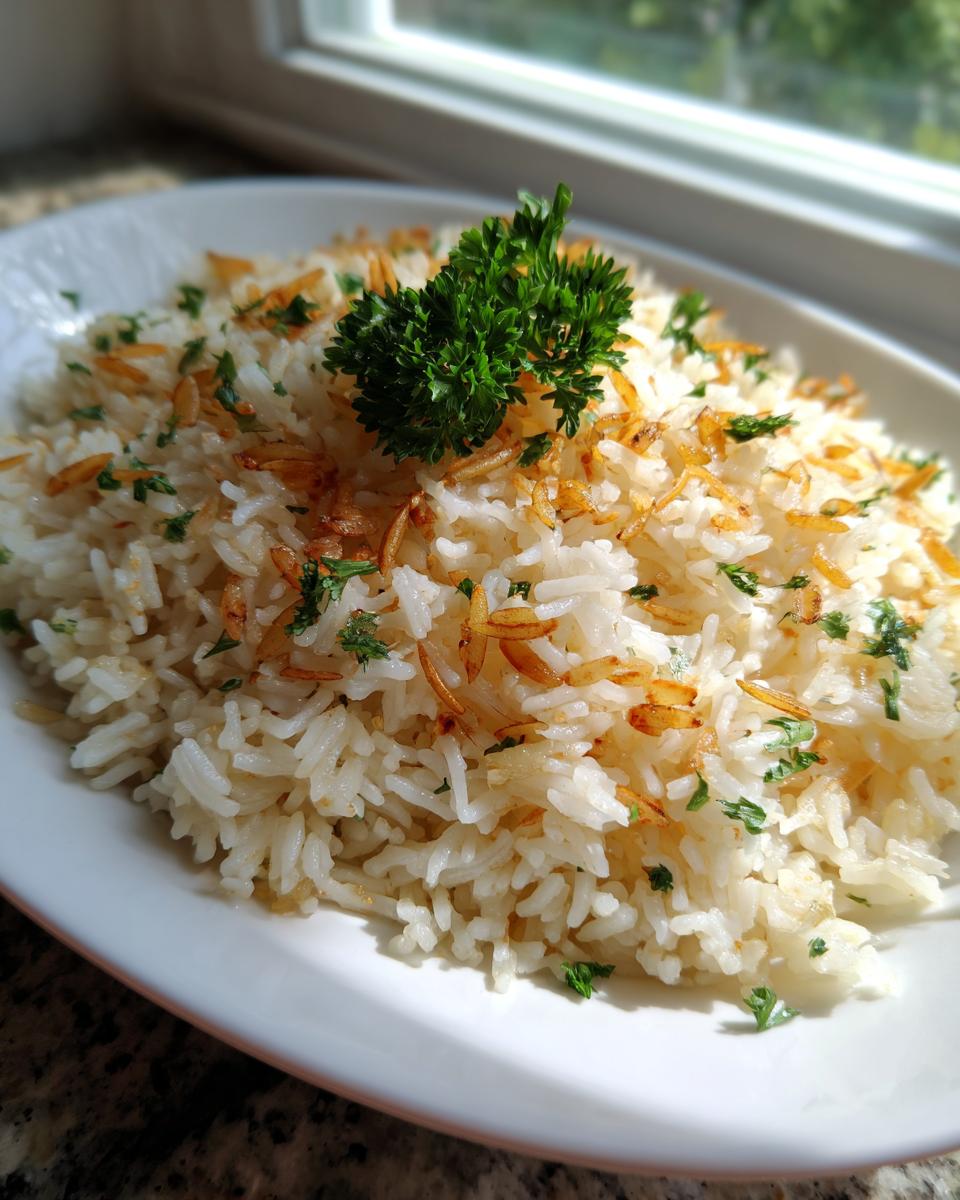
Simmering and Resting: The Secret to a Fluffy Rice Side Dish
Now that everything smells amazing, dump in your rinsed rice. You want to stir it hard for two full minutes, making sure every single grain gets coated in that flavorful fat. This coating step is vital for a fluffy rice side dish! Pour in your broth, salt, and pepper, and get it boiling. The second it boils, drop that heat down to the absolute lowest setting you have, cover it TIGHTLY, and simmer for exactly 15 minutes. You must resist the urge to peek, okay? After 15 minutes, turn the heat off completely. The absolute final, non-negotiable step is to let it rest, still covered, for an extra 10 minutes. This trapped steam does the final cooking and firms up those grains. After that rest, fluff it with a fork and you’re done! Don’t forget to make great soup while you wait! This soup is fantastic next to pilaf.
Tips for Success with Your Aromatic Rice Pilaf
Even a simple, great aromatic rice pilaf benefits from knowing a few insider tricks! I’ve gathered the best things I learned testing this recipe over and over again to make sure you get that incredible flavor boost every time. Don’t worry about substitutions; we can work with what you have on hand!
For starters, if you want to make this dish truly decadent, ditch the standard chicken broth just once and try using rich beef consommé instead. Wow, that deepens the flavor instantly! Also, sometimes I run out of orzo, and that’s okay! You can absolutely swap it out for vermicelli noodles; just toast them the exact same way you would the orzo—watch them closely, they cook fast. You can check out another great pilaf idea over here—the spirit is the same! See how they handle their onions!
When you’re ready to customize this versatile rice recipe, try stirring in about half a cup of frozen peas or some finely diced carrots during the last five minutes of simmering. They’ll steam right through from the residual heat. If you want a creamy soup to pair with your pilaf, try this creamy tortellini soup recipe next time!
Making Your Rice Pilaf Recipe Versatile for Any Meal
One of the best things about this versatile rice recipe is how easily it adapts. It’s not just some boring side dish you pull out once a year; this can truly be a foundation for so many different meals throughout your whole week! I love planning my meals around simple, flavorful sides like this, which is why I always have these ideas tucked away for those nights when I need something quick but satisfying for Sunday dinner ideas.
If you are looking to turn this into a main event? Easy! You can stir in shredded rotisserie chicken or some cooked white beans during that final resting period. That way, they warm through completely without getting tough. For spices, if you want to take it in a completely different direction, try adding a pinch of smoked paprika or a tiny dash of ground cumin when you add the salt and pepper—it totally changes the vibe!
Herbs are another great way to customize. While parsley is my favorite garnish for that fresh pop, try swapping it out for fresh dill or even some chopped mint if you’re pairing this with grilled fish. See how adaptable this is? You can check out some other flexible meal ideas here for inspiration, too! This resource covers tons of mix-and-match concepts.
Storage and Reheating Instructions for Leftover Rice Pilaf
I always make a bigger batch than needed on purpose because this easy rice pilaf recipe tastes just as good, if not better, the next day! If you do have leftovers from your rice pilaf recipe, proper storage is key to keeping that fluffy texture intact. Don’t just let it sit on the counter, though—we want this savory side dish to last!
To store it, make sure the rice has cooled down a bit first—don’t seal up hot food in a container, that creates steam that makes things mushy. Then, pack it into a proper airtight container. We try to eat leftovers within three to four days, but it keeps fine in the fridge even a little longer than that. Don’t leave it sitting out! Seriously, food safety first, always.
Now, reheating is important if you want to keep that light, fluffy texture we worked so hard for! If you’re using the microwave, take out the amount you want to eat and put it in a microwave-safe bowl. The trick I swear by is adding just a tiny splash of water or a teaspoon of broth right over the top of the portion. Cover that bowl loosely with a damp paper towel. That little bit of added moisture steams perfectly while reheating, bringing the rice grains back to life! Heat it in short bursts until it’s piping hot all the way through. You won’t believe how close it tastes to freshly made!
Frequently Asked Questions About This Easy Rice Pilaf Recipe
Even though I think this easy rice pilaf recipe is pretty foolproof, I always get the same handful of questions when I post it! It’s totally normal when you’re learning how to make rice pilaf from scratch. Here are the things I hear most often about getting the texture and flavor just right for your next quick rice side dish for dinner.
Can I use Basmati or Jasmine rice instead of long-grain white rice in this rice pilaf recipe?
You absolutely can, but you’ll see a slight difference! Long-grain white rice is the best for that separated, fluffy texture because it stays firmer. Basmati and Jasmine rice are a little softer and starchier, so they might cook up slightly stickier or clump together a tiny bit more, even with the rinsing and toasting we do. They will still taste amazing, though, just slightly less “pilaf-y” in texture!
How do I ensure this quick rice side dish remains savory?
If you find your quick rice side dish isn’t quite savory enough for your taste, the first place to look is your broth. If you use plain water or a very low-sodium broth, you need to compensate! Always season with salt and pepper to taste, especially after the simmering time is over. Also, don’t skimp on actually toasting the onion and garlic; that caramelized flavor is what keeps this dish delightfully savory and far from bland!
If you have other questions at all, please don’t hesitate to reach out to me over at the contact page anytime. Happy cooking!
Estimated Nutritional Data for This Rice Pilaf Recipe
You know me—I love baking and cooking balanced meals, and while this rice pilaf recipe is incredibly delicious, it’s helpful to know what we’re working with! Here is the estimated nutritional breakdown for a single serving based on the ingredients listed. We keep things simple here, focusing on real food, but numbers always change based on what’s in your pantry.
Remember, these figures are just estimates, so your actual values might shift a little depending on the brand of butter or how salty your chicken broth happens to be. It’s more important that you love the food, but it’s still good to check! We made this recipe to be a flavorful, buttery rice side that fits into a balanced dinner plan.
- Serving Size: 1 cup cooked
- Calories: 320
- Fat: 7g
- Saturated Fat: 2g
- Cholesterol: 5mg
- Sodium: 450mg (This is the big variable! Use low-sodium broth to control this.)
- Carbohydrates: 57g
- Fiber: 1g
- Sugar: 1g
- Protein: 7g
See? Not too heavy, especially for a savory side dish. If you’re cutting back on sodium, just make sure you are grabbing that low-sodium broth option! It makes a huge difference in the final tally for this easy rice pilaf recipe.
Share Your Homemade Rice Pilaf Experience
Okay, now that you’ve made your first batch of truly homemade, fluffy rice pilaf, I really, really want to hear about it! Cooking shouldn’t ever be a lonely activity, and sharing what worked for you helps everyone else who is learning how to make rice pilaf from scratch. Did you stick with the toasted orzo, or did you try vermicelli instead?
Please take a moment to rate this rice pilaf recipe right here on the page! Five stars is always what I’m hoping for, but honest feedback is what helps me keep improving these simple recipes for your busy life.
If you added mushrooms or maybe tried swapping the parsley for cilantro, tell me about it in the comments section below! I live to hear about the little customizations you all come up with for this versatile rice recipe.
And if you felt proud of how fluffy that fluffy rice side dish turned out, please consider sharing a link to this recipe on your favorite social platform. It helps other home cooks find these straightforward, delicious meals like this one every time!
Thank you so much for cooking with me today. Happy eating!
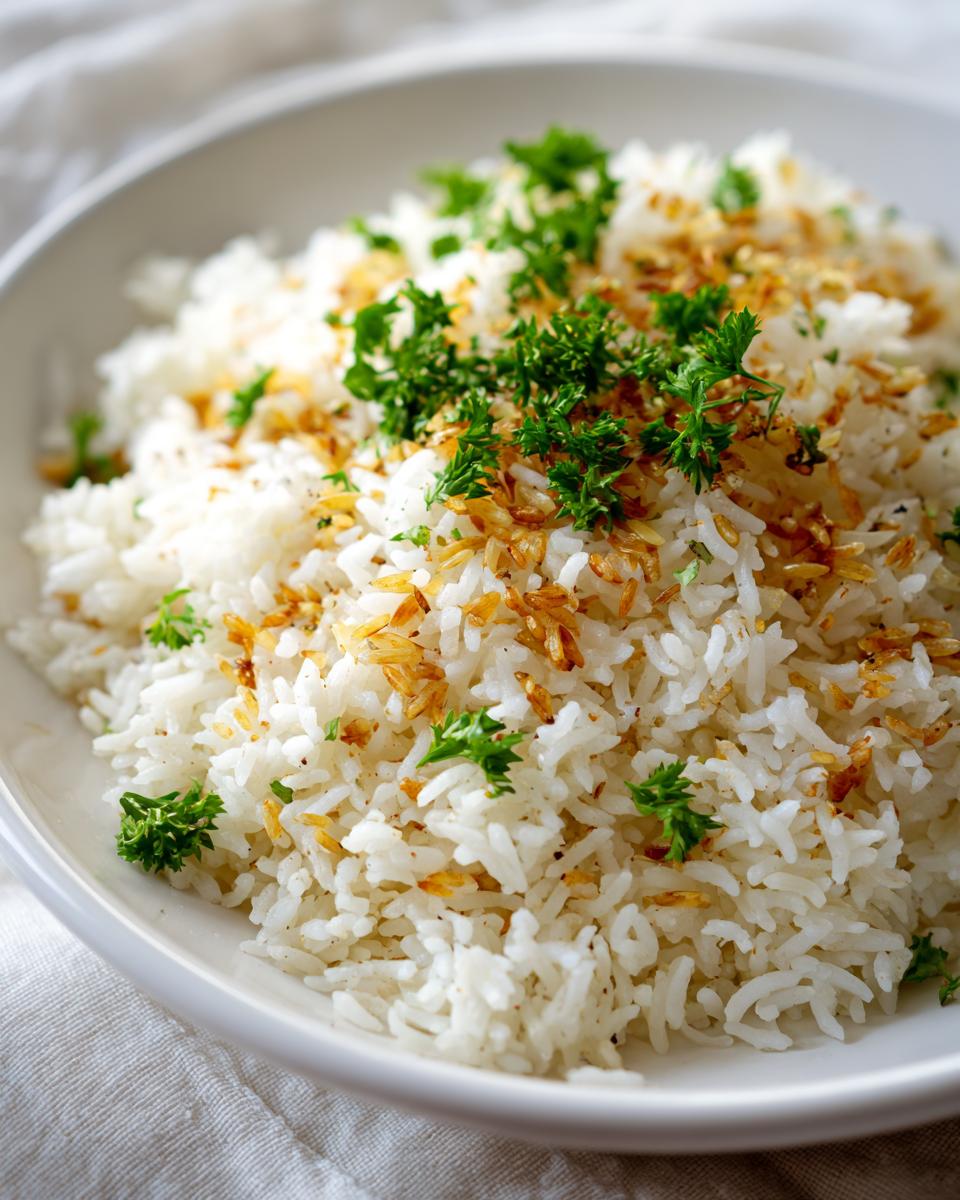
PrintEasy Homemade Fluffy Rice Pilaf with Toasted Orzo

Make a flavorful and fluffy rice pilaf side dish quickly using toasted orzo, aromatics, and broth. This recipe is simple for weeknight dinners.
- Prep Time: 10 min
- Cook Time: 25 min
- Total Time: 35 min
- Yield: 4 servings 1x
- Category: Side Dish
- Method: Stovetop Simmering
- Cuisine: American
- Diet: Vegetarian
Ingredients
- 1 tablespoon olive oil
- 1 tablespoon unsalted butter
- 1/2 cup orzo pasta
- 1 small yellow onion, finely chopped
- 2 cloves garlic, minced
- 1 1/2 cups long-grain white rice, rinsed
- 2 1/2 cups chicken broth (or vegetable broth)
- 1/2 teaspoon salt
- 1/4 teaspoon black pepper
- 2 tablespoons fresh parsley, chopped (for garnish)
Instructions
- Heat the olive oil and butter in a medium saucepan over medium heat.
- Add the orzo pasta to the pan. Toast the orzo, stirring frequently, until it turns golden brown, about 3 to 5 minutes. Watch carefully to prevent burning.
- Add the chopped onion to the pan and cook until softened, about 4 minutes.
- Add the minced garlic and cook for 1 minute until fragrant.
- Add the rinsed rice to the pan. Stir constantly for 2 minutes to coat the grains in fat and lightly toast them. This step helps keep the rice fluffy.
- Pour in the chicken broth, salt, and pepper. Bring the mixture to a boil.
- Once boiling, immediately reduce the heat to the lowest setting, cover the saucepan tightly with a lid, and simmer for 15 minutes without lifting the lid.
- Remove the pan from the heat and let it stand, covered, for an additional 10 minutes. Do not remove the lid during this resting time.
- Fluff the rice gently with a fork. Garnish with fresh parsley before serving.
Notes
- For a richer flavor, use beef consommé instead of chicken broth.
- You can substitute the orzo with vermicelli noodles if desired, toasting them the same way.
- To customize this versatile rice recipe, stir in 1/2 cup of frozen peas or diced carrots during the last 5 minutes of simmering.
Nutrition
- Serving Size: 1 cup cooked
- Calories: 320
- Sugar: 1
- Sodium: 450
- Fat: 7
- Saturated Fat: 2
- Unsaturated Fat: 5
- Trans Fat: 0
- Carbohydrates: 57
- Fiber: 1
- Protein: 7
- Cholesterol: 5