

If you are looking for the absolute showstopper dessert that disappears instantly at every party, look no further! I’m Avery, and I promise you the secret to making truly perfect red velvet cake pops is right here. We often associate impressive desserts with being complicated, but that’s just not my style here at Devour Dish. I’m showing you exactly how to get *ULTRA MOIST* cake pops with that incredible secret splash of cream cheese right in the middle. Trust me; these decadent, bite-sized treats are so reliable, you’ll make them for every celebration.
- Why This is the Best red velvet cake pops recipe
- Gathering Ingredients for Your red velvet cake pops
- Step-by-Step Instructions: How to Make red velvet cake pops
- Expert Tips for Perfect red velvet cake pops Every Time
- Storage and Make-Ahead for Your Festive red velvet treats
- Fun Variations for red velvet cake pops
- Serving Suggestions for bite sized red velvet treats
- Frequently Asked Questions about red velvet cake pops
- Nutritional Estimates for Your Decadent red velvet snacks
- Share Your Homemade Cake Pops Creations
Why This is the Best red velvet cake pops recipe
I know there are a million cake pop recipes out there, but honestly, mine is the keeper. You need something that holds together beautifully but still tastes like eating a piece of actual cake, right? That’s what we deliver here.
- We guarantee that signature ultra-moist texture—no more sad, dry balls!
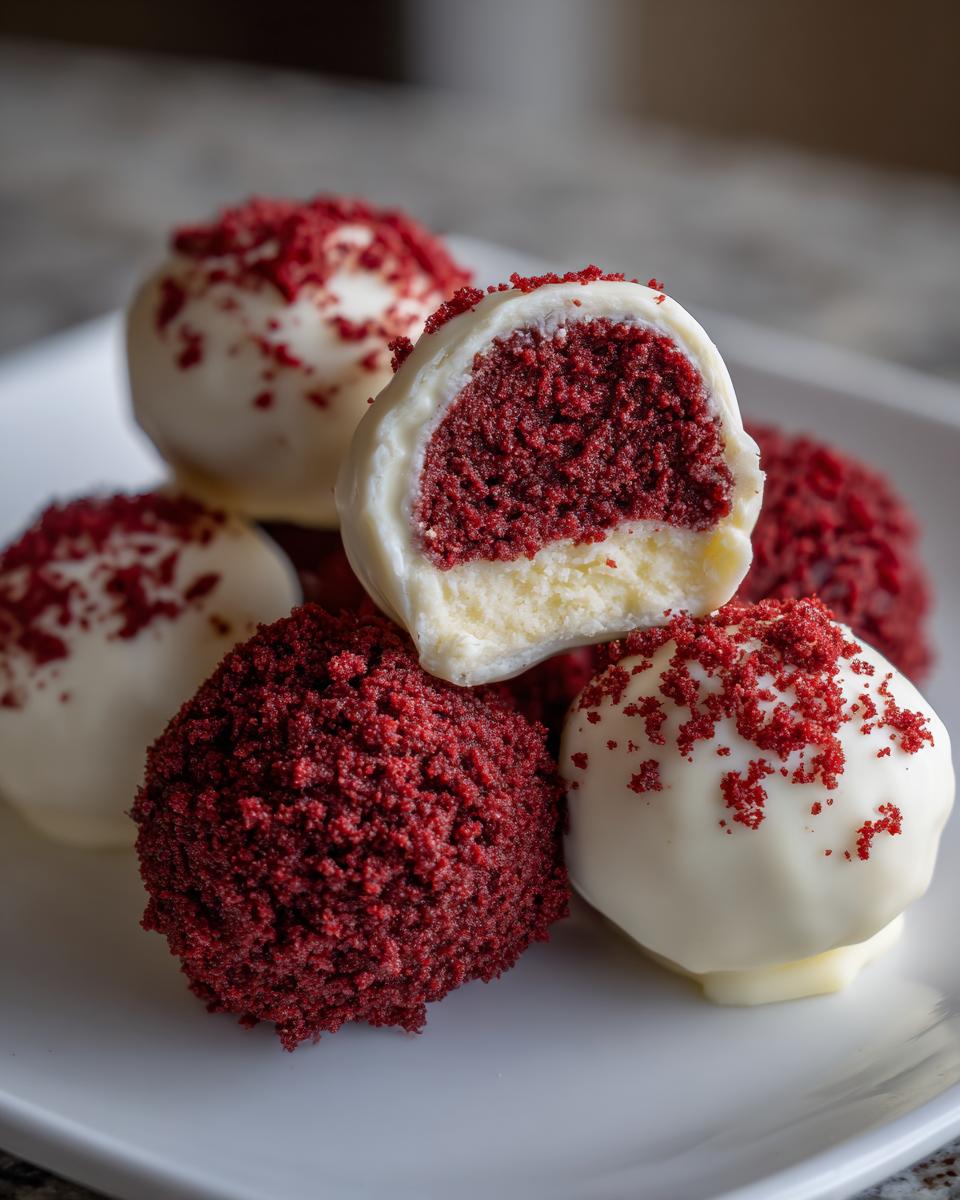
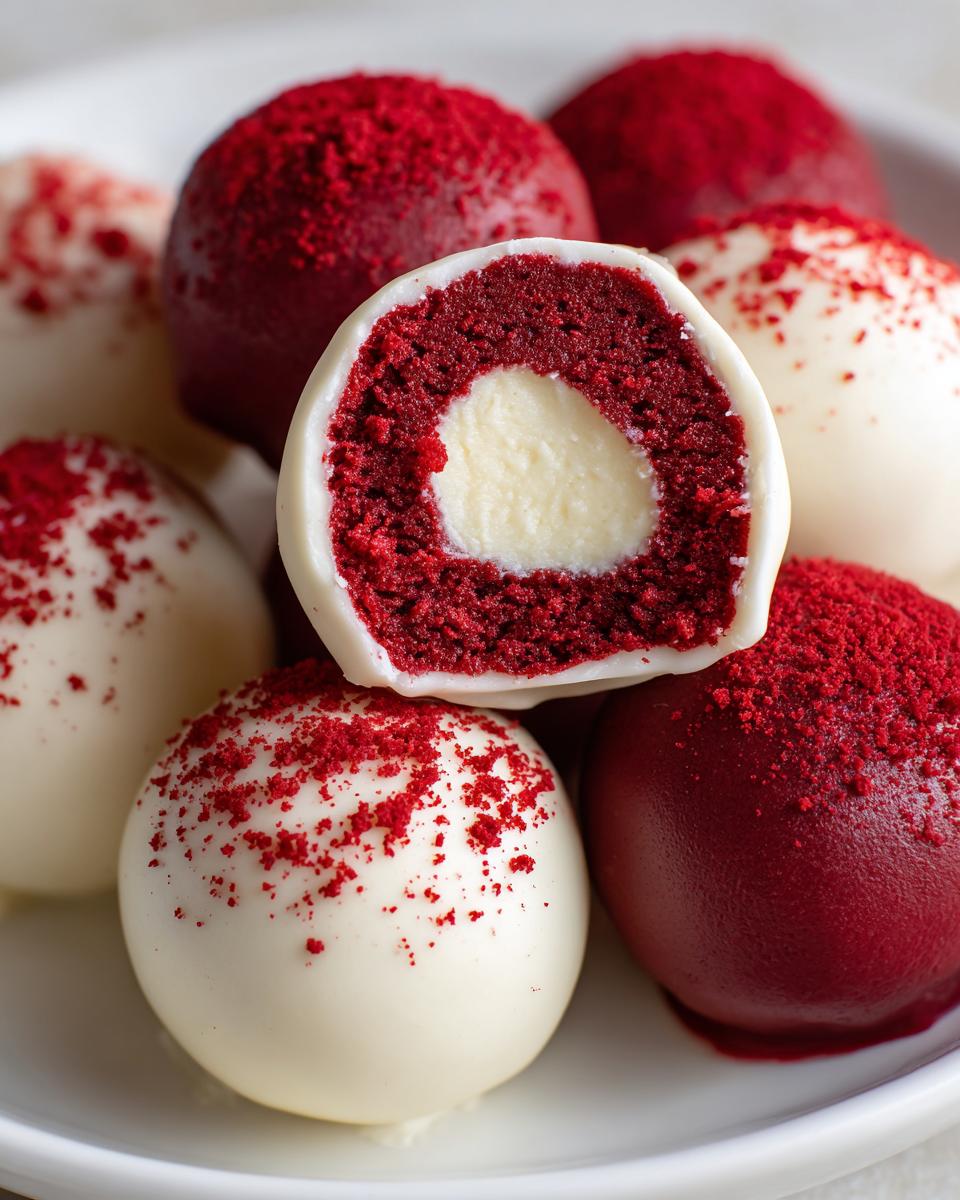
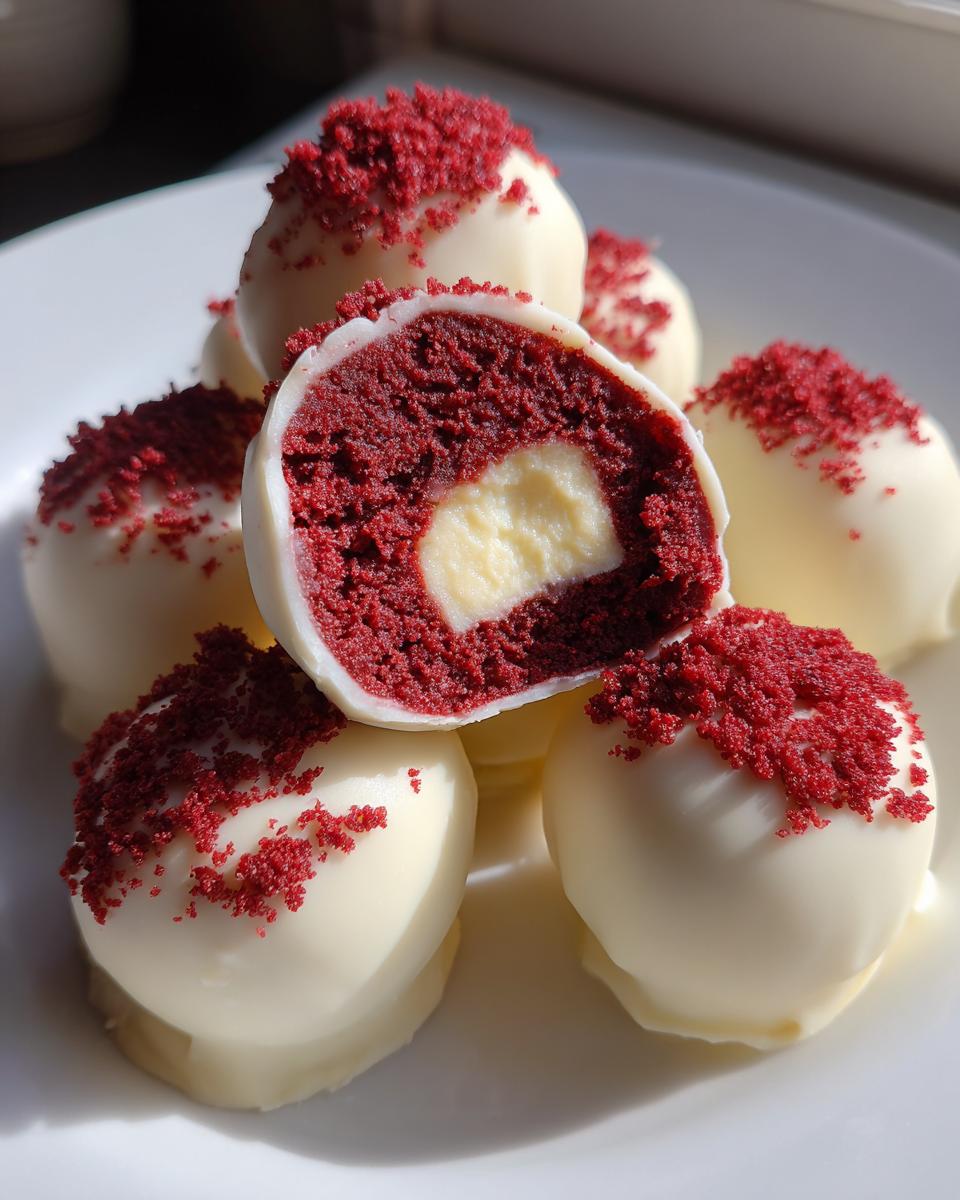
- We include the surprise, creamy cream cheese center that elevates these beyond standard cake balls.
- The steps are totally straightforward, making these **cake pops for parties** totally manageable, even if you’re intimidated by dipping.
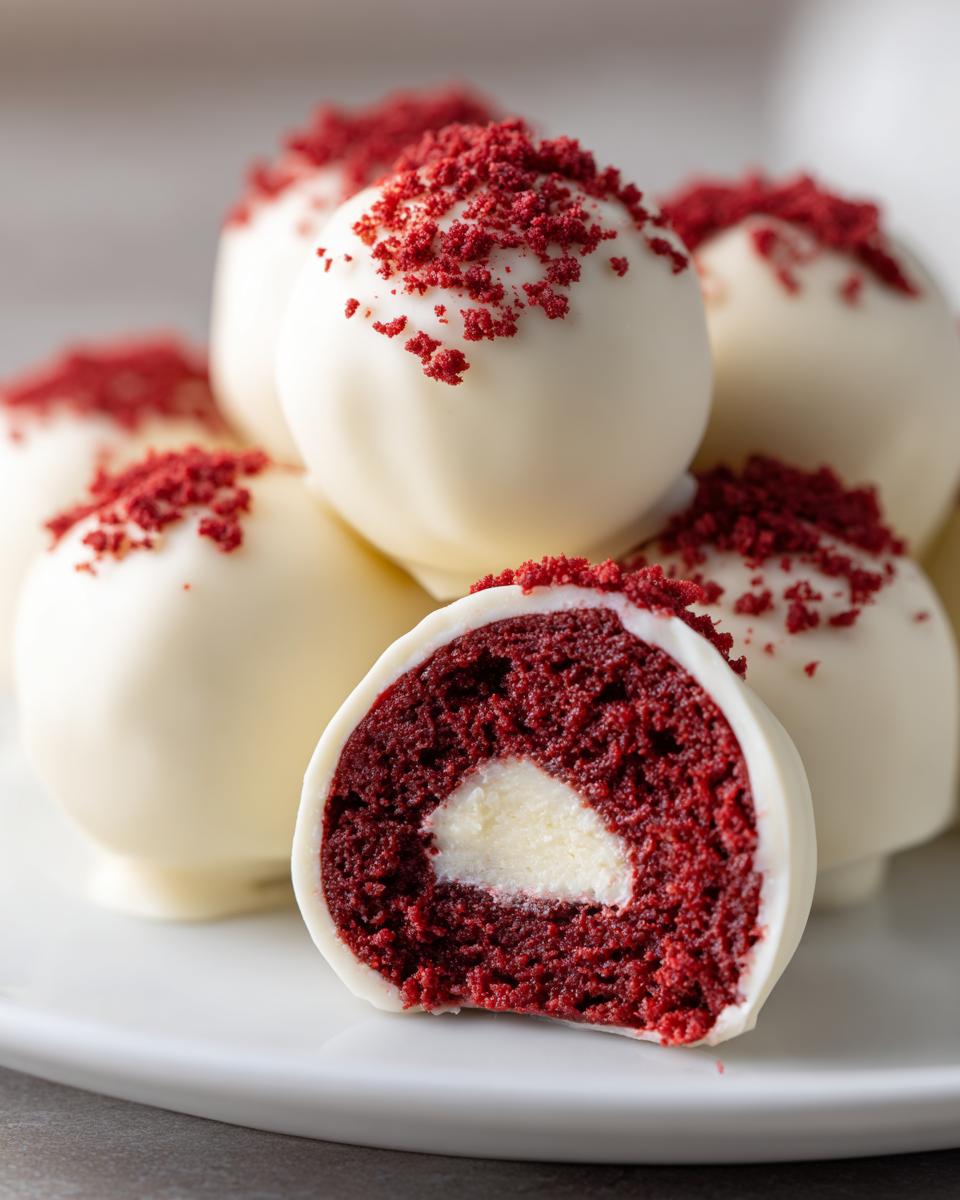
- This recipe consistently produces vibrant red, adorable **bite sized red velvet treats**.
Key Features for Moist red velvet cake pops
The secret to avoiding crumble heaven (which is just a fancy way of saying they fall apart!) comes down to two things: the right amount of binder and crucial chilling time. We don’t just mix frosting in—we use just enough to make the crumbs stick, which prevents over-moistening. Then, those two hours in the fridge make the balls rock-solid, which is the *magic* step before dipping them in warm, smooth chocolate.
Gathering Ingredients for Your red velvet cake pops
Okay, let’s grab everything we need! Even though these are from scratch in terms of assembly, I totally let the cake mix do the heavy lifting here for simplicity; it gives us that perfect starting texture. When you look at the list, just remember we’re making three distinct things: the cake part, the little frosting surprise for the middle, and the shiny chocolate shell. Gather them all up before you start; it makes the process fly by!
For the Red Velvet Cake Base
You’ll need the basic ingredients listed on the box, plus the actual mix itself. We bake this in a 9×13 pan because it cools faster and gives us the best volume for crumbling later.
- 1 box (15.25 oz) red velvet cake mix (or all the stuff you need for a homemade cake!)
- Eggs, oil, and water—all according to the back of the cake mix box.
For the Cream Cheese Frosting Center
This is where that tangy goodness comes from! Make sure your cream cheese is actually soft, not cold straight from the fridge, or you’ll never get it smooth.
- 1 cup cream cheese, really softened
- 2 cups powdered sugar, make sure you sift this!
- 1 teaspoon vanilla extract
- 1/4 teaspoon salt
- 1 cup heavy cream (we might use this later just to thin it down a touch if needed.)
For the Chocolate Coating and Dipping
You have to use good melting wafers here; bar chocolate gets weirdly granular. Getting the extra fat in there is non-negotiable for that super smooth, crack-free dip!
- 12 ounces white chocolate melting wafers
- 1 tablespoon coconut oil or shortening (this is our secret weapon for perfect flow!)
- Optional: Red or white sprinkles for decoration—go wild!
Step-by-Step Instructions: How to Make red velvet cake pops
Alright, let’s get into the fun part! This process is seriously systematic, which is why I love it so much. We move from baked cake to chilled, perfect little spheres ready for their chocolate makeover. Don’t rush that chilling, though; that’s the make-or-break moment for getting these amazing homemade cake pops to behave!
Baking and Creating Cake Crumbs
First things first, bake that red velvet cake using the box directions, but please use a 9×13 pan. It lets the heat distribute evenly, and the cake bakes faster. Once it’s out of the oven, you absolutely must let it cool completely—I mean stone cold. If you try to crumble warm cake, you’ll just get mush! Once cool, dump it into a huge bowl and use your hands to break it down until it’s fine crumbs. No big chunks allowed!
Preparing the Cream Cheese Filling and Mixing
While that cake is cooling, whip up your cream cheese binder—it needs to be super smooth so you don’t get lumps when you roll. Now, add about three-quarters of that delicious frosting to your cake crumbs. You’re going to mix this until it feels like playdough—firm enough to hold a ball without squishing out everywhere. This is important for the next step: take a tiny spoonful of the *reserved* frosting and gently push it right into the center of your 1-inch cake ball, sealing it in quickly. Roll it smooth again. This creates that gorgeous surprise filling many people online search for, similar to how we handle the filling in my no bake pumpkin cheesecake!
Chilling and Dipping Your red velvet cake pops
Once all your wonderful red velvet cake pops are rolled, line up your tray and get them into the fridge. Seriously, two hours minimum—I usually leave mine overnight! They need to be icy cold for dipping. While they chill, melt your white chocolate wafers with that tiny bit of coconut oil in short bursts in the microwave, stirring well each time until it’s liquid silk. Dip each stick-poked cake pop, letting the excess drip off with a gentle tap. Hurry up and sprinkle your decorations on while the chocolate is wet, then stand them up in a block of Styrofoam to set completely before serving.
Expert Tips for Perfect red velvet cake pops Every Time
Making great red velvet cake pops isn’t just about following steps; it’s about mastering the timing secrets! The biggest thing I learned is that temperature is everything, especially when you start dipping. You want those cake balls frozen solid—not just cold—to prevent them from warming up too fast when they hit the melted chocolate. A warm ball equals disaster!
Also, always work in small batches when dipping. If your chocolate coating starts looking thick or dull, you have to reheat it immediately. If you carry on with thick chocolate, it won’t coat nicely, and you’ll end up fighting with it. For more inspiration on gorgeous finishes, check out this piece on irresistible red velvet cake pops for decoration ideas.
Troubleshooting: Why Are My red velvet cake pops Cracking?
If those beautiful red shells start spider-webbing right after dipping, you have temperature shock! It means your chilled cake ball was too cold, and the warm chocolate shell instantly contracted too quickly. The fix? Let the balls sit out for maybe 15 minutes after chilling—just long enough so they aren’t freezing to the touch. Also, make sure you add that coconut oil or shortening; it keeps the coating fluid longer so it smooths out nicely instead of clinging too tightly when it sets.
Storage and Make-Ahead for Your Festive red velvet treats
I know preparing for a party or holiday gathering means you need a solid game plan, so let’s talk about making these ahead! The great news is that the plain cake balls—those little, un-dipped beauties—are perfect for freezing. Just pop them on a cookie sheet and freeze them solid before transferring them to a secure container. They last ages this way!
For the finished, chocolate-dipped red velvet treats, it’s best to keep them chilled, but not freezing cold. A sealed container in the fridge works wonderfully for up to a week. If you want them perfectly soft and ready to serve, just take them out about 20 minutes before your guests arrive!
Fun Variations for red velvet cake pops
You’ve nailed the base, so now you can get creative! While the white chocolate shell is gorgeous, don’t feel like you are stuck there. If you want to lean into the richness, try melting some dark chocolate instead—it gives you a beautiful contrast. Peanut butter chips are amazing too if you’re feeling decadent! For decoration, skip the basic red and white sprinkles and try using crushed gold sprinkles for a fancy look, or maybe a drizzle of contrasting chocolate over the top.
If you need some darker inspiration for the season, check out my recipe for black velvet Halloween cake, which might spark some ideas for spooky-dark moist red velvet cake pops coatings!
Serving Suggestions for bite sized red velvet treats
Once these little beauties are set, presentation is everything! For parties, you absolutely must get a dedicated styrofoam block or one of those cute tiered cake pop stands—they look so impressive just standing up waiting for guests. If you’re packaging them up as gifts for holidays or Valentine’s Day, wrap each one individually in a small clear cellophane bag and tie it with a lovely red or gold ribbon. Serving them alongside a strong cup of coffee or maybe a glass of chilled sparkling cider makes them feel extra celebratory! You can even pair them with a slice of something lightly rich, like my cinnamon maple coffee cake, for a whole dessert spread!
Frequently Asked Questions about red velvet cake pops
I compiled all the questions I usually get when I bring these **decadent red velvet snacks** to family get-togethers! Hopefully, this clears up any last-minute worries you have about making your own batch.
Do I have to use cake mix or can I make the red velvet cake from scratch?
You absolutely do not have to use the box mix! I use it because it’s fast and reliable, making this an **easy cake pop recipe**. If you prefer scratch, go for it! Just make sure whatever cake you bake is sturdy enough—you don’t want a delicate crumb here. The key is the ratio of binder to crumb, not strictly where the cake came from.
My cake pops keep falling off the stick when I dip them. What am I doing wrong?
Oh, that’s the worst! This almost always happens because the cake ball isn’t cold enough. They need to be refrigerator-firm, almost hard. If they are even slightly soft, the weight of the chocolate coating is too much when you dip, and *plop*! Make sure you chill them for a full two hours, minimum. If you need more tips on getting that perfect texture, check out my thoughts on making moist banana bread loaf recipe; the chilling principle is similar!
What is the best chocolate to use for dipping these *red velvet cream cheese frosting cake pops*?
I stick to high-quality white chocolate melting wafers because they contain stabilizers that help them set up nicely and thinly coated. If you use regular chocolate chips, you absolutely must add that little bit of coconut oil or shortening, or they will seize up on you or be too thick. For a richer look than white, dark chocolate is fantastic for these **festive dessert pops**!
Can I skip the cream cheese center if I just want simple cake balls?
You can, sure! If you skip the special center, you’ll use all the cream cheese frosting mixture to bind the crumbs together instead. They will still be delicious, but you lose that tangy, gooey surprise in the middle. For those who prefer a simpler route, look at what folks are doing over at loveeveryplate.com for variations on simple **red velvet cake balls**.
Nutritional Estimates for Your Decadent red velvet snacks
I always feel a little guilty sharing these numbers, but here they are! Keep in mind that these estimates are just a starting point for one of these **decadent red velvet snacks**. Since we are mixing everything ourselves, your final count can shift a bit depending on your cake mix brand or how much extra chocolate you use for dipping!
- Serving Size: 1 cake pop
- Calories: 180
- Sugar: 18g
- Fat: 10g
- Carbohydrates: 21g
Share Your Homemade Cake Pops Creations
Now that you’ve done the work and created these magnificent **homemade cake pops**, I truly want to see them! My favorite part of blogging is seeing all your amazing kitchen successes. When you make these **red velvet cake pops**, please come back right here and leave me a rating—five stars if they were as moist and wonderful as mine!
Don’t be shy about sharing photos! Drop a comment below telling me what you thought of that hidden cream cheese center, or if you tried any fun decorations. If you have special tips you learned along the way, I’d love to pin them to my recipe board. Head over to my contact page if you have any questions or want to share any private feedback.
PrintULTRA MOIST Red Velvet Cake Pops from Scratch (With Cream Cheese Frosting Center)
Make perfectly moist red velvet cake pops with a creamy cream cheese center. This recipe provides clear steps for creating these decadent, bite-sized treats coated in smooth chocolate, ideal for parties or holidays.
- Prep Time: 45 min
- Cook Time: 30 min
- Total Time: 3 hours 15 min
- Yield: 30 cake pops 1x
- Category: Dessert
- Method: No Bake (after cake is baked)
- Cuisine: American
- Diet: Vegetarian
Ingredients
- 1 box (15.25 oz) red velvet cake mix (or ingredients for scratch cake)
- Eggs, oil, and water as directed by cake mix instructions
- 1 cup cream cheese, softened
- 2 cups powdered sugar, sifted
- 1 teaspoon vanilla extract
- 1/4 teaspoon salt
- 1 cup heavy cream (for thinning frosting, if needed)
- 12 ounces white chocolate melting wafers
- 1 tablespoon coconut oil or shortening
- Optional: Red or white sprinkles for decoration
Instructions
- Prepare the red velvet cake according to the box instructions, using the specified eggs, oil, and water. Bake the cake in a 9×13 inch pan.
- Once baked, let the cake cool completely on a wire rack.
- While the cake cools, prepare the cream cheese filling: In a medium bowl, beat the softened cream cheese, sifted powdered sugar, vanilla extract, and salt until smooth and creamy. If the mixture is too stiff, add heavy cream one teaspoon at a time until it reaches a thick, spreadable consistency.
- Crumble the cooled cake into a large bowl until fine crumbs form.
- Add about 3/4 cup of the cream cheese frosting mixture to the cake crumbs. Mix thoroughly with your hands or a sturdy spoon until the mixture holds together when pressed. Add more frosting mixture sparingly if the mixture is too dry to hold a ball shape.
- Roll the cake mixture into uniform 1-inch balls. You should get about 30-35 balls.
- Place a small dollop (about 1/4 teaspoon) of the remaining cream cheese frosting in the center of each cake ball and gently fold the cake mixture around it to seal the cream cheese center. Roll again to smooth the ball shape.
- Place the formed balls on a parchment-lined baking sheet. Chill in the refrigerator for at least 2 hours, or until very firm. This step is crucial for dipping.
- Prepare the coating: Melt the white chocolate wafers with the coconut oil in a microwave-safe bowl in 30-second intervals, stirring well after each interval until completely smooth.
- Insert a lollipop stick about halfway into a chilled cake ball. Dip the entire ball into the melted chocolate, rotating to coat completely. Tap the stick gently against the side of the bowl to remove excess chocolate.
- Immediately apply sprinkles, if using.
- Place the finished cake pop upright in a styrofoam block or cake pop stand to set completely.
- Chill the finished cake pops until ready to serve.
Notes
- For the best texture, do not over-moisten the cake crumbs with the frosting. The mixture should feel like firm cookie dough.
- If the chocolate coating thickens while you work, reheat it briefly in the microwave.
- If you skip the cream cheese center, use all of the frosting mixture to bind the cake crumbs.
Nutrition
- Serving Size: 1 cake pop
- Calories: 180
- Sugar: 18
- Sodium: 120
- Fat: 10
- Saturated Fat: 6
- Unsaturated Fat: 4
- Trans Fat: 0.2
- Carbohydrates: 21
- Fiber: 0.5
- Protein: 2
- Cholesterol: 25