
Okay, let’s talk about one of those kitchen confidence builders that feels far more gourmet than it actually is: making perfectly poached eggs. Seriously, have you ever watched someone make them successfully, only to end up with sad, wispy white clouds in your own saucepan? I used to dread trying to make poached eggs because cleanup was always messy and the results were so hit-or-miss.
But don’t you worry! I’m here to tell you the secrets. This guide arms you with both the tried-and-true traditional swirl method and what I call my ‘foolproof hack’ for consistently achieving those beautiful, silky eggs with perfectly runny yolks. Mastering this technique will genuinely make you feel like a chef right in your own kitchen!
- Why You Will Make Perfect Poached Eggs Every Time
- Essential Tools and Ingredients for Poached Eggs
- The Traditional Method: How to Poach an Egg in Water
- An Easy Egg Poaching Method: Oven Poached Eggs
- Troubleshooting Common Issues with Poached Eggs
- Serving Suggestions for Your Perfectly Poached Eggs
- Storage and Reheating Instructions for Poached Eggs
- Frequently Asked Questions About Poached Eggs
- Nutritional Snapshot of Poached Eggs
- Share Your Poached Eggs Success
Why You Will Make Perfect Poached Eggs Every Time
I know, I know. Poaching eggs sounds intimidating, like something only done flawlessly at fancy brunch spots. But that’s why this guide exists! Once you know a couple of non-negotiable rules, you’re set up for success. We’re aiming for gorgeous, contained whites hugging a gorgeous, runny yolk eggs centerpiece every single time.

- You get the classic, gourmet look without the guess work.
- We cover two fantastic methods so you have options when time is tight.
- Follow these steps, and you’ll have a true flawless poached eggs guide in your back pocket!
Key Factors for Perfectly Poached Eggs
The secret to beautiful poached eggs really boils down to two main things: freshness and heat. If your eggs are older, the white part—the albumen—gets kind of watery. When that watery white hits the hot water, it just runs everywhere, making those spiky little strings we all hate. Trust me on this one: the fresher the egg, the tighter and neater your poached egg will look when it cooks.
Next up is temperature control. Never, ever put your egg into rapidly boiling water. That violent action will just shred the delicate white before it has a chance to set up around that beautiful yolk. We are aiming for a gentle simmer—tiny, lazy bubbles just kissing the bottom of the pan. Getting the heat right is half the battle won when learning how to poach an egg well.
Essential Tools and Ingredients for Poached Eggs
Okay, you don’t need a crazy amount of gear for this, but having the right things on hand makes things so much smoother. For the water method, you absolutely need a wide, shallow pan—not a tiny pot where things get crowded. You’ll also want a slotted spoon handy for rescuing your beautiful final product. Oh, and small bowls or ramekins are non-negotiable; they are your staging area before the water bath!
When we talk about the ingredients for making great **poached eggs**, it’s straightforward, but quality really counts here. Everything else is just flavoring the experience.
Gathering Ingredients for Poached Eggs
You’ll need about four cups of water to give your eggs enough room to float comfortably while they set. We use just a tiny pinch of salt, and if you’re using the traditional method, about one tablespoon of white vinegar—I know some people skip this, but it really helps the whites cling together! And please make sure you have two large, very fresh eggs waiting in the wings. Seriously, the older the egg, the sadder your poaching experience will be because those fresh whites are what keep your perfect shape intact!
The Traditional Method: How to Poach an Egg in Water
Alright, this is where we build that culinary muscle! For those of you ready to learn the classic way of how to poach an egg and get it looking magazine-ready, this technique using simmering water and a little swirl is fantastic. We’re prioritizing that gentle cooking environment to keep everything neat and tidy.
Before you even touch the water, I have a pro tip from my busy weeknight attempts: crack your egg into a fine-mesh sieve set over a bowl first. Let it sit for about 30 seconds. You’ll be amazed how much thin, watery white drains out! That sludge is what causes those messy stringers in the water. Once that’s done, gently transfer the slightly pre-strained egg into a small ramekin. This little step ensures you only drop the firm, good stuff into the pan!
Step-by-Step Instructions for Perfect Poached Eggs
First, get your water set up in that wide pan. We need a gentle simmer—think tiny little bubbles on the bottom, not a rolling boil! If you’re using vinegar, add it now. Once you’ve got your water temperature exactly where we want it—nice and lazy—take that spoon and stir it hard in one direction to create a vortex, a little whirlpool in the middle. This gorgeous spin is what gathers the whites around the yolk as you drop it in!
Carefully slide your egg from the ramekin right into the center of that swirl. Seriously, don’t be shy, but be gentle! Now, just let it be for about 3 to 4 minutes if you like a super runny yolk. If you’re making Eggs Benedict, 3 minutes is usually perfect for that jiggly center. When you lift it out with your slotted spoon, the white should feel firm to the touch. Blot it on a paper towel before serving, and voilà!

An Easy Egg Poaching Method: Oven Poached Eggs
Okay, you’ve read the traditional way, and maybe your heart dropped a little thinking about making that perfect vortex repeatedly. That is totally fine! Not everyone loves wrestling with simmering water, and that’s why I love sharing this easy egg poaching method. Oven poaching is my go-to when I need to make a big batch for brunch without standing over the stove, or when I’m just nervous about a first-timer making them. It’s almost foolproof!
We skip the swirling action entirely and let the consistent oven heat do all the work for us. You preheat your oven to 350°F and get your eggs cozy in small, greased ramekins sitting in a baking dish. The secret here is creating a little water bath that mimics gentle poaching.
Tips for Oven Poached Eggs
When setting up your water bath, you only need about a half-inch of hot water in the surrounding dish. Don’t drown those little cups! This water bath is crucial because it keeps the bottom of your egg from cooking too fast or getting rubbery while the top sets. The baking time really depends on how runny you want that glorious center, but I find 12 to 15 minutes gets us that perfect, dreamy, runny yolk every time. If you cook them longer, you’ll have great hard yolks perfect for slicing onto salads instead!
Troubleshooting Common Issues with Poached Eggs
Even with the best intentions, sometimes our **poached eggs** just don’t cooperate. Don’t panic or toss the whole pan! Almost every little cooking mishap has a simple fix, and knowing these quick adjustments is key to building your cooking confidence. I’ve definitely had my share of kitchen fails while perfecting my technique!
If your whites are spreading out like watery lace the second they hit the water, that’s almost always an egg freshness issue. As we talked about, those older whites are too thin. If you’re stuck using eggs that aren’t farm-fresh, go back and try that tiny sieve trick I mentioned—it helps grab the worst of the thin whites before they wreck your swirl. Also, check your heat! If the water is too hot, it can tear the structure before it sets.
If you’re trying the oven method and your eggs seem stuck, you need more fat in that ramekin! A little grease goes a long way in letting the bottom release cleanly. And if your yolk looks disappointingly solid, just pull them out a minute sooner next time. It takes practice, but learning what went wrong gives you the authority to fix it next time you try these gourmet breakfast techniques!

Serving Suggestions for Your Perfectly Poached Eggs
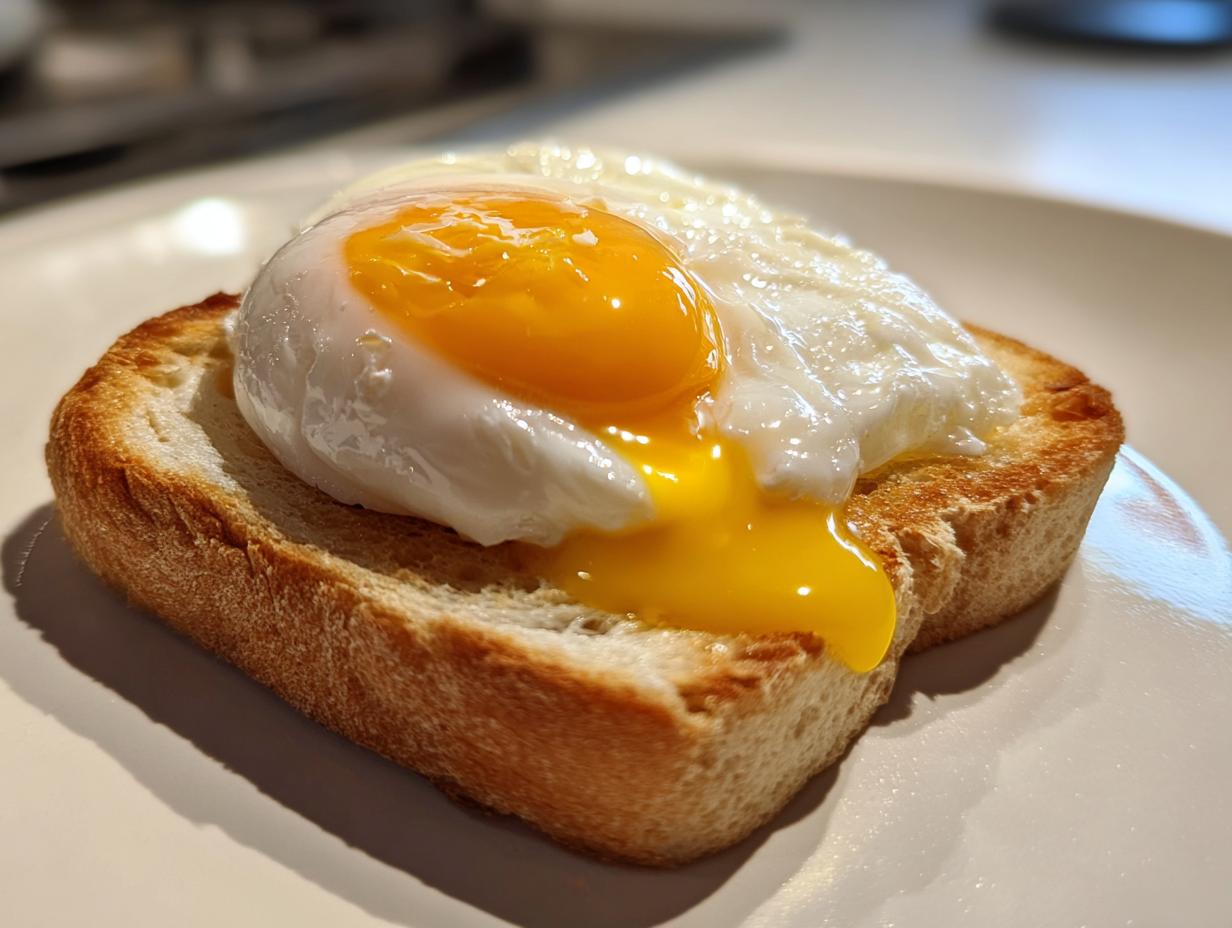
Now that you’ve mastered the art of the perfect runny yolk eggs, the fun part begins: eating them! Poached eggs are so much more versatile than people expect. They instantly elevate any simple meal, turning a basic slice of toast into a real event. Don’t just stop at the obvious!
If you’re planning relaxing weekend brunch ideas with eggs, you absolutely have to make Eggs Benedict. You’ll need to make that Hollandaise sauce (it’s easier than you think, I promise!), but your perfectly poached eggs are the star of that show. For healthy weeknights, I often make breakfast bowls with eggs. Just pop them over some quinoa, roasted veggies, or even leftover rice, give it a sprinkle of chili flakes, and you have a seriously satisfying, healthy meal in minutes.

Seriously, once you get good at this, you’ll find yourself looking for opportunities to top things with a silky poached egg. Everything tastes better with that luscious yolk running out!
Storage and Reheating Instructions for Poached Eggs
I always tell people that making poached eggs ahead of time is a total game-changer for stress-free mornings! If you’re making a big batch for Sunday brunch or prepping component parts for later, you can totally store them. Once your **poached eggs** are perfectly set, gently lift them out and cool them completely. You can store them submerged in a small bowl covered completely with cold water in the fridge for up to two days.
The key is reheating gently. For those ready for an Eggs Benedict situation, just drop the cold eggs into a bowl of hot (but not boiling!) water for about 30 seconds to a minute. That little warm bath wakes them right up and keeps that yolk beautifully runny. It’s such a handy trick when you’re hosting brunch!
Frequently Asked Questions About Poached Eggs
I’ve definitely gotten a ton of questions over the years about these creamy delights! Poaching eggs seems like it should be easy, but those little details make all the difference. Here are the things folks ask me about most often when they are trying to achieve those gorgeous, restaurant-quality results at home.
Can I poach eggs without vinegar?
Absolutely, you can! Vinegar is really a texture helper, not a mandatory component. It helps the proteins in the egg white quickly coagulate or firm up when they hit the hot water, which keeps those wispy edges from forming. If you skip it—and I sometimes do if I don’t want any hint of tang—you just need an even fresher egg and you must, must, must use that gentle swirl or vortex trick. If you’re looking for the absolute cleanest taste, that’s the way to go, though you might need to keep an eye on the water to make sure the whites aren’t spreading too much!
What is the easiest way to make poached eggs?
If the water method is giving you trouble, or you just want reliable results with minimal cleanup, I always point people towards the oven poaching method we talked about. It doesn’t require wrestling with a vortex and the heat environment is so steady. It really qualifies as one of those fantastic simple egg hacks because once they are in the water bath, you can walk away! If you need speed in a pinch, I’ve also heard great things about the microwave method, but honestly, the oven just gives a more reliably soft texture, in my opinion, perfect for topping things like my cottage cheese toast.
Nutritional Snapshot of Poached Eggs
It’s good to know that these beautiful, runny yolk eggs are not just delicious—they are fantastic for you too! Since these are such a healthy egg preparation method (no added fats from frying!), you get all the goodness. Just remember these numbers are estimates based on one large egg cooked this way.
- Calories: Around 78
- Protein: A solid 6.3 grams
- Fat: Just over 5 grams total, mostly healthy unsaturated fat!
That’s a powerhouse of nutrition for such a simple breakfast component!
Share Your Poached Eggs Success
Okay, now it’s your turn! I truly hope these tips and methods take the stress out of making **poached eggs** for you. I’d absolutely love to hear how your first perfect batch turned out—did you go classic or did you try the oven hack? Drop a comment below and let me know! If you’re planning a big spread, check out my favorite breakfast brunch ideas for inspiration. Happy cooking, everyone!
PrintThe Ultimate Guide: How to Poach an Egg Perfectly Every Time

Learn the simple, straightforward techniques for making perfectly poached eggs with runny yolks. This guide covers the traditional water method and an easy oven hack for flawless results.
- Prep Time: 5 min
- Cook Time: 4 min
- Total Time: 9 min
- Yield: 1 serving 1x
- Category: Breakfast
- Method: Water Poaching
- Cuisine: American
- Diet: Low Fat
Ingredients
- 2 large, very fresh eggs
- 4 cups water
- 1 tablespoon white vinegar (optional, for traditional method)
- Pinch of salt
Instructions
- Prepare your eggs: Gently crack each egg into a small bowl or ramekin. Keep them separate.
- Prepare the water (Traditional Method): Fill a wide, shallow saucepan with about 3 inches of water. Add the salt and vinegar, if using. Heat the water until it reaches a gentle simmer—you should see small bubbles forming, but the water should not be rapidly boiling.
- Create a vortex: Use a spoon to stir the simmering water in one direction until you create a slow whirlpool or vortex in the center of the pan.
- Poach the egg: Carefully slide one egg into the center of the vortex. The swirling water helps gather the whites around the yolk.
- Cook the egg: Let the egg cook undisturbed for 3 to 4 minutes for a runny yolk. The white should be set, and the yolk should still jiggle slightly.
- Remove the egg: Use a slotted spoon to gently lift the poached egg out of the water. Let excess water drain off.
- Drain and serve: Place the poached egg on a plate lined with a paper towel to absorb any remaining moisture before serving on toast or in your favorite breakfast bowls.
- Alternative Hack (Oven Poaching): Preheat your oven to 350°F (175°C). Lightly grease a small oven-safe ramekin or muffin tin cup. Crack one egg into the prepared cup. Place the cup in a baking dish and add about 1/2 inch of hot water to the dish (creating a water bath). Bake for 12 to 15 minutes for a runny yolk.
Notes
- Use the freshest eggs you can find; older eggs have thinner whites that spread out in the water.
- If you skip the vinegar, the whites may spread more, but the taste will be cleaner.
- For Eggs Benedict, gently remove the egg with a slotted spoon and blot thoroughly before placing it on the muffin.
- If you are poaching multiple eggs, cook them one or two at a time to maintain water temperature and prevent them from sticking together.
Nutrition
- Serving Size: 1 egg
- Calories: 78
- Sugar: 0.6
- Sodium: 71
- Fat: 5.3
- Saturated Fat: 1.6
- Unsaturated Fat: 3.7
- Trans Fat: 0.0
- Carbohydrates: 0.6
- Fiber: 0.1
- Protein: 6.3
- Cholesterol: 186