
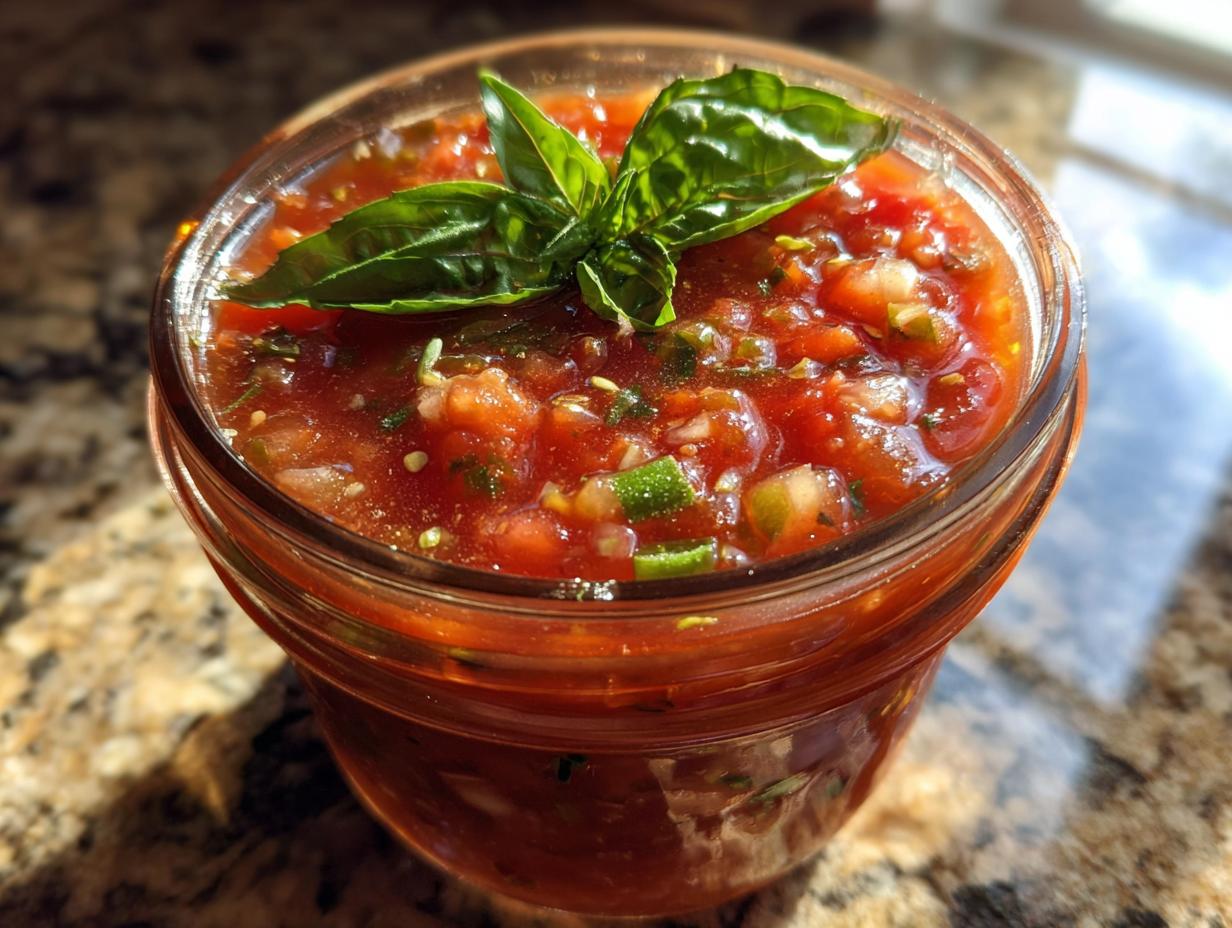
Oh my goodness, is there anything better than the taste of fresh summer tomatoes? For me, it’s all about capturing that vibrant flavor and enjoying it long after the season wraps up. That’s exactly why I’m so excited to share my absolute favorite recipe for homemade tomato salsa canning! It’s a tested, safe, and super delicious way to preserve all those juicy garden gems using a simple water bath canning method. You know how much I love sharing recipes that make cooking joyful and bring people together – just like the ones I grew up with. This salsa recipe fits that philosophy perfectly; it’s straightforward, reliable, and so rewarding. We put a lot of love and testing into every recipe here on Devour Dish, so you can trust this will be a keeper for your pantry! You can read more about our food philosophy and why we’re all about tested, trusted recipes right here.
- Why You'll Love This Homemade Tomato Salsa Canning Recipe
- Gather Your Ingredients for Homemade Tomato Salsa Canning
- Essential Equipment for Safe Salsa Canning
- Step-by-Step Guide to Homemade Tomato Salsa Canning
- Tips for Perfect Homemade Tomato Salsa Canning
- Ingredient Notes and Substitutions for Salsa Canning
- Storage and Reheating Instructions for Canned Salsa
- Estimated Nutritional Information for Homemade Tomato Salsa Canning
- Frequently Asked Questions About Canning Salsa
- Share Your Homemade Salsa Canning Success!
Why You’ll Love This Homemade Tomato Salsa Canning Recipe
Seriously, you are going to adore making this salsa! It’s incredibly easy to whip up, even if you’re new to canning. Plus, the flavor? Oh wow, it’s so fresh and bright, way better than anything you’ll find in a jar at the store. Imagine opening a jar of your own homemade salsa in the dead of winter – pure magic! It feels so good to preserve your harvest, knowing you’ve got delicious, home-canned salsa ready for taco nights or any craving that strikes. It’s a little taste of summer, bottled up!
Gather Your Ingredients for Homemade Tomato Salsa Canning
Alright, let’s get our ingredients ready for this amazing homemade tomato salsa canning project! It’s pretty straightforward, and you’ll want everything prepped and ready to go before we start cooking and canning. Here’s what you’ll need:
- 4 pounds ripe tomatoes, cored and quartered – use your favorite juicy variety!
- 1 heaping cup chopped onions (that’s about 1 big onion for us)
- 1 cup chopped green bell peppers (around 2 medium ones)
- 1/2 cup chopped jalapeño peppers (about 2-3 medium, and *do* remove those seeds if you don’t want it too spicy!)
- 4 cloves garlic, minced – don’t skip the garlic, it’s key!
- 1/2 cup apple cider vinegar (make sure it’s 5% acidity, this is important for canning safety!)
- 2 tablespoons fresh lime juice – adds a lovely zing!
- 2 teaspoons salt
- 1 teaspoon ground cumin
- 1/2 teaspoon dried oregano
- 1/4 teaspoon cayenne pepper (this is optional, but gives it a nice little kick!)
Essential Equipment for Safe Salsa Canning
Before we dive into making this delicious salsa, let’s make sure you have the right tools handy. Safety first when canning, right? You’ll definitely need a big water bath canner with a rack. Make sure it’s big enough to hold your jars and keep them submerged. Then, grab some clean canning jars (pint or half-pint sizes work great here!), new lids, and the bands. Oh, and a sturdy jar lifter is a must-have – trust me, it makes getting those hot jars in and out so much easier and safer!
Step-by-Step Guide to Homemade Tomato Salsa Canning
Alright, are you ready to turn those beautiful garden tomatoes into a pantry staple? Let’s get this homemade tomato salsa canning party started! Don’t worry if it feels a little daunting at first; just take it one step at a time, and you’ll have delicious, safe salsa in no time. I’ll walk you through every single bit!
Preparing Your Water Bath Canner and Jars
First things first: get your water bath canner ready to go. Fill it up with enough water so that your jars will be covered by at least an inch of water once they’re inside, and pop it on the stove to get it simmering. While that heats up, sterilize your jars, lids, and bands. We want everything nice and hot – hot jars for hot salsa is super important to prevent any cracking!
Cooking the Fresh Tomato Salsa
Now for the yummy part! Dump those quartered tomatoes into a big pot and let them cook over medium heat until they start to soften up and break down a bit. This usually takes about 10-15 minutes. Give them a little mash with a spoon or potato masher – not too much, we still want some texture! Then, toss in your chopped onions, bell peppers, jalapeños, and that minced garlic. Stir in the apple cider vinegar, lime juice, salt, cumin, oregano, and cayenne if you’re using it. Bring this whole glorious mixture to a boil, then turn the heat down to a simmer for a good 20 minutes. Stir it every so often so nothing sticks.

Filling and Sealing Jars for Canning
Okay, time to fill those hot, sterilized jars with the hot salsa. Ladle it in carefully, making sure to leave about a 1/2-inch space at the top – this is called headspace, and it’s crucial for a good seal. Now, use something like a non-metallic spatula or a chopstick to gently run around the inside edge of the jar. This gets rid of any trapped air bubbles. Wipe the rims of the jars really well with a clean, damp cloth – any salsa bits left there can mess with the seal! Put on your sterilized lids and screw the bands on just fingertip tight. Not too tight, okay?

Processing Your Homemade Tomato Salsa Canning Jars
Carefully place your filled jars back into that simmering water bath canner using your jar lifter. Make sure they’re snug but not touching each other if possible, and that they’re covered by at least an inch of that simmering water. Once the canner is full and all the jars are in, bring the water up to a full, rolling boil. Once it’s boiling hard, set your timer! Process the jars for 15 minutes. If you live at a high altitude, you’ll need to adjust that processing time – a quick search online for altitude adjustments for canning is your best bet!

Cooling and Checking for Seals
After those 15 minutes are up, carefully turn off the heat, take the lid off the canner, and just let the jars sit in that hot water for another 5 minutes. This helps them adjust. Then, it’s time to lift them out *very* carefully with your jar lifter and set them on a towel-lined counter. Let them sit undisturbed for about 12 to 24 hours. You’ll hear little ‘pings’ as they seal! After they’ve cooled completely, press down on the center of each lid. If it doesn’t flex up and down, congratulations, it’s sealed! If it *does* flex, that jar didn’t seal, so just pop it in the fridge and enjoy it soon.

Tips for Perfect Homemade Tomato Salsa Canning
Making sure your homemade tomato salsa canning turns out just right is all about a few key things. First off, the quality of your ingredients totally matters! Using really ripe, fresh tomatoes will give you the best flavor. Don’t be afraid to play with the heat level, too – want it spicier? Throw in an extra jalapeño or a pinch more cayenne. But remember, when it comes to canning, sticking to reliable, tested recipes like this one is super important for safety. We’ve tested this recipe over and over here at Devour Dish to make sure it’s both delicious and safe to preserve. So, trust the process, and you’ll be rewarded with amazing salsa!
Ingredient Notes and Substitutions for Salsa Canning
When you’re making salsa for canning, thinking about your ingredients is key! For the best flavor, I really love using ripe, meaty tomatoes like Roma or San Marzano. They just hold up so well. And remember that apple cider vinegar? Using one with at least 5% acidity is a must for safe canning, so always check the label! If you want to switch up the peppers, go for it, but be aware it *can* sometimes change the acidity, so stick to tested recipes whenever possible. For herbs, dried oregano is great, but a little fresh cilantro added at the end, *after* canning, is a nice touch if you love it!
Storage and Reheating Instructions for Canned Salsa
Once your jars have cooled and you’ve confirmed they’re sealed, store them in a cool, dark place like your pantry. They’ll stay delicious for up to a year, though honestly, the flavor is best if you enjoy them within the first 6-9 months! Once you’ve opened a jar, just pop a reusable lid on it and keep it in the refrigerator. It’ll be good for a few weeks that way!
Estimated Nutritional Information for Homemade Tomato Salsa Canning
Curious about what’s in your delicious jar of homemade tomato salsa canning? While the exact numbers can wiggle a bit depending on the ripeness of your tomatoes and the size of your veggies, here’s a general idea per 1/2 cup serving. You’re looking at roughly 50 calories, 0g fat, 2g protein, 12g carbohydrates, with 2g fiber and 8g sugar. It does have about 600mg of sodium, so keep that in mind, but it’s all worth it for that incredible flavor!
Frequently Asked Questions About Canning Salsa
Got questions about making your own canned salsa? I get it! Canning can seem a little tricky at first, and it’s super important to do it right for safety. Here are some of the questions I hear most often.
Is it safe to can salsa without a tested recipe?
Oh, this is a big one! For canning, especially with things like salsa and tomatoes, it’s really important to use tested recipes. They’ve been developed with the right balance of acidity (hello, vinegar and lime juice!) to make sure the salsa is safe from spoilage. Using untested recipes or swapping out ingredients that affect acidity can be risky, so always stick to a trusted source for your homemade salsa canning! It’s for your peace of mind and your family’s well-being.
How do I adjust salsa canning for high altitudes?
If you live way up high, you’ll need to tweak the processing time for your salsa! Because the air is thinner, water boils at a lower temperature, meaning you need to can for longer to reach that safe temperature. Most tested canning recipes, like ours, will have a note about this, or you can easily find charts online from places like the National Center for Home Food Preservation (NCHFP) that give you the adjusted times based on your altitude. It’s a small step that makes a big difference!
Can I use different types of peppers for my homemade salsa?
You bet you can swap out peppers, but do it wisely! Different peppers have different heat levels, and some can also slightly alter the acidity of your salsa, which is super important for safe canning. If you want a milder salsa, stick to jalapeños and maybe leave out the cayenne. If you’re feeling brave, you could try adding a hotter pepper, but just be aware that significant changes might mean you need to adjust the vinegar or other acidic ingredients. For the safest results, especially when you’re learning, it’s best to stick as closely as possible to the fresh tomato salsa canning recipe.
Share Your Homemade Salsa Canning Success!
Now that you’ve canned up some amazing homemade salsa, I’d absolutely LOVE to hear how it turned out! Did you try any fun twists? Drop a comment below and let me know your experience, or give the recipe a star rating if you loved it. And if you snap any pics of your delicious jars, tag me on social media – I can’t wait to see your creations! Don’t hesitate to reach out via my contact page if you have any last-minute questions!
PrintHomemade Tomato Salsa Canning

Learn how to safely can your own fresh tomato salsa using a water bath canning method. Preserve your garden harvest for year-round enjoyment.
- Prep Time: 30 min
- Cook Time: 45 min
- Total Time: 75 min
- Yield: Approximately 6 pints 1x
- Category: Preserves
- Method: Water Bath Canning
- Cuisine: American
- Diet: Vegetarian
Ingredients
- 4 pounds ripe tomatoes, cored and quartered
- 1 cup chopped onions (about 1 large)
- 1 cup chopped green bell peppers (about 2 medium)
- 1/2 cup chopped jalapeño peppers (about 2–3 medium, seeds removed for less heat)
- 4 cloves garlic, minced
- 1/2 cup apple cider vinegar (5% acidity)
- 2 tablespoons fresh lime juice
- 2 teaspoons salt
- 1 teaspoon ground cumin
- 1/2 teaspoon dried oregano
- 1/4 teaspoon cayenne pepper (optional)
Instructions
- Prepare your water bath canner by filling it with enough water to cover the jars by at least 1 inch and bring it to a simmer. Sterilize your canning jars, lids, and bands.
- In a large pot, combine the quartered tomatoes and cook over medium heat until they soften and begin to break down, about 10-15 minutes.
- Mash the tomatoes slightly with a potato masher or the back of a spoon.
- Add the chopped onions, bell peppers, jalapeño peppers, and minced garlic to the pot.
- Stir in the apple cider vinegar, lime juice, salt, cumin, oregano, and cayenne pepper (if using).
- Bring the mixture to a boil, then reduce heat and simmer for 20 minutes, stirring occasionally.
- While the salsa simmers, prepare your jars. Ladle the hot salsa into hot, sterilized jars, leaving a 1/2-inch headspace.
- Remove any air bubbles by running a non-metallic spatula around the inside of the jar.
- Wipe the jar rims clean with a damp cloth and place the sterilized lids on top. Screw on the bands fingertip tight.
- Carefully place the filled jars into the simmering water bath canner, ensuring they are covered by at least 1 inch of water.
- Bring the water to a rolling boil, then process the jars for 15 minutes (adjusting for altitude if necessary).
- Turn off the heat, remove the canner lid, and let the jars sit in the hot water for 5 minutes.
- Carefully remove the jars from the canner using a jar lifter and place them on a towel-lined counter to cool completely, about 12-24 hours.
- Check for a proper seal after 24 hours. If a lid does not flex when pressed, refrigerate that jar.
Notes
- For a smoother salsa, you can pulse the cooked mixture in a food processor before canning.
- Adjust the amount of jalapeños and cayenne pepper to your preferred heat level.
- Always use tested canning recipes and follow proper sterilization and processing procedures to ensure safety.
- Canned salsa is best if allowed to sit for a week or two before consuming to allow flavors to meld.
Nutrition
- Serving Size: 1/2 cup
- Calories: 50
- Sugar: 8g
- Sodium: 600mg
- Fat: 0g
- Saturated Fat: 0g
- Unsaturated Fat: 0g
- Trans Fat: 0g
- Carbohydrates: 12g
- Fiber: 2g
- Protein: 2g
- Cholesterol: 0mg