
Isn’t the holiday season just the best time for rich, sweet treats? When the weather gets chilly, all I want is something totally decadent but fast—no hours spent stirring sugar over a hot stove, please! That’s where this outrageously simple recipe steps in. This is, hands down, the easiest **peppermint fudge** you will ever make. Seriously, we are talking about maybe five minutes of actual kitchen work before it goes into the fridge. As Avery from Devour Dish, I live to bring you simple, reliable recipes perfect for real life, and this quick festive candy is perfect for those moments when you need a holiday bake but don’t have the time for fussy techniques.
I grew up watching my family load up on homemade candies every December, and while I love tradition, I need efficiency now! This sweet, minty fudge uses that incredible trick of combining the magic duo: sweetened condensed milk and white chocolate. It sets up perfectly firm yet somehow still melts in your mouth. I trust this recipe completely, and you will too. Check out my thoughts on why over at the About Me page!
- Why This Easy White Chocolate Peppermint Fudge is Your Best Holiday Treat
- Gathering Ingredients for Your Peppermint Fudge Recipe
- Step-by-Step Instructions for No Bake Peppermint Fudge
- Expert Tips for Perfect Peppermint Candy Cane Fudge
- Storing and Gifting Your Homemade Peppermint Treats
- Frequently Asked Questions About Peppermint Fudge
- Estimated Nutritional Data for Peppermint Fudge
- Share Your Creamy Peppermint Dessert Creations
Why This Easy White Chocolate Peppermint Fudge is Your Best Holiday Treat
If you are looking for a showstopper candy that doesn’t actually require you to turn on your oven, this is absolutely it. I developed this version because I kept running out of time during the busiest weeks of December but still needed goodies for cookie swaps and plates for neighbors. Forget worrying about crystallization or cracking; this fudge stays creamy and perfect.
Why should you make this the star of your **Festive Holiday Candy** spread this year? Let me count the ways:
- It’s No Bake! That’s right—no candy thermometer, no stove-top acrobatics required. Just gentle melting on low heat.
- Lightning Fast Prep: You are looking at less than 15 minutes from start-to-finish before it heads to the fridge to set.
- Creamy Perfection: The secret weapon, sweetened condensed milk, guarantees that gorgeous, melt-in-your-mouth texture every single time. This is truly the **Easy White Chocolate Fudge** you dream about.
- Perfect for Gifting: It slices beautifully into lovely little squares, making it ideal for tucking into cellophane bags for neighbor gifts. You can find some of my favorite packaging tips over on my Holiday Gift Fudge guide!
If you need something quick, easy, and deeply satisfying this season, don’t pass this one up. It tastes like you worked for hours!
Gathering Ingredients for Your Peppermint Fudge Recipe
Okay, you’re sold on how fast this is, but the magic of this **peppermint fudge** really does start with using good, simple ingredients. Because it’s a no-bake recipe with so few components, every single item has to pull its weight! Trust me when I say that the quality of your chocolate chips matters here, and that can of condensed milk needs to be the full-fat sweetened kind—no substitutions if you want that perfect, creamy snap.
We aren’t looking for anything intense here, no weird specialty items needed. This allows us to turn this out quickly, even when the store shelves are looking bare right before Christmas!
Ingredient List for Creamy Peppermint Dessert
Here is exactly what you need to assemble this wonderfully easy White Chocolate Fudge. I always lay everything out on the counter before I turn on the heat—it prevents that panicked moment when you realize you forgot the vanilla!
- One (14 ounce) can sweetened condensed milk. Remember, we need the sweetened kind!
- Two full cups of white chocolate chips.
- One teaspoon of lovely peppermint extract.
- Half a teaspoon of vanilla extract—just to smooth out those edges.
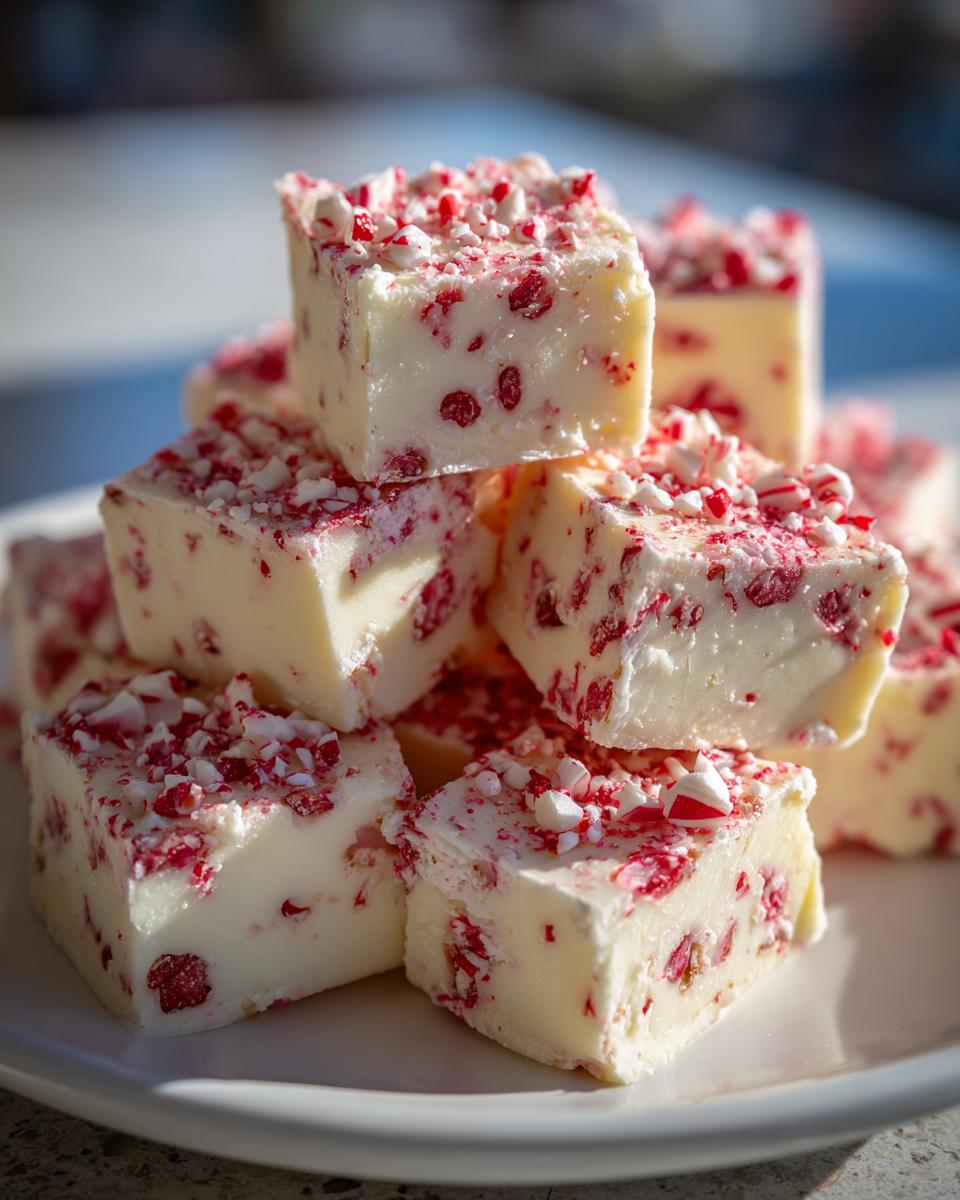
- About half a cup of crushed peppermint candies for the top. Don’t crush them too fine, or they just melt into the top layer!
Having these few things ready means we can get this batch mixed up and chilling in under ten minutes. That’s my kind of holiday baking!
Step-by-Step Instructions for No Bake Peppermint Fudge
Alright, let’s get straight to making this glorious **peppermint fudge**! Since this is a no-bake scenario, our main focus is gentle heat management. If you scorch your white chocolate, you’re going to have a rough time, so listen to me on this part: low and slow wins the race!
Preparing the Pan and Melting the Base for Peppermint Fudge
First things first, get your vessel ready. Grab an 8×8 inch pan. I highly recommend lining it completely with parchment paper, letting those ends hang way over the sides. This overhang is your handle, and trust me, it saves you a ton of hassle later when you try to lift the whole brick out. Lightly grease that parchment, too, just in case!
Next, the main event happens in a saucepan over the very lowest flame you can manage. Combine your sweetened condensed milk and those white chocolate chips. Now, this is where you need to pay attention! You stir constantly, constantly, until everything is glossy and smooth. The most important rule for smooth fudge: do not, under any circumstances, let this mixture boil! If you see little bubbles forming rapidly, pull it immediately off the heat. This gentle melting keeps the texture silky—it’s key for that creamy consistency everyone loves in a good no-bake dessert.
Flavoring and Setting Your Quick Winter Desserts
Once that chocolate is fully melted and you’ve taken the pan off the burner, it’s time to flavor everything up! Stir in that peppermint extract and the vanilla extract really well until everything is unified. Don’t dump in too much extract at once; it’s always easier to add a little more mint later than to take it out!
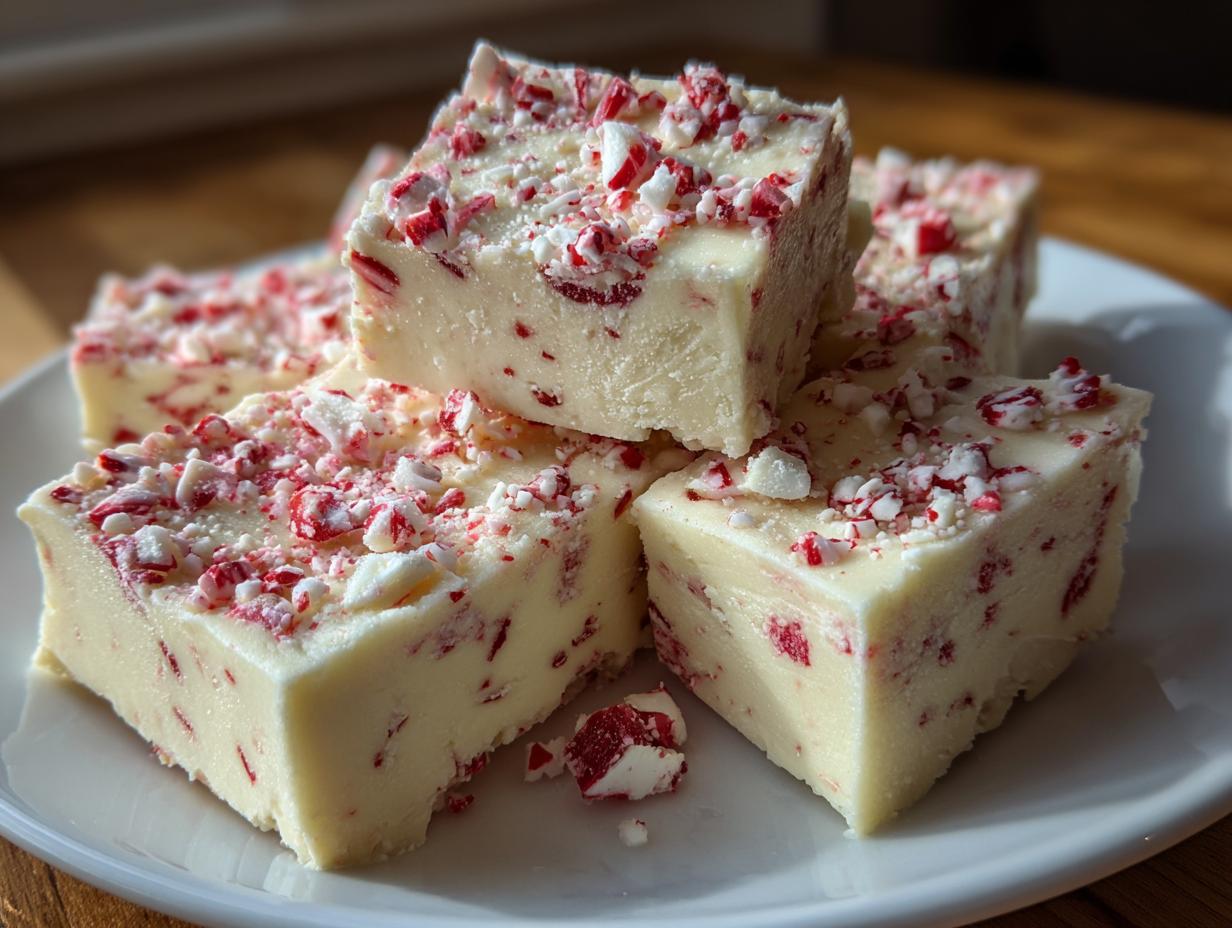
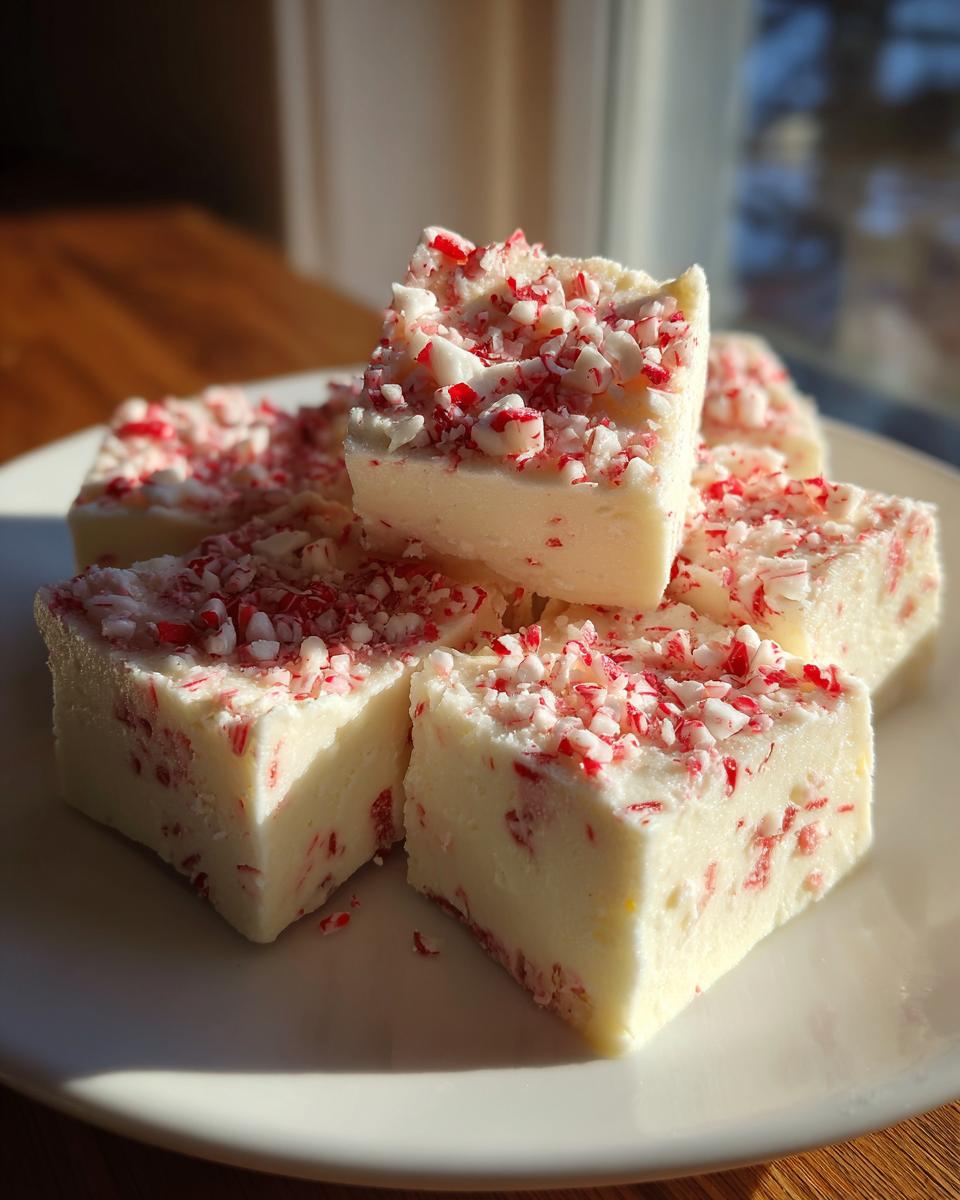
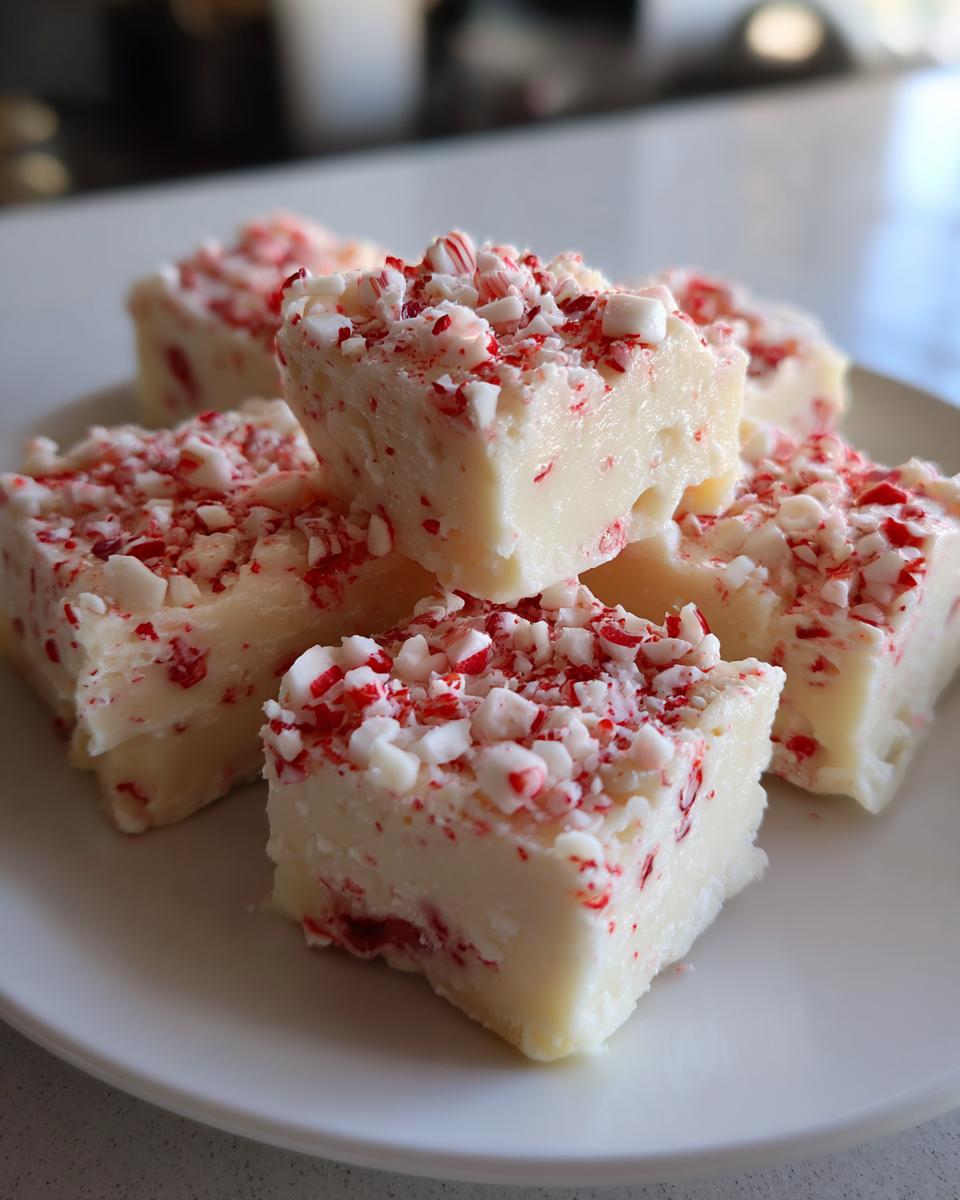
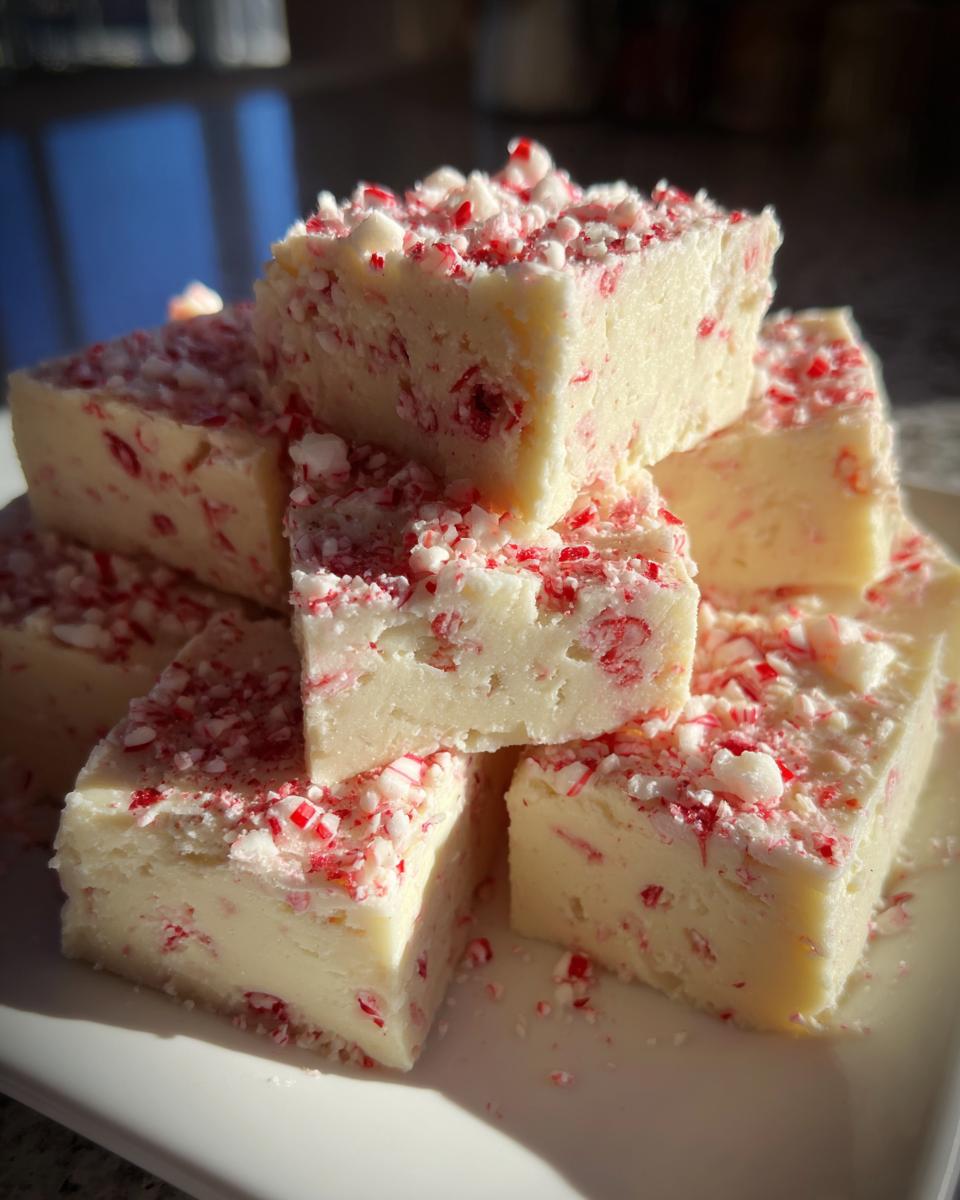
Pour that smooth mixture right into your prepared pan and use an offset spatula to spread it out evenly across the bottom. Do this quickly because the cooling starts right away! Before letting it sit for even a minute, sprinkle those crushed peppermint candies right over the top. I like to gently press them in with the back of a spoon or just use my hands really lightly. Now, you wait. This needs time to firm up properly so you get those perfect slices. Plan on letting your **quick winter desserts** hang out in the refrigerator for at least three hours. If you try slicing it too soon, it just won’t have that satisfying, solid yet soft, **Melt in Your Mouth Fudge** texture we are aiming for.
Expert Tips for Perfect Peppermint Candy Cane Fudge
Even though this recipe is wonderfully simple, there are a couple tricks I’ve learned to make it truly next-level. We want this to earn the title of **Best Peppermint Fudge** on your holiday table! Since we are using just a few ingredients, making small tweaks can really personalize the experience, especially if you want that eye-catching look. I find that leaning into chocolate variations, like I do when making my Boston Cream Pie Fudge, really elevates simple batches.
Creating the Layered Chocolate Peppermint Fudge Variation
If you want to impress people, you have to try the swirl! It looks really fancy, but honestly, it’s so easy. Once your main batch of white fudge is melted and mixed with the extracts—before you pour it into the pan—take about a third of it out. Set that aside for a minute.
In the saucepan, melt about four ounces of semi-sweet chocolate chips separately. Then, pour the main white batch into your lined pan. Spoon dollops of that melted dark chocolate over the top. Take a butter knife or a skewer and gently drag it through both layers, mixing them just a little bit. You don’t want to mix them completely; we are aiming for lovely ribbons of dark and white running through the mixture. This creates that gorgeous **Layered Chocolate Peppermint Fudge** effect everyone loves!
Remember to top with the crushed peppermint candies right away, like we did in the main directions, covering the whole thing for that classic **Peppermint Candy Cane Fudge** look. This variation absolutely shines when you chill it properly!
Adjusting Mint Intensity in Your Peppermint Fudge
I stick to one teaspoon of peppermint extract, but I know some people really crave that sharp, cool kick of mint, especially cutting through all that rich white chocolate. If you fall into the intense mint camp—and I don’t blame you if you do!—feel free to bump it up to a teaspoon and a half. Taste it first, though! A little goes a long way, and you want to make sure you still taste the sweet vanilla goodness in the background.
If you happen to overdo it on the mint, don’t panic! You can fix it while the mixture is still warm by throwing in a few extra white chocolate chips, melting them in, and adding an extra splash of vanilla. It balances things out beautifully and keeps your fudge silky smooth.
Storing and Gifting Your Homemade Peppermint Treats
Now that you have this amazing batch of **peppermint fudge**, the hardest part is waiting for it to set! Once it’s firm after chilling—and please be patient and let it chill the full time—it’s time to deal with cutting and packaging. I usually wait until the last minute before wrapping anything up, just to keep things as fresh as possible. I actually use a similar wrapping technique when I make my Christmas Chocolate Pie, just using small tins to keep everything snug.
Use those parchment paper overhangs to lift the whole slab right onto your cutting board. Since this fudge is so incredibly rich, you want to cut it into small squares—I usually get about 36 little bites from one 8×8 pan. For gifting, skip the flimsy plastic wrap! Wrap the squares tightly in wax paper or small cellophane bags tied up with some festive ribbon. Since this is a high-fat, **Holiday Gift Fudge**, it does best when stored in an airtight container right in the refrigerator. It stays wonderfully firm and minty fresh for up to two weeks, which gives you plenty of time to share all your delicious homemade candy!
Frequently Asked Questions About Peppermint Fudge
I know you might still have some little questions bubbling up before you dive in! We all want our holiday candies to turn out perfectly, especially when we are making a big batch of **peppermint fudge** for friends. Here are the top things people always ask me about this **Condensed Milk Fudge Recipe**.
Can I use milk chocolate instead of white chocolate?
You absolutely can try it! But I need to give you a heads-up: the entire visual appeal and brightness of the mint flavor really comes from that white chocolate base. If you swap for milk chocolate, the flavor will change—it gets much heavier and richer because the milk chocolate fights against the peppermint a bit. Plus, if you’re aiming for that beautiful layered **Swirl Fudge Recipe** look, white chocolate is the only way to go for that bright contrast!
What if I don’t have sweetened condensed milk? Can I use regular evaporated milk?
Oh, no, please don’t try that! Evaporated milk is just milk, and it won’t work here at all. Sweetened condensed milk is what gives this fudge its structure and its sweetness all in one step. If you skip that, you won’t get the right texture for this **No Bake Peppermint Fudge**. You’d have to whip up a completely different, cooked-sugar recipe if you don’t have the condensed can handy.
Is there a way to make this even faster using a microwave?
Yes! While I prefer the stovetop for ultimate smooth control (because you just can’t overheat tempered chocolate!), you can absolutely use the microwave. Follow the same steps, but instead of heating on the stove, put your condensed milk and white chocolate in a microwave-safe bowl. Heat in 30-second bursts, stirring really well between each burst. It might take 60 to 90 seconds total, but watch it like a hawk so it doesn’t scorch! It’s what I do when I’m making my fudgy bites in a hurry!
How can I ensure my fudge is the *Best Peppermint Fudge* and doesn’t get hard?
If your fudge ends up hard or grainy, nine times out of ten, it’s because the chocolate got too hot and seized up, or you stirred too much after adding the extracts. Remember my rule: gentle heat and constant stirring, and pull it off the stove *before* it looks perfectly smooth, because it will keep cooking in the residual heat. That careful temperature control is what keeps it creamy and soft, perfect for slicing cleanly.
Estimated Nutritional Data for Peppermint Fudge
Okay, let’s talk numbers! I always try to keep track of what we’re eating, even with something as wonderfully decadent as this **peppermint fudge**. Since we are dealing with white chocolate and sweetened condensed milk, it’s sweet comfort food, for sure, but sometimes knowing the ballpark figures helps when you’re planning holiday dessert tables or just want to be mindful.
Keep in mind that these estimates are based heavily on the standard ingredient sizes listed in the recipe—if you use premium dark chocolate for the swirl or heap on extra candy canes, these numbers will shift a bit. It’s always smart to treat these figures as a general guideline for your **creamy peppermint dessert**!
Here is what you can generally expect per small square (we get about 36 total squares from one pan):
- Calories: Around 130 per square.
- Fat: About 7 grams total, with 4 grams of that being saturated fat from the chocolate and milk fats.
- Sugar: This is where most of the bang comes from, sitting near 16 grams.
- Protein: A small bonus of about 2 grams.
Basically, these are little bites of holiday bliss! If you’re portioning them out correctly into those small squares, moderation is easy because they are so rich—a little bit of this **easy white chocolate fudge** definitely goes a long way toward satisfying that sweet craving. Enjoy them responsibly, my friends!
Share Your Creamy Peppermint Dessert Creations
I absolutely love hearing from you once you’ve whipped up a batch of this **peppermint fudge**! Honestly, seeing your photos and reading your notes about how fast it came together is the best part of my day when I see them pop up in my feed. This is why I’m here at Devour Dish—to make your real-life baking successful and fun!
If this **melt in your mouth fudge** made it to your holiday baking list this year, please, please take a moment and leave a comment below. Tell me if you tried the swirl variation, how fast yours set up in the fridge, or what you paired it with for gifting. Every star rating and comment helps me know that this recipe works perfectly for you, too!
Don’t forget to snap a picture of your finished squares! Tag me on social media so I can admire those perfect candy cane sprinkles. If you have any general questions about recipe tweaks or need help troubleshooting something—though I hope you won’t need it with this simple fudge—don’t hesitate to reach out through my Contact Page. Happy baking, everyone, and I hope this **creamy peppermint dessert** brings a ton of joy to your season!
PrintEasy White Chocolate Peppermint Fudge (No Bake)

Make creamy, festive peppermint fudge using only a few simple ingredients. This no-bake recipe uses condensed milk and white chocolate, topped with crushed candy canes, perfect for holiday gifting.
- Prep Time: 10 min
- Cook Time: 5 min
- Total Time: 3 hours 15 min
- Yield: 36 small squares 1x
- Category: Dessert
- Method: No Bake
- Cuisine: American
- Diet: Vegetarian
Ingredients
- 1 (14 ounce) can sweetened condensed milk
- 2 cups white chocolate chips
- 1 teaspoon peppermint extract
- 1/2 teaspoon vanilla extract
- 1/2 cup crushed peppermint candies (for topping)
Instructions
- Line an 8×8 inch baking pan with parchment paper, leaving an overhang on the sides for easy removal. Lightly grease the paper.
- In a medium saucepan over low heat, combine the sweetened condensed milk and white chocolate chips. Stir constantly until the chocolate is completely melted and the mixture is smooth. Do not let it boil.
- Remove the pan from the heat. Stir in the peppermint extract and vanilla extract until fully combined.
- Pour the fudge mixture into the prepared pan and spread it evenly.
- Immediately sprinkle the crushed peppermint candies over the top of the fudge. Gently press them into the surface.
- Refrigerate the fudge for at least 3 hours, or until firm enough to slice.
- Use the parchment paper overhang to lift the fudge out of the pan. Cut into small squares before serving or packaging.
Notes
- For a swirl effect, reserve about 1/3 of the white fudge mixture. Melt 4 ounces of semi-sweet chocolate chips separately and swirl it into the remaining white fudge before pouring into the pan.
- If you prefer a stronger mint flavor, increase the peppermint extract to 1 1/2 teaspoons.
- Store leftover fudge in an airtight container in the refrigerator for up to two weeks.
Nutrition
- Serving Size: 1 square
- Calories: 130
- Sugar: 16g
- Sodium: 35mg
- Fat: 7g
- Saturated Fat: 4g
- Unsaturated Fat: 3g
- Trans Fat: 0g
- Carbohydrates: 17g
- Fiber: 0g
- Protein: 2g
- Cholesterol: 10mg