
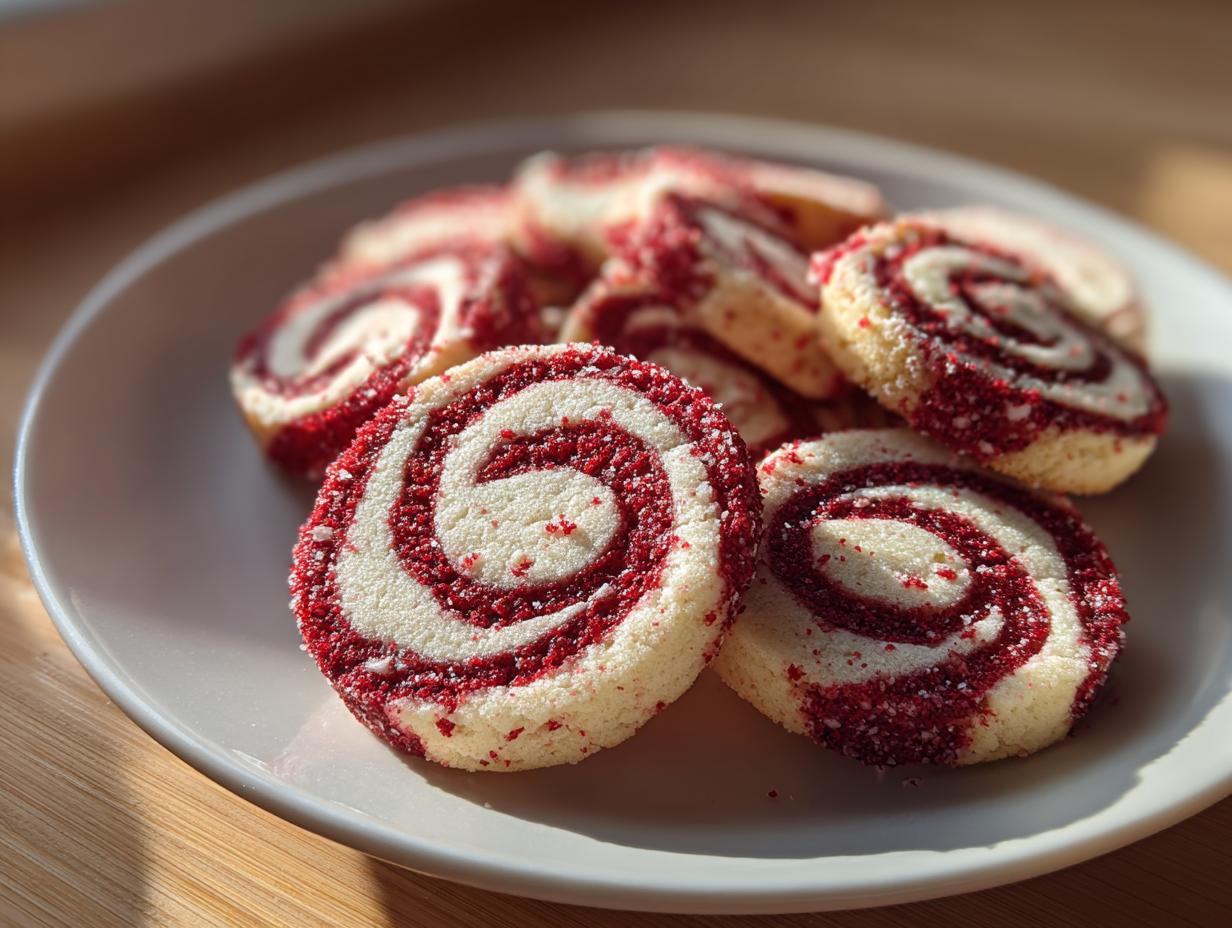
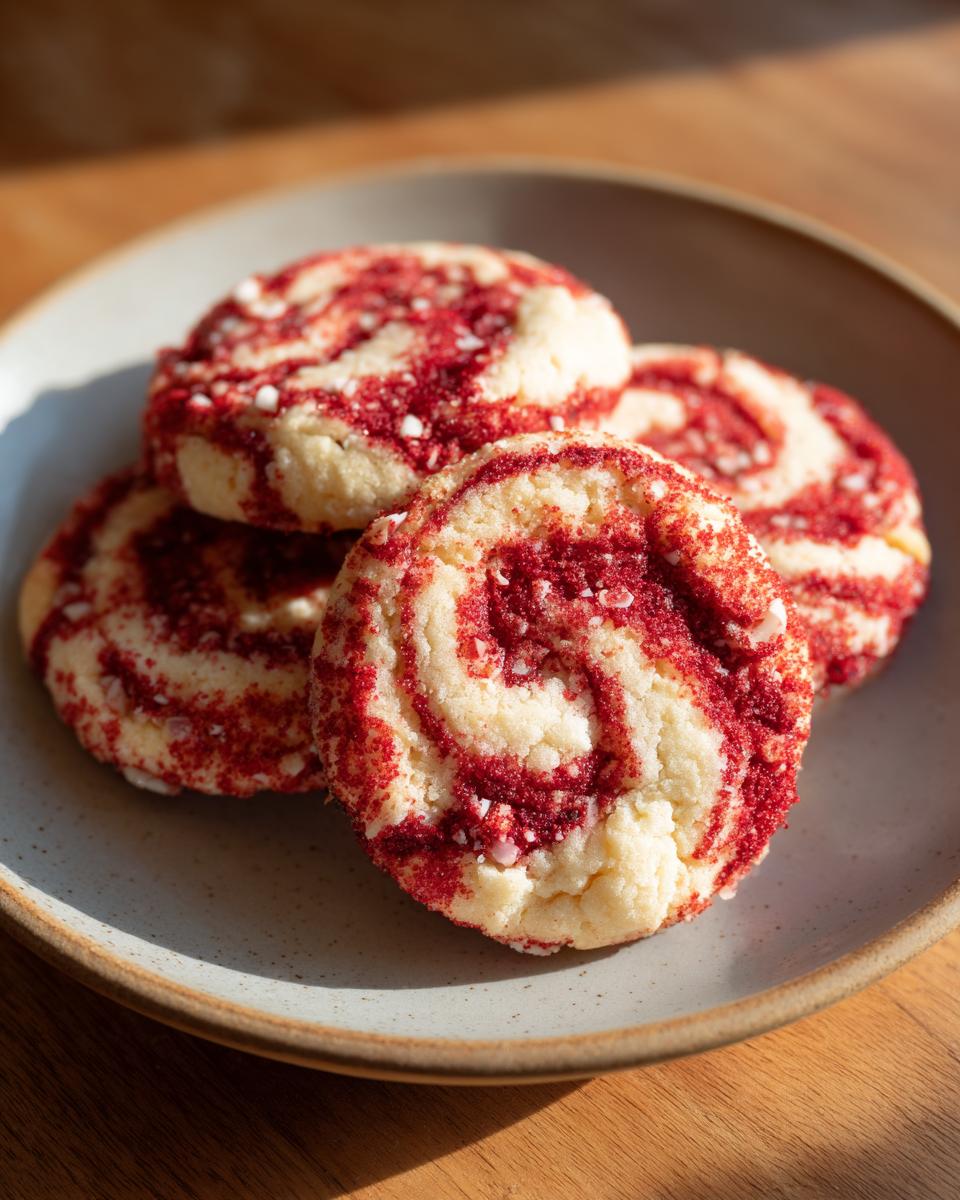
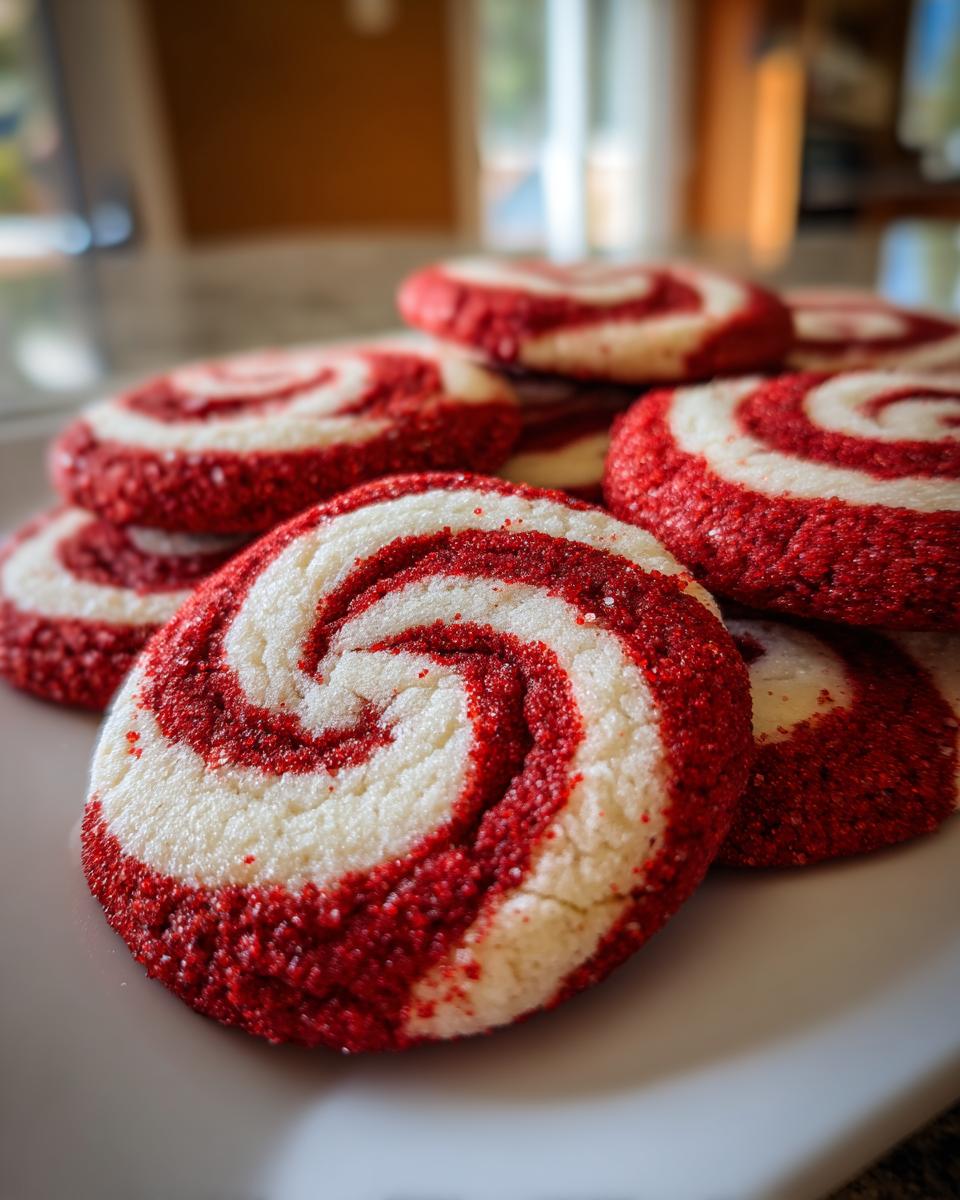
Oh, the holidays! There’s just something magical in the air, isn’t there? And for me, that magic really starts with the baking. My kitchen transforms into a tiny wonderland, filled with the most delightful smells. And what’s a holiday spread without a showstopper like these peppermint swirl cookies? Seriously, just look at them! That classic red and white pinwheel design is pure festive perfection, and that cool, crisp minty bite? It’s like a little winter wonderland in your mouth. Here at Devour Dish, we believe that food is about connection and joy, and that’s exactly what these cookies bring to our family. They’re simple, joyful, and make our holiday celebrations feel extra special. I can’t wait for you to try them!
- Why You'll Love These Peppermint Swirl Cookies
- Ingredients for Your Festive Peppermint Swirl Cookies
- Crafting Perfect Peppermint Pinwheel Cookies: Step-by-Step
- Tips for Making the Best Peppermint Swirl Cookies
- Make Ahead and Freezer Storage for Holiday Cookies
- Serving Suggestions for Your Festive Cookies
- Frequently Asked Questions About Peppermint Swirl Cookies
- Nutritional Information for Peppermint Swirl Cookies
- Share Your Festive Baking Creations!
Why You’ll Love These Peppermint Swirl Cookies
Seriously, these cookies are a hit every single year! Here’s why you’ll want to add them to your Christmas baking list:
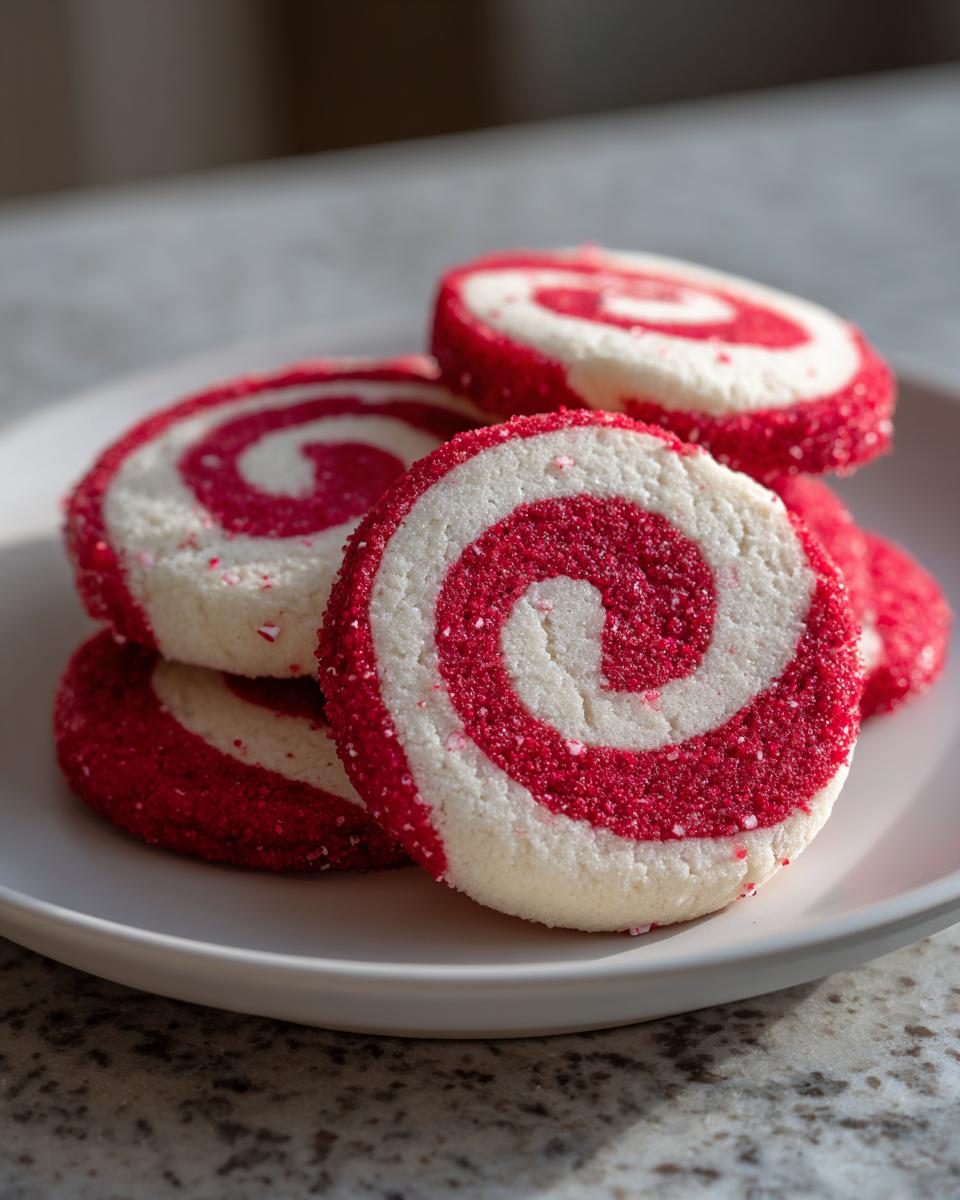
- Festive Looks: That gorgeous red and white swirl? It screams holidays! They look stunning on any cookie platter.
- Cool Minty Flavor: A refreshing peppermint kick that’s just perfect for winter.
- Easy to Make: The dough comes together pretty quickly, and slicing them is fun!
- Make Ahead Friendly: You can chill the dough logs for days, meaning you can bake whenever you’re ready.
- Kid-Approved Fun: Mine love helping add the red color and rolling them up.
- Crowd Pleasers: Perfect for cookie swaps and holiday parties – they always disappear fast!
Ingredients for Your Festive Peppermint Swirl Cookies
Gathering your ingredients is the first step to baking up some holiday magic! You’ll need these simple pantry staples for your delightful red and white cookies:
- 2 1/4 cups all-purpose flour
- 1 teaspoon baking soda
- 1/2 teaspoon salt
- 1 cup (2 sticks) unsalted butter, softened
- 1 1/2 cups granulated sugar
- 2 large eggs
- 1 teaspoon peppermint extract
- 1/4 teaspoon red food coloring
Crafting Perfect Peppermint Pinwheel Cookies: Step-by-Step
Alright, let’s get down to the fun part – actually making these beautiful peppermint swirl cookies! Don’t let the pretty swirls fool you; these are totally doable. Follow along, and you’ll have gorgeous, crisp little cookies in no time.
Preparing the Dough Base
First things first, let’s get our dry ingredients all blended. In a medium bowl, just whisk together your flour, baking soda, and salt. Easy peasy! Now, in your big mixing bowl, grab your softened butter and sugar. This is where the magic starts. Cream them together until they look nice and fluffy – think pale yellow and light. Then, beat in your eggs one at a time, and stir in that lovely peppermint extract. Trust me, the smell alone is worth it!
Achieving the Perfect Swirl
Now for the fun part that makes them truly “swirl” cookies! Divide that glorious dough right down the middle. Take one half and mix in your red food coloring until it’s a beautiful, even shade of festive red. You want it vibrant! On a lightly floured surface, roll out one of the dough halves – let’s do the white one first – into a rectangle, about 10 by 12 inches is usually perfect. Then, do the same with your red dough. Carefully lay that red rectangle right on top of the white one. Gently press them together so they stick. We’re building layers here!
Chilling and Slicing the Dough
This step is SO important for those clean swirls! Starting from one of the long sides, tightly roll up the layered dough into a log. Think of it like a jelly roll! Wrap that log up super tight in plastic wrap. Pop it into the fridge for at least 2 hours, or until it’s nice and firm. This makes slicing so much neater. Once it’s firm, preheat your oven to 375°F (190°C) and line your baking sheets with parchment paper. Now, grab a sharp knife and slice your log into ¼-inch thick rounds. Try to keep them even!
Baking Your Festive Cookies
Lay those beautiful little pinwheel slices onto your prepared baking sheets, making sure to leave about 2 inches between them because they will spread just a tiny bit. Pop them into your hot oven, and bake for about 8 to 10 minutes. You’re looking for the edges to be just lightly golden. Don’t overbake them! Let them cool on the baking sheets for a few minutes – this helps them firm up a bit more. Then, carefully transfer them to a wire rack to cool completely. Watch out, they might still be hot!
Tips for Making the Best Peppermint Swirl Cookies
Okay, so you’ve got the recipe, but let’s talk about how to take these peppermint swirl cookies from good to absolutely spectacular! A few little tricks up my sleeve can make all the difference, ensuring your swirls are sharp and your cookies have that perfect crisp bite. First off, butter temperature is key! Make sure it’s softened, almost like gently pressed play-doh, but definitely not melted. If it’s too warm, your cookies will spread like crazy and lose that lovely pinwheel shape. Also, when you’re rolling out the dough, don’t fuss with it too much—just smooth and even is perfect. And for that vibrant red color? My trick is to use a gel food coloring instead of the liquid stuff. A little goes a long way and gives you a super bright red without adding extra moisture that could mess with the dough texture. Trust me, these little details are what make all the difference!
Make Ahead and Freezer Storage for Holiday Cookies
One of the things I absolutely adore about these peppermint swirl cookies is how awesome they are for making ahead! Honestly, the dough is your best friend when you’re prepping for a big holiday event. Once you’ve made the dough logs and wrapped them up super tight in plastic wrap, you can totally stash them in the fridge for like, 2-3 days. Need to stash them even longer? No prob! You can freeze those dough logs for up to 3 months. Just slice and bake straight from frozen when you’re ready. You might need to add just a couple of extra minutes to the baking time, but it’s totally worth it for fresh, festive cookies on demand!
Serving Suggestions for Your Festive Cookies
These gorgeous peppermint swirl cookies are just begging to be the star of any holiday spread! They’re absolutely perfect for a festive cookie swap or piled high on a holiday platter. Imagine them alongside a warm mug of hot cocoa or a cozy cup of tea – pure holiday bliss! They’re wonderful for passing around at parties or just enjoying with your family after dinner.
Frequently Asked Questions About Peppermint Swirl Cookies
Got questions about these festive peppermint swirl cookies? I’ve got answers! We’ve all been there with holiday baking, haven’t we? Let’s troubleshoot a few things so your peppermint pinwheel cookies turn out absolutely perfect for your Christmas baking!
Can I substitute peppermint extract?
You sure can! While peppermint is classic, you could totally use spearmint extract for a slightly different, cooler mint flavor. Just make sure it’s a good quality extract, and use the same amount. Since it’s a flavor change, it won’t affect how the cookies bake.
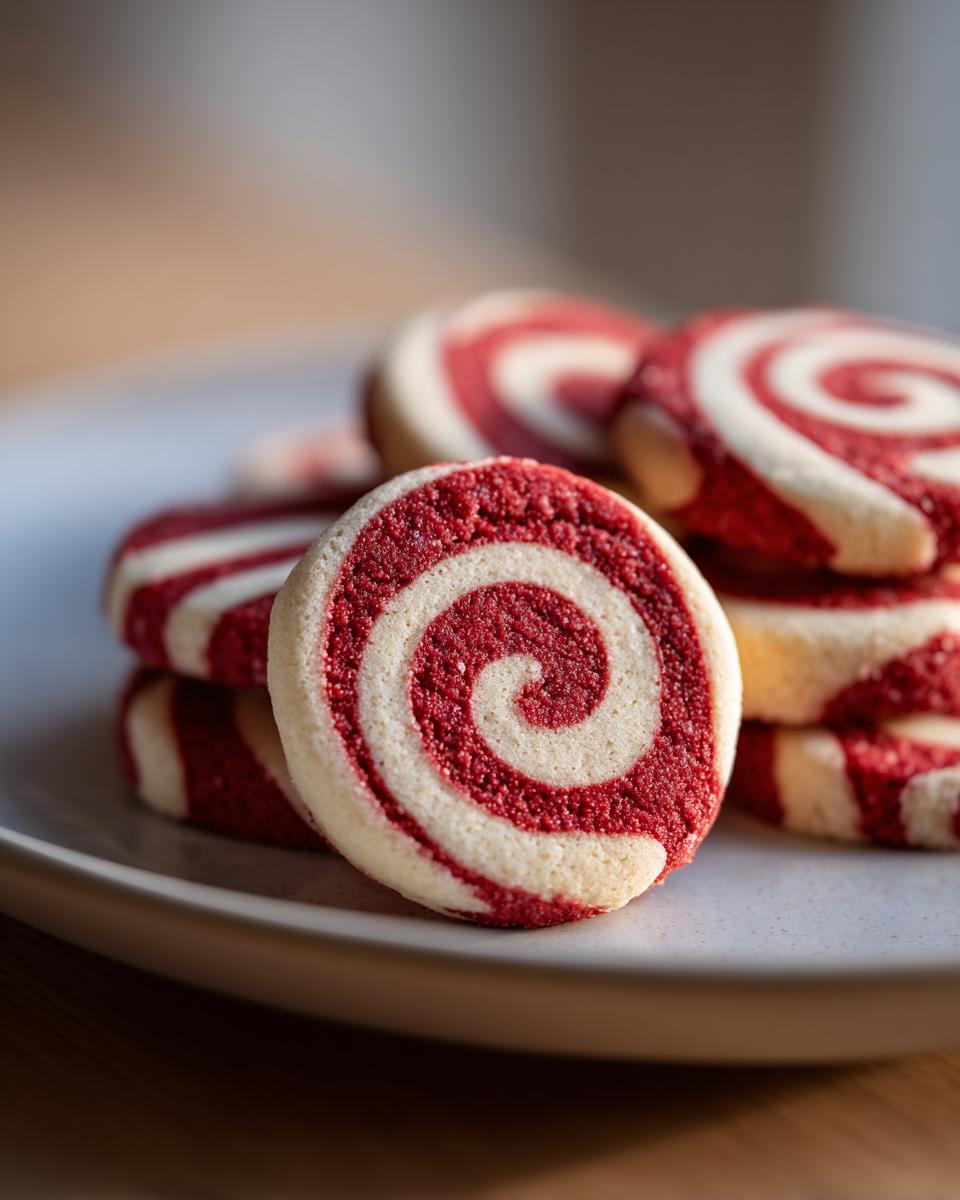
How to achieve sharp swirls in my cookies?
For those super sharp swirls, the key is really firm dough! Make sure you chill it until it’s quite solid – that makes slicing way cleaner. Use a really sharp knife and try to slice straight down without wiggling. Also, don’t let the dough soften too much at room temp before you slice it.
Why did my peppermint swirl cookies spread?
Usually, cookies spread when the dough is too warm or the butter was too soft when you started. Make sure your butter is softened but still cool to the touch, not melty! Chilling that dough log until it’s really firm is crucial too. If your dough seems too soft, just pop it back in the fridge for another 15-20 minutes before slicing.
Nutritional Information for Peppermint Swirl Cookies
Okay, so we’ve chatted all about how delicious and festive these peppermint swirl cookies are, but what about the nitty-gritty? Here’s a little peek at the estimated nutritional info per cookie. Keep in mind, this is just a ballpark figure, since baker’s estimates can vary a little bunch depending on exact ingredients used and serving size, but it gives you a good idea!
Serving Size: 1 cookie
- Calories: 120
- Fat: 6g
- Saturated Fat: 4g
- Trans Fat: 0g
- Cholesterol: 20mg
- Sodium: 40mg
- Carbohydrates: 15g
- Sugar: 10g
- Fiber: 0g
- Protein: 1g
Share Your Festive Baking Creations!
I just LOVE seeing your baking adventures! Did you whip up these delightful peppermint swirl cookies? Please, pretty please, drop a comment below and let me know how they turned out! And if you snap any photos of your gorgeous red and white masterpieces, tag us on social media – I’d be absolutely thrilled to see them! Happy baking, everyone!
PrintPeppermint Swirl Cookies

Crisp, festive red-and-white pinwheel cookies with a cool peppermint flavor, perfect for holiday baking.
- Prep Time: 20 min
- Cook Time: 10 min
- Total Time: 2 hours 30 min
- Yield: 36 cookies 1x
- Category: Dessert
- Method: Baking
- Cuisine: American
- Diet: Vegetarian
Ingredients
- 2 1/4 cups all-purpose flour
- 1 teaspoon baking soda
- 1/2 teaspoon salt
- 1 cup (2 sticks) unsalted butter, softened
- 1 1/2 cups granulated sugar
- 2 large eggs
- 1 teaspoon peppermint extract
- 1/4 teaspoon red food coloring
Instructions
- In a medium bowl, whisk together flour, baking soda, and salt.
- In a large bowl, cream together softened butter and granulated sugar until light and fluffy.
- Beat in eggs one at a time, then stir in peppermint extract.
- Gradually add the dry ingredients to the wet ingredients, mixing until just combined.
- Divide the dough in half. In one half, mix in the red food coloring until evenly distributed.
- On a lightly floured surface, roll out the white dough into a rectangle approximately 10×12 inches.
- Roll out the red dough into a similar-sized rectangle.
- Carefully place the red dough rectangle on top of the white dough rectangle, pressing gently to adhere.
- Starting from one of the long sides, tightly roll up the dough into a log.
- Wrap the log tightly in plastic wrap and refrigerate for at least 2 hours, or until firm.
- Preheat your oven to 375°F (190°C). Line baking sheets with parchment paper.
- Slice the dough log into 1/4-inch thick rounds.
- Place the cookie rounds onto the prepared baking sheets, about 2 inches apart.
- Bake for 8-10 minutes, or until the edges are lightly golden.
- Let the cookies cool on the baking sheets for a few minutes before transferring them to a wire rack to cool completely.
Notes
- For best results, ensure your butter is softened but not melted.
- You can freeze the dough logs for up to 3 months. Slice and bake from frozen, adding a few extra minutes to the baking time.
- For a cleaner swirl, chill the dough thoroughly before slicing.
- Adjust the amount of red food coloring to achieve your desired shade of red.
Nutrition
- Serving Size: 1 cookie
- Calories: 120
- Sugar: 10g
- Sodium: 40mg
- Fat: 6g
- Saturated Fat: 4g
- Unsaturated Fat: 2g
- Trans Fat: 0g
- Carbohydrates: 15g
- Fiber: 0g
- Protein: 1g
- Cholesterol: 20mg