
Oh, autumn! There’s just something magical about that crisp air and the abundance of gorgeous, ripe pears just begging to be preserved. If you’ve ever found yourself with a bushel of beautiful Bartlett or Bosc pears, you’re in for a treat. I’m so excited to share this recipe with you for old-fashioned chunky pear preserves, made the way my grandma would have done it – no added pectin needed! It brings me such joy to connect with you through simple, homemade goodness, just like we talk about over at my About page. This recipe is a tested favorite, perfect for your pantry and guaranteed to bring a little bit of sunshine to your table, no matter the season.
- Why You'll Love This Old-Fashioned Pear Preserves Recipe
- Ingredients for Chunky Pear Preserves
- Essential Equipment for Canning Pear Preserves
- Step-by-Step Guide to Making Pear Preserves Without Pectin
- Tips for Perfect Old-Fashioned Pear Preserves
- Serving Suggestions for Your Homemade Pear Preserves
- Storage and Reheating Instructions for Pear Preserves
- Frequently Asked Questions About Pear Preserves
- Estimated Nutritional Information for Pear Preserves
- Share Your Pear Preserves Creations!
Why You’ll Love This Old-Fashioned Pear Preserves Recipe
Seriously, you’re going to adore making (and eating!) this pear preserves recipe. Here’s why it’s a keeper:
- It’s So Easy! No fancy stuff here. You don’t even need pectin to get a gorgeous, thick texture.
- Incredible Pear Flavor: You get pure, unadulterated pear goodness in every spoonful. It’s amazing!
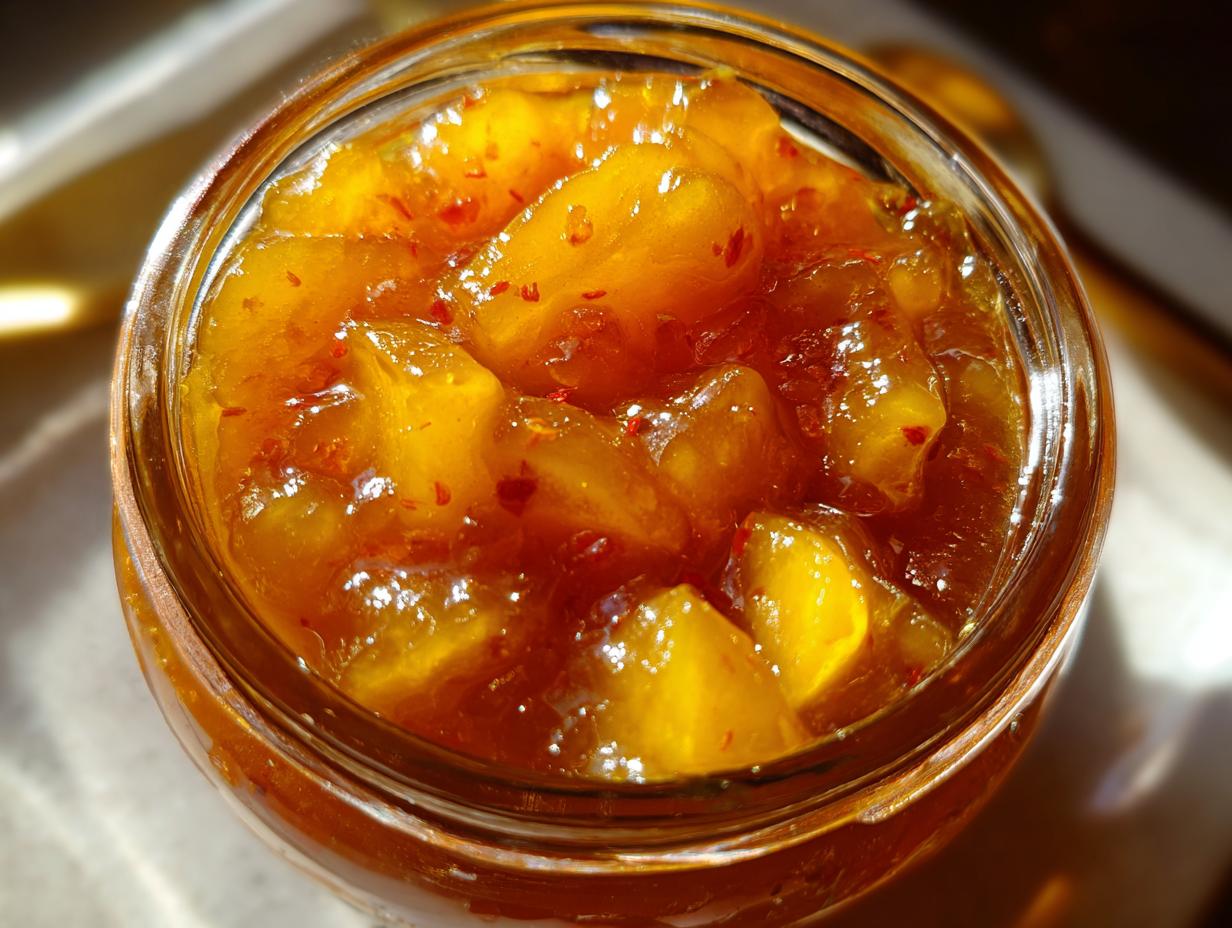
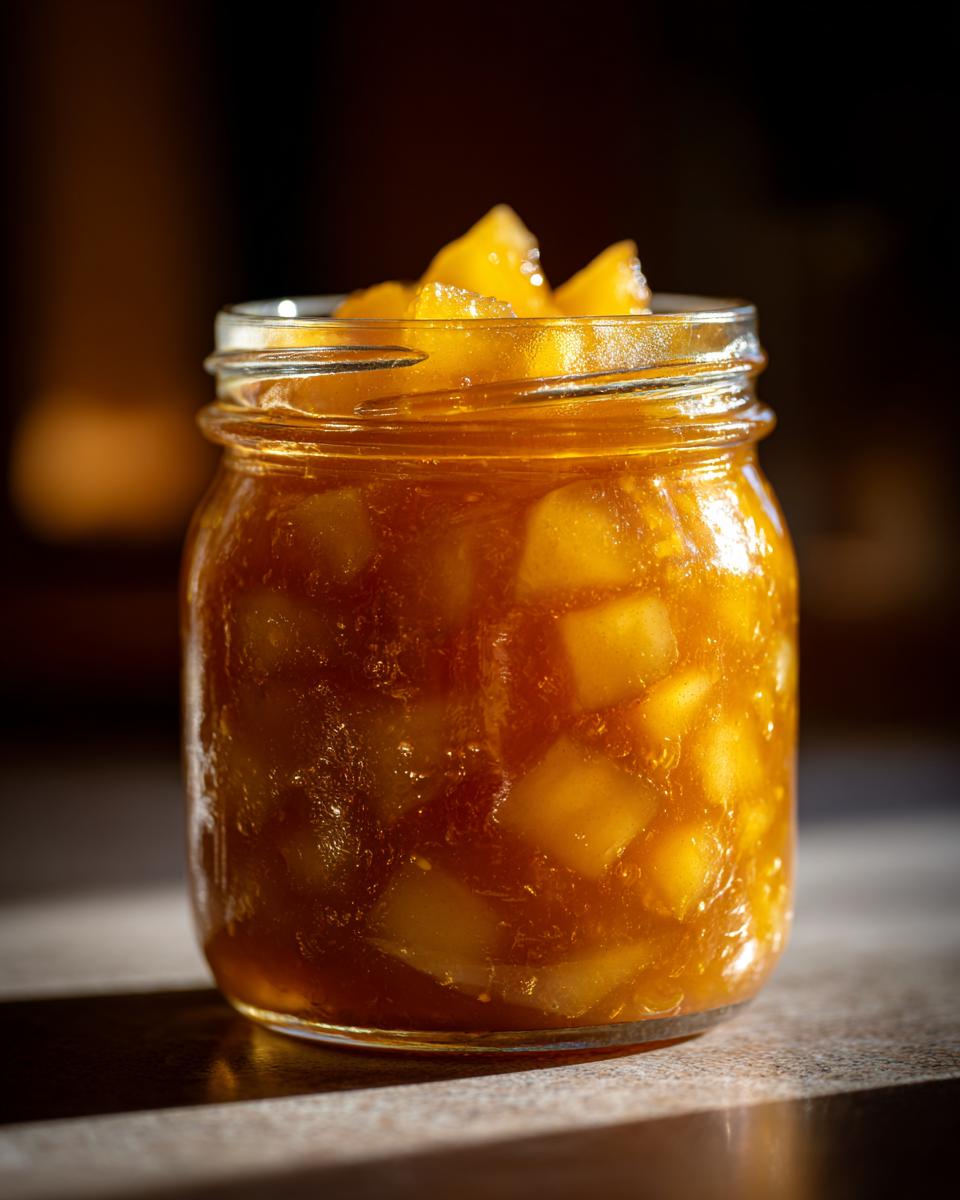
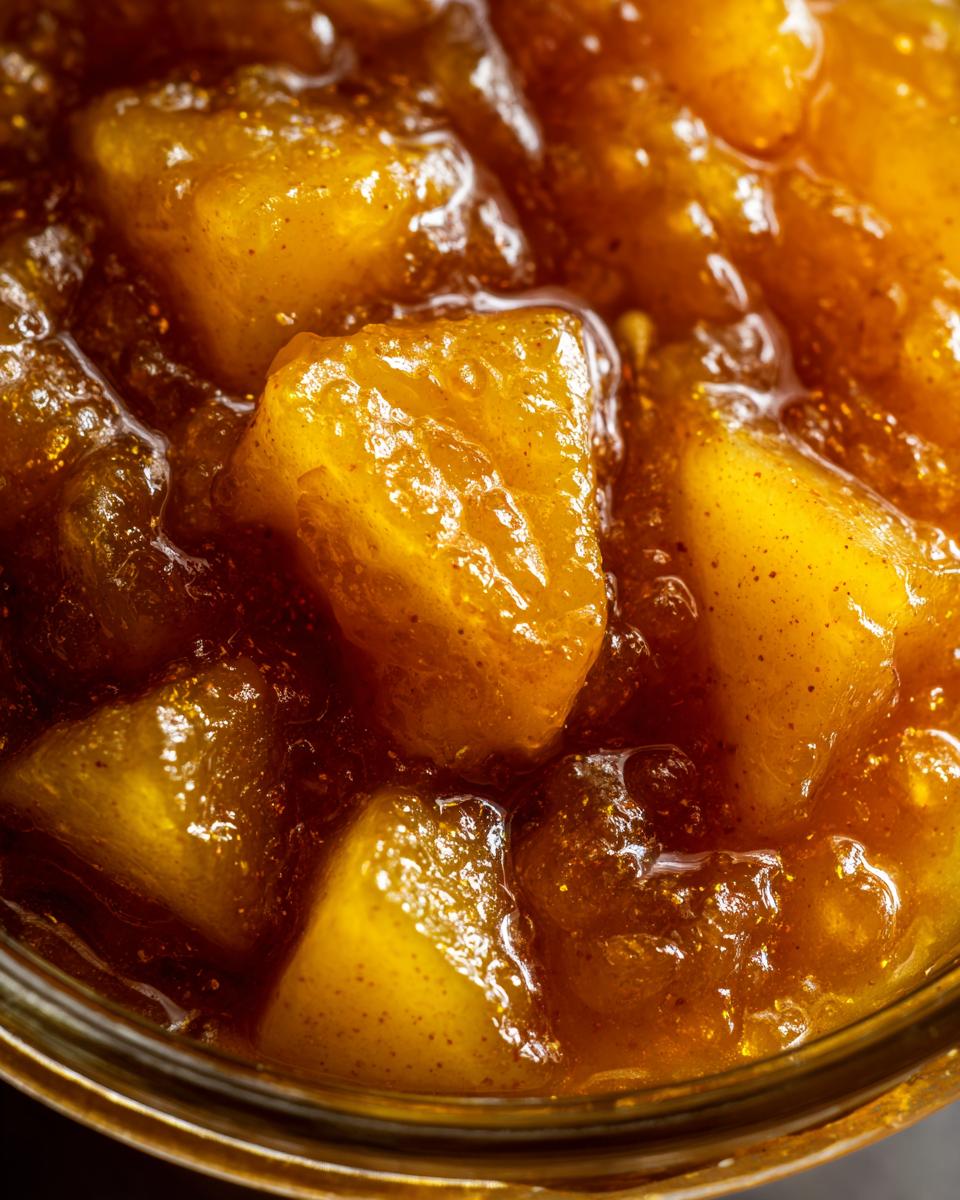
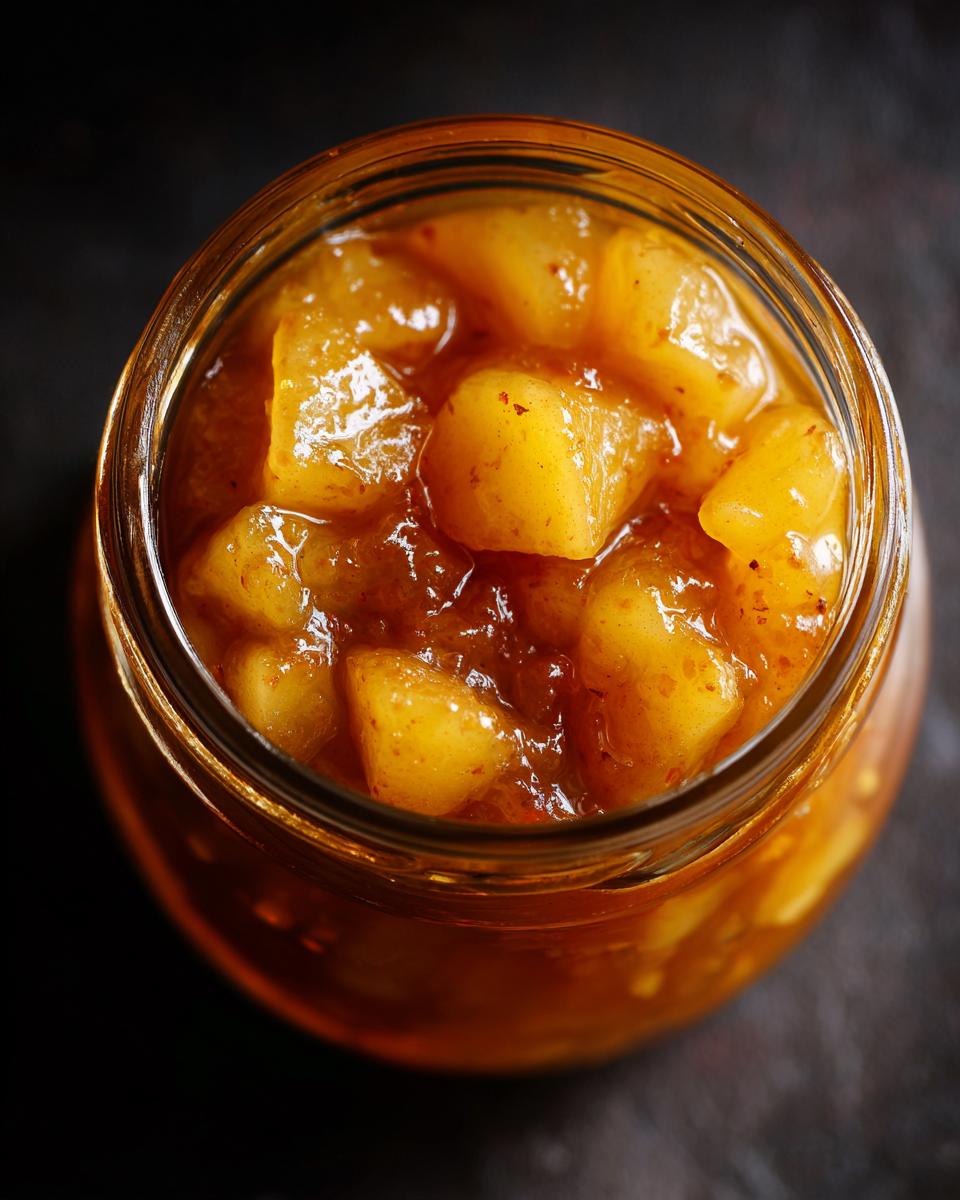
- Perfectly Chunky Texture: We’re talking real fruit pieces, not smooth goo! It’s exactly what you want on toast.
- Preserve That Seasonal Bounty: Got pears? This is the *perfect* way to capture that fall harvest and enjoy it all year long.
- Pure Homemade Joy: There’s nothing quite like the satisfaction of pulling a jar of beautiful homemade preserves from your pantry.
Ingredients for Chunky Pear Preserves
Alright, let’s talk about what you’ll need for this glorious pear preserves recipe. The beauty of this one is that it’s all about the pears themselves, with just a few pantry staples to help them shine. For the best results, make sure your pears are ripe, but still firm to the touch – not mushy! This will give you that lovely chunky texture we’re aiming for. You’ll need:
- 3 pounds ripe pears: Bartlett or Bosc work wonderfully here. You’ll want to peel them, core them, and then chop them up.
- 3 cups granulated sugar: This is our natural preservative and helps give the preserves that lovely thick texture.
- 1/4 cup lemon juice: This is super important for both flavor brightness and, importantly, for the acidity needed for safe water bath canning. Use about one large lemon’s worth.
- 1/2 cup water: Just a little bit to get things started!
Essential Equipment for Canning Pear Preserves
Okay, before we dive into the fun stuff, let’s make sure you’ve got your tools ready! Having the right equipment makes this whole process so much smoother – and safer! You’ll want a large, heavy-bottomed pot for cooking those pears down, something sturdy that won’t scorch easily. Of course, for canning, a water bath canner is a must, along with a jar lifter (trust me, you don’t want to burn your fingers!), a canning funnel, and some clean jars, lids, and bands. Don’t forget a ladle and maybe a magnetic lid lifter or tongs for those hot lids!
Step-by-Step Guide to Making Pear Preserves Without Pectin
Alright, let’s get our hands in some gorgeous pears and make some magic happen! This is where the fun really begins. Follow these steps, and you’ll have beautiful, chunky pear preserves ready for your pantry in no time. It’s all about patience and good technique!
Preparing Your Canning Jars and Equipment
First things first, we need to get our canning station ready. It’s super important for food safety! Wash all your jars, lids, and bands really well in hot, soapy water. Then, keep those jars filled with hot water (I usually do this right in my water bath canner or pop them in a low oven) to keep them nice and warm. Sterilize those jars by boiling them for at least 10 minutes. Keep your lids warm in a separate little pot of water until they’re ready to go on your jars. This whole routine ensures your water bath canning pears are going to be safe and sound.
Cooking the Pear Preserves Mixture
Now for the cooking! Grab your biggest, heaviest pot – you’ll thank me later! Toss in your prepared chopped pears, the sugar (this is key for preservation and getting that lovely thick set!), your lemon juice, and that little bit of water. Give it all a good stir to get acquainted. Bring the whole mixture up to a boil over medium-high heat, stirring often. Once it’s boiling, turn the heat down to medium and let it simmer away. Stir it every so often, and keep an eye out for any foamy bits that rise to the top – just skim those off. You’re aiming for the pears to get nice and tender and for the whole mixture to thicken up beautifully. This usually takes about 45 minutes to an hour, depending on your pears.
Testing for the Perfect Pear Preserves Set
This is the moment of truth! How do you know when your pear preserves are ready to gel? It’s simple, really! Pop a small spoonful of the hot mixture onto a little plate that you’ve chilled in the freezer beforehand. Let it sit for a minute or two. If it gels up and looks beautifully set as it cools, you’ve nailed it! If it’s still runny, just let it simmer for a few more minutes and test again.
Filling and Sealing Your Jars of Pear Preserves
Almost there! Carefully ladle that hot, gorgeous pear preserves mixture into your hot, sterilized jars. Make sure you leave about 1/2 inch of space at the top – this is called headspace, and it’s crucial for a good seal. Don’t skip it! Use a clean, damp cloth to wipe down the rims of the jars so there’s no sticky stuff interfering with the lid. Pop on your warm lids and screw the bands on just fingertip tight. You don’t want to crank them on!
Water Bath Canning Your Pear Preserves
Time to seal them all up safely! Carefully place your filled jars into your boiling water bath canner. Make sure the water covers the jars by at least an inch. Bring the water back to a rolling boil, then start your timer. Process the jars for 10 minutes. Remember, if you live at a higher altitude, you’ll need to add a bit more processing time, so be sure to check those charts! The lemon juice is your best friend here, providing the acidity needed for safe pear preserves safety lemon juice and a good set.
Cooling and Checking Seals
Once the processing time is up, carefully lift the jars out of the canner using your jar lifter and place them on a wire rack or a towel-lined counter. Let them sit undisturbed for 12 to 24 hours. You might hear some fun popping sounds as they seal! After they’ve cooled completely, press down on the center of each lid. If it doesn’t budge, it’s sealed! Hooray! These jars are now ready for your pantry.
Tips for Perfect Old-Fashioned Pear Preserves
Making preserves is such a rewarding process, and I’ve picked up a few little tricks along the way that *really* make a difference. First off, pear selection is key! You really want those ripe, but still firm, pears. Think Bartlett or Bosc – they hold their shape beautifully. If your pears are too soft, you’ll end up with more of a mush, and while tasty, it won’t be that lovely chunky texture we’re after. Speaking of texture, if you *do* decide you want it a *little* smoother but still chunky, you can totally pulse the cooked mixture a few times with an immersion blender. Just be super careful not to overdo it! And for that perfect set, trust your chilled plate test – it’s honestly foolproof once you get the hang of it. Following these little insights ensures your preserves don’t just taste amazing, but they look and feel just right too.
Serving Suggestions for Your Homemade Pear Preserves
Oh, the possibilities are endless once you have a jar of these gorgeous pear preserves! They’re not just for toast, though that’s absolutely divine. Spoon some over warm, homemade biscuits – the perfect fall breakfast! They also make a fantastic addition to a cheese board; that slightly sweet, fruity flavor pairs wonderfully with sharp cheddars or creamy brie. Don’t forget to stir a spoonful into your morning yogurt or oatmeal! And honestly, they make such lovely giftable preserves for friends and family. It’s like giving a little jar of sunshine!
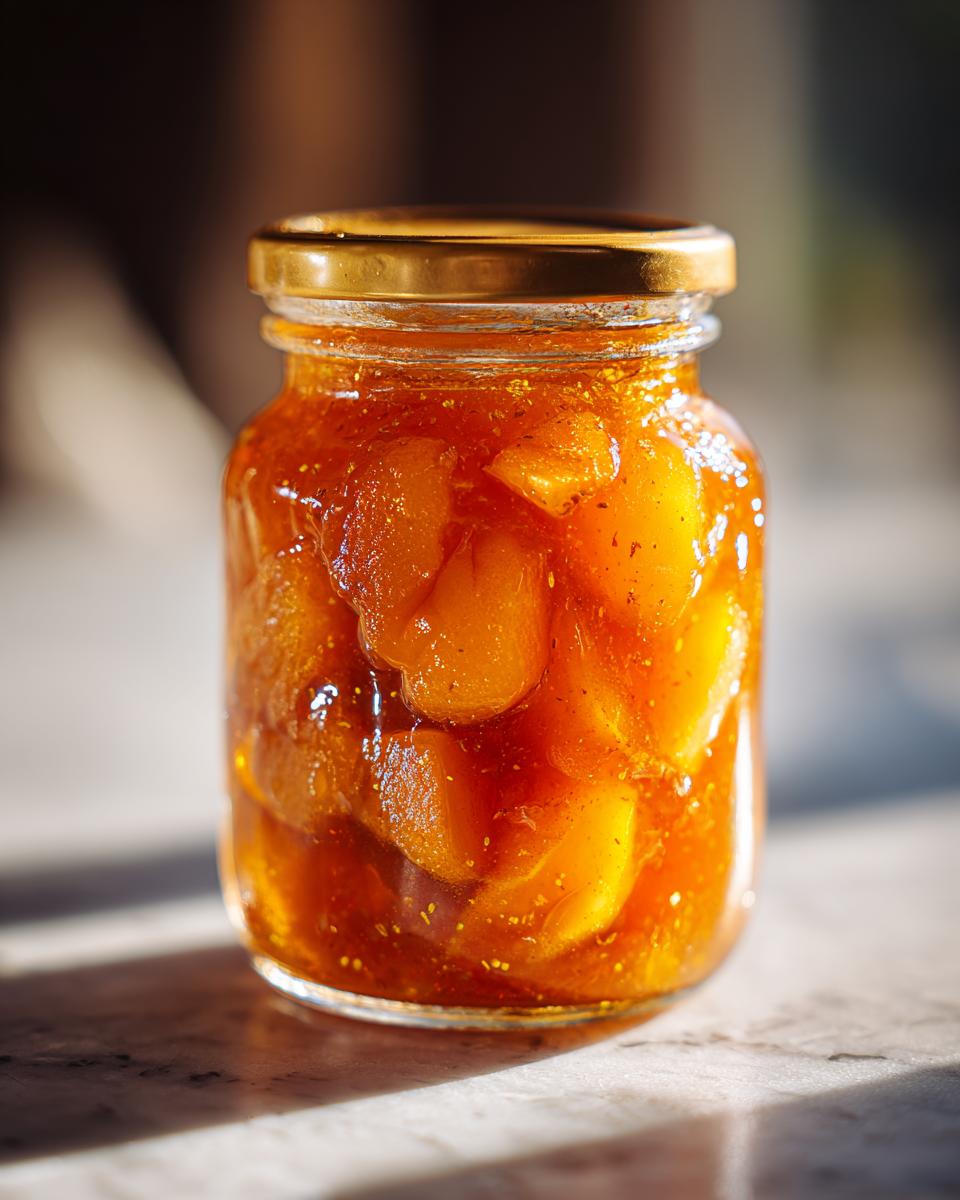
Storage and Reheating Instructions for Pear Preserves
Alright, you’ve done the hard work and canned your beautiful pear preserves! Now, what? Properly storing them is key to keeping that deliciousness safe and tasty. For all those sealed jars, find a nice, cool, dark spot in your pantry or cupboard. Think of it like tucking them into a cozy bed away from the sun. They should keep beautifully like this for at least a solid year, though honestly, they’re often so good you’ll want to eat them sooner! Once you’ve opened a jar, just pop it in the refrigerator. Keep it there, and it’ll stay fresh and fabulous for about 3-4 weeks. Happy spreading!
Frequently Asked Questions About Pear Preserves
Got questions about whipping up these delicious pear preserves? I totally get it! Canning can feel a little intimidating at first, but once you get the hang of it, it’s so rewarding. Don’t worry, I’ve got you covered!
Can I use Pomona pectin for pear preserves?
Absolutely! While this recipe is designed to be pectin-free for that classic chunky texture, you *can* use Pomona pectin if you prefer. It tends to give a firmer set. Just follow the package directions specifically for pear preserves, and be aware it might change the cooking time slightly. It’s a great option if you’re looking for that specific kind of set with your Pomona pectin pear preserves.
What is the best way to make small batch pear preserves?
Making a small batch pear preserves is super easy! Just cut all the ingredient quantities down proportionally. If you’re halving the recipe, use half the pears, half the sugar, half the lemon juice, and half the water. Honestly, you can usually get away with about half the water. The cooking and canning times will remain about the same since the volume difference isn’t drastic enough to significantly alter how the jars process in the water bath.
How do I ensure my pear preserves are safe to eat?
Safety first, always! The key is following tested canning procedures. Make sure you’re using the correct amount of lemon juice for acidity – it’s crucial for that pear preserves safety lemon juice. Always maintain the proper 1/2 inch headspace in your jars, wipe those rims clean, and process them in a boiling water bath for the specified time. Sticking to these guidelines is how you guarantee your preserves are safe for your pantry!
Estimated Nutritional Information for Pear Preserves
Now, about the numbers! While these are estimates and can totally vary based on the exact ripeness of your pears and how much sugar they naturally contain, here’s a general idea of what you’re looking at for a 2-tablespoon serving of these delicious pear preserves:
- Calories: Around 80
- Sugar: About 20g (mostly from the fruit and added sugar!)
- Sodium: Just about 5mg
- Fat: 0g
- Saturated Fat: 0g
- Unsaturated Fat: 0g
- Trans Fat: 0g
- Carbohydrates: Around 21g
- Fiber: About 1g
- Protein: 0g
- Cholesterol: 0mg
So, enjoy that wonderful fruity goodness!
Share Your Pear Preserves Creations!
I just *love* hearing from you all and seeing what you create in your kitchens! If you make this old-fashioned pear preserves recipe, please let me know how it turns out. Drop a comment below, give it a star rating, or even better, share a photo of your beautiful jars or how you’re enjoying them! You can always reach out if you have any questions. Happy preserving!
PrintOld-Fashioned Pear Preserves

Learn how to make chunky, old-fashioned pear preserves from scratch using a water bath canning method. This recipe is perfect for preserving a seasonal harvest and creates a delicious spread for biscuits, toast, or cheese boards.
- Prep Time: 30 min
- Cook Time: 60 min
- Total Time: 90 min
- Yield: Approximately 4-5 half-pint jars 1x
- Category: Preserves
- Method: Water Bath Canning
- Cuisine: American
- Diet: Vegetarian
Ingredients
- 3 pounds ripe pears (like Bartlett or Bosc), peeled, cored, and chopped
- 3 cups granulated sugar
- 1/4 cup lemon juice (from about 1 large lemon)
- 1/2 cup water
Instructions
- Prepare your canning equipment: Wash jars, lids, and bands in hot, soapy water. Rinse and keep jars hot (in a water bath canner or oven). Sterilize jars by boiling them in water for 10 minutes. Keep lids in warm water until ready to use.
- Combine chopped pears, sugar, lemon juice, and water in a large, heavy-bottomed pot.
- Stir well to combine.
- Bring the mixture to a boil over medium-high heat, stirring constantly.
- Reduce heat to medium and simmer, stirring occasionally, until the pears are tender and the mixture has thickened, about 45-60 minutes. Skim off any foam that rises to the surface.
- Test for set: Place a small amount of the preserve mixture on a chilled plate. If it gels as it cools, it is ready.
- Ladle the hot preserves into hot, sterilized jars, leaving 1/2 inch headspace.
- Wipe the jar rims clean with a damp cloth.
- Place the lids on the jars and screw on the bands fingertip tight.
- Process the jars in a boiling water bath canner for 10 minutes (adjust for altitude if necessary).
- Remove jars from the canner and let them cool on a wire rack for 12-24 hours. Check seals before storing.
Notes
- For a smoother preserve, you can pulse the cooked mixture a few times with an immersion blender, but be careful not to over-process if you want a chunky texture.
- Ensure your pears are ripe but not overly soft for the best texture.
- Using lemon juice is crucial for acidity and helps ensure a safe set when canning.
- Proper headspace is important for a good seal.
Nutrition
- Serving Size: 2 tablespoons
- Calories: 80
- Sugar: 20g
- Sodium: 5mg
- Fat: 0g
- Saturated Fat: 0g
- Unsaturated Fat: 0g
- Trans Fat: 0g
- Carbohydrates: 21g
- Fiber: 1g
- Protein: 0g
- Cholesterol: 0mg