
If you’ve ever sworn off making homemade desserts because they felt too complicated or required an oven, I have news for you! Sometimes, the most absolutely decadent sweet treat can come together faster than ordering takeout. I’m Avery Collins, and I believe pulling off a gourmet dessert, like a stunning chocolate mousse, should be simple, not stressful. That’s why I’m sharing what I call the Easiest Ever, Rich & Creamy No-Bake Chocolate Mousse. This recipe delivers that gorgeous, velvety texture that makes people think you spent hours in the kitchen, but trust me, it’s pure magic achievable in minutes. Forget the complicated tempering; this is your new go-to for indulgence. If you need a simple chocolate topping to go with this later, I have a fantastic recipe for easy homemade chocolate syrup recipe!
- Why This Easy Chocolate Mousse Recipe Works for Everyone
- Ingredients for Your Rich & Creamy Chocolate Mousse
- Step-by-Step Instructions for Perfect Chocolate Mousse
- Tips for the Best Homemade Mousse Experience
- Serving Suggestions for Your Elegant Individual Desserts
- Storage and Reheating Instructions for Chocolate Mousse
- Frequently Asked Questions About Making Chocolate Mousse
- Estimated Nutritional Breakdown for This Chocolate Mousse
- Share Your Homemade Mousse Creations
Why This Easy Chocolate Mousse Recipe Works for Everyone
I designed this recipe specifically so that anyone, even if you’ve never made a mousse before, can feel like a pastry chef. This isn’t a fussy recipe; it’s built for real life, making an absolutely creamy dessert that tastes anything but simple. It’s the perfect beginner mousse recipe!
- It’s totally no-bake, which saves you oven space and panic before guests arrive.
- It comes together quickly—most of the time is just chilling!
- The richness level is deep, thanks to using good quality dark chocolate.
- It’s naturally light and airy, so you don’t feel weighed down after indulging.
Achieving That Silky Chocolate Mousse Texture
The secret to getting that beautiful, velvety mousse comes down to one crucial temperature step. You absolutely must let that melted chocolate and egg yolk mixture cool down just a bit before you start folding things in. If your chocolate is too hot, it will instantly melt your gorgeous whipped cream, and poof—no air left! Cooling it slightly ensures everything marries together smoothly into that luscious, silky chocolate mousse texture you’re dreaming about.
Ingredients for Your Rich & Creamy Chocolate Mousse
Okay, let’s talk ingredients! Because this is a no-bake dessert, the quality of what you use really shines through. You’ll notice we aren’t using any complicated stabilizers or stabilizers here, just pure, simple deliciousness. Making this homemade mousse is so satisfying when you see how few things are required!
Here is everything you need assembled before you start:
- 6 ounces bittersweet or semi-sweet chocolate, chopped
- 1 cup heavy whipping cream, divided (make sure this is nice and cold!)
- 2 large eggs, separated
- 2 tablespoons granulated sugar
- 1 teaspoon vanilla extract
- Pinch of salt
If you happen to run out of chocolate or just want to drizzle something extra on top later, don’t forget you can always whip up my easy homemade chocolate syrup recipe!
Step-by-Step Instructions for Perfect Chocolate Mousse
Now for the fun part where we turn simple ingredients into a decadent chocolate treat! Don’t let the list of steps scare you; we are just mixing things in the right order to keep everything light and airy. Follow these steps closely, especially regarding cooling times, and you’ll have the best homemade mousse ever. If you need a quick chocolate drizzle for topping later, grab my easy homemade chocolate syrup recipe!
Melting the Chocolate Base
First things first, we need that smooth chocolate foundation. Place your chopped chocolate—I really mean it, use the good stuff for rich chocolate flavor—into a bowl. Heat up just 1/4 cup of your heavy cream in a saucepan until you see those tiny bubbles starting around the edge, just before it boils, okay? Pour that hot cream right over the chocolate and let it sit undisturbed for about two full minutes. Then, whisk it slowly until it’s unbelievably smooth like silk. Set this mixture aside to cool down just slightly before we mix in the yolks.
Whipping the Components for Light and Airy Mousse
While the chocolate cools, grab a clean, dry bowl for your egg whites and add that pinch of salt. Beat those until they form soft peaks—the tips should flop over gently. Now, slowly rain in the 2 tablespoons of sugar while you keep beating until those peaks are stiff and glossy. In another bowl, whip the remaining heavy cream (that’s the other 3/4 cup!) with the vanilla extract until you hit medium peaks. You want it holding its shape but still soft enough to fold easily. This is where your light and airy mousse texture really starts to take shape!
Folding Techniques for the Best Chocolate Mousse
Time to marry the components! First, whisk your two egg yolks right into that cooled chocolate mixture until it’s completely combined. Next, take about one-third of your softly whipped cream and stir that into the chocolate base to loosen it up—we call this lightening the base. Now, very carefully, fold in the remaining whipped cream until no streaks remain. Then, in two separate additions, gently fold in those stiff egg whites. Seriously, use the big rubber spatula and sweep down the middle, lifting the batter up over the top. Don’t stir or beat! You have to work gently here, so you don’t deflate all that gorgeous air we whipped in. Divide this heavenly batter among your ramekins and get it chilling for at least four hours!
Tips for the Best Homemade Mousse Experience
If you want that deep, incredible rich chocolate flavor everyone talks about, you absolutely need to focus on the chocolate itself. I remember one batch where I tried to sneak in some cheaper chips, and the resulting mousse was just… sad. Stick to bittersweet or at least high-quality semi-sweet—it makes all the difference in achieving that truly velvety mousse! If you’re short on time or just want an extra drizzle on top, don’t forget you can always whip up my easy homemade chocolate syrup recipe!
This incredible dessert keeps well too. Once it’s fully set, I usually keep the ramekins covered tight in the fridge. It tastes just as good—maybe even better—the next day!
Ingredient Notes and Substitutions for Chocolate Mousse
I know some folks get nervous about using raw eggs, and I totally get that! That’s why I always include a little safety net in the notes. If you aren’t comfortable using the egg whites or yolks as written, you can skip them entirely. Instead of folding in the eggs in the last steps, just fold in an extra 1/2 cup of stabilized whipped cream. It will result in a dessert that’s slightly denser—closer to a chilled pudding consistency—but still wonderfully creamy and completely safe. Remember, ease and enjoyment are always the goal here!
Serving Suggestions for Your Elegant Individual Desserts
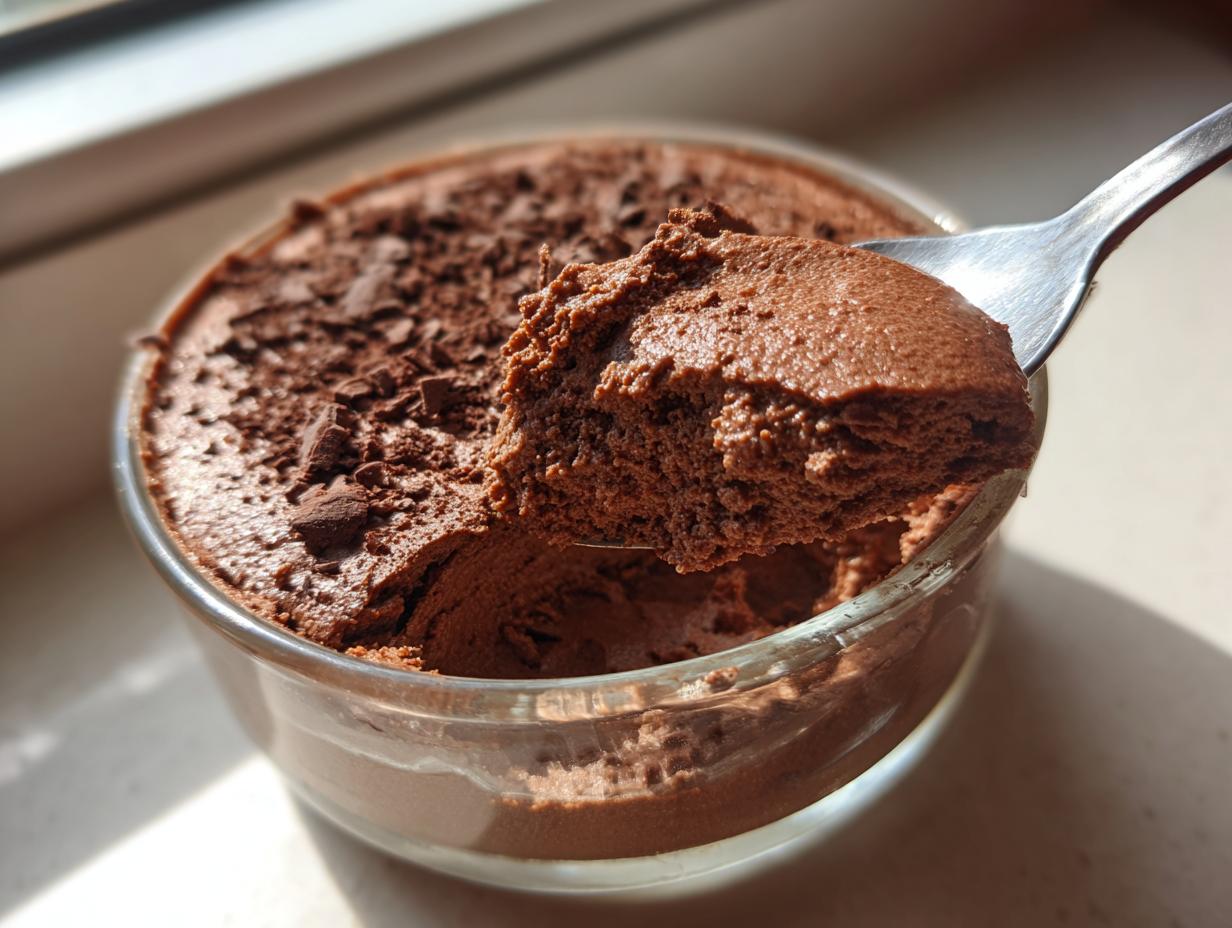
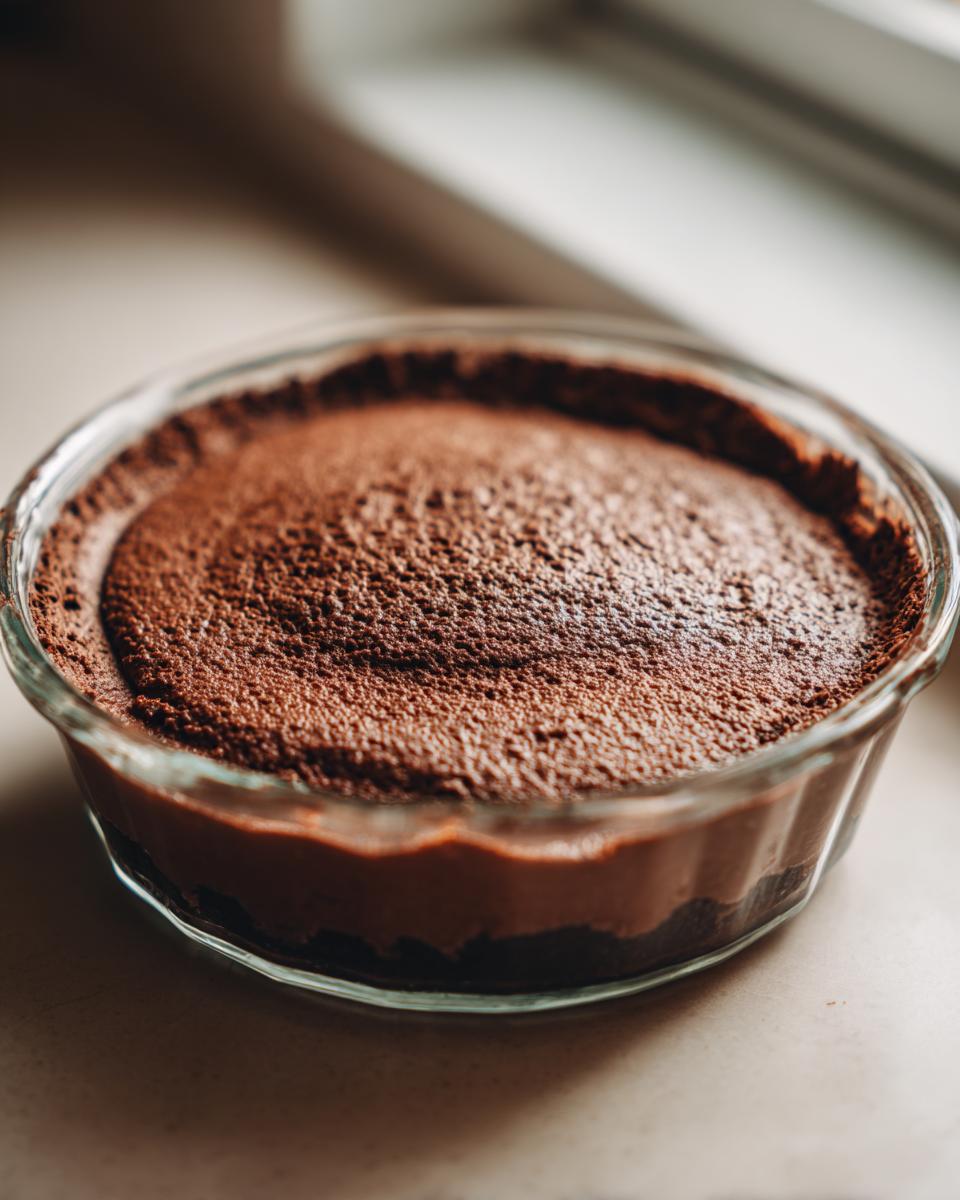
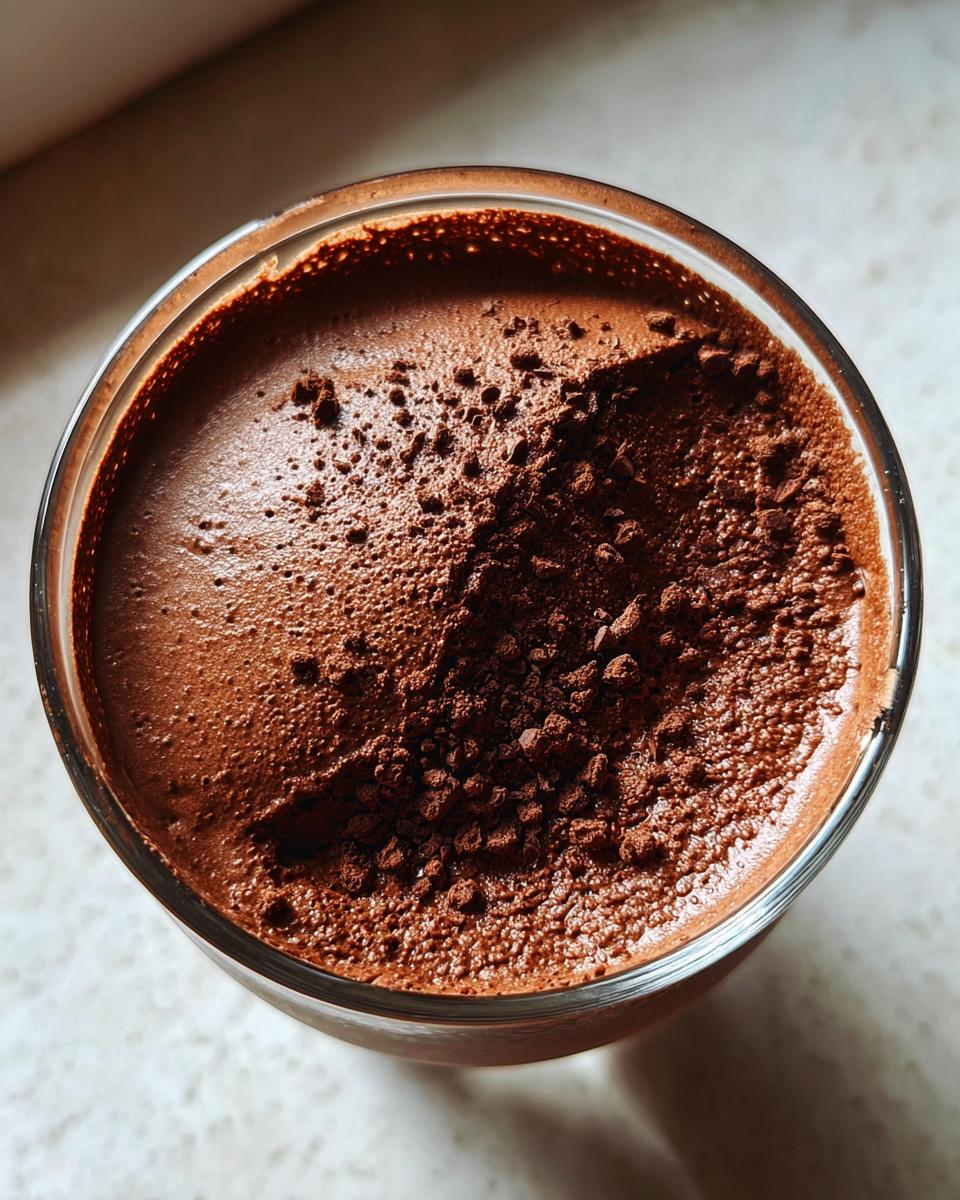
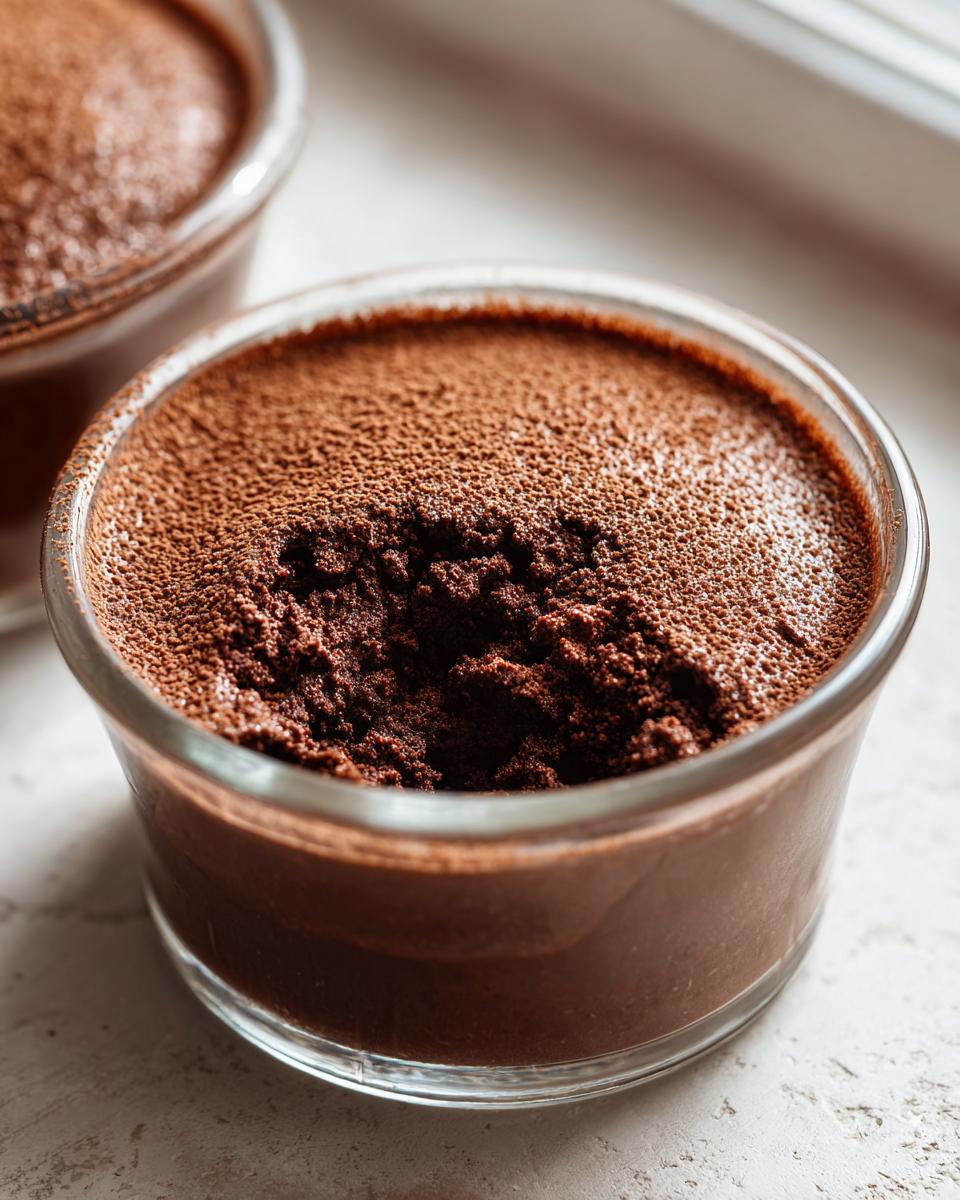
Part of the joy of making this simple dessert is how gorgeous it looks! Since you spent all that time whipping everything to fluffy perfection, you definitely want to show it off. This is the perfect dinner party dessert because serving it in individual dishes makes every guest feel special. I love using clear little glass cups or even small, short stem glasses for these elegant individual desserts. Once they’ve set up their glorious chilling time, just top them off.
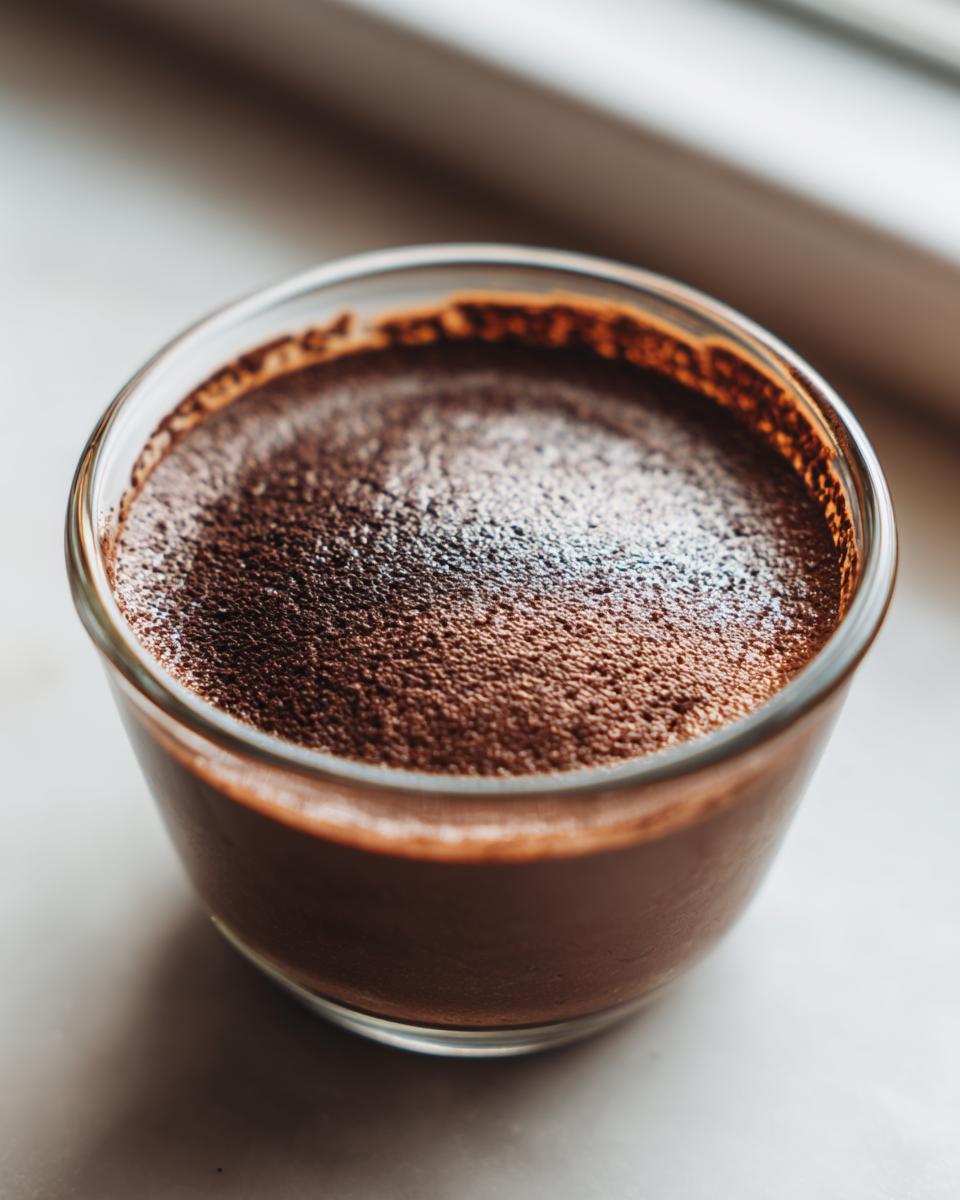
A little dusting of high-quality cocoa powder makes a quick statement. Or, if you want something that really pops, sprinkle on some fine chocolate shavings or add a couple of fresh raspberries right on top. If you are feeling extra fancy and have some leftover, a drizzle of my easy homemade chocolate syrup recipe adds a beautiful shine, too!
Storage and Reheating Instructions for Chocolate Mousse
Because this is a truly no bake chocolate dessert, storage is simple, but timing is key to that perfect set! You absolutely need to let your mousse chill for a minimum of four hours in the refrigerator. This gives the chocolate time to firm up the whipped cream and egg structure exactly how we want it. Cover each ramekin tightly with plastic wrap or a lid before chilling.
The best part? You can make this ahead of time! This homemade mousse stays perfectly fresh and delicious for up to three days in the fridge. And please, don’t even think about reheating it! This dessert is meant to be served cold and velvety smooth right from the fridge.
Frequently Asked Questions About Making Chocolate Mousse
When you’re diving into making a dessert this decadent, I know you might have a few questions buzzing around. That’s totally normal! I always want you to feel confident when you bake from Devour Dish, so here are the ones I hear most often about this easy chocolate mousse recipe.
Can I skip the raw eggs to make this a safer dessert?
Yes, you absolutely can, and I even added that note in the instructions! If you are worried about using raw eggs, just skip separating them. Instead of folding in the egg whites for lift, use an extra 1/2 cup of heavy whipping cream in Step 3, whipping it to stiff peaks just like you would the other cream. This will give you a delicious, creamy dessert, though it will be a tiny bit less airy than the version with the egg whites folded in. It’s still fantastic!
How do I ensure I get that deep, rich chocolate flavor?
This is my favorite question! Since this is a no bake chocolate dessert, the chocolate is the star, so you have to treat it right. For the truly rich chocolate flavor, skip standard chips and use a bar of good quality bittersweet chocolate, around 60% to 70% cocoa content. It melts smoother and has a complex, deep flavor that you just can’t get from sweeter versions. Trust me, it turns this simple recipe into a gourmet chocolate dessert!
Is this a make-ahead dessert? How long does it last?
That’s the dream, right? Yes, this is definitely a dessert you can make ahead! I always tell people to aim for at least four hours of chilling time so it sets up perfectly. Because of the eggs and cream, it’s best enjoyed within two to three days. Once it’s set in the fridge, just keep it covered tightly. It’s one of the best chocolate dessert ideas for hosting because you can make it the day before!
Do I need to use an electric mixer, or can I whisk by hand?
You definitely do not need a fancy stand mixer for this! For the egg whites and whipping the cream, an electric hand mixer makes life so much easier and quicker—it helps you reach those stiff peaks faster. However, you can absolutely do it by hand if you really want a workout, just be ready to whisk vigorously for a good while! If you’re interested in making some of my other simpler, crowd-pleasing treats, check out my recipe for chocolate chess pie recipe old fashioned gooey!
Estimated Nutritional Breakdown for This Chocolate Mousse
I know that even when we are diving into an incredible, indulgent sweet treat like this one, sometimes we still want a general idea of what we’re eating! This lovely, rich chocolate mousse is certainly a decadent choice, so keep in mind these numbers are just estimates. They are calculated based on the standard ingredients and amounts listed in our recipe, assuming the yield is exactly four servings.
It’s always a good idea to remember that if you use higher cocoa percentage chocolate or add extra toppings like full-fat whipped cream or chocolate shavings, the actual numbers will shift a bit. But for a baseline, here’s the scoop:
- Serving Size: 1 serving
- Calories: 380
- Fat: 28g (with 17g Saturated Fat)
- Carbohydrates: 30g
- Sugar: 25g
- Protein: 7g
- Sodium: 55mg
- Cholesterol: 120mg
See? It tastes amazing and it’s a fairly reasonable indulgence! Don’t worry too much about the details when you’re enjoying something this good. Just savor that light, airy texture we worked so hard to create!
Share Your Homemade Mousse Creations
Alright, my friends, now it’s your turn! I absolutely love hearing all about your kitchen adventures. Did this quick chocolate mousse turn out exactly as velvety as you hoped? Did you serve it with fresh berries or did you go wild with chocolate shavings? Please hop down below and leave me a rating on the recipe—it really helps other bakers know what they are getting into!
And if you’re sharing pictures on social media, please tag me! Seeing my recipes come to life in your homes is seriously the best part of doing this job. I want to see those gorgeous, elegant individual desserts you created! If you’re already dreaming up your next easy baking project after enjoying this mousse, you should take a peek at my recipe for chocolate cherry cookies recipe chewy fudgy. Happy baking, and I can’t wait to read your thoughts!
PrintEasiest Ever, Rich & Creamy No-Bake Chocolate Mousse
You need this recipe for a truly decadent chocolate treat that requires no oven time. This simple chocolate mousse whips up quickly, resulting in a silky smooth, light, and airy dessert perfect for any occasion, from weeknight indulgence to dinner parties.
- Prep Time: 20 min
- Cook Time: 0 min
- Total Time: 4 hr 20 min
- Yield: 4 servings 1x
- Category: Dessert
- Method: No Bake
- Cuisine: American
- Diet: Vegetarian
Ingredients
- 6 ounces bittersweet or semi-sweet chocolate, chopped
- 1 cup heavy whipping cream, divided
- 2 large eggs, separated
- 2 tablespoons granulated sugar
- 1 teaspoon vanilla extract
- Pinch of salt
Instructions
- Place the chopped chocolate in a heatproof bowl. Heat 1/4 cup of the heavy whipping cream in a small saucepan until it just begins to simmer. Pour the hot cream over the chocolate and let it sit for 2 minutes. Whisk until the mixture is completely smooth. Set aside to cool slightly.
- In a separate, clean bowl, beat the egg whites with the pinch of salt until soft peaks form. Gradually add the granulated sugar and continue beating until stiff, glossy peaks form.
- In another bowl, beat the remaining 3/4 cup of heavy whipping cream and vanilla extract until medium peaks form.
- Gently whisk the two egg yolks into the cooled chocolate mixture until just combined.
- Fold about one-third of the whipped cream into the chocolate mixture to lighten it. Then, gently fold in the remaining whipped cream until no streaks remain. Be careful not to deflate the mixture.
- Finally, gently fold the stiff egg whites into the chocolate base in two additions, working carefully to keep the mousse light and airy.
- Divide the mousse among 4 to 6 small serving dishes or ramekins. Cover and chill in the refrigerator for at least 4 hours, or until firm.
- Before serving, top your velvety mousse with extra whipped cream or chocolate shavings if desired.
Notes
- For the richest flavor, use high-quality dark chocolate.
- If you are concerned about using raw eggs, you can substitute the egg whites with 1/2 cup of stabilized whipped cream folded in at the end for a slightly denser, but still delicious, result.
- This homemade mousse keeps well in the refrigerator for up to three days.
Nutrition
- Serving Size: 1 serving
- Calories: 380
- Sugar: 25
- Sodium: 55
- Fat: 28
- Saturated Fat: 17
- Unsaturated Fat: 11
- Trans Fat: 0.5
- Carbohydrates: 30
- Fiber: 3
- Protein: 7
- Cholesterol: 120