
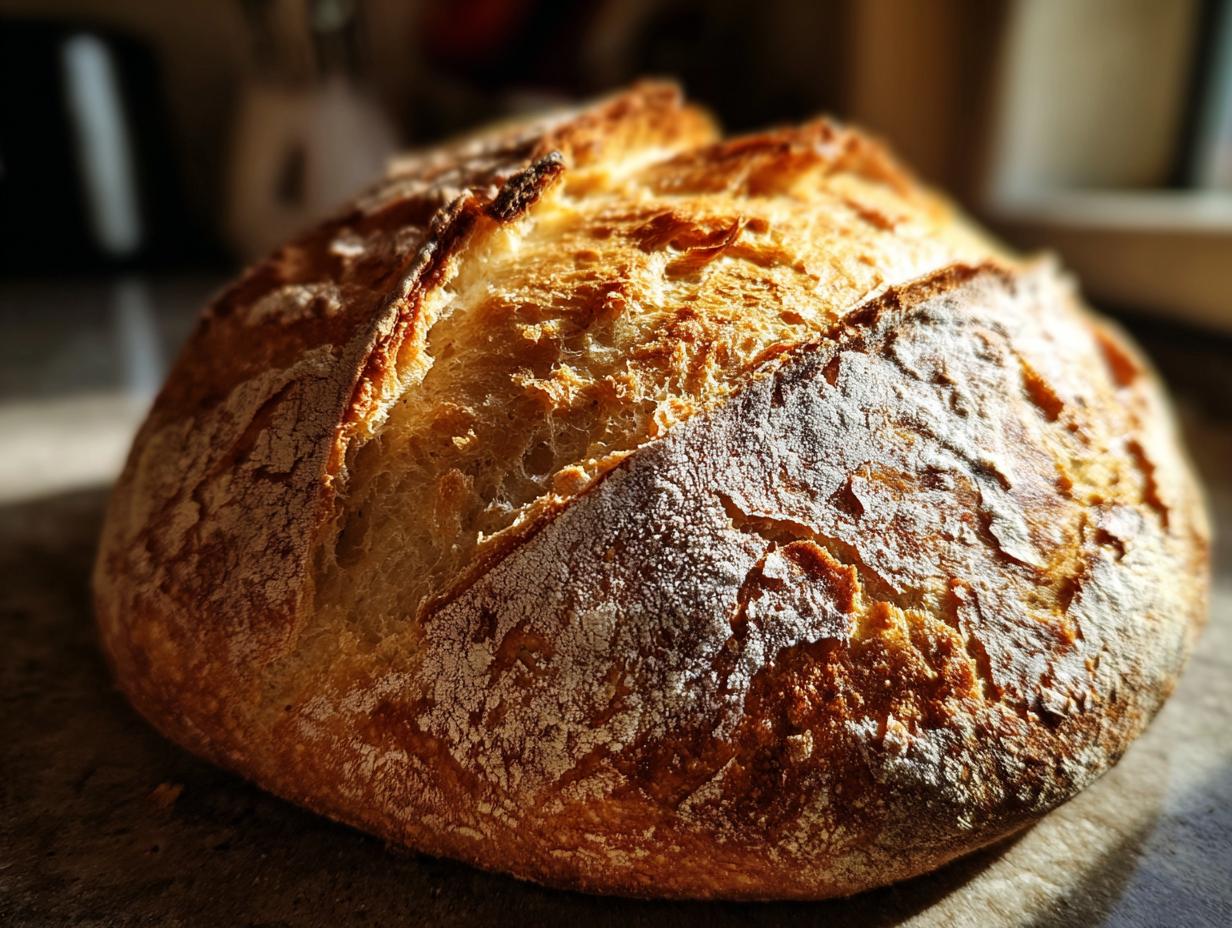
Oh, the smell of fresh bread baking! There’s just something so wonderfully comforting and downright magical about pulling a loaf of homemade bread out of the oven, isn’t there? And today, we’re diving into a recipe that’s really close to my heart: a big, beautiful, **crusty Italian bread loaf**. Seriously, this is that bakery-style dream you can totally make right in your own kitchen. Whether it’s for soaking up hearty soups, building the most epic sandwich, or just tearing off chunks with dinner, this loaf is a game-changer. It’s all part of my mission here at Devour Dish, with Avery Collins, to show you that delicious, simple food is totally within reach. My own kitchen adventures taught me that the best meals often come from just a few good ingredients and a whole lot of love.
- Why You'll Love This Crusty Italian Bread Recipe
- Ingredients for Your Crusty Italian Bread Loaf
- Tips for Perfect Crusty Italian Bread Every Time
- How to Make Crusty Italian Bread: Step-by-Step
- Serving Suggestions for Crusty Italian Bread
- Storage and Reheating Instructions
- Frequently Asked Questions about Crusty Italian Bread
- Estimated Nutritional Information
- Share Your Crusty Italian Bread Creations!
Why You’ll Love This Crusty Italian Bread Recipe
Okay, let’s talk about why this loaf is going to become your new best friend in the kitchen. Honestly, it’s the kind of recipe that makes you feel like a total pro, even if you’re just starting out with bread!
- It’s surprisingly easy! Seriously, this is such an easy Italian bread recipe. You just mix, wait, and bake.
- Bakery results at home: You get that gorgeous, deep golden crust and a wonderfully chewy crumb that rivals any bakery style loaf.
- Perfect for beginners: If you’re new to beginner bread baking, this recipe is incredibly forgiving and satisfying.
- So versatile: It’s the ultimate crusty bread for sandwiches, dipping into your favorite soup, or just as a delicious Italian dinner bread.
Ingredients for Your Crusty Italian Bread Loaf
Alright, let’s gather our simple treasures for this glorious loaf. You’ll be amazed at how basic pantry staples can transform into something so special. Here’s what you’ll need:
- 4 cups all-purpose flour
- 1 ½ teaspoons salt
- 1 teaspoon instant yeast
- 1 ½ cups warm water
See? Just a few things! And that warm water should feel just right – not too hot, not too cold, like a cozy bath for your dough. Trust me, these few ingredients are the magic makers for that amazing crust and chewy center.
Tips for Perfect Crusty Italian Bread Every Time
Okay, so getting that perfect loaf isn’t just about following the recipe steps, though they’re super important! It’s also about understanding a few little secrets that make all the difference. My goal is for you to feel totally confident making this Artisan Bread at Home, and these little tricks are my go-to for that amazing chewy crumb crusty crust we all dream about. When I first started baking bread, I remember being so frustrated when my crust wasn’t quite right, or the inside was a bit too dense. But a few key things changed everything for me, and now I can’t wait to share them with you! It’s kind of like my garlic naan recipe – simple ingredients, but little tricks make it shine!
The Secret to a Chewy Crumb and Crusty Crust
Honestly, the BIGGEST secret to this incredible texture is the long, slow fermentation time. That 12-18 hour rest? It’s not just for show! It allows the yeast to work its magic and develop all those amazing flavors and that lovely airy structure you get in true artisan bread. Think of it like letting good things develop. And then, there’s steam! Baking with steam, especially at the beginning, is crucial. It keeps the crust soft for a bit longer, letting the loaf expand fully before it hardens up into that beautiful, crackly shell. It’s what gives you that signature deep golden hue and satisfying crunch.
No Knead Option for Your Crusty Italian Bread
If the idea of kneading feels a bit daunting, I’ve got great news for you! This recipe actually works wonderfully as a no knead option. The long fermentation period does most of the heavy lifting for you. The gluten develops all on its own while the dough is resting. So, just mix your ingredients until they’re combined, and let that dough do its thing for 12-18 hours. It might sound wild, but trust me, the dough will get wonderfully bubbly and develop structure all by itself. Less work for you means more time to just admire your dough!
Using a Stand Mixer for Crusty Italian Bread Dough
Now, if you’re lucky enough to have a stand mixer, it can make that initial mixing even faster. Just throw your flour, salt, and yeast into the mixer bowl, add the warm water, and mix it on low speed for about 2 minutes until you have a shaggy dough. From there, you can just cover it up and let it rest for its long ferment, just like the hand-mixed version. It’s that simple to get started!
How to Make Crusty Italian Bread: Step-by-Step
Alright, ready to turn that shaggy dough into a masterpiece? Making this crusty Italian bread is honestly more about patience than elbow grease, which is why I love it so much! Let’s walk through it together. Don’t worry, these steps are super simple, and I’ll share all my little tips along the way.
Mixing and Fermenting the Dough
First things first, grab your biggest bowl. Whisk together the flour, salt, and yeast until they’re all good friends. Then, pour in that warm water and stir with a wooden spoon until you get a seriously messy, shaggy dough. It won’t look pretty, and that’s a good sign! Cover it up tight with plastic wrap – I like to really seal the edges – and just let it sit on your counter for about 12 to 18 hours. Yep, that’s a long time, but trust me, that’s where all the magic happens. You’ll know it’s ready when it’s covered in happy little bubbles and has grown quite a bit. It’ll smell amazing, too!
Shaping and Proofing Your Italian Bread Loaf
Once your dough is all fermented and looking lively, lightly flour a clean surface. Gently turn the dough out – try not to punch all the air out! You just want to ease it into a round or oval shape. Think gentle persuasion, not active kneading. Overworking it now will make it tough. Then, place your shaped dough onto a piece of parchment paper. This makes transferring it to the hot oven a breeze! Loosely cover it again with plastic wrap or a clean towel, and let it rest for about 30 minutes. This little break helps it puff up just enough before baking.
Baking Your Bakery Style Loaf
Now for the fun part: baking! Get your oven preheating to a nice hot 450°F (230°C). If you have a Dutch oven, pop that baby in there to get super hot. If not, a baking stone or even a sturdy baking sheet works too. Carefully take your hot Dutch oven out, place your dough (still on the parchment paper!) inside, and pop the lid on. If you’re using a baking stone, just slide the dough and parchment onto the hot stone. For an extra crispy crust, you can toss a shallow pan of hot water on the bottom rack to create steam. Bake it covered for about 30 minutes. Then, remove the lid (or the water pan) and let it bake for another 15-20 minutes. You’re looking for that gorgeous, deep golden-brown color and a loaf that sounds hollow when you tap the bottom. This is how you get that true bakery style loaf!

Serving Suggestions for Crusty Italian Bread
Okay, so you’ve baked this glorious loaf of crusty Italian bread, and now the question is, “What do I DO with it?!” Oh, friend, the possibilities are practically endless! This is truly the ultimate soup and sandwich bread, but it shines in so many other ways. Imagine dunking a thick slice into a warm bowl of cottage cheese tomato soup or Panera-inspired broccoli cheddar soup. It’s also perfect for soaking up every last drop of a hearty chicken tortilla soup. And for dinner? This loaf is your go-to Italian dinner bread. Just serve it alongside pasta, a big salad, or your favorite Italian main course. Trust me, a thick slice with some good olive oil and balsamic vinegar is pure heaven on its own, too!
Storage and Reheating Instructions
So, you’ve got some leftover crusty Italian bread? Lucky you! To keep this beauty tasting amazing, store it at room temperature in a paper bag or a bread box. Trust me, plastic wrap will make that gorgeous crust go soft way too fast. If you need to reheat it, just give it a little spritz of water, wrap it in foil, and pop it in a 350°F (175°C) oven for about 10-15 minutes. It’ll be almost as good as fresh!
Frequently Asked Questions about Crusty Italian Bread
Got questions about making your own amazing loaf? I’ve totally got you covered! Baking homemade bread, especially this gorgeous crusty Italian number, can bring up a few things, but don’t worry, we’ll sort them out. Here are some of the most common things people ask me when they’re diving into this easy recipe.
Can I make this Crusty Italian bread recipe ahead of time?
Oh, absolutely! The beauty of this recipe is that the dough is meant to ferment for a super long time. You can actually let it ferment in the fridge for up to 3 days after the initial room temperature rest. Just make sure it’s tightly covered!
What kind of flour is best for Crusty Italian bread?
For this specific recipe, good ol’ all-purpose flour is actually perfect! It has a moderate protein content that works beautifully with the long fermentation to give you that lovely chewy crumb and crisp crust without being too heavy. You totally don’t need special bread flour here; your pantry staple will do the trick!
Why is my Crusty Italian bread not crusty?
A few things can lead to a less-than-crusty loaf! Make sure your oven is fully preheated and that you’re using steam during the first part of baking – that’s a game-changer for crust development. Also, avoid storing the finished bread in plastic wrap, as it can steam the crust and make it soft. A paper bag is your best friend for storage!
Estimated Nutritional Information
Just a little heads-up: the nutrition info I’m giving you here is an estimate, okay? It can totally change depending on the exact flour and ingredients you use. But generally, a slice of this gorgeous crusty Italian bread has about 150 calories, 1g of fat, 5g of protein, and 30g of carbohydrates. It’s a simple, satisfying slice of homemade goodness!
Share Your Crusty Italian Bread Creations!
I am SO excited to hear about your adventures making this crusty Italian bread! Seriously, seeing your creations makes my day. Please leave a comment below, rate the recipe if you can, or even better, share a pic on Instagram and tag me! It truly makes my heart happy to see this recipe come to life in your kitchens. You can learn more about my kitchen philosophy over on my About page!
PrintCrusty Italian Bread Loaf
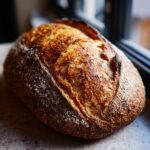
Bake a bakery-style Italian bread loaf with a chewy crumb and crisp crust. This easy recipe is perfect for beginners and ideal for sandwiches, dipping in soup, or serving with dinner.
- Prep Time: 15 minutes
- Cook Time: 45-50 minutes
- Total Time: 13 hours 15 minutes
- Yield: 1 loaf 1x
- Category: Bread
- Method: Baking
- Cuisine: Italian
- Diet: Vegetarian
Ingredients
- 4 cups all-purpose flour
- 1 ½ teaspoons salt
- 1 teaspoon instant yeast
- 1 ½ cups warm water
Instructions
- In a large bowl, whisk together the flour, salt, and yeast.
- Add the warm water and mix with a wooden spoon until a shaggy dough forms.
- Cover the bowl with plastic wrap and let it rest at room temperature for 12 to 18 hours. The dough will become bubbly and increase in volume.
- When ready to bake, lightly flour a work surface. Turn the dough out onto the floured surface and gently shape it into a round or oval loaf. Avoid overworking the dough.
- Place the shaped dough onto a piece of parchment paper.
- Cover the dough loosely with plastic wrap or a clean kitchen towel and let it rest for 30 minutes.
- While the dough is resting, preheat your oven to 450°F (230°C). Place a Dutch oven or a baking stone in the oven to preheat.
- If using a Dutch oven, carefully remove it from the oven, place the parchment paper with the dough inside, and cover with the lid.
- If using a baking stone, carefully slide the dough (still on parchment paper) onto the hot stone. You can create steam by placing a shallow pan filled with water on the bottom rack of the oven.
- Bake for 30 minutes with the lid on (if using a Dutch oven) or with steam.
- Remove the lid (if using a Dutch oven) or remove the steam pan. Continue baking for another 15-20 minutes, or until the crust is deep golden brown and the internal temperature reaches 200-210°F (93-99°C).
- Transfer the bread to a wire rack to cool completely before slicing.
Notes
- For a crispier crust, you can spray the oven walls with water a few times during the first 15 minutes of baking.
- If you don’t have a Dutch oven, you can bake the bread on a preheated baking stone or baking sheet.
- This dough can also be made in a stand mixer. Combine ingredients in the mixer bowl and mix on low speed for 2 minutes until a shaggy dough forms, then proceed with the long fermentation.
Nutrition
- Serving Size: 1 slice
- Calories: 150
- Sugar: 1g
- Sodium: 300mg
- Fat: 1g
- Saturated Fat: 0g
- Unsaturated Fat: 1g
- Trans Fat: 0g
- Carbohydrates: 30g
- Fiber: 1g
- Protein: 5g
- Cholesterol: 0mg