

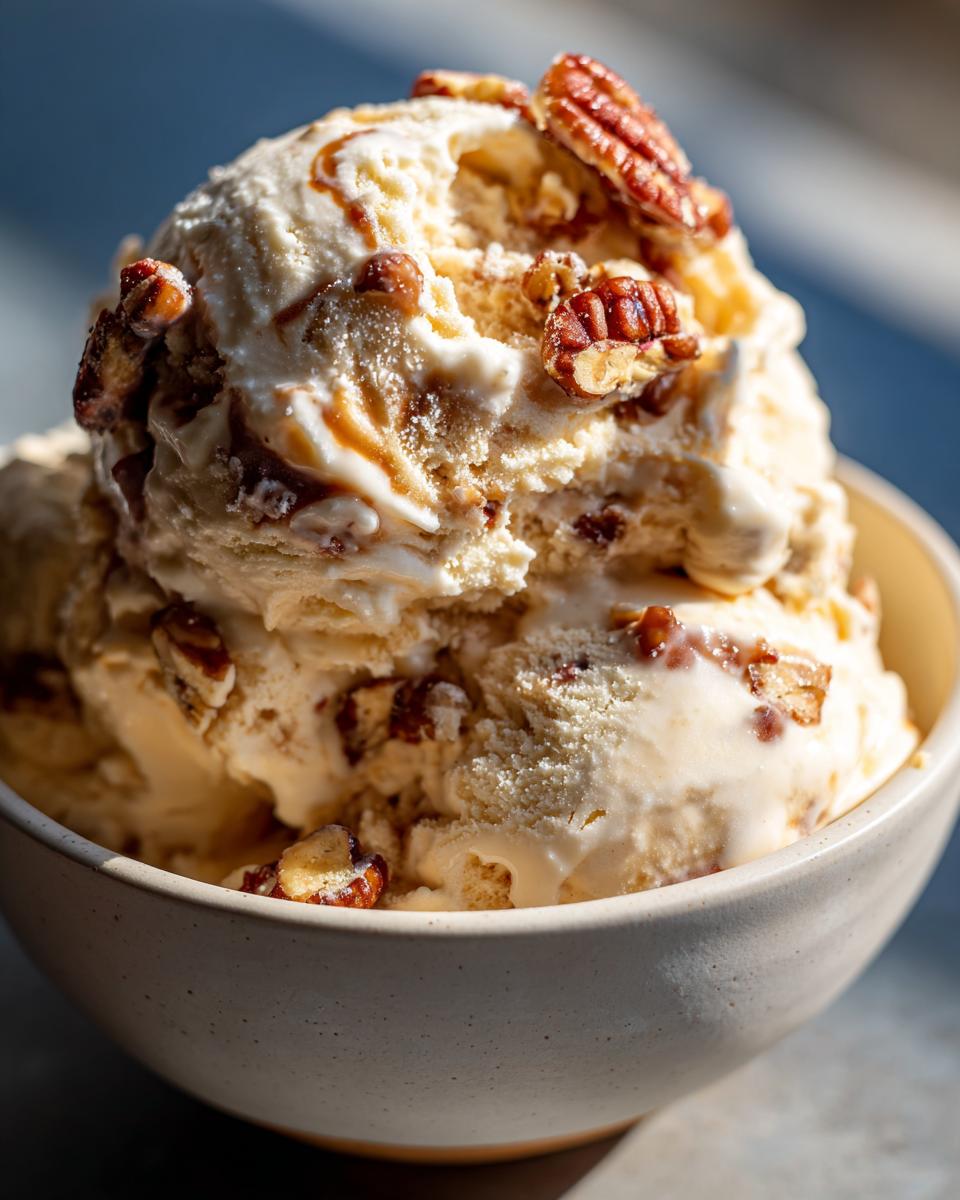
Oh, summer days and the sheer joy of a perfect scoop of ice cream! There’s something so incredibly nostalgic and comforting about a classic homemade treat, and for me, nothing beats a rich, ultra-creamy Butter Pecan Ice Cream. Seriously, it’s like a warm hug in dessert form! I remember Mom making this when I was a kid, the whole house smelling like toasted nuts and sweet cream. It’s these kinds of simple, delicious moments that inspired me to share recipes here at Devour Dish. This isn’t just any butter pecan ice cream; it’s the real deal, packed with buttery, toasted pecans and a melt-in-your-mouth texture that store-bought just can’t touch. Get ready to make your best batch yet!
- Why You'll Love This Butter Pecan Ice Cream
- Ingredients for Classic Butter Pecan Ice Cream
- How to Make the Best Butter Pecan Ice Cream
- Tips for Perfectly Toasted Pecans
- Ingredient Notes and Substitutions
- Serving and Storing Your Butter Pecan Ice Cream
- Frequently Asked Questions about Butter Pecan Ice Cream
- Estimated Nutritional Information
Why You’ll Love This Butter Pecan Ice Cream
This isn’t just ice cream; it’s a little slice of homemade heaven! Here’s why you’ll be hooked:
- Incredibly Creamy Texture: Thanks to the rich custard base, it melts in your mouth!
- Perfectly Toasted Pecans: We’re talking crunchy, buttery, and just the right amount of sweet.
- Nostalgic Flavor: It’s that classic taste we all know and love, elevated.
- Easier Than You Think: With a few simple steps, you’ll have amazing homemade ice cream.
- Pure Joy: Seriously, how can you go wrong with butter pecan? It’s a guaranteed crowd-pleaser!
Ingredients for Classic Butter Pecan Ice Cream
Alright, let’s gather our goodies for this dreamy homemade butter pecan ice cream! It’s all about good quality ingredients coming together. You’ll need:
- 2 cups of good old heavy cream – this is key for that luscious texture!
- 1 cup of whole milk – don’t skimp on the fat here, it makes a difference!
- 3/4 cup of granulated sugar – for that perfect sweetness.
- 5 large egg yolks – these little guys are going to make it super creamy.
- 1 teaspoon of vanilla extract – a classic pairing, always.
- 1/2 teaspoon of salt – just a pinch to balance everything out.
- 1 cup of pecan halves – fresh is best!
- 4 tablespoons of unsalted butter – gotta have that butter for our butter pecans!
- 2 tablespoons of brown sugar – for a little caramel magic on the pecans.
How to Make the Best Butter Pecan Ice Cream
Alright, let’s get down to business! Making truly spectacular homemade butter pecan ice cream feels like a little bit of magic, and I’m going to walk you through every step. It all starts with toasting those pecans just right. You’ll want to get them nice and fragrant, maybe even a little golden brown, but be careful not to burn them! Then, we move on to the custard base. This is where all the creaminess comes from, so paying attention here is super important. Don’t be tempted to rush it; a little patience goes a long way for that perfect texture. Once it’s all blended and chilled, the ice cream maker does the heavy lifting, and you get to add those amazing candied pecans at the end. It’s a process, but trust me, the result is absolutely worth it! It’s much like the care you put into our apple crisp bars or even our pumpkin cheesecake truffles – simple, delicious moments.
Toasting Pecans to Perfection
Okay, first things first: let’s get those pecans singing! Grab a dry skillet – no oil needed here, they’ll do just fine on their own. Toss those pecan halves in over medium heat. Stir them around like you’re giving them a little massage. You’ll know they’re ready when they start smelling absolutely divine, that nutty aroma filling your kitchen. This usually takes about 3-5 minutes. Once they’re fragrant and maybe a touch golden, scoop ’em out into a bowl right away so they don’t keep cooking in the hot pan. We’ll add the caramel magic later!
Crafting the Rich Custard Base
Now for the heart of our creamy dream: the custard base! In a medium saucepan, whisk together that heavy cream, whole milk, granulated sugar, and most importantly, those lovely egg yolks. Oh, and don’t forget the vanilla extract and a little pinch of salt – it really wakes up all the flavors. Now, this is crucial: heat it up over medium-low heat and stir CONSTANTLY. Seriously, keep that wooden spoon moving! You want it to thicken just enough to coat the back of your spoon – think of it like a thin gravy. Whatever you do, do NOT let it boil, or you’ll end up with scrambled eggs, and trust me, nobody wants that in their ice cream! This step is super similar to how we make the base for our creme brûlée iced coffee, all about that smooth, rich texture.
Chilling the Custard for Optimal Results
This part is non-negotiable, folks! Once your custard base is thickened and has that lovely coating consistency, pour it through a fine-mesh sieve into a clean bowl. This gets rid of any tiny bits of cooked egg just in case. Now, cover it right up with plastic wrap, pressing the wrap directly onto the surface. This stops a weird skin from forming while it chills. Pop it in the fridge for at least 4 hours, but honestly, overnight is even better. The colder it is, the better your ice cream maker will work its magic!
Churning Your Homemade Ice Cream
Alright, the moment of truth! Pour that gloriously chilled custard base into your trusty ice cream maker. Follow the manufacturer’s directions, because they all vary a bit. What you’re looking for is that lovely soft-serve consistency. Then, during the last few minutes of churning, it’s time for the star of the show: add those chopped, buttered pecans! This ensures they’re perfectly distributed throughout your ice cream, not all clumped at the bottom. It’s like adding the finishing touches to our protein ice cream – getting those mix-ins in at just the right time!
The Final Freeze for Firmness
We’re almost there! Once your ice cream maker has done its thing and you’ve got this beautifully churned, soft, dreamy butter pecan ice cream, transfer it into an airtight container. Give it a little pat down. Then, into the freezer it goes! You’ll want to let it freeze for at least 2-4 hours to get that perfect firm, scoopable texture. Patience, remember? You’ve earned it!
Tips for Perfectly Toasted Pecans
Toasting your pecans is hands-down one of the most important steps for amazing butter pecan ice cream. You want them fragrant and crunchy, not burnt! I usually go for a dry skillet over medium heat, stirring constantly until they smell amazing, about 3-5 minutes. If you prefer using the oven, just spread them on a baking sheet and pop them in at 350°F for 8-10 minutes. Keep an eye on them, though! A little trick I love is adding them to the skillet with the butter and brown sugar *after* toasting; it gives them this fantastic slightly caramelized coating that makes them irresistible.
Ingredient Notes and Substitutions
So, you’re wondering about a few things? Let’s chat about some ingredients for this amazing butter pecan ice cream. The custard base really calls for heavy cream and whole milk – that’s what gives it that incredible richness you can’t get any other way, kind of like how we use good stuff in our homemade granola. If you absolutely *had* to lighten it up a smidge, you could try using half-and-half, but honestly, it won’t be quite as dreamy. For the pecans, if you can’t find halves, chopped ones work too, but halves give you those nice big satisfying bites! And if pecans aren’t your jam, walnuts would be a tasty swap, though it wouldn’t be butter pecan anymore, would it?
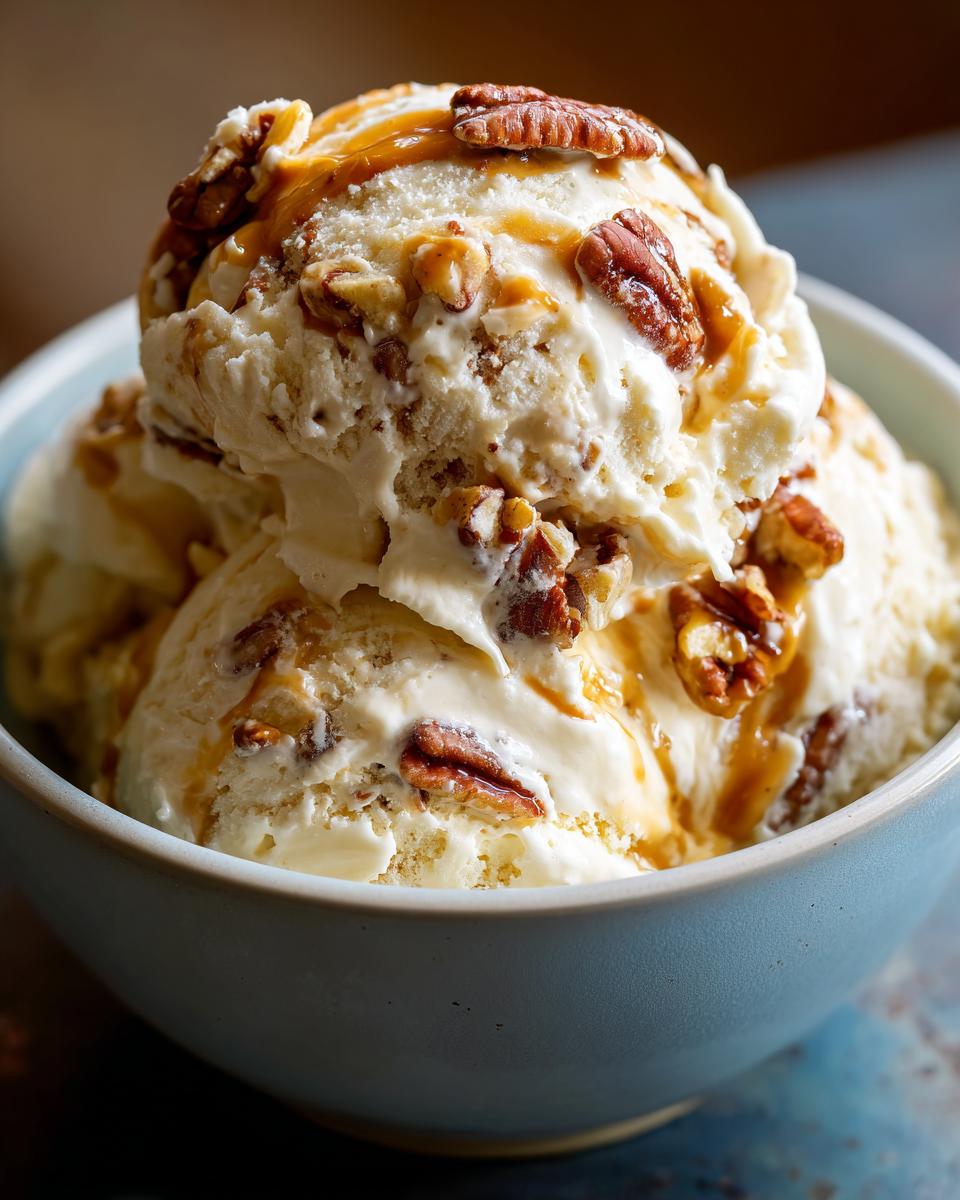
Serving and Storing Your Butter Pecan Ice Cream
Alright, the moment you’ve been waiting for! Serve this heavenly butter pecan ice cream scooped into bowls – maybe with a extra sprinkle of those buttery pecans on top, just because you can! It’s perfect on its own, but feels extra special with a drizzle of caramel if you’re feeling fancy. Storing leftovers is super simple: scoop it into an airtight container, press a piece of parchment paper right on the surface to prevent ice crystals (it’s kind of like protecting your apple pie cookies or whipped shortbread cookies from getting soggy!), and pop it in the freezer. It’s best enjoyed within about two weeks to keep that wonderful creamy texture. Honestly, it might not last that long though – it’s THAT good!
Frequently Asked Questions about Butter Pecan Ice Cream
Got questions about making this dreamy butter pecan ice cream at home? I’ve got you covered! It’s one of my favorites, and I know you’ll love it too.
Can I make this butter pecan ice cream without a custard base?
You sure can! While the custard base gives you that incredible, ultra-creamy texture that’s just divine, you can totally do a no-cook version if you’re in a pinch or want something a little simpler. Just mix your cream, milk, sugar, vanilla, and salt, then churn and add your pecans. It won’t be *quite* as rich and velvety, but it’ll still be delicious homemade ice cream!
How do I get my pecans to be perfectly toasted and crunchy?
The key to amazing pecans in your butter pecan ice cream is to toast them until they’re fragrant and just starting to turn golden, but don’t let them burn! I usually do mine in a dry skillet over medium heat, stirring constantly, or in the oven at 350°F for about 8-10 minutes. For that extra special flavor, tossing them with a little butter and brown sugar at the end in the skillet gives them a lovely caramelized crunch. Just make sure to let them cool completely before chopping!
My ice cream isn’t freezing solid. What am I doing wrong?
Don’t worry, this happens! Usually, it means your base wasn’t chilled enough before churning, or your ice cream maker bowl wasn’t frozen solid enough. For the best results with this custard ice cream, make sure that base is in the fridge for at least 4 hours, overnight is even better! Also, give that ice cream maker bowl a good 24 hours in the freezer. If it’s still a bit soft after churning, just give it a good few hours in the freezer in an airtight container, maybe like letting our apple crumble recipe chill before serving!
How long does homemade butter pecan ice cream last?
Homemade ice cream is best enjoyed fresh, but you can definitely store it for later! Keep it in an airtight container in the freezer, and it should stay delicious for about two weeks. The texture might change a little the longer it sits, but it’s still way better than anything you’ll find in the store for classic dessert recipes like this. Just make sure that container is properly sealed to avoid freezer burn!
Estimated Nutritional Information
Just a heads-up, the nutrition info here is an estimate, you know, since we all use slightly different ingredients! This creamy butter pecan ice cream is about 350 calories per half-cup scoop. You’re looking at around 25g of fat (about 15g saturated), 35g of carbs, and 4g of protein. It really depends on the brands of cream and butter you use! Enjoy every delicious spoonful!
PrintButter Pecan Ice Cream

A creamy, homemade butter pecan ice cream recipe with toasted pecans.
- Prep Time: 20 min
- Cook Time: 15 min
- Total Time: 4 hr 35 min
- Yield: 1.5 quarts 1x
- Category: Dessert
- Method: Churning
- Cuisine: American
- Diet: Vegetarian
Ingredients
- 2 cups heavy cream
- 1 cup whole milk
- 3/4 cup granulated sugar
- 5 large egg yolks
- 1 teaspoon vanilla extract
- 1/2 teaspoon salt
- 1 cup pecan halves
- 4 tablespoons unsalted butter
- 2 tablespoons brown sugar
Instructions
- Toast the pecans: In a dry skillet over medium heat, toast the pecan halves until fragrant, about 3-5 minutes. Remove from skillet and set aside.
- Make the custard base: In a medium saucepan, whisk together the heavy cream, whole milk, granulated sugar, egg yolks, vanilla extract, and salt.
- Cook the custard: Heat the mixture over medium-low heat, stirring constantly with a wooden spoon, until it thickens enough to coat the back of the spoon. Do not boil.
- Strain and chill: Pour the custard through a fine-mesh sieve into a clean bowl. Cover with plastic wrap, pressing it directly onto the surface to prevent a skin from forming. Chill in the refrigerator for at least 4 hours, or preferably overnight.
- Prepare the buttered pecans: In the same skillet used for toasting, melt the butter over medium heat. Add the toasted pecans and brown sugar. Cook, stirring, until the sugar is dissolved and the pecans are coated and slightly caramelized, about 2-3 minutes. Spread the pecans on a parchment-lined baking sheet to cool completely. Once cooled, roughly chop them.
- Churn the ice cream: Pour the chilled custard base into your ice cream maker and churn according to the manufacturer’s instructions.
- Add the pecans: During the last few minutes of churning, add the chopped buttered pecans to the ice cream maker.
- Freeze: Transfer the churned ice cream to an airtight container and freeze for at least 2-4 hours, or until firm.
Notes
- For extra flavor, you can lightly toast the pecans in the oven at 350°F (175°C) for 8-10 minutes.
- Ensure your custard base is thoroughly chilled before churning for the best results.
- Store homemade ice cream in an airtight container in the freezer for up to 2 weeks.
Nutrition
- Serving Size: 1/2 cup
- Calories: 350
- Sugar: 30g
- Sodium: 70mg
- Fat: 25g
- Saturated Fat: 15g
- Unsaturated Fat: 10g
- Trans Fat: 0g
- Carbohydrates: 35g
- Fiber: 1g
- Protein: 4g
- Cholesterol: 120mg