
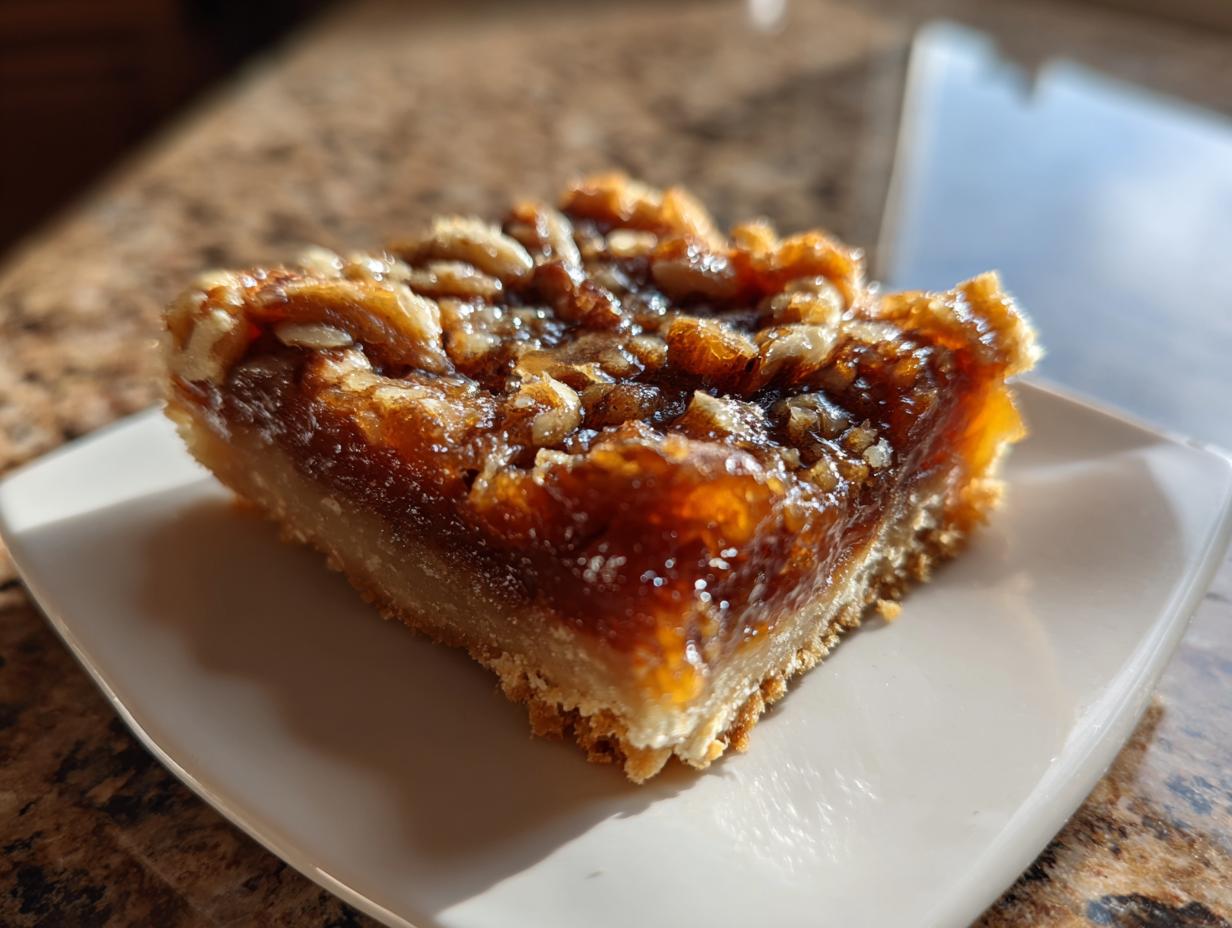
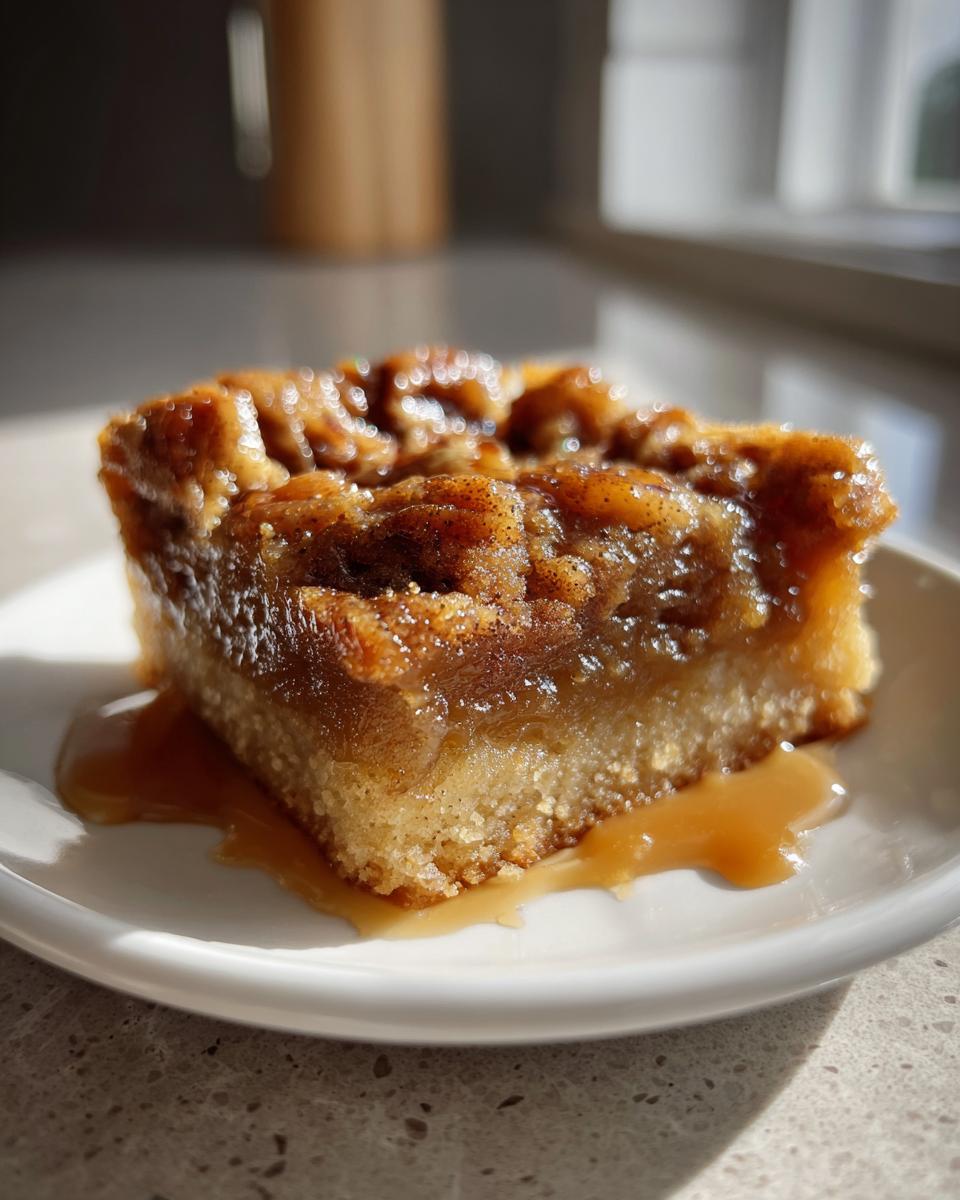
Oh my gosh, do you ever get that specific craving? You know, the one where you desperately want that deeply rich, sugary, nutty flavor of a classic Southern pecan pie, but the idea of fussing with a pie crust and dealing with messy slices just isn’t happening? Trust me, I’ve been there a thousand times! That’s exactly why I developed these pecan pie bars. They deliver that gorgeous, ultra gooey filling and buttery base you dream about, but in the easiest, neatest bar form imaginable. As I always say over at Devour Dish, great food doesn’t have to be complicated. These handheld treats are foolproof, reliable, and seriously addictive.
- Why You Will Love These Ultra Easy Pecan Pie Bars
- Gathering Your Ingredients for Perfect Pecan Pie Bars
- Step-by-Step Instructions for the Best Pecan Bar Recipe
- Tips for Success with Your Simple Pecan Dessert
- Variations for Caramel Pecan Bars and More
- Storage and Make Ahead Dessert Tips for Pecan Pie Bars
- Frequently Asked Questions About Pecan Pie Bars Recipe
- Estimated Nutritional Data for These Pecan Pie Bars
- Share Your Experience Making These Sweet Nutty Treats
Why You Will Love These Ultra Easy Pecan Pie Bars
Seriously, these bars are a weeknight savior that tastes like a holiday indulgence. I can whip these up faster than I can debate what streaming service to watch! You’ll adore them because:
- They use a ridiculously simple buttery shortbread crust recipe that bakes up perfectly every time.
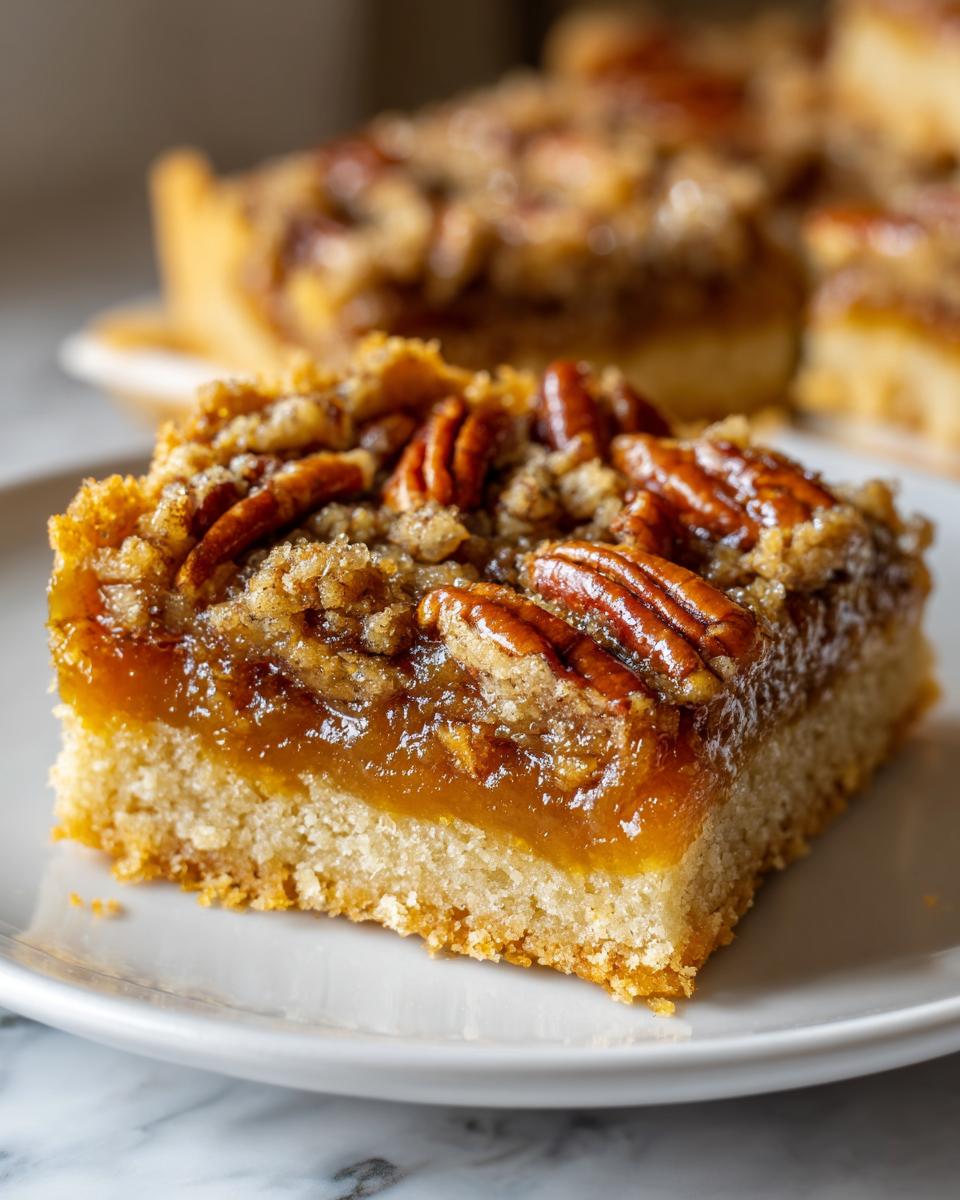
- The filling is pure, unapologetic goo—rich, sweet, and packed with pecans!
- They are totally handheld! No forks, no mess, just grab-and-go perfection for parties or lunch packing.
- You get that classic, rich flavor without any fuss over crimping pie edges!
Gathering Your Ingredients for Perfect Pecan Pie Bars
Making something this easy requires great components, but don’t panic—you won’t need a specialty store run! I’ve laid out exactly what you need below. Notice how the butter is split? That’s because we use two different temperatures of butter for two different jobs, which is a tiny step that makes a huge difference in these gooey pecan bars. Grab your measuring cups, because here is the trustworthy list for the crust and the filling.
- 1 cup (2 sticks) unsalted butter, softened (for the crust, it needs to be room temp!)
- 1 cup powdered sugar
- 2 cups all-purpose flour
- 1/2 teaspoon salt
- 1 cup packed light brown sugar (packed tight, remember!)
- 1/2 cup light corn syrup
- 1/4 cup (1/2 stick) unsalted butter, melted (for the filling)
- 2 large eggs
- 1 teaspoon vanilla extract
- 1 1/2 cups pecan halves or chopped pecans
That’s everything! See? No weird extracts or complicated spices. Just pure, buttery, nutty goodness waiting to happen.
Step-by-Step Instructions for the Best Pecan Bar Recipe
Okay, here is where the magic happens! We are dealing with a two-part bake here, which sounds fancy, but I promise it is so simple. We handle the crust first, get it nice and cozy in the oven, and then boom—we pour the gooey topping right over the hot base. This layering ensures we get that perfect contrast between the crisp, buttery crust and the super gooey center of these pecan pie bars. We’ll bake these right in the pan, and trust me, prepping that parchment paper overhang is the only hack you’ll ever need to get these beauties out cleanly! If you need a visual guide for this two-step process, I found a great resource here.
Preparing the Buttery Shortbread Crust
First things first, get that oven heating up to 350°F (175°C). Line your 9×13 pan with parchment paper. Leave a little edge hanging over the sides—this is your handle later! Now, for the crust, take your softened room-temperature butter and beat it with the powdered sugar until it’s light and creamy. Don’t rush this part! Once that looks good, mix in your flour and that salt until it just starts to hang together like coarse crumbs. Press that mixture down firmly and evenly into the bottom of your prepared pan. Pop it into the oven for just 15 minutes until you see the edges whisper ‘I’m ready’ with a little bit of golden color.
Mixing and Pouring the Gooey Pecan Pie Bars Filling
While that crust is getting its head start, let’s mix the star of the show. In a separate bowl—no need to wash out the first one, we’re keeping it simple—whisk together the brown sugar, corn syrup, melted butter, those two eggs, and the vanilla. Whisk it until it looks totally smooth and cohesive. Then, gently fold in your pecans. We want them coated, not smashed. Once the crust comes out after those 15 minutes, pour that fantastic pecan mixture right over the hot base. Spread it out gently so it covers every single corner. You want that sweet, nutty layer to meet the crust evenly.
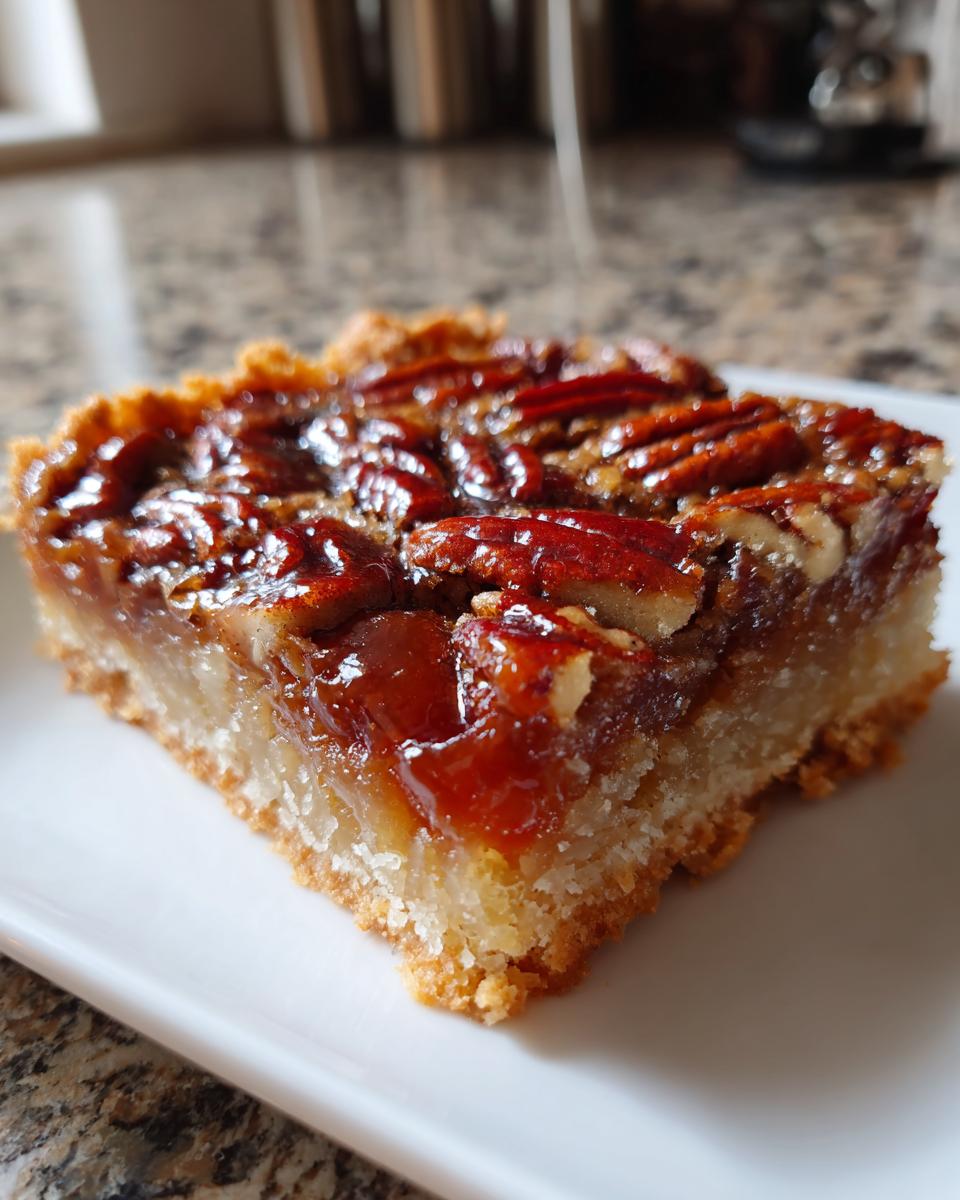
Baking and Cooling Your Pecan Pie Bars
Back into the oven it goes! Bake for another 25 to 30 minutes. You’ll know they are done when the edges of the filling are bubbly, almost like lava, but the center still looks slightly soft. Now, here is my golden rule from watching my mom make these easy dessert bars: COOLING MATTERS! If you cut into these straight from the oven, you’ll have sticky pecan soup. Let them cool completely on a wire rack—I mean one to two hours, or even overnight if you can wait! Trust me on this one; patience equals clean, perfect squares. Use those parchment handles to lift them right out before slicing.
Tips for Success with Your Simple Pecan Dessert
Even though these are incredibly easy pecan pie bars, I always have a few extra secrets up my sleeve to make them truly spectacular. These little tweaks take them from ‘good’ to ‘must-make-again’ status! First, if you have an extra five minutes, seriously toast your pecans first. Just spread them on a baking sheet and toss them in the oven for about 8 minutes until you can really smell that rich nuttiness—it deepens the flavor throughout the whole bar.
Also, for an extra layer of that molasses flavor that makes Southern desserts so special, you absolutely must use packed light brown sugar. White sugar just doesn’t give you that toffee depth we are aiming for!
Finally, remember that they keep beautifully. You can absolutely make these ahead of time. Store the cut bars in an airtight container at room temperature for up to four days. They actually taste even better the day after you bake them, once the filling has fully set up. Check out the tips from the folks at Southern Discourse for even more inspiration!
Variations for Caramel Pecan Bars and More
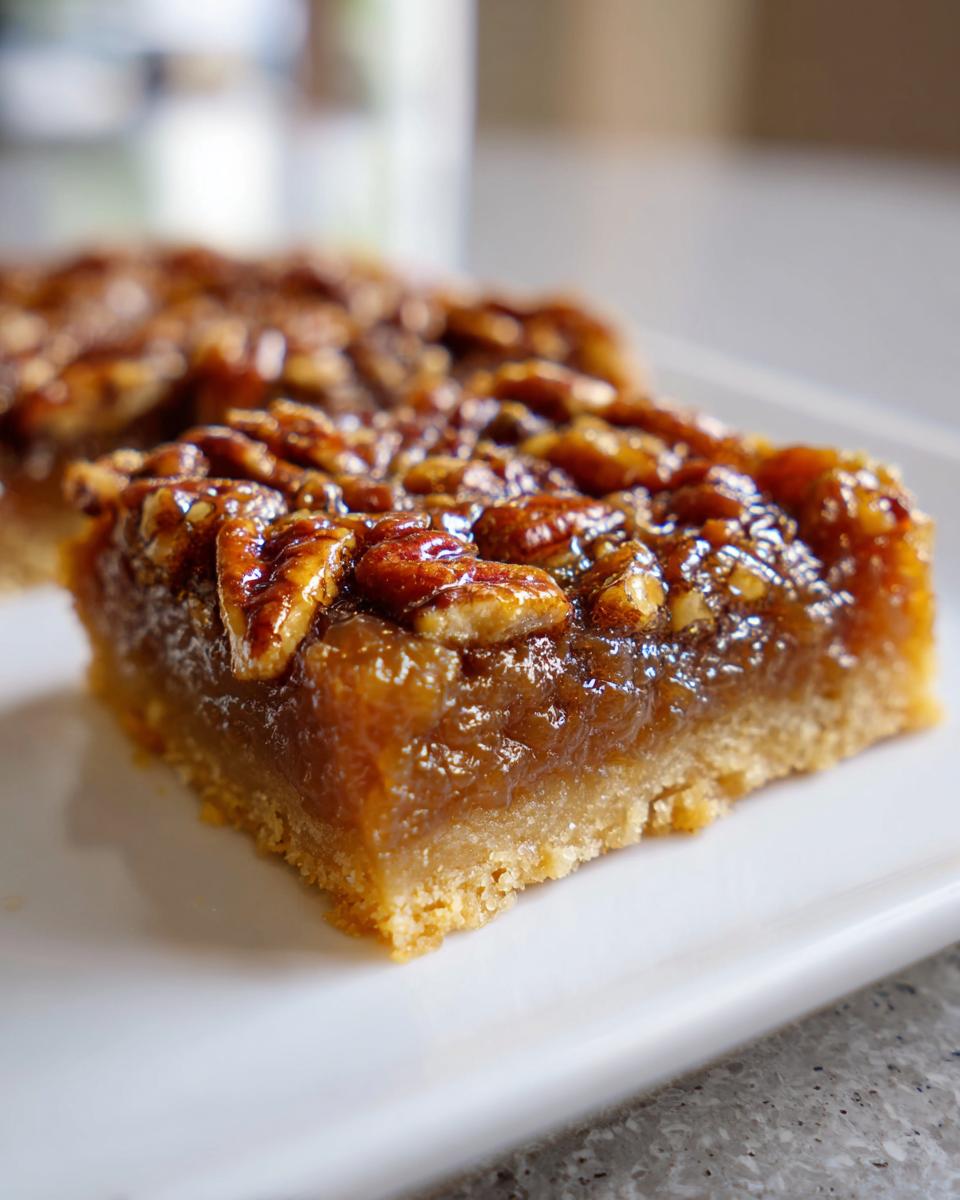
So, you’ve made the perfect batch of classic pecan pie bars, but now you’re feeling adventurous? I totally get it! These bars are so simple that swapping out one or two things makes a whole new dessert. The biggest, best game-changer you can make is messing with the syrup situation.
If you really want that deep, almost butterscotch-y, super decadent sweetness, try swapping out the light corn syrup for dark corn syrup. I’m telling you, this little switch turns them instantly into what I call Caramel Pecan Bars. The dark syrup has more molasses content, so you get this richer, slightly smokier caramel vibe that absolutely sings against that nutty pecan crunch. It’s phenomenal!
What if you’re feeling nutty but not strictly pecan? You can absolutely treat these babies like any other nut bar. Swap half the pecans for toasted walnuts—the slight bitterness of a walnut balances the sweetness so well. Or, if you’re feeling fancy, toss in some dried cherries or tiny white chocolate chips right before you bake the filling. Just a handful is enough to change the whole profile! Don’t overthink it; these bars are sturdy and forgiving, so feel free to play!
Storage and Make Ahead Dessert Tips for Pecan Pie Bars
When you’ve got a busy week, knowing you can whip up these pecan pie bars ahead of time is half the battle won! Seriously, these are the ultimate make ahead dessert because they actually taste better the next day. I always bake mine, let them cool fully—and I mean *fully*—and then I just leave them right there on the counter, tempting me. If you want to see how others keep their treats fresh, definitely check out this guide on making irresistible bars!
Once they are nice and firm, use that parchment paper overhang to lift the whole slab out of the pan. I cut mine into squares, but you can trim the edges off first if you want perfect, professional-looking pieces. Separate the layers of cut bars with squares of parchment paper so they don’t stick, and tuck them into a good airtight container. You can find some super helpful ideas on keeping treats perfect over at Tasty Teresa.
The best part? They stay wonderful just sitting on the counter at room temperature for up to four days. No need to clutter up the fridge! The filling stays gooey, and the shortbread crust never gets soggy when stored properly. This makes them brilliant for potlucks or holiday baking when oven space is nonexistent. You honestly can’t beat the convenience of these simple treats!
Frequently Asked Questions About Pecan Pie Bars Recipe
These are called pecan pie bars, but are they truly a good handheld pie recipe?
Yes! That’s exactly the beauty of these pecan pie bars! While a traditional pie requires a fork and careful scooping, these are designed to be sturdy enough to pick up once fully cooled. The shortbread crust provides a firm base that supports the gooey filling. As long as you let them cool completely—and I mean *completely*—you’ll have a perfect, bite-sized piece of pie that travels beautifully to potlucks or picnics!
How do I stop the gooey topping from cracking when I cut them?
Cracking happens when the top layer sets too quickly while the gooey center is still too hot. My number one tip here is patience! You must let these cool down for at least an hour, ideally two, on the counter before slicing. If you are slicing them for a party, some people even chill the whole pan for 30 minutes after the initial cooling period. This ensures the filling is set but still wonderfully soft—never hard or dry. These are some of the best easy dessert bars precisely because resisting the urge to cut them immediately is the hardest part!
Can I swap out pecans for other kinds of nuts?
Absolutely! While pecans are the star here, feel free to mix it up! Walnuts are a classic substitute because they offer a slightly sharper flavor that cuts through the sweetness nicely. You can also combine them, perhaps use one cup of pecans and half a cup of toasted walnuts. Just make sure whatever nuts you use are toasted lightly beforehand for the best flavor payoff across the bar!
Are these Southern dessert bars suitable for large holiday crowds?
Oh, they are absolutely perfect for the holidays! Since you bake them in a 9×13 pan, you get so many servings, and they are so much easier to manage on a dessert table than slicing a pie. Plus, you can make them days ahead of time! I usually knock out a batch the Wednesday before Thanksgiving, cover them, and they are ready to go when everyone arrives. They save oven space, which is critical when you’re cooking a huge meal!
Estimated Nutritional Data for These Pecan Pie Bars
Now, I know we’re not exactly whipping these up for a salad contest here, but if you’re curious about what sweet deliciousness you are enjoying, I put together a quick snapshot of the numbers. Since we’re dealing with a rich shortbread crust and that gooey syrup filling, these bars are definitely a treat! Remember, this is just an estimate based on using the exact measurements listed and cutting the pan into 24 equal squares.
- Serving Size: 1 bar
- Calories: About 250 (Yes, worth every single bite!)
- Fat: Around 16 grams (That’s the good buttery stuff!)
- Carbohydrates: About 25 grams
- Protein: Around 4 grams
- Sugar: Roughly 22 grams
Please just remember, this data is based on standard calculations for these exact ingredients and our 24-bar yield. Real life baking using slightly different nuts or a different brand of corn syrup might shift these numbers a little. But hey, when they taste this good, who is really reaching for the calculator? Enjoy your sweet nutty treat!
Share Your Experience Making These Sweet Nutty Treats
Okay, now the best part! I’ve shared all my secrets for getting that perfect balance of buttery crust and gooey filling in these pecan pie bars. But truly, the blog isn’t the same until I hear from you wonderful bakers!
Did you try them? Did you think waiting for them to cool was the hardest part of your week, just like I do? Please, please come back and tell me! Drop a comment below, let me know if you went for the dark corn syrup variation, or if you added a little sea salt on top.
I love seeing your results! Snap a photo of those beautiful handheld pies and tag me on social media—it honestly makes my day when I see one of my trusted recipes popping up in your kitchens. Every time you leave a rating or a comment, it helps other folks who are looking for that perfect, simple dessert realize that this recipe is the real deal. Don’t forget to rate the recipe once you’ve tested it out; every star helps build confidence for the next reader looking for an easy dessert bar!
Happy baking, and I can’t wait to read all about your sweet, nutty success!
PrintUltra Easy, Gooey Pecan Pie Bars with Buttery Shortbread Crust
Make these simple pecan pie bars featuring a rich, gooey filling over a melt-in-your-mouth buttery shortbread crust. This handheld treat delivers classic Southern flavor with minimal effort.
- Prep Time: 20 min
- Cook Time: 45 min
- Total Time: 1 hour 5 minutes
- Yield: 24 bars 1x
- Category: Dessert
- Method: Baking
- Cuisine: American
- Diet: Vegetarian
Ingredients
- 1 cup (2 sticks) unsalted butter, softened
- 1 cup powdered sugar
- 2 cups all-purpose flour
- 1/2 teaspoon salt
- 1 cup packed light brown sugar
- 1/2 cup light corn syrup
- 1/4 cup (1/2 stick) unsalted butter, melted
- 2 large eggs
- 1 teaspoon vanilla extract
- 1 1/2 cups pecan halves or chopped pecans
Instructions
- Preheat your oven to 350°F (175°C). Line a 9×13 inch baking pan with parchment paper, leaving an overhang on the sides for easy removal.
- Prepare the crust: In a medium bowl, beat the softened butter and powdered sugar until creamy. Mix in the flour and salt until the mixture resembles coarse crumbs.
- Press the crust mixture evenly into the bottom of the prepared baking pan. Bake for 15 minutes until the edges are lightly golden.
- While the crust bakes, prepare the filling: In a separate bowl, whisk together the brown sugar, corn syrup, melted butter, eggs, and vanilla extract until well combined.
- Stir in the pecans until they are evenly coated in the filling mixture.
- Pour the pecan filling evenly over the hot, pre-baked shortbread crust.
- Return the pan to the oven and bake for 25 to 30 minutes, or until the filling is set and the edges are bubbly.
- Let the bars cool completely in the pan on a wire rack, about 1 to 2 hours. Cooling is important for clean cutting.
- Once cool, use the parchment paper overhang to lift the bars from the pan. Cut into squares or rectangles.
Notes
- For a richer flavor, lightly toast the pecans before adding them to the filling.
- If you prefer a caramel pecan bars flavor, use dark corn syrup instead of light corn syrup.
- You can make these ahead of time; store cooled, cut bars in an airtight container at room temperature for up to 4 days.
Nutrition
- Serving Size: 1 bar
- Calories: 250
- Sugar: 22
- Sodium: 85
- Fat: 16
- Saturated Fat: 6
- Unsaturated Fat: 10
- Trans Fat: 0
- Carbohydrates: 25
- Fiber: 1
- Protein: 4
- Cholesterol: 45