
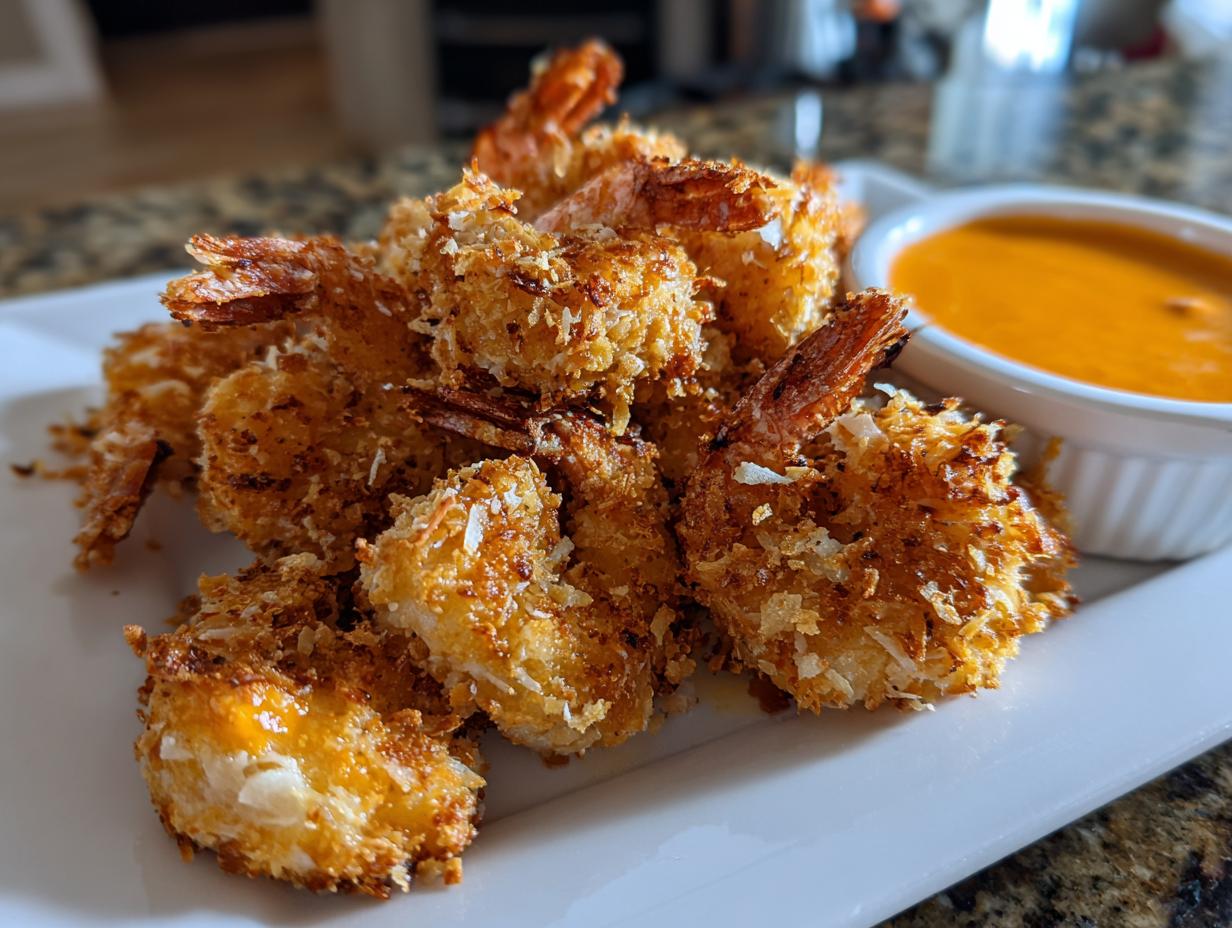
If you’ve ever ordered takeout and wished you could bottle that perfect, golden crunch of restaurant-style shrimp, stop wishing! I’m Avery, and that feeling is exactly why I created this coconut shrimp recipe. Forget the greasy mess of deep-frying; we are baking these beauties so they turn out intensely flavorful and beautifully crispy in under 30 minutes total time. This is one of those simple, memorable dishes you’ll want regulars at your table—whether it’s for a big game night or just a Tuesday when you need a little tropical sunshine in your life. As I always say over on my About page, the best food makes great connections, and this recipe delivers! Trust me, these easy steps deliver the tropical crunch you crave.
- Why This Crispy Coconut Shrimp Recipe is Your New Favorite
- Ingredients for the Best Coconut Shrimp Dipping Sauce and Coconut Shrimp
- How to Prepare Crispy Coconut Shrimp Using the Baking Method
- Alternative Cooking Methods for Perfect Coconut Shrimp
- Tips for Success Making Homemade Coconut Shrimp
- Serving Suggestions for Your Coconut Shrimp Appetizer
- Storing and Reheating Your Crispy Coconut Shrimp Recipe
- Frequently Asked Questions About Coconut Shrimp
- Estimated Nutrition Facts for Baked Coconut Shrimp
Why This Crispy Coconut Shrimp Recipe is Your New Favorite
I tell you, this Crispy Coconut Shrimp Recipe is going to earn permanent residency on your dinner rotation. Why? Because it hits every single mark without making you stay chained to the stove for an hour! It’s so fast, which is great because I know life moves quickly.
- It’s lightning fast! Total time is right under 30 minutes, making it perfect for a Weeknight Coconut Shrimp dinner.
- We skip the fryer! Baking gives you that restaurant-style crunch in a much lighter package.
- Hello, tropical flavor! The mix of coconut and panko delivers a satisfying texture every single time.
- It’s the perfect Easy Coconut Shrimp Appetizer for parties or a fun seafood night.
Ingredients for the Best Coconut Shrimp Dipping Sauce and Coconut Shrimp
You know I’m all about simple, reliable ingredients. When you’re making Homemade Coconut Shrimp, the quality of these coating components is what makes them bakery-worthy. We’re using large shrimp, and please, make sure they are patted completely dry—that’s my number one rule for getting that gorgeous crunch everyone raves about!
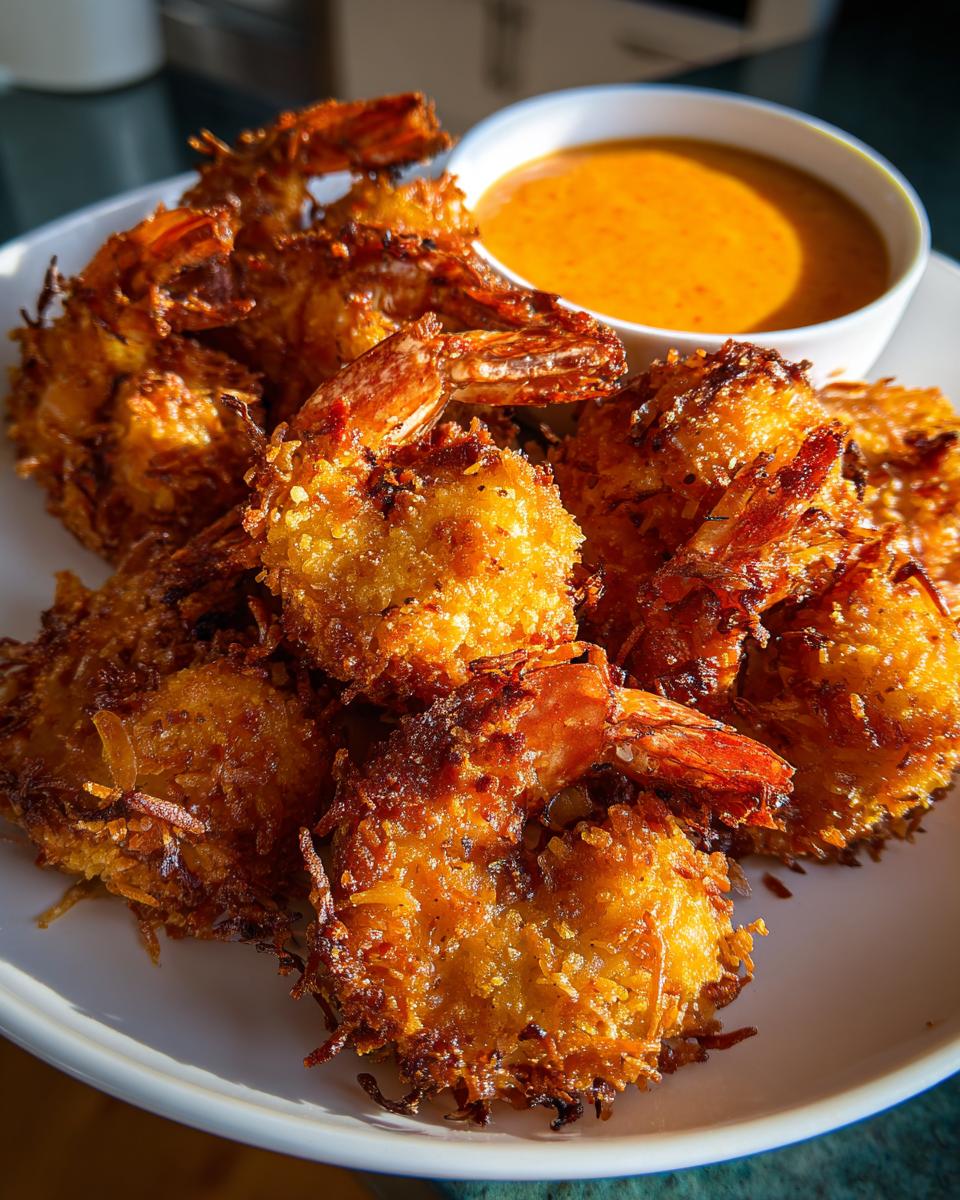
I’ve tried copying those famous seafood chains before, and getting the crust right is crucial. That’s why we are mixing coconut with Panko breadcrumbs; it creates the ultimate Panko Coconut Shrimp Crust. If you ever wanted to see my version of a copycat dish, I have a great Red Lobster copycat version on the site too!
For the Homemade Coconut Shrimp Coating
Grab three shallow bowls for your breading station. Here’s what goes into each one:
- 1 lb large shrimp, peeled and deveined (Make sure they’re ready to go!)
- 1 cup all-purpose flour
- 2 large eggs, beaten
- 1 cup sweetened shredded coconut
- 1/2 cup panko breadcrumbs (Don’t skip the Panko!)
- 1 teaspoon salt
- 1/2 teaspoon black pepper
- A little cooking spray for baking!
For the Tangy Dipping Sauce
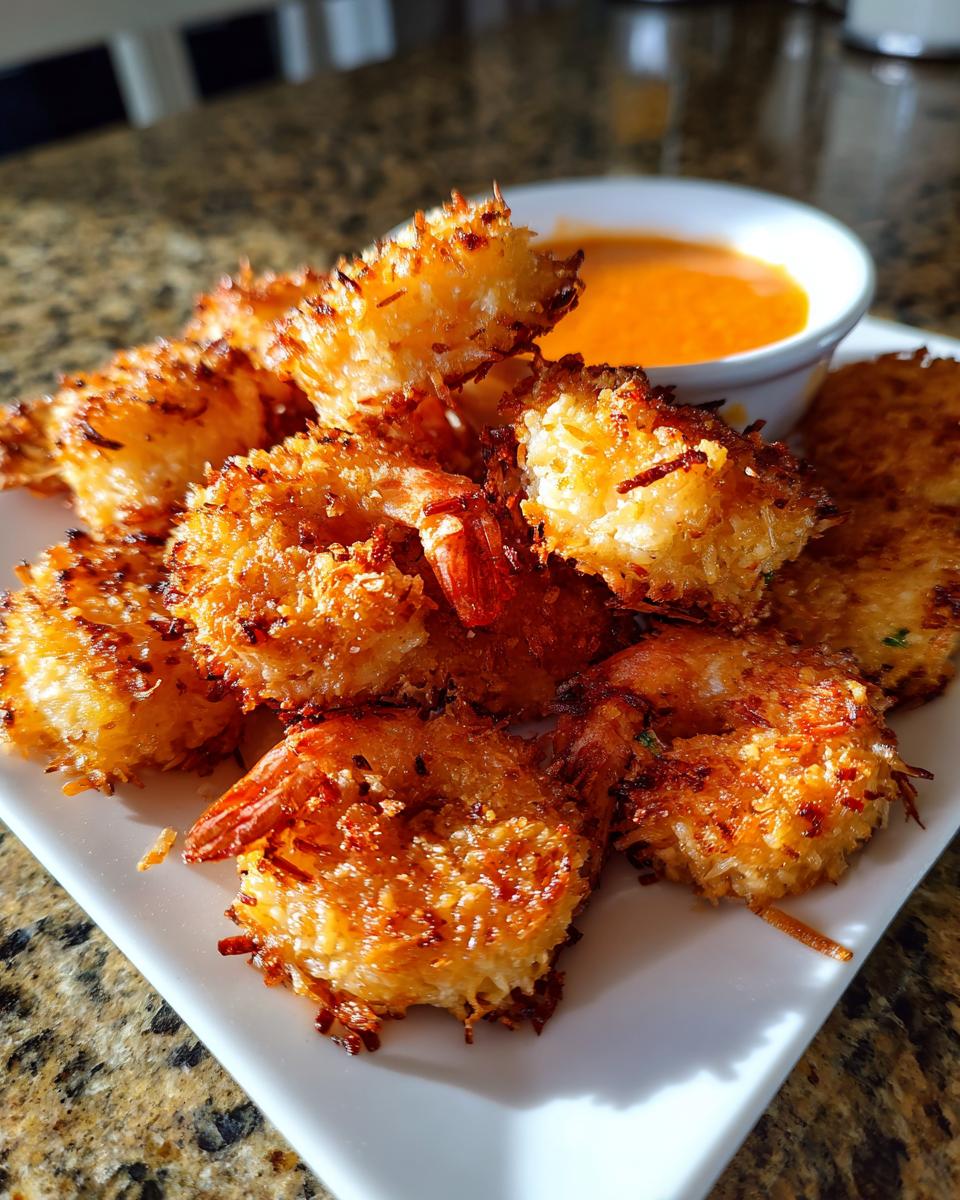
This sauce is what takes this dish from “pretty good” to “I need more shrimp ASAP.” It’s quick, zesty, and gives us the perfect counterbalance to the sweet coconut. This is my favorite Tangy Dipping Sauce for Shrimp.
- 1/2 cup orange marmalade (Trust me on the orange!)
- 1 tablespoon lime juice
- 1 teaspoon sriracha or your favorite hot sauce (Adjust this based on how much heat you like!)

How to Prepare Crispy Coconut Shrimp Using the Baking Method
Okay, the prep time flies by—we are talking about 15 minutes of active prep before we get these beauties into the oven for just 12 minutes of cook time. That’s why this is one of my favorite Quick Shrimp Dinner Ideas! The key to success, as I mentioned before, is making sure those shrimp are bone dry. Seriously, grab a couple of paper towels and pat every single one down. Wet shrimp = soggy coating, and we are not doing soggy coatings around here!
Once they are dry, we set up our assembly line. If you want to read more about getting perfect baked textures in general, check out my post on baking baked sweet potatoes—the dry-surface rule is the same concept!
Setting Up Your Coconut Shrimp Breading Station
The breading station is the heart of any successful crust! Get three shallow dishes ready to go in this specific order, which helps keep everything clean and neat.
- Dish 1: The seasoned flour—that’s your salt and pepper mixed into the AP flour. This is where the moisture protection starts!
- Dish 2: The whisked, beaten eggs. This is the glue that holds everything together.
- Dish 3: Your final destination—the coconut mixed with the panko breadcrumbs. Make sure those two are thoroughly combined.
Coating and Baking the Coconut Shrimp
Now for the fun part! First, toss the dry shrimp in the flour mixture and give them a good shake to get off the excess. Then, dip them into the egg, making sure they are fully saturated. Finally, take them directly to the coconut mix. You have to press that mixture onto the shrimp firmly! I like to use my fingers to really pack that crispy coating on.
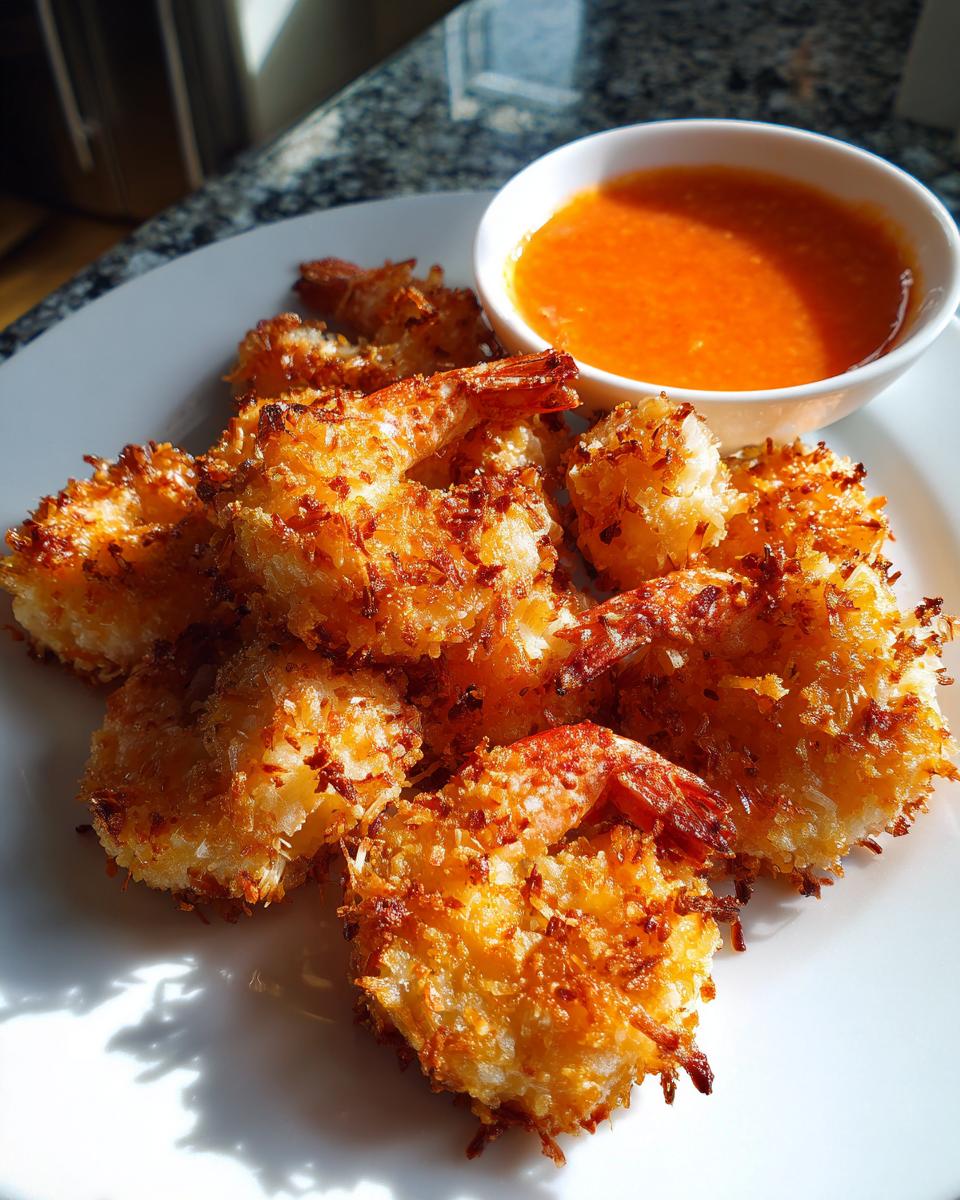
Lay them out in a single layer on your lined baking sheet. This is a step that many people skip, but you *must* lightly spray the tops of the coated shrimp with cooking spray. This helps them get that gorgeous, almost-fried golden color when baking. Pop them into a 400°F oven and we are done in about 10 to 12 minutes!
Alternative Cooking Methods for Perfect Coconut Shrimp
I know, I know! Baking is great for speed and keeping things light, but sometimes you just want that deep-fried satisfaction. If you have an air fryer, you are in luck because it is amazing for this Tropical Shrimp Recipe. You get a fantastic crunch, often faster than the oven!
If you’re looking for the crunchiest possible version, you can certainly deep fry these babies, but since we are focusing on easy weeknight meals, I usually steer folks toward the air fryer or the oven. If you want to check out my air fryer expertise on other things, like my wings recipe, pop over there!
Achieving Crunch with the Air Fryer Coconut Shrimp Setting
For the air fryer, you want to cook your coated shrimp at 380°F (195°C). It’s a little lower than oven temps because the air circulates so aggressively! They usually take only about 8 to 10 minutes total. Remember to flip them halfway through, just like in the oven, so both sides get golden brown and lovely. You’ll be amazed at how fast this Air Fryer Coconut Shrimp comes out!
Tips for Success Making Homemade Coconut Shrimp
Even with the best recipe, sometimes our expectations for that perfect, restaurant-quality crunch are just a little *too* high. Don’t worry! I’ve run this recipe dozens of times, whether I’m making it for a small gathering or testing out a new side dish, like those amazing shrimp and crab biscuit melts. Here are the little secrets I learned along the way that guarantee success for your Homemade Coconut Shrimp.
First, let’s talk shrimp quality. You need large or jumbo shrimp, and they absolutely must be cold when you start the breading process. If the shrimp get warm, the coating slides right off! Keep the bowl of wet shrimp chilling in an ice bath or—if you’re moving quickly—only take out about six at a time to coat.
Next big tip: The Panko/Coconut Mix Ratio. I found that a 2:1 ratio of coconut to panko (like 1 cup coconut to 1/2 cup panko) gives you the maximum amount of tropical flavor without being overwhelmingly chewy. You want that crisp bite from the Panko supporting the sweet coconut!
Also, don’t skimp on the flour dredge. That first layer of seasoned flour acts like a moisture barrier. If you dip the dry shrimp straight into the egg after salting, the egg has nowhere to grab onto once it hits the coconut mix. That flour is your secret weapon against sogginess!
Finally, for the sauce—make it ahead! The flavors in the Tangy Dipping Sauce for Shrimp just deepen when they sit for an hour or two in the fridge. It gives you one less thing to scramble with right when the shrimp come out of the oven hot and ready.
Serving Suggestions for Your Coconut Shrimp Appetizer
Now the shrimp are perfectly golden and hot—the best way to enjoy them, hands down, is right away! Since this recipe is so versatile, you get to decide if you are making a fun Seafood Appetizer Hot platter or turning it into a full, satisfying meal. For us, it depends on the day!
If you are having people over or watching a big game, piling these onto a large platter with plenty of the sweet and tangy dipping sauce on the side seems to be the way to go. People grab them so fast you barely have time to put them down. This is truly the ultimate Easy Coconut Shrimp Appetizer.
But when I’m making this for a Quick Shrimp Dinner Idea for the family, you need something underneath them to soak up all those amazing juices. They shine next to something light and bright. My favorite thing to pair them with lately is a simple, herby rice pilaf. I have a great recipe for Mediterranean Lemon Rice—the burst of acid cuts through the sweetness of the coconut beautifully.
If you’re keeping things low-carb or just want something green, don’t overthink it! A simple little side salad sprinkled with toasted pecans and a light vinaigrette is perfect. The crunch of the shrimp plays so nicely off the crisp lettuce. You could even serve them nestled on top of a bed of shredded cabbage for a bit of texture contrast!
Storing and Reheating Your Crispy Coconut Shrimp Recipe
So you made a huge batch because, honestly, who stops at just five pieces of coconut shrimp? Don’t worry if you have leftovers! The key here is treating these like any crispy friend—they definitely don’t like the waiting game.
Storing Your Leftovers
For leftovers, you absolutely need to keep these refrigerated. Place any remaining shrimp in a shallow, airtight container lined with a paper towel. The paper towel is important; it absorbs that condensation that builds up and tries to sabotage your crunch. You can safely store them like this for about two days, max. I wouldn’t recommend freezing them after baking, though. While you can prep the shrimp before breading and freeze them raw, once they are cooked, keep that Crispy Coconut Shrimp Recipe flavor fresh by eating them within 48 hours of baking.
The Secret to Reheating for Maximum Crunch
Listen to me very carefully: If you put these in the microwave, you may as well just throw them directly in the trash. Microwaves are the enemy of crisp coatings! If you want that beautiful texture back, you have two fantastic options that work much better.
First place: The Toaster Oven. This is my favorite for small batches. Set it to about 350°F (175°C) and place the shrimp on the little rack. Let them bake for about 5 to 7 minutes. If your toaster oven has a *broil* setting, watch them closely during the last minute—it brings back a fantastic golden color!
Second place: The Air Fryer! If you skipped frying for the oven, you can use the air fryer to reheat them perfectly. Pop them in at 375°F (190°C) for just 4 minutes. They come out basically identical to how they were when they first came out of the oven. This maintains the integrity of the Homemade Coconut Shrimp crust beautifully, ensuring you get that satisfying tropical bite even on day two!
Frequently Asked Questions About Coconut Shrimp
You’ve seen how easy it is to make this Tropical Shrimp Recipe crispy in the oven, but I know you might have a few lingering questions before you dive into your kitchen!
Can I use frozen shrimp for this recipe?
This is a great question for those busy weeknights! You absolutely *can* use frozen shrimp, but you must thaw them completely first. More importantly, you need to skip the thawing water step and pat them aggressively dry with paper towels. If you don’t get all the surface ice and moisture off, your coating won’t stick properly, and you’ll end up with less crisp results. Always start with the driest shrimp possible!
How can I adapt this into a Gluten Free Coconut Shrimp recipe?
I love helping folks adapt my favorites! Making this a Gluten Free Coconut Shrimp Adaptation is super simple. You just need to swap out Ingredient #1 in the breading station, the all-purpose flour, for a good quality 1-to-1 gluten-free flour blend. The rest of the ingredients—the eggs, the coconut, and the Panko (most Panko breadcrumbs are wheat-based, so check your label closely, though some brands do offer GF versions)—should still be fine, but you might need to swap the Panko for gluten-free breadcrumbs if you are serving someone highly sensitive. That way you still get that amazing crunch!
What other dipping sauces work really well besides the marmalade one?
While I am obsessed with the sweet and tangy orange marmalade sauce, if you want variety, you have tons of options! For something creamy, you can make a quick Sweet Chili Mayo for Shrimp by mixing mayonnaise with sweet chili sauce—it’s heavenly. If you prefer something richer, try making a quick homemade BBQ sauce, where I have a simple recipe for honey BBQ sauce that actually works really well with the sweet coconut twist. For a lighter sauce, a simple yogurt mixed with a little curry powder makes a great Copycat Red Lobster Coconut Shrimp style accompaniment!
Can I prepare the shrimp ahead of time for Coconut Shrimp Meal Prep?
Yes, you can totally prep ahead, which is perfect for making a big batch for Coconut Shrimp Meal Prep! The absolute best time to stop is right after you have coated them—Step #7 in the instructions. Place those fully coated, raw shrimp on the parchment-lined baking sheet, cover it tightly with plastic wrap, and stick it in the fridge for up to 24 hours. When you are ready to eat, just give them an extra light spritz of cooking spray and bake them exactly as the recipe says. They come out perfectly crispy, fresh from the oven!
Estimated Nutrition Facts for Baked Coconut Shrimp
You’ve got all the gorgeous, crispy, tropical shrimp you need, and I know you’re curious about the details! Even though we baked these instead of frying, we still load up on flavor and a little bit of sweetness from the coconut and the sauce. I’ve pulled together the estimated nutrition breakdown based on the recipe serving four people, with five shrimp per serving.
Remember, since we are using ingredients that can vary—especially the size of our shrimp and how much sauce you drizzle on—these numbers are just a guideline to help you plan. Think of this as a snapshot, not a medical chart! But I always include this because transparency is important; I want you enjoying this amazing coconut shrimp without any silly guesswork.
- Serving Size: 5 shrimp
- Calories: 320
- Protein: 24g
- Fat: 12g (Saturated Fat: 7g)
- Carbohydrates: 30g (Fiber: 2g, Sugar: 18g)
- Sodium: 450mg
- Cholesterol: 150mg
See? Not too bad for something that tastes this decadent! That 18g of sugar comes mostly from the sweetened coconut and the orange marmalade in the dipping sauce, which gives us that signature flavor profile we love. If you end up skipping the sauce for your Quick Shrimp Dinner Ideas, your sugar and carb counts will drop down significantly. Enjoy every bite!
PrintCrispy Baked Coconut Shrimp with Tangy Dipping Sauce

Make crispy coconut shrimp using a baking method for a lighter, flavorful appetizer or main dish. Serve with a zesty dipping sauce.
- Prep Time: 15 min
- Cook Time: 12 min
- Total Time: 27 min
- Yield: 4 servings 1x
- Category: Appetizer
- Method: Baking
- Cuisine: American
- Diet: Vegetarian
Ingredients
- 1 lb large shrimp, peeled and deveined
- 1 cup all-purpose flour
- 2 large eggs, beaten
- 1 cup sweetened shredded coconut
- 1/2 cup panko breadcrumbs
- 1 teaspoon salt
- 1/2 teaspoon black pepper
- Cooking spray
- For the Dipping Sauce: 1/2 cup orange marmalade
- 1 tablespoon lime juice
- 1 teaspoon sriracha or hot sauce
Instructions
- Preheat your oven to 400°F (200°C). Line a baking sheet with parchment paper and lightly coat with cooking spray.
- Set up a standard breading station with three shallow dishes. Place flour seasoned with salt and pepper in the first dish.
- Place the beaten eggs in the second dish.
- Combine the shredded coconut and panko breadcrumbs in the third dish.
- Pat the shrimp completely dry with paper towels. This helps the coating stick and crisp up.
- Dredge each shrimp first in the seasoned flour, shaking off excess.
- Dip the floured shrimp into the egg mixture, letting excess drip off.
- Press the shrimp firmly into the coconut-panko mixture to coat thoroughly.
- Place the coated shrimp on the prepared baking sheet in a single layer. Spray the tops lightly with cooking spray for extra browning.
- Bake for 10 to 12 minutes, flipping halfway through, until the shrimp are pink and the coating is golden brown and crisp.
- While the shrimp bake, prepare the dipping sauce: Whisk together the orange marmalade, lime juice, and sriracha in a small bowl until smooth.
- Serve the hot, crispy coconut shrimp immediately with the tangy dipping sauce.
Notes
- For an air fryer method, cook at 380°F (195°C) for 8-10 minutes, flipping halfway.
- To make this a main dish, serve over rice or with a side salad.
- If you prefer a less sweet sauce, substitute the orange marmalade with apricot preserves.
Nutrition
- Serving Size: 5 shrimp
- Calories: 320
- Sugar: 18
- Sodium: 450
- Fat: 12
- Saturated Fat: 7
- Unsaturated Fat: 5
- Trans Fat: 0
- Carbohydrates: 30
- Fiber: 2
- Protein: 24
- Cholesterol: 150