
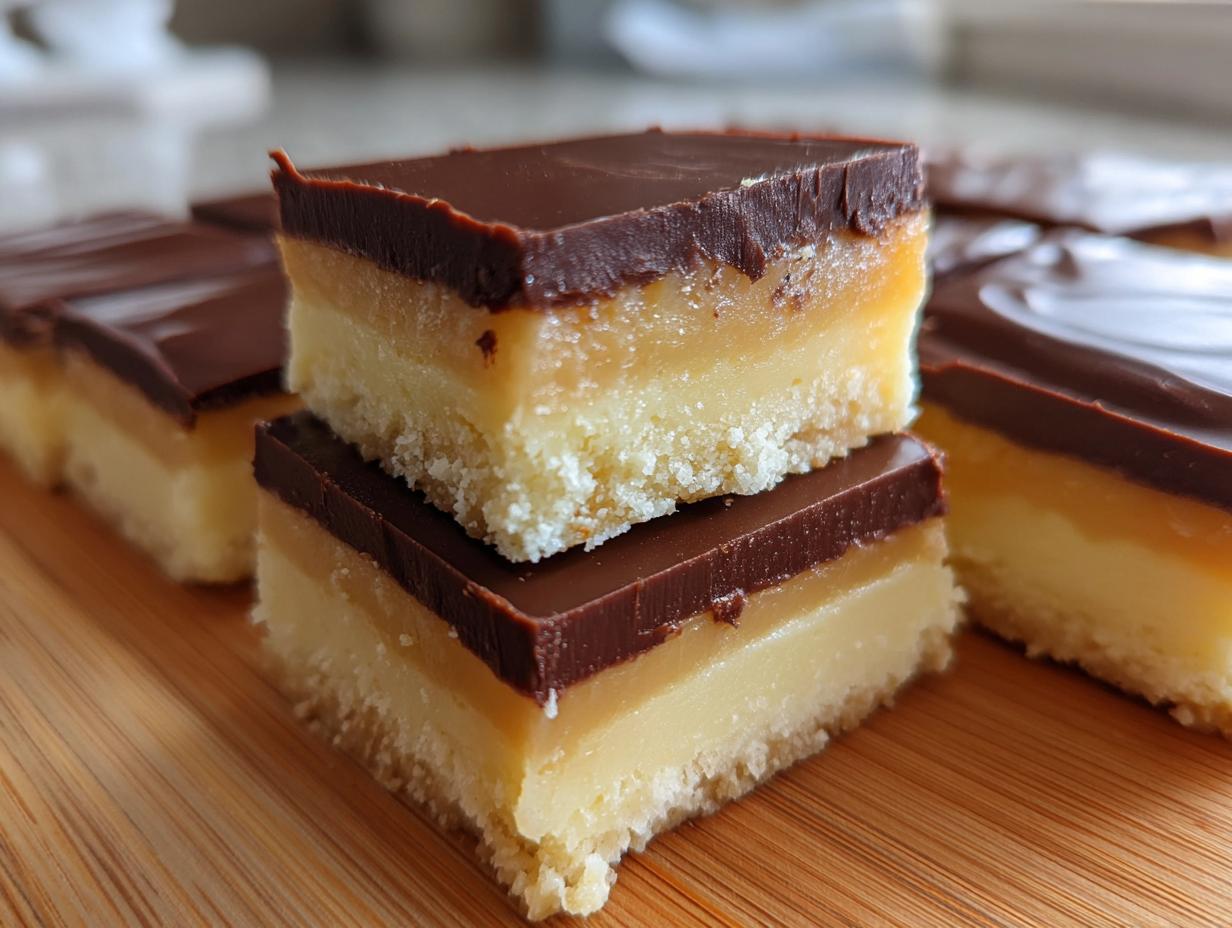
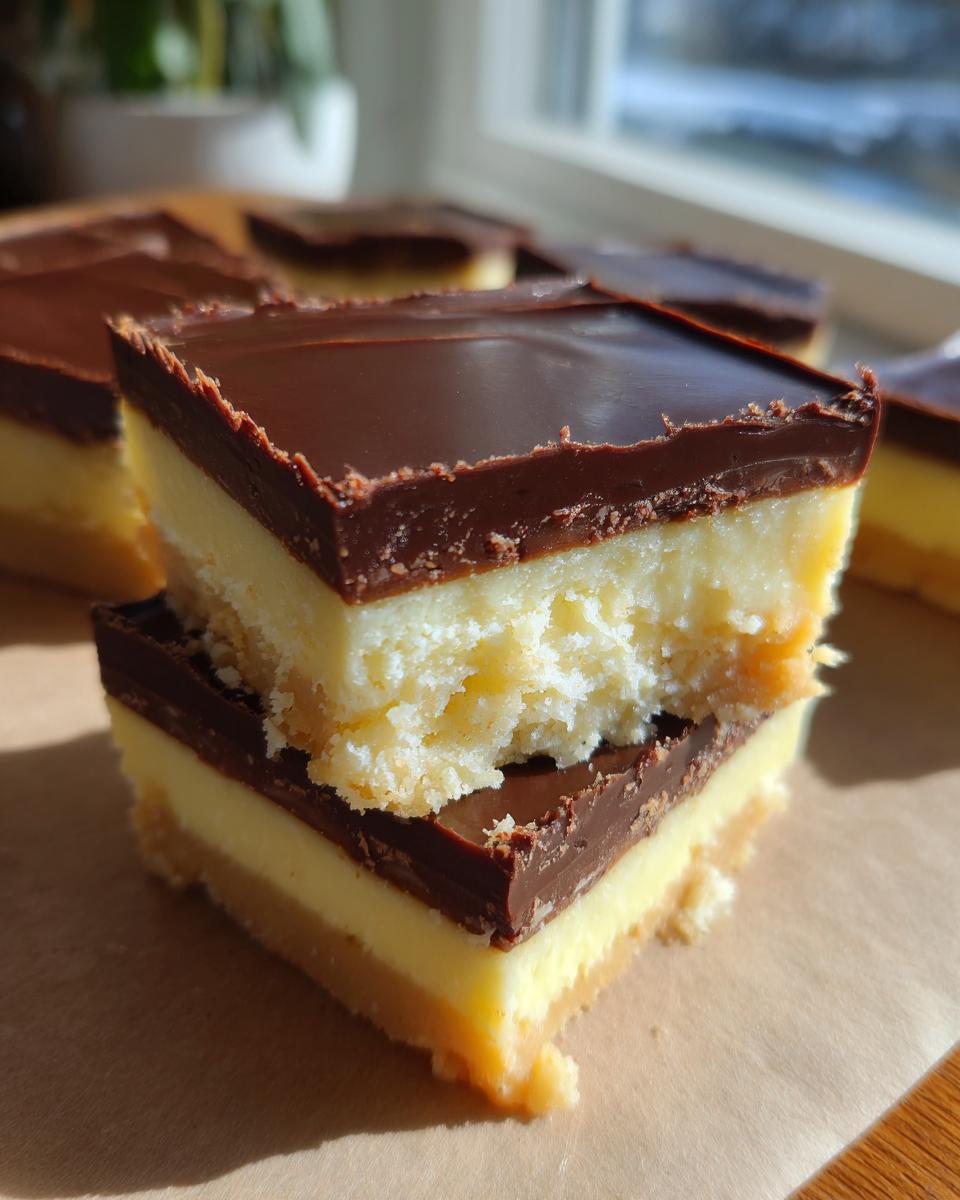
Oh, Boston cream pie! Just thinking about that perfect combination of creamy vanilla custard and rich chocolate topping takes me right back to my grandma’s kitchen. It’s one of those desserts that just screams comfort and celebration all at once, you know? So, I got to thinking, what if we could capture that magic in something super easy, something you don’t even need to turn the oven on for? And that’s how this ridiculously dreamy boston cream pie fudge was born! It’s got that creamy vanilla goodness, that signature chocolate layer, and all the cozy vibes of the original, but in a perfect little bite that’s ready to party or just make your Tuesday feel special. Trust me, this no-bake wonder is a game-changer!
- Why You'll Love This Boston Cream Pie Fudge
- Gather Your Ingredients for Boston Cream Pie Fudge
- Step-by-Step Guide to Your Layered Fudge Recipe
- Tips for Perfect Boston Cream Pie Fudge
- Variations for Your Layered Fudge Recipe
- Serving and Storing Your Homemade Fudge
- Frequently Asked Questions About Boston Cream Pie Fudge
- Nutritional Information
- Share Your Boston Cream Pie Fudge Creations!
Why You’ll Love This Boston Cream Pie Fudge
Seriously, what’s not to love here? It’s:
- Super Easy: No baking skills required, just stovetop stirring and chilling!
- Ridiculously Delicious: It tastes just like the classic dessert, but in a perfect bite.
- A No-Bake Dream: Perfect for when you want something sweet without heating up the kitchen.
- Party Perfect: Makes your dessert tray or gift box extra special with minimal fuss.
Gather Your Ingredients for Boston Cream Pie Fudge
Alright, let’s get our goodies together for this fantastic boston cream pie fudge! It’s pretty straightforward and uses pantry staples you might already have. You’ll need one (super important!) 14-ounce can of sweetened condensed milk – don’t grab the evaporated milk, it has to be sweetened condensed for that creamy texture. Then, we’ll use 1 1/2 cups of regular granulated sugar, and about 3 tablespoons of butter. For that pure vanilla kick, grab your favorite vanilla extract – a full teaspoon is perfect. Now, for the dreamy chocolate topping, we’ll need 1/4 cup of heavy cream and 4 ounces of good semi-sweet chocolate, all chopped up nice and fine so it melts like a dream. Stick with good quality chocolate; it really makes a difference in this chocolate ganache topping!
Step-by-Step Guide to Your Layered Fudge Recipe
Alright, let’s get this yummy boston cream pie fudge made! It’s all about layering flavors and getting that perfect no-bake texture. Don’t worry, it’s way easier than it looks!
Preparing the Pan for Your No Bake Dessert
First things first, grab an 8×8 inch baking pan. Line it really well with parchment paper. Make sure you leave a good bit of overhang on all the sides – this is going to be your lifesaver later when you need to lift the fudge right out!
Crafting the Vanilla Custard Fudge Layer
Now for the creamy part! In a medium saucepan, you’re going to toss in that sweetened condensed milk, the granulated sugar, and the butter. Put it on medium heat and stir, stir, stir! You absolutely must keep stirring constantly. If it scorches, it can ruin the taste. Keep going for about 8 to 10 minutes. You’ll see it start to get thick and pull away from the sides of the pan – that’s your cue it’s ready! Take it off the heat and stir in that glorious vanilla extract. Pour this lovely mixture into your prepared pan and spread it out nice and even. This is the foundation of our amazing fudge.
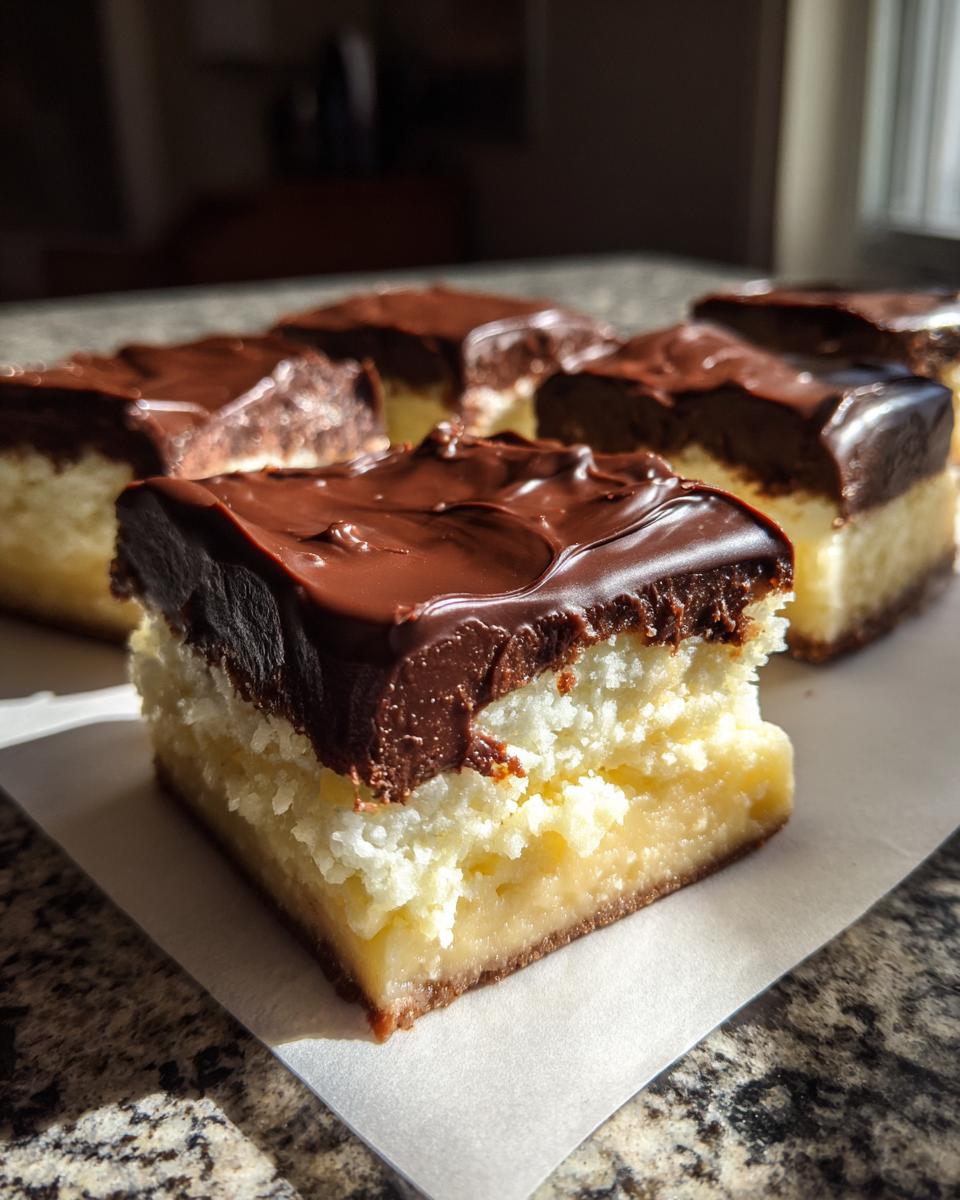
Creating the Glossy Chocolate Ganache Topping
Time for that dreamy chocolate blanket! In a small bowl that’s safe for the microwave, combine your heavy cream and those lovely chopped semi-sweet chocolate pieces. Pop it in the microwave for 30 seconds, give it a good stir, and then do another 30 seconds. Keep doing this, stirring after each interval, until all the chocolate is melted and it’s super smooth and glossy. Pour this beautiful ganache right over the vanilla fudge layer and gently spread it all the way to the edges. So pretty!
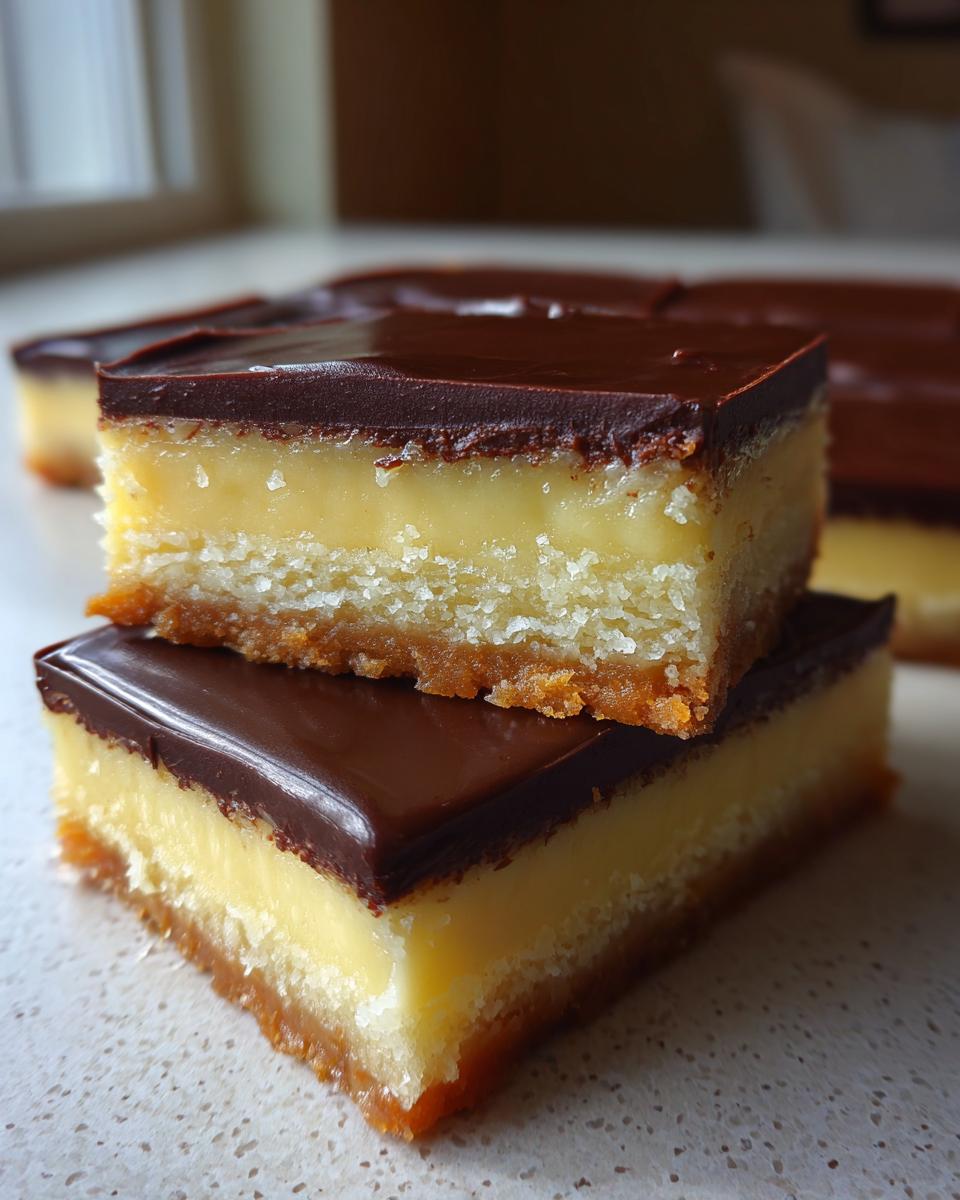
Chilling and Cutting Your Boston Cream Pie Fudge
Now for the hardest part: waiting! Pop the whole pan into the refrigerator for at least 2 hours. You want it to get really firm. Honestly, longer is even better if you can wait! Once it’s totally chilled and solid, use those parchment paper overhangs to lift the whole slab of fudge right out of the pan. Place it on a cutting board and use a sharp knife to cut it into squares. If it’s properly chilled, you’ll get super clean slices!

Tips for Perfect Boston Cream Pie Fudge
Making this boston cream pie fudge is such a joy, but like any good recipe, a few little tips can make it go from good to absolutely amazing! It’s all about paying attention to the little things, and trust me, it’s worth it for that perfect bite.
Ingredient Quality Matters
Okay, this is a biggie! Since this is a no-bake recipe, your ingredients really get to shine. Use a good quality butter – the real stuff, not margarine! And for the chocolate ganache, I really, really love using a good semi-sweet chocolate. You can even go for a darker chocolate if that’s your jam; it adds a nice contrast to the sweet vanilla fudge. High-quality chocolate just melts so much smoother and tastes so much richer. It’s worth it, I promise!
Achieving the Right Fudge Consistency
The trickiest part? Getting the vanilla fudge cooked just right! You really want to watch it carefully. When it starts to thicken and you can see the bottom of the pan for a second or two when you drag your spoon through it, that’s when it’s perfect. If you undercook it, it might be too soft and won’t set properly. If you overcook it, it can get a bit grainy or hard. That sweet spot is pure magic for the best texture in your vanilla custard fudge!
Variations for Your Layered Fudge Recipe
While this boston cream pie fudge is perfect as is, I just love playing around with flavors! Sometimes, I’ll swap out the vanilla extract for a splash of almond extract for a different vibe, or even add a tiny bit of lemon zest to the white layer to make it pop. If you’re feeling adventurous, a few chopped nuts like pecans or walnuts mixed into the vanilla layer add a lovely crunch. And for the chocolate topping? You could always swirl in some caramel or add a pinch of sea salt to the ganache. Get creative – it’s your fudge!
Serving and Storing Your Homemade Fudge
This boston cream pie fudge is just begging to be served slightly chilled or at room temperature. It’s perfect on a pretty dessert platter for parties or wrapped up nicely in little cellophane bags as a sweet homemade gift. To keep it fresh, store it in an airtight container at room temperature for up to 3 days, or pop it in the fridge for a week if you like it a bit firmer. Just make sure it’s *completely* set before you wrap it up tight!
Frequently Asked Questions About Boston Cream Pie Fudge
Got questions about whipping up this decadent boston cream pie fudge? I totally get it! Here are some of the most common things people ask, and my best tips to make sure your layered fudge recipe turns out absolutely perfect every single time.
Can I make this no-bake dessert ahead of time?
Oh, absolutely! That’s one of the best things about this easy homemade fudge. You can totally make it a day or two in advance. In fact, I think it’s even tastier when the flavors have had a little time to meld together in the fridge. Just make sure to store it well once it’s chilled and cut.
What if my vanilla custard fudge doesn’t set?
Don’t panic! Usually, this happens if the fudge mixture wasn’t cooked quite long enough. The key is letting it get thick and pull away from the sides of the pan. If it’s still too soft after a few hours in the fridge, you can try gently reheating it in the saucepan (low heat!) and giving it a bit more cook time, then re-chill. Or, just enjoy it as a super decadent, spoonable treat!
How long does this fudge last?
This holiday candy gem is pretty stable! Stored in an airtight container at room temperature, it should be good for about 3-4 days. If your kitchen is on the warmer side, or you want it to last a bit longer, you can keep it in the refrigerator for up to a week. Just be sure it’s wrapped up tight so it doesn’t dry out or pick up any weird fridge smells!
Can I use different kinds of chocolate for the ganache?
Yes, you sure can! While semi-sweet is classic for that Boston cream pie vibe, feel free to experiment. Milk chocolate will make the topping sweeter, and dark chocolate (60-70% cacao) will give it a richer, more adult flavor profile that’s delicious. Just make sure whatever chocolate you use is good quality for the smoothest melt and best taste in your chocolate ganache topping.
Nutritional Information
Okay, let’s talk numbers for this dreamy boston cream pie fudge! Since recipes can vary a bit depending on exactly what you use, these are just estimates per fudgy square. You’re looking at around 120 calories, about 5g of fat (3g of that’s saturated), 19g of carbs with 18g coming from sugar, and about 2g of protein. Enjoy it guilt-free as a delightful treat!
Share Your Boston Cream Pie Fudge Creations!
Did you whip up this amazing boston cream pie fudge? I’d absolutely love to hear all about it! Leave a comment below, give it a star rating, or tag me on social media with your delicious photos. Happy baking (or, you know, chilling)!
PrintBoston Cream Pie Fudge

A no-bake layered fudge with vanilla custard flavor and a chocolate ganache topping, reminiscent of Boston cream pie.
- Prep Time: 15 min
- Cook Time: 10 min
- Total Time: 2 hours 25 min
- Yield: 36 servings 1x
- Category: Dessert
- Method: No-Bake
- Cuisine: American
- Diet: Vegetarian
Ingredients
- 1 (14 ounce) can sweetened condensed milk
- 1 1/2 cups granulated sugar
- 3 tablespoons butter
- 1 teaspoon vanilla extract
- 1/4 cup heavy cream
- 4 ounces semi-sweet chocolate, chopped
Instructions
- Line an 8×8 inch baking pan with parchment paper, leaving an overhang on the sides.
- In a medium saucepan, combine sweetened condensed milk, granulated sugar, and butter.
- Cook over medium heat, stirring constantly, until the mixture thickens and pulls away from the sides of the pan, about 8-10 minutes.
- Remove from heat and stir in the vanilla extract.
- Pour the vanilla fudge mixture into the prepared pan and spread evenly.
- In a small microwave-safe bowl, combine heavy cream and chopped semi-sweet chocolate.
- Microwave in 30-second intervals, stirring after each, until the chocolate is melted and smooth.
- Pour the chocolate ganache over the vanilla fudge layer and spread evenly.
- Refrigerate for at least 2 hours, or until firm.
- Lift the fudge out of the pan using the parchment paper overhang.
- Cut into squares and serve.
Notes
- For a richer chocolate flavor, use dark chocolate for the ganache.
- Ensure you stir the fudge mixture constantly to prevent scorching.
- Allow the fudge to chill completely before cutting for clean slices.
Nutrition
- Serving Size: 1 square
- Calories: 120
- Sugar: 18g
- Sodium: 15mg
- Fat: 5g
- Saturated Fat: 3g
- Unsaturated Fat: 2g
- Trans Fat: 0g
- Carbohydrates: 19g
- Fiber: 0g
- Protein: 2g
- Cholesterol: 10mg